Canvas Painting Upcycle Hack
I have had this canvas on my wall for a while now and I absolutely love the painting, but it needed a frame to look complete in the space. Frames can often times be extremely expensive and I could not find one that worked for my canvas so I decided to make one myself.
You will need
canvas
tambour
poplar wood


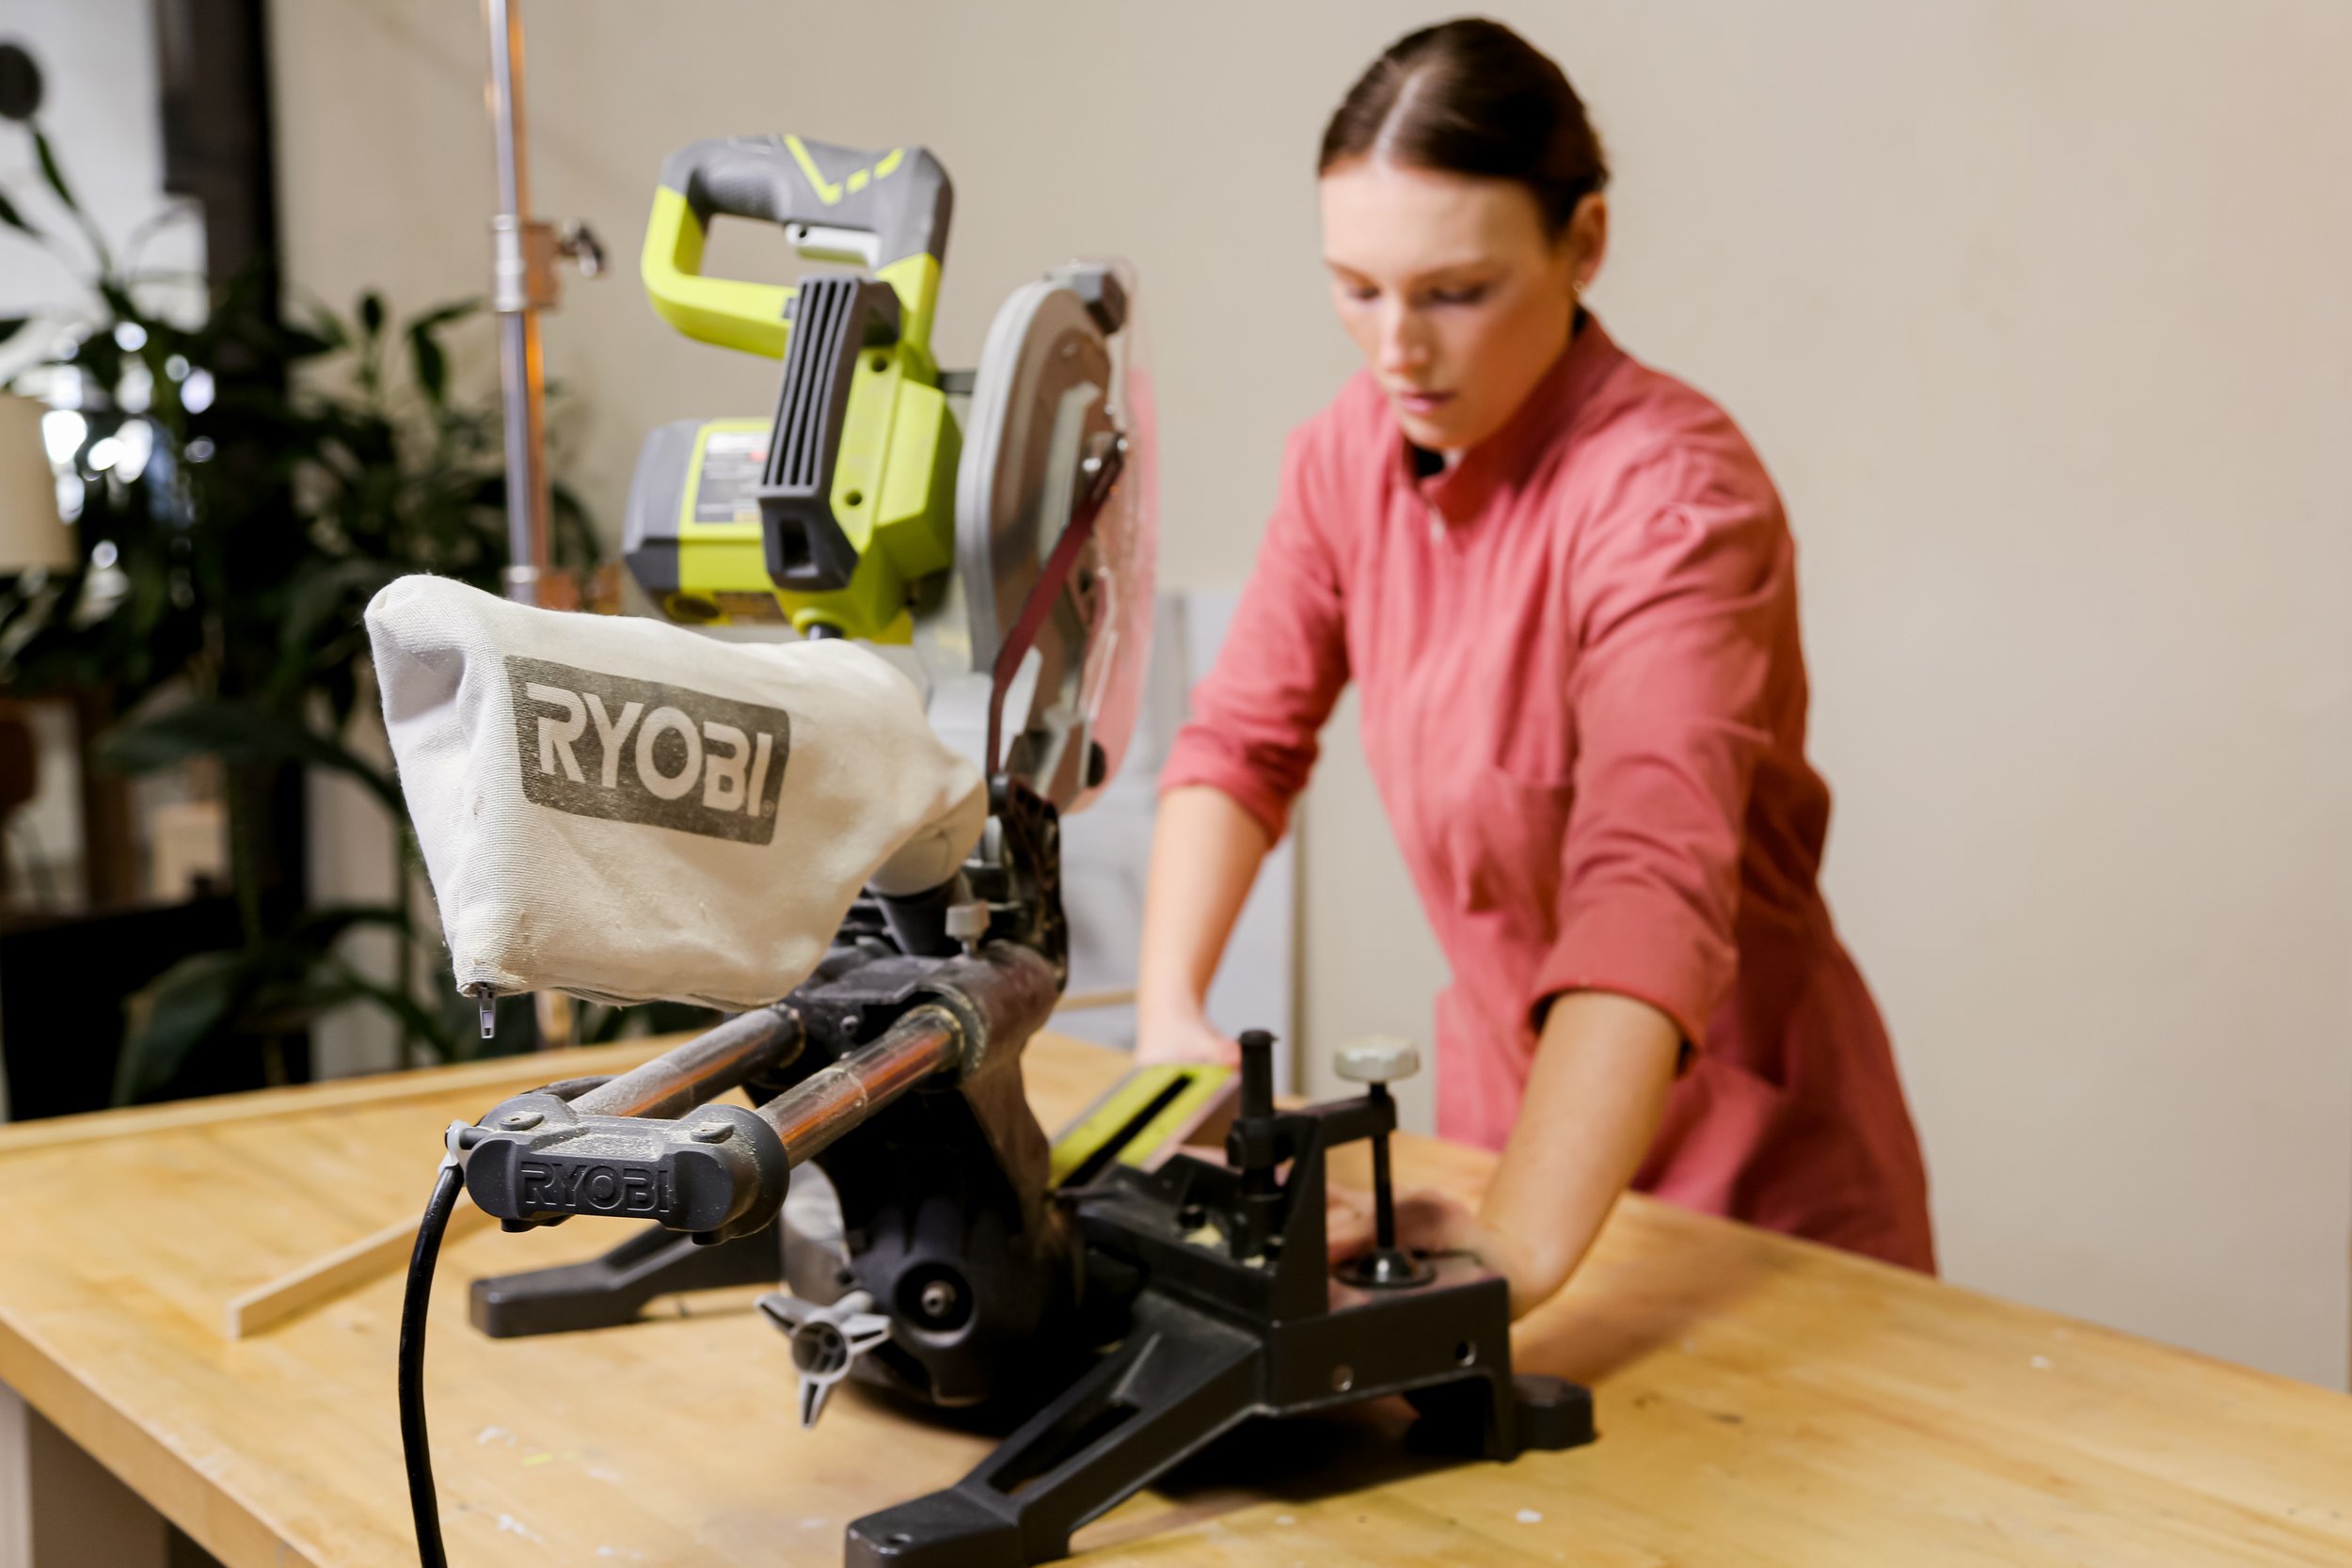
The canvas dimensions were measured out to be 24” x 48”.
I knew that I wanted a 1/4” gap all around for my frame, so I measured out the cuts I needed to fit my specific canvas. This will vary depending on your painting, but for reference, my final dimensions of the frame were 25¼” x 49¼”.

My cut list was as follows:
Poplar wood (for back pieces) - 90° cuts
25¼” (2 pieces)
46¼” (2 pieces)
Tambour (for edge pieces) - (45° cuts)
25¼” (2 pieces)
46¼” (2 pieces)
That being said, this is how I personally figured out my measurements so you can do the same to your canvas size!

Now to make my individual pieces of the frame, I used my poplar wood to create the laying frame that the canvas would be on top of, and the tambour wood was attached together to create the vertical pieces that will be sticking out giving the frame illusion.


Once I had both rectangles prepared, I wood glued them together and used clamps and tape to make sure they dried well!


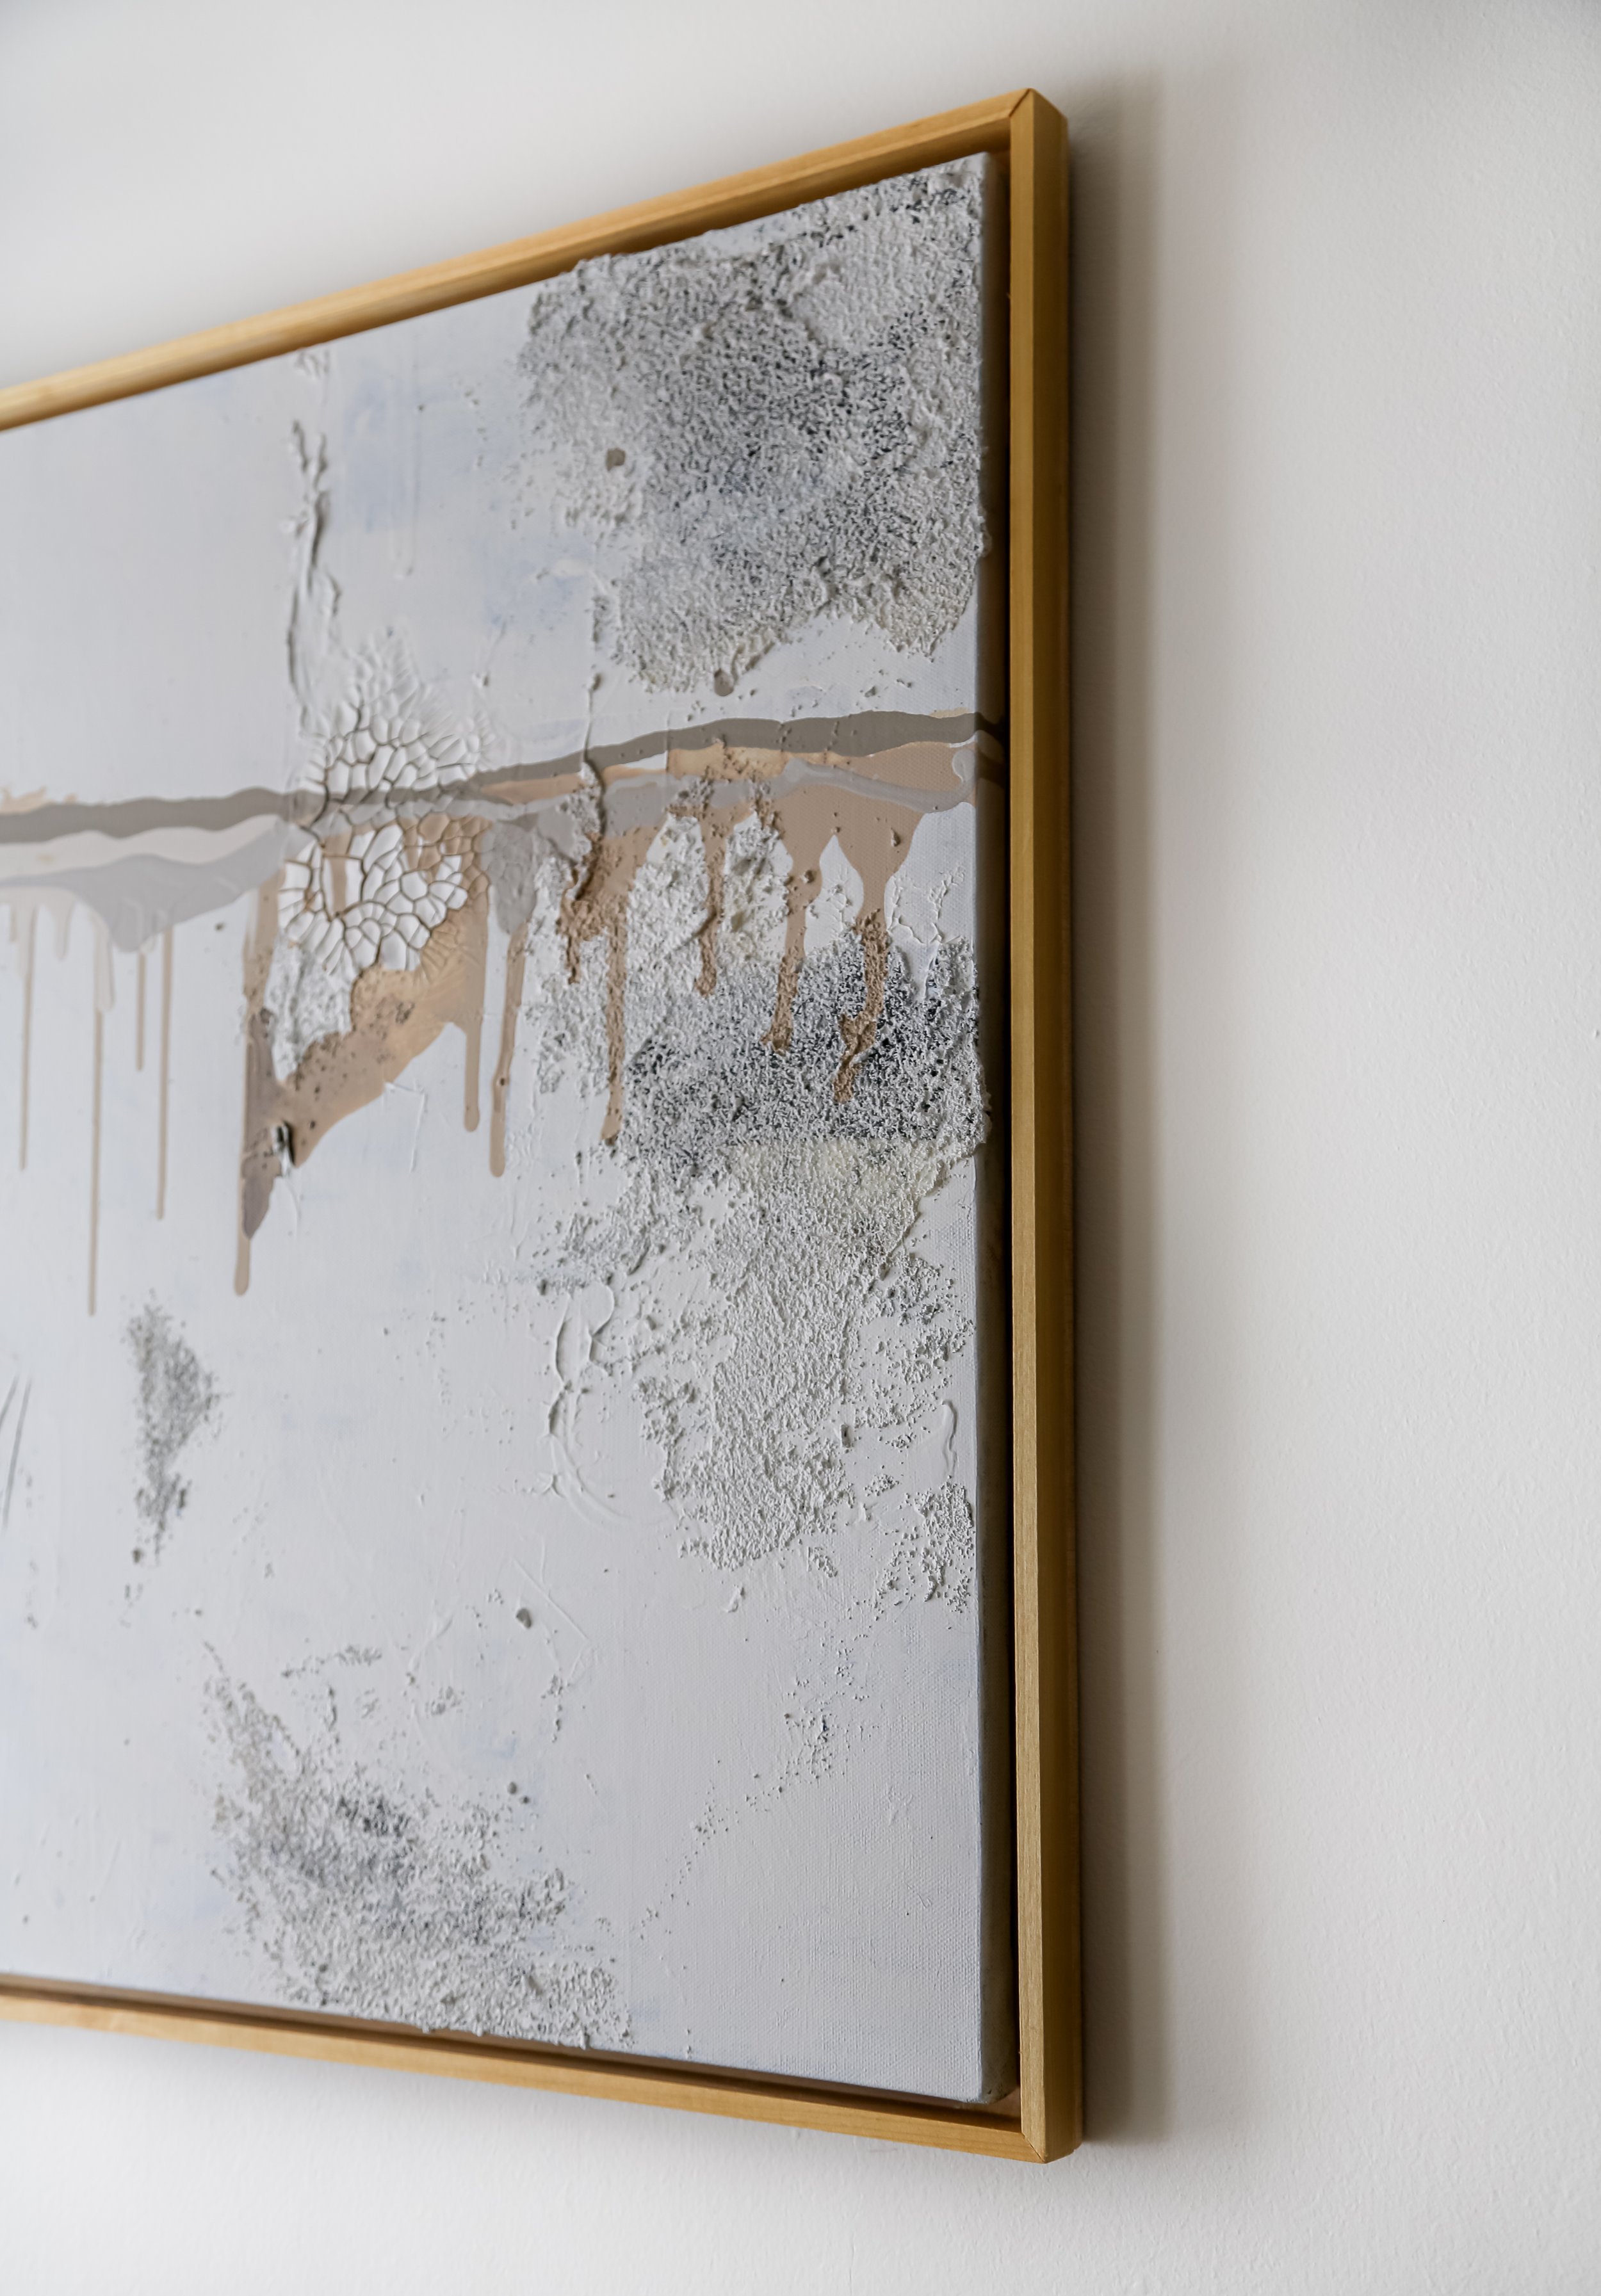
I gave it a coat of clear gloss to match the aesthetic I was going for and the frame is complete, now all I have to do is attach it to my canvas.


I laid my canvas face down and placed the frame on the back, and drilled in the frame, it was an easy upgrade but it really elevated the look!

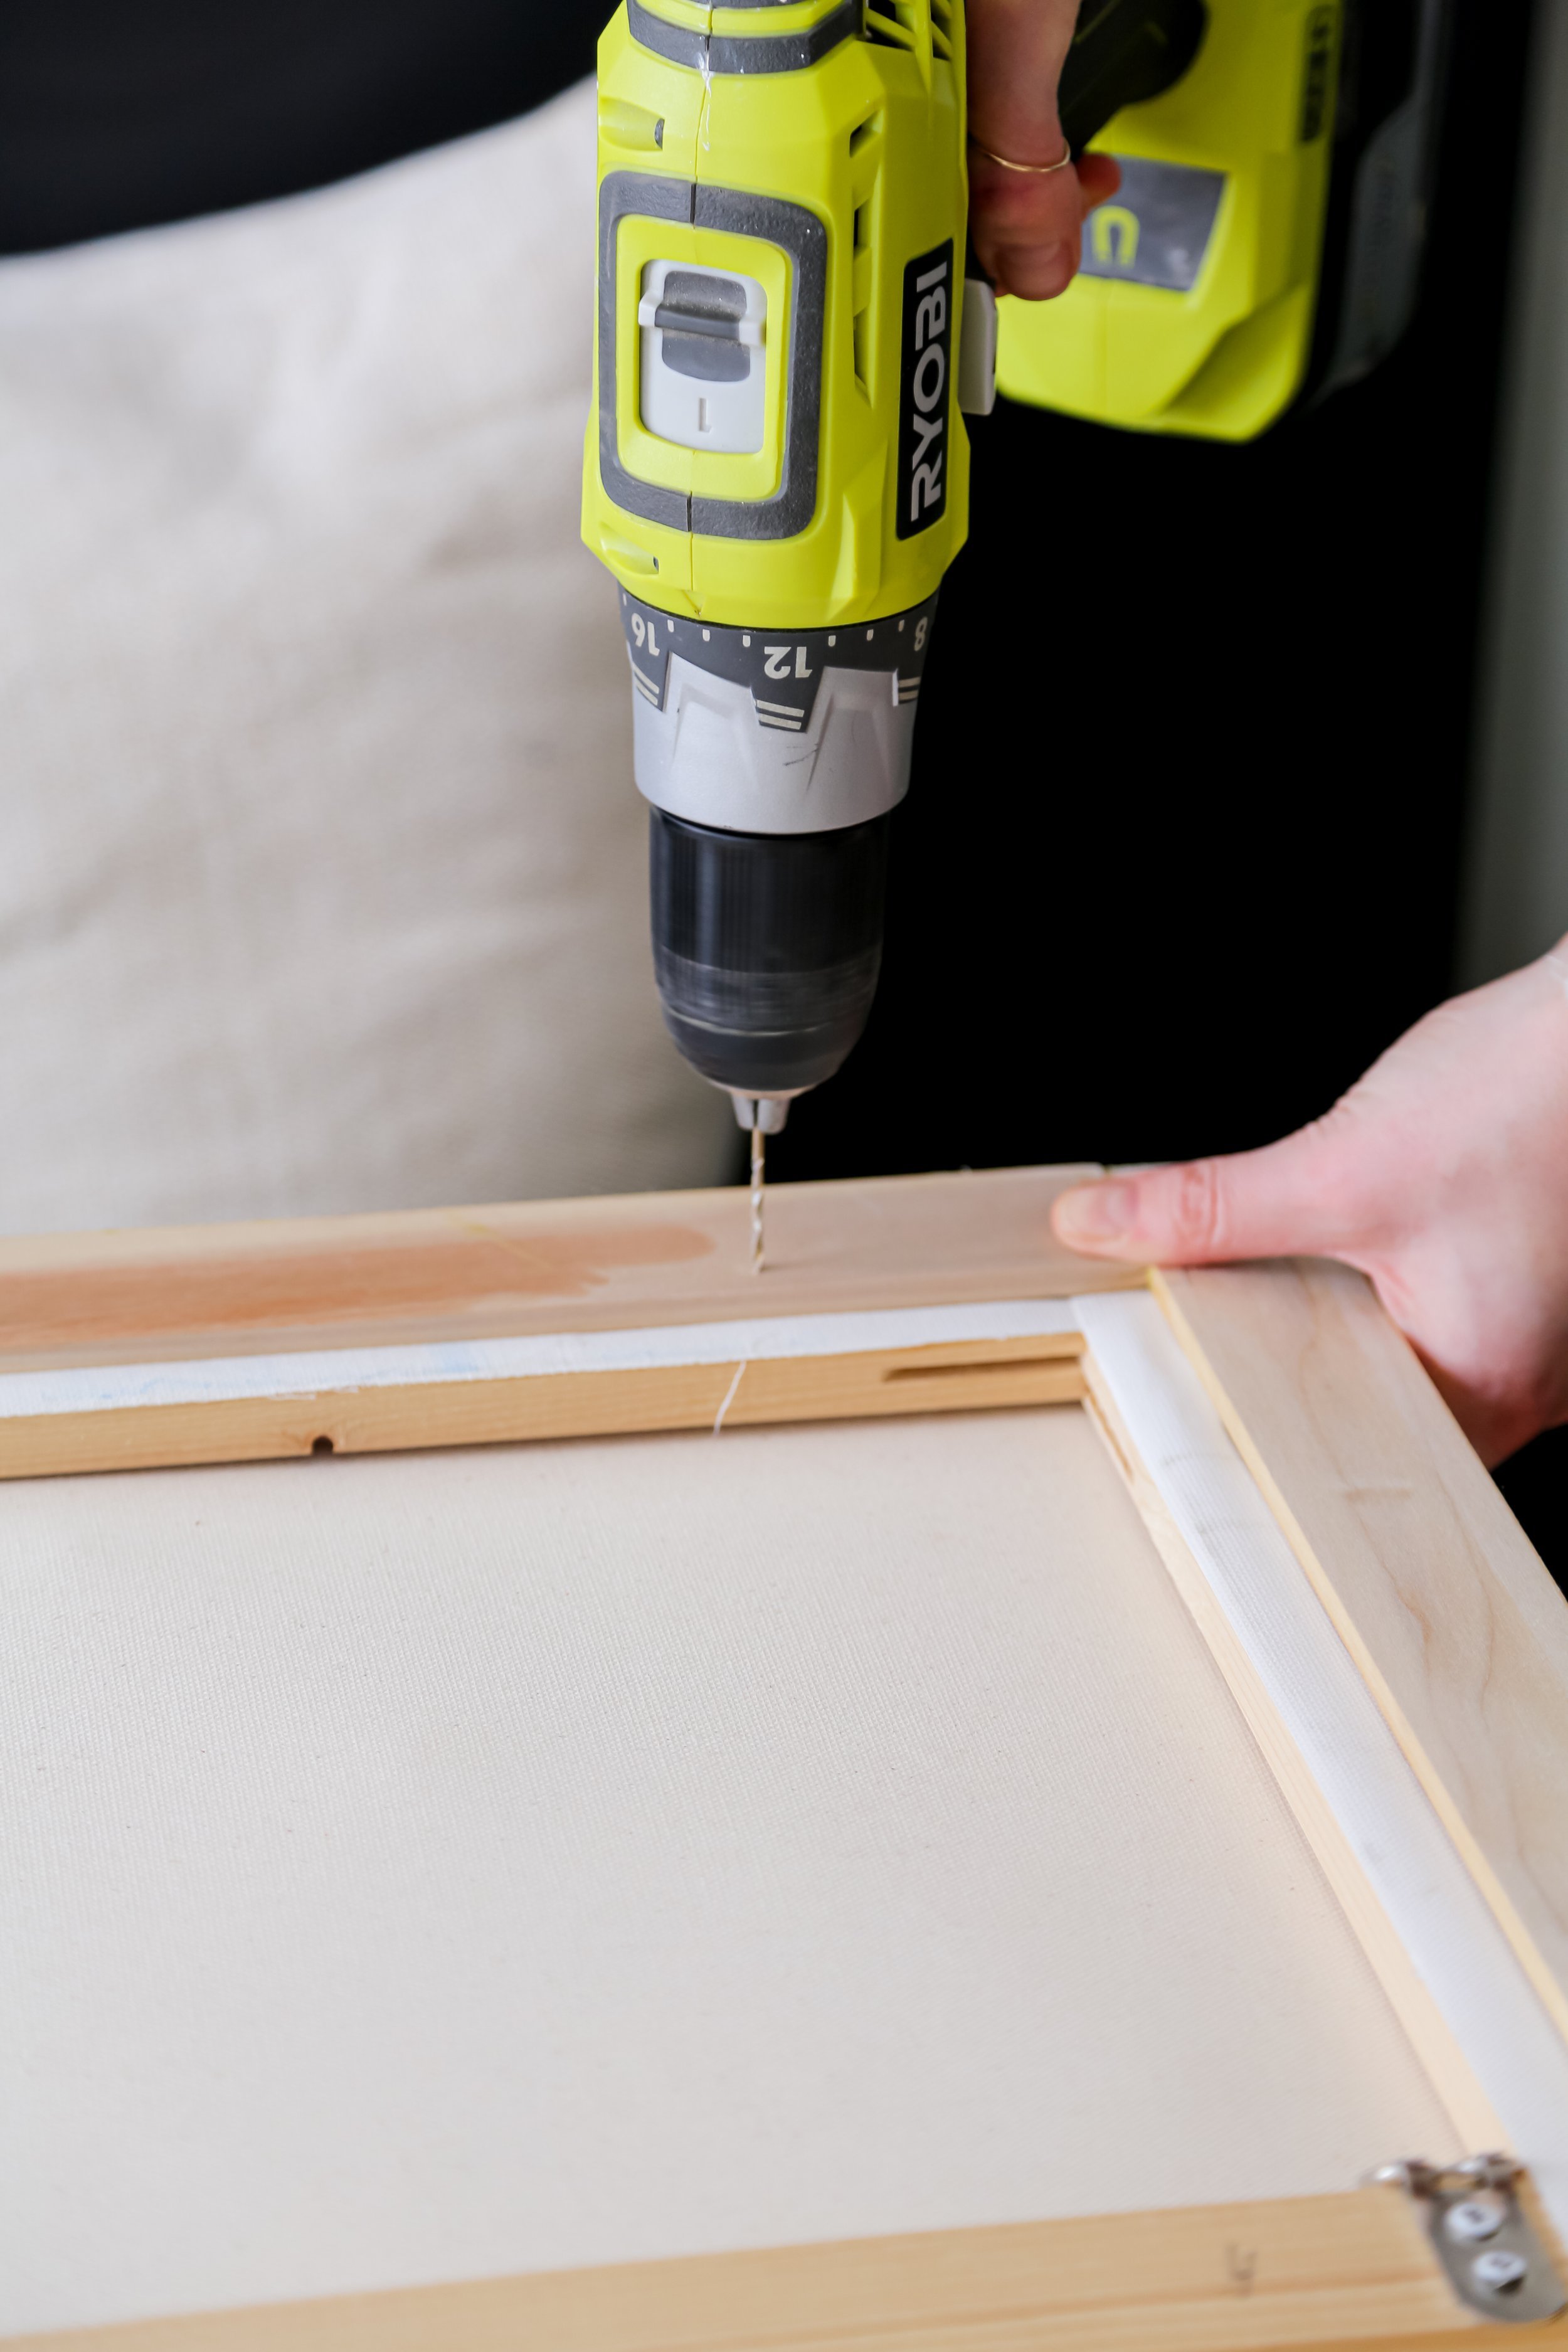
Hang it up and voila!

Final Results


To see the process from start to finish watch the video below!
Read Next


Donec id justo non metus auctor commodo ut quis enim. Mauris fringilla dolor vel condimentum imperdiet.