Shoe Storage Solutions
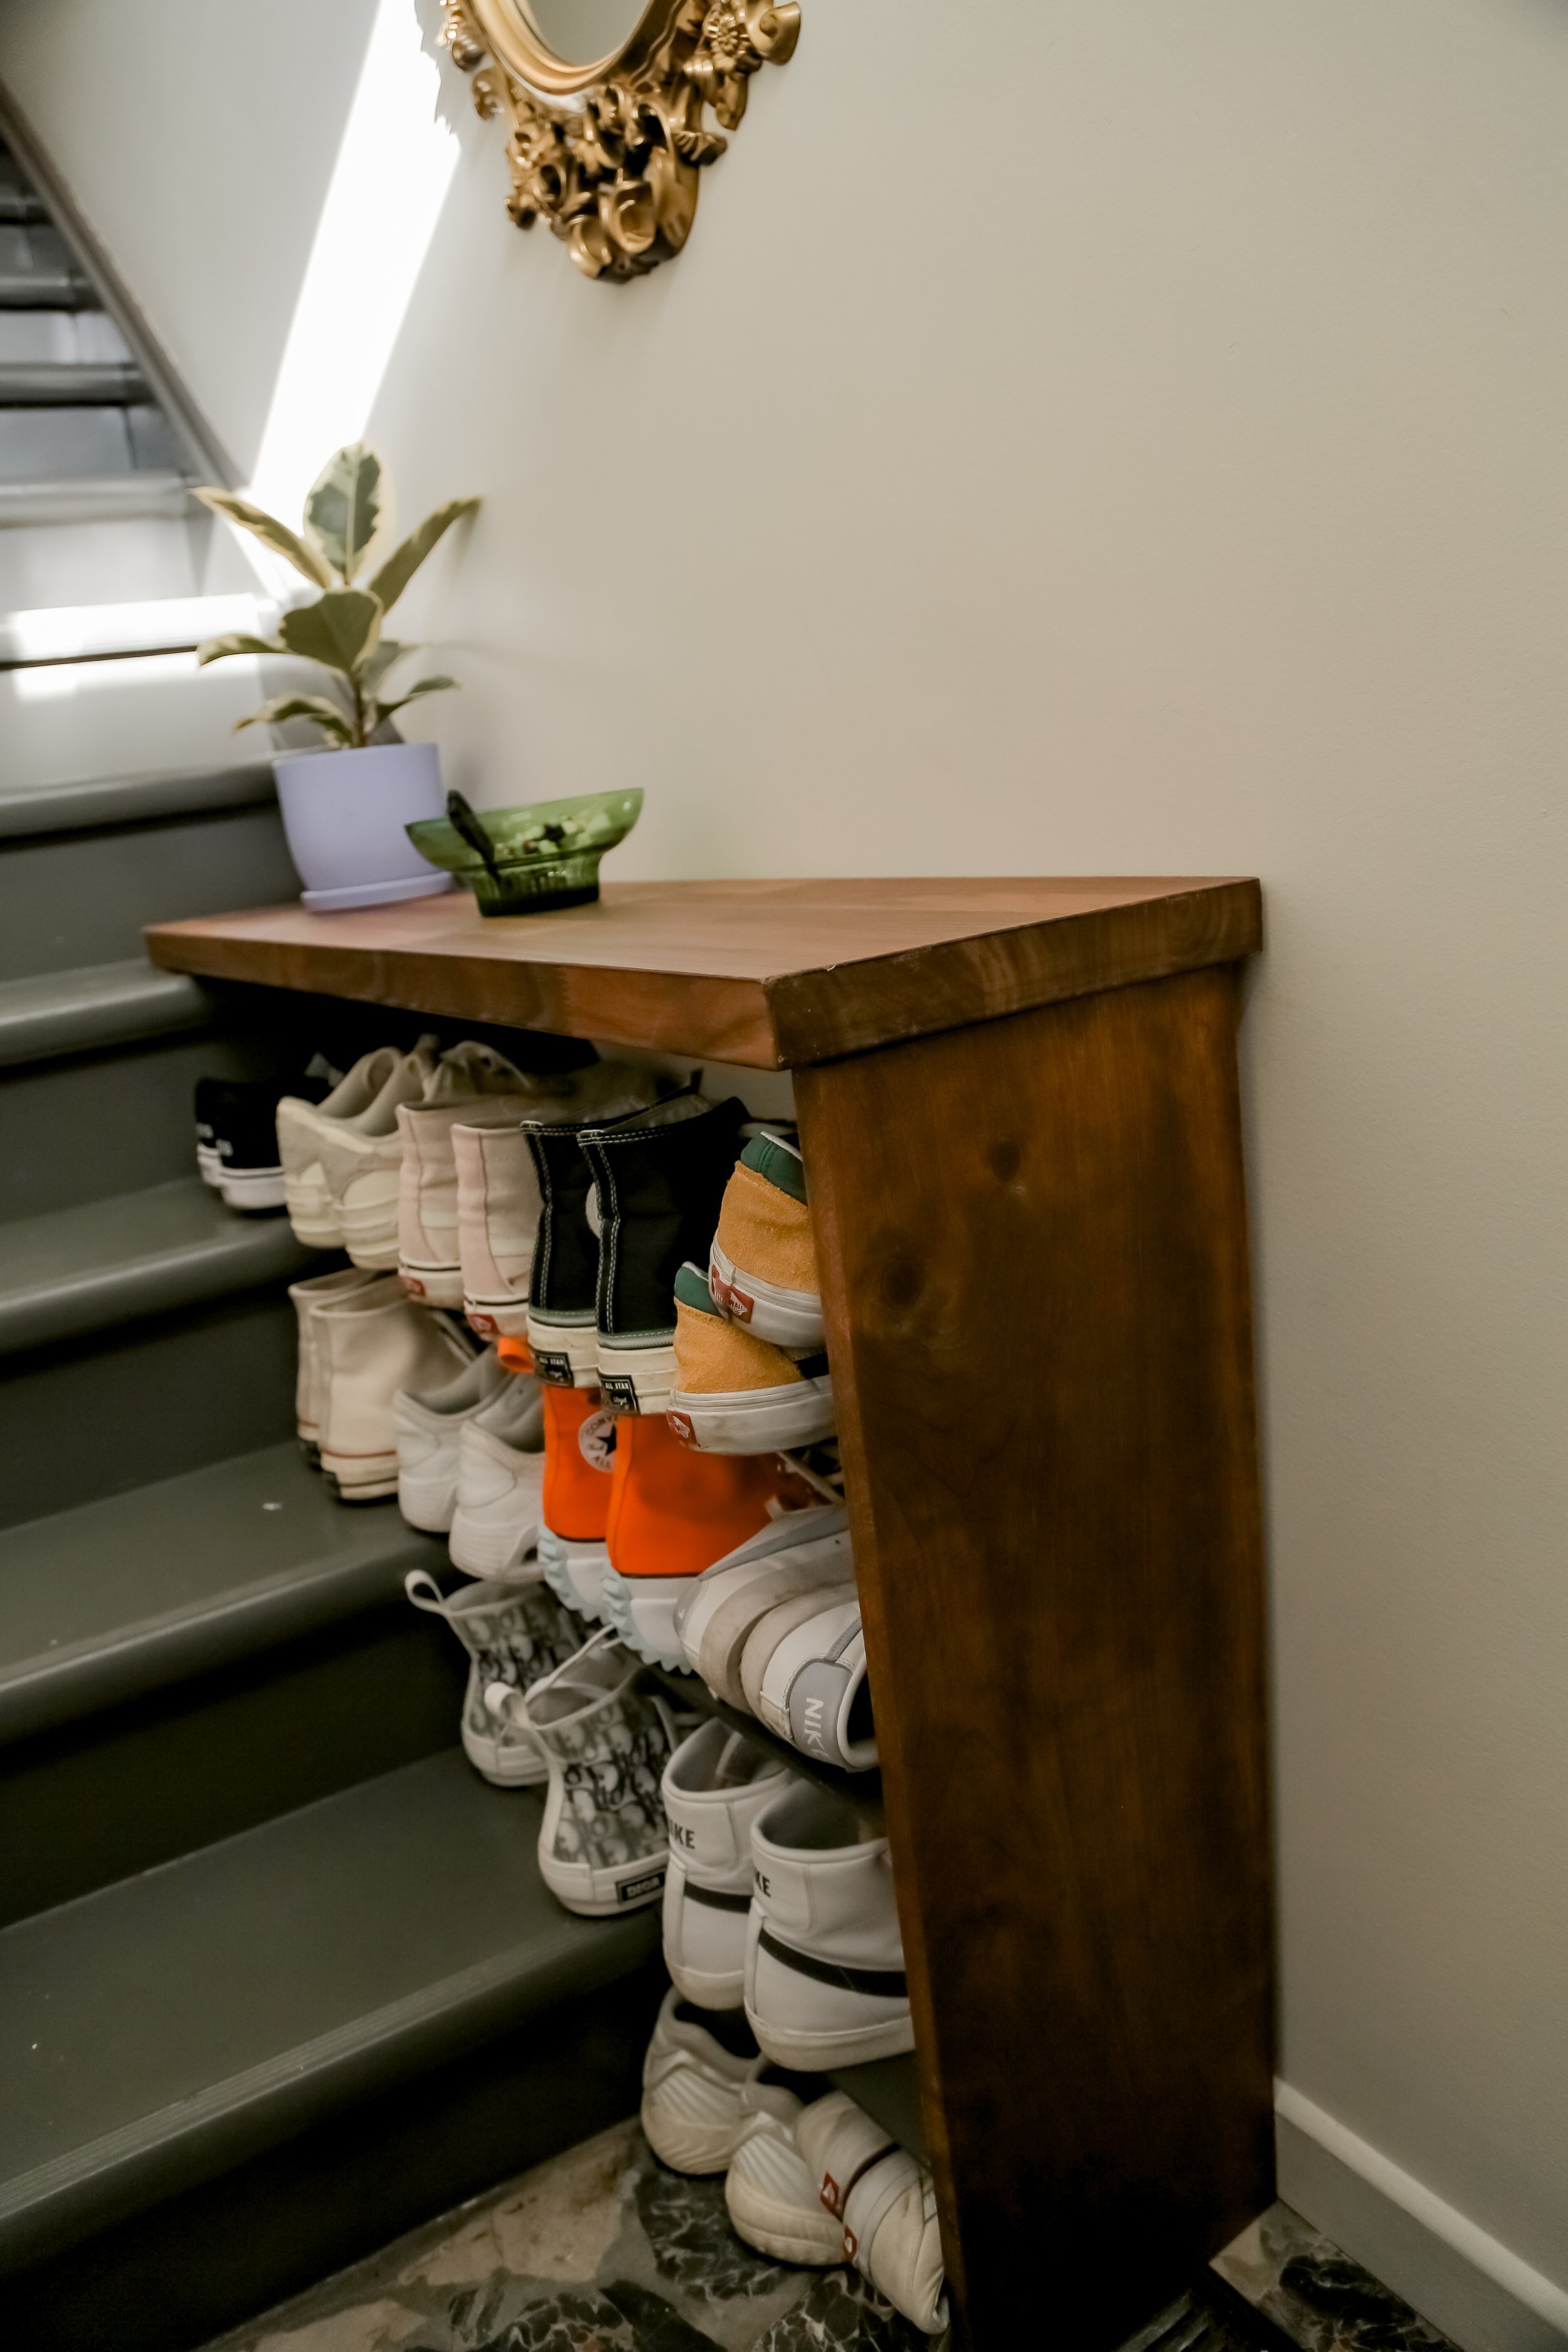
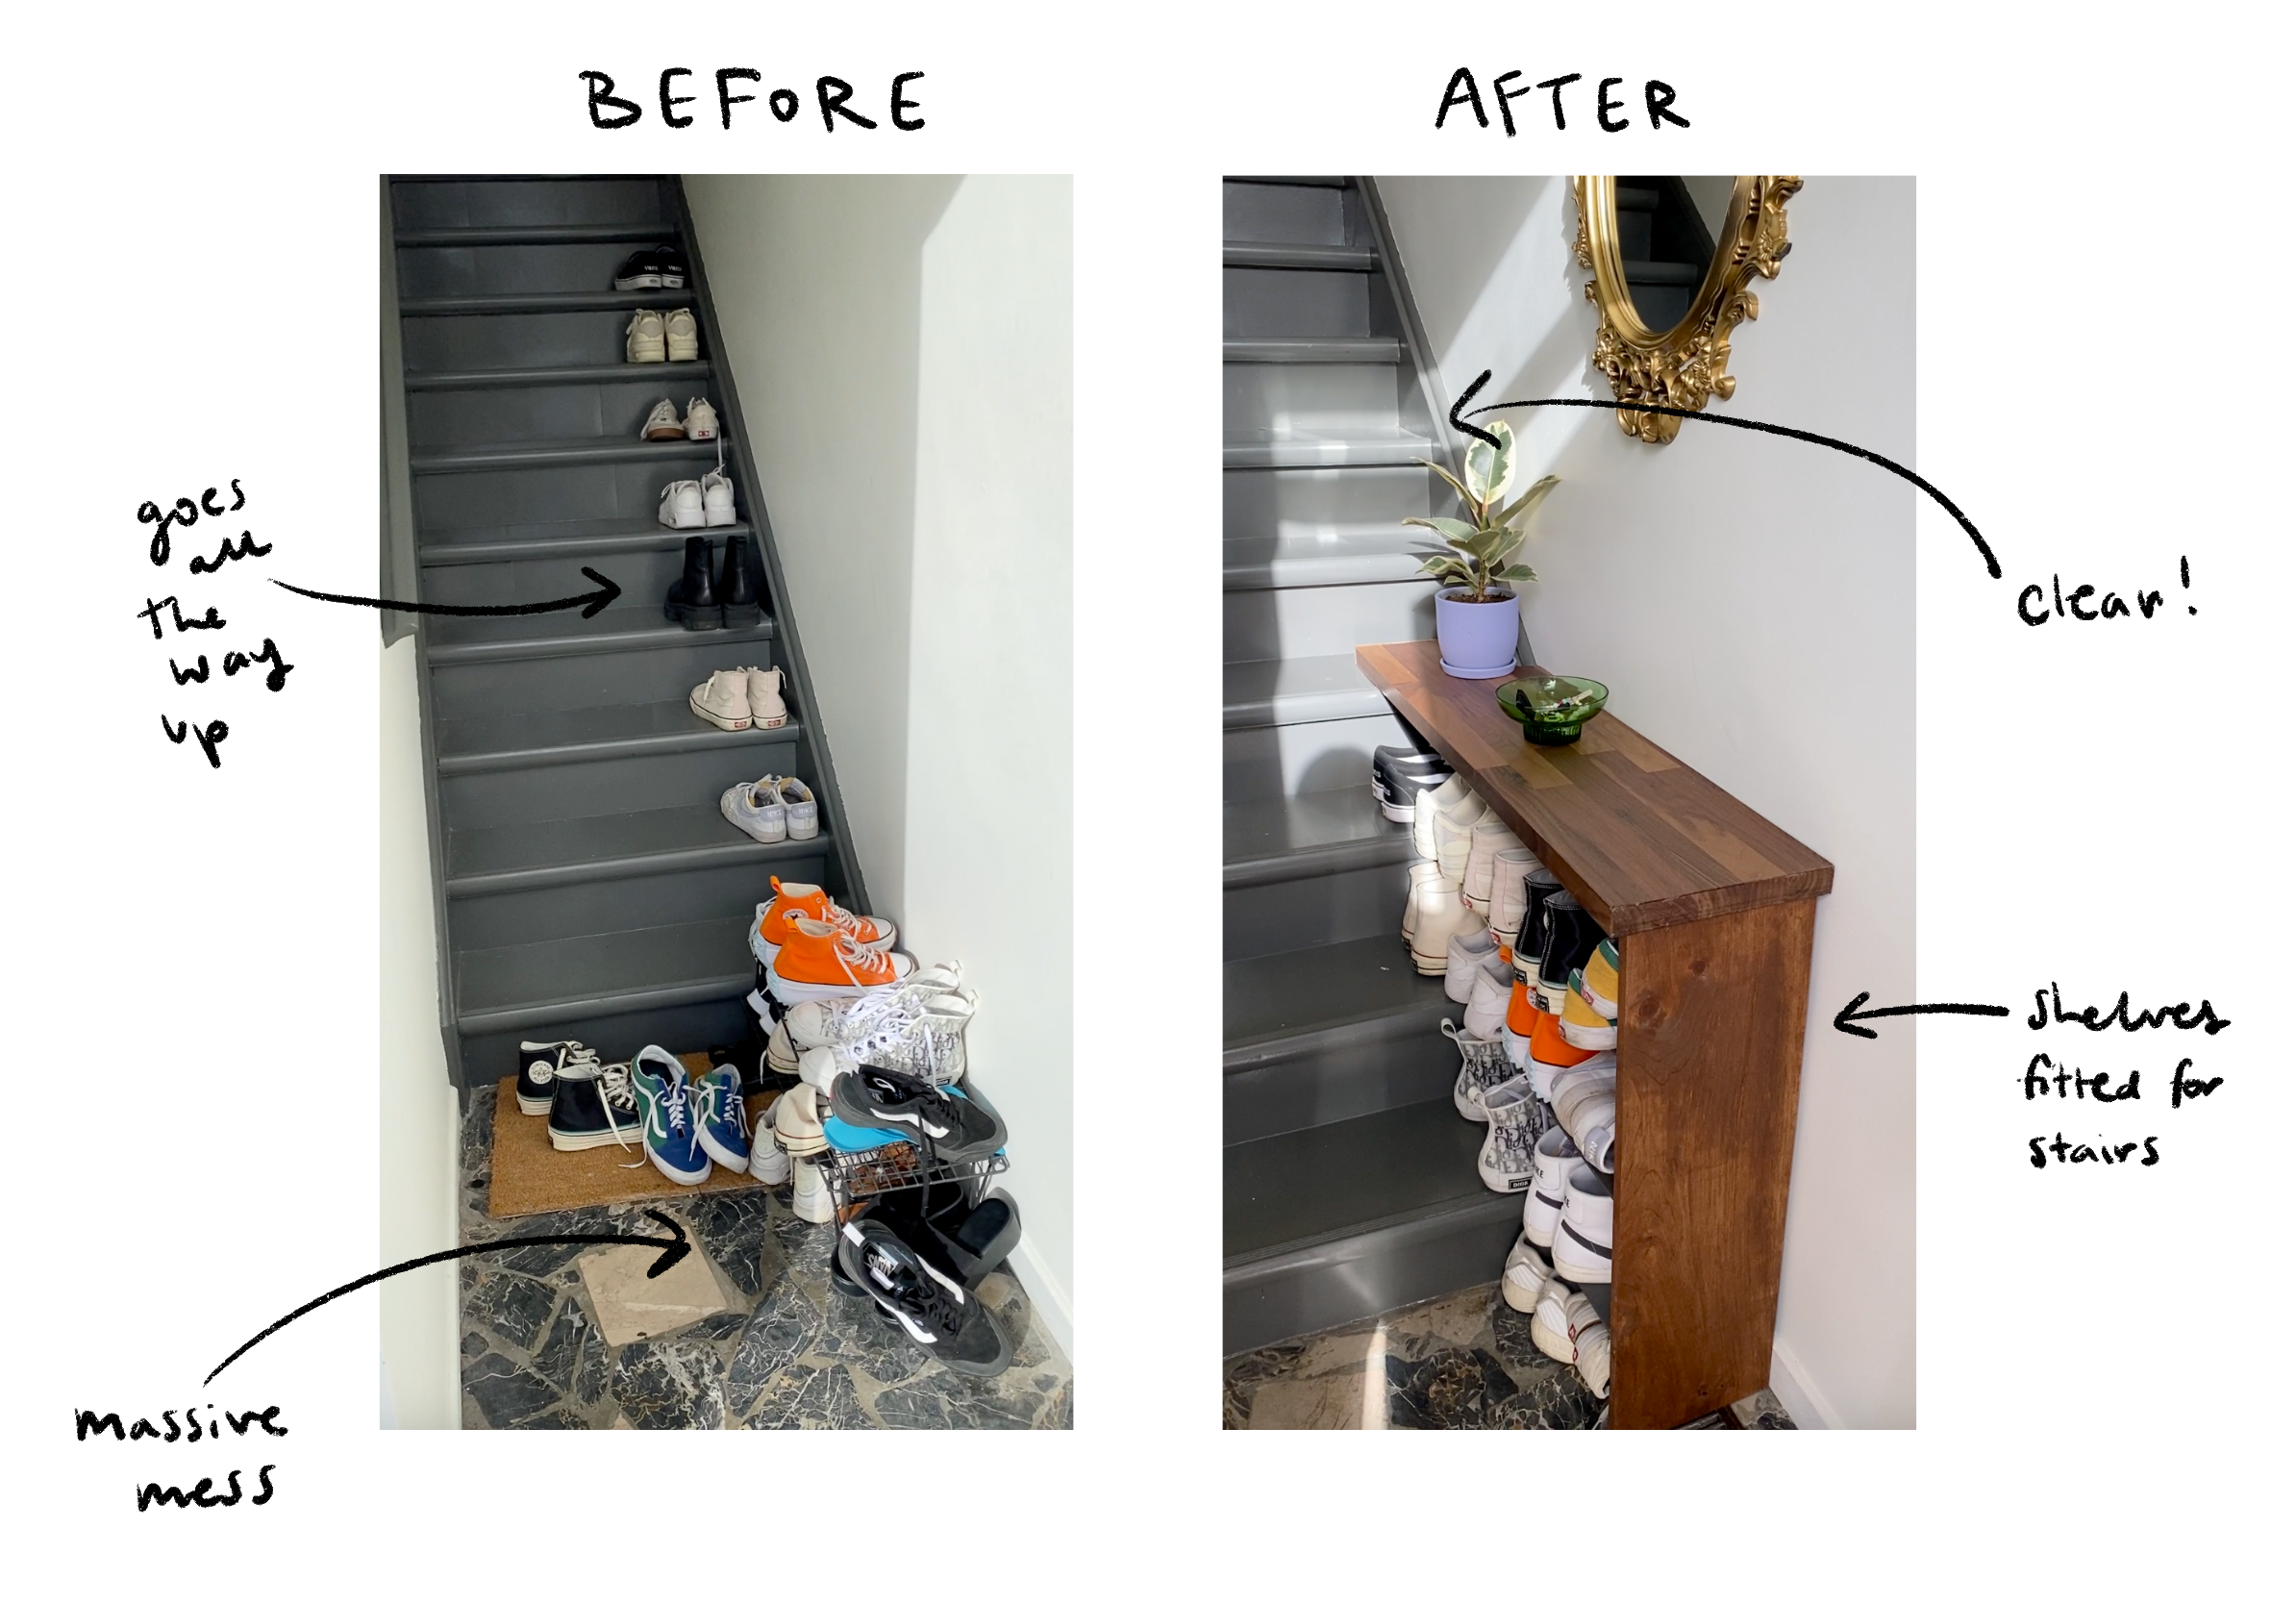
When renting, storage space ALWAYS seems to be a challenge - especially when you live with someone! My partner and I share a huge love for shoes, which means we have ended up collecting quite a few. However, leaving them in our entryway makes it impossible to keep organized and always ends up blocking the door. Normally a solution for this is a classic thin shelf to put near your front door, but in my case - I have a thin staircase that doesn’t have enough space for one! This entry staircase set up is one that a lot of people have in their space, so I thought of a solution for this problem that changed the game for me!
Materials
4x8 hard board (shelves)
1x2 pine (for brackets)
butcher block OR any 2” thick wood (desk top piece)
1/2” thick plank of wood - I’m using poplar OR pine (side plank piece)
1 1/2” screws (8)
2 1/2” screws (2)
Sand Paper
Primer & Paint (for shelves)
Stain (for side plank)
Steps
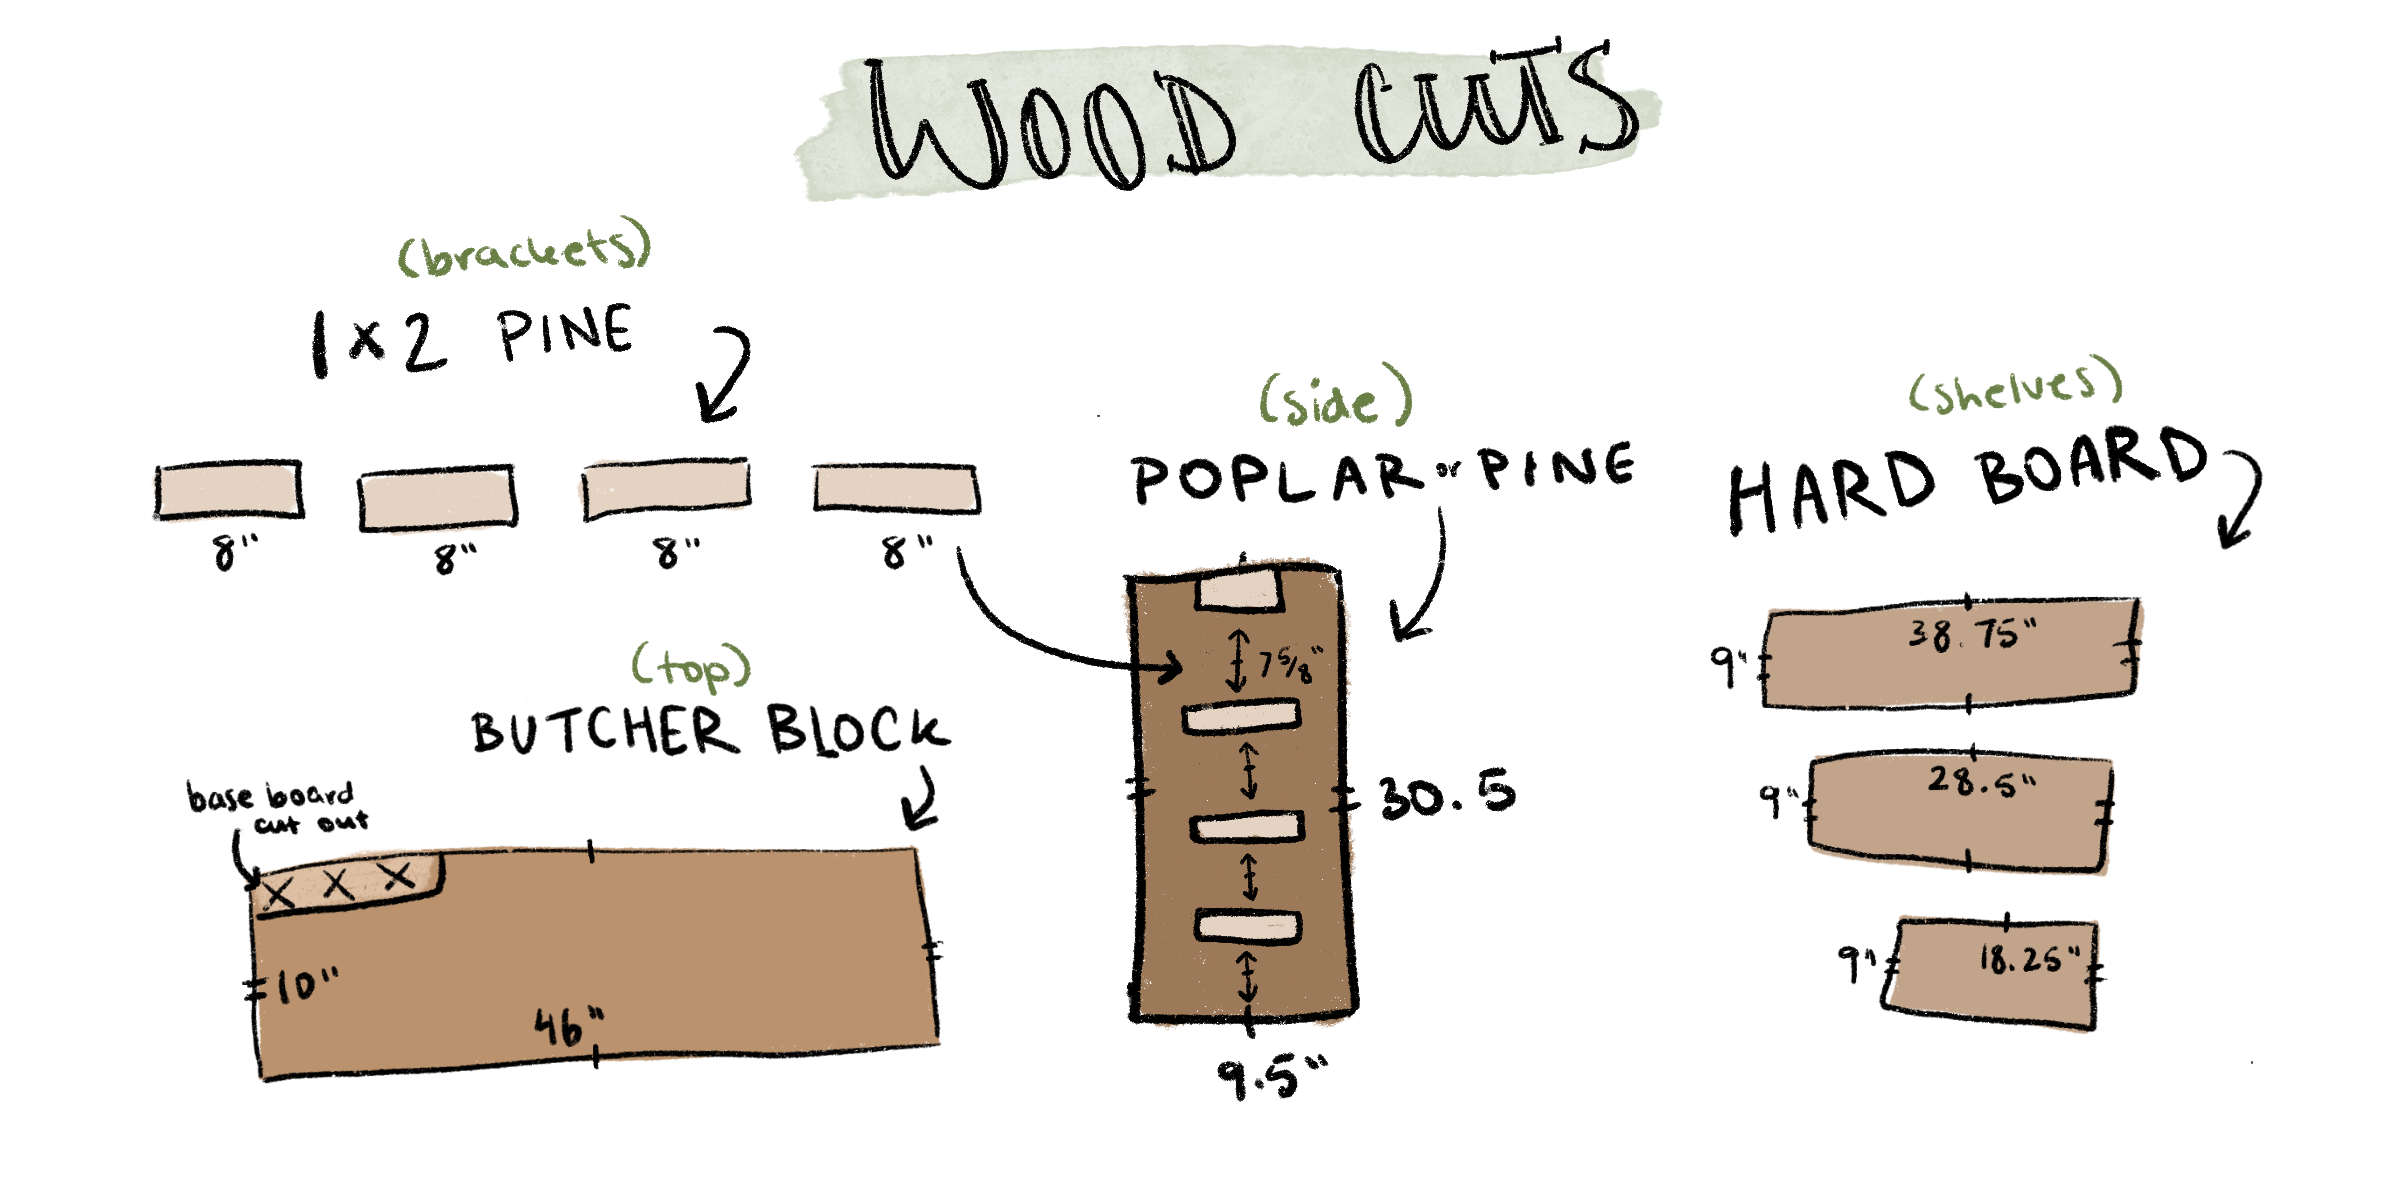
*these measurements will need to be adjusted depending on your stair measurements (for reference, each of my stairs is 7 ⅝” tall)
Step 1
Make all your cuts (shown below) and sand each wood piece down so they are smooth to the touch. Prime and paint all the hard board pieces to your liking. I chose a grey colour that matched my stairs! Next, I stained the raw wood to the colour of my choice, which was one that matched the butcher block I already had.
Step 2
Drill two pilot holes in 3 of the bracket pieces and 4 into the last one (2 going through the wood on the 2” side and 2 going through the wood on the 1” side). Next, drill the bracket with the 4 pilot holes to the very top of your side plank with the 2” side flat to your board (the other two holes will be used to connect your side piece to the table top).
Step 3

Find the height for each bracket by laying your shelf across the step and taping the bracket on the side plank of wood, use a level to help make sure each shelf is straight. Repeat for each shelf.
Step 4
Using screws and the pilot holes you made earlier, drill each bracket to the side plank of wood. Rest one side of your top piece on the step and connect the top piece to the side plank as well using the pilot holes you made in the perpendicular direction of the top bracket. (If you are confused, check out this assembly diagram!)
Step 5
Finally, slide in each shelf, resting one side on the stairs and one side on the bracket and you are done! Easy and super cute for all your shelf storage needs!
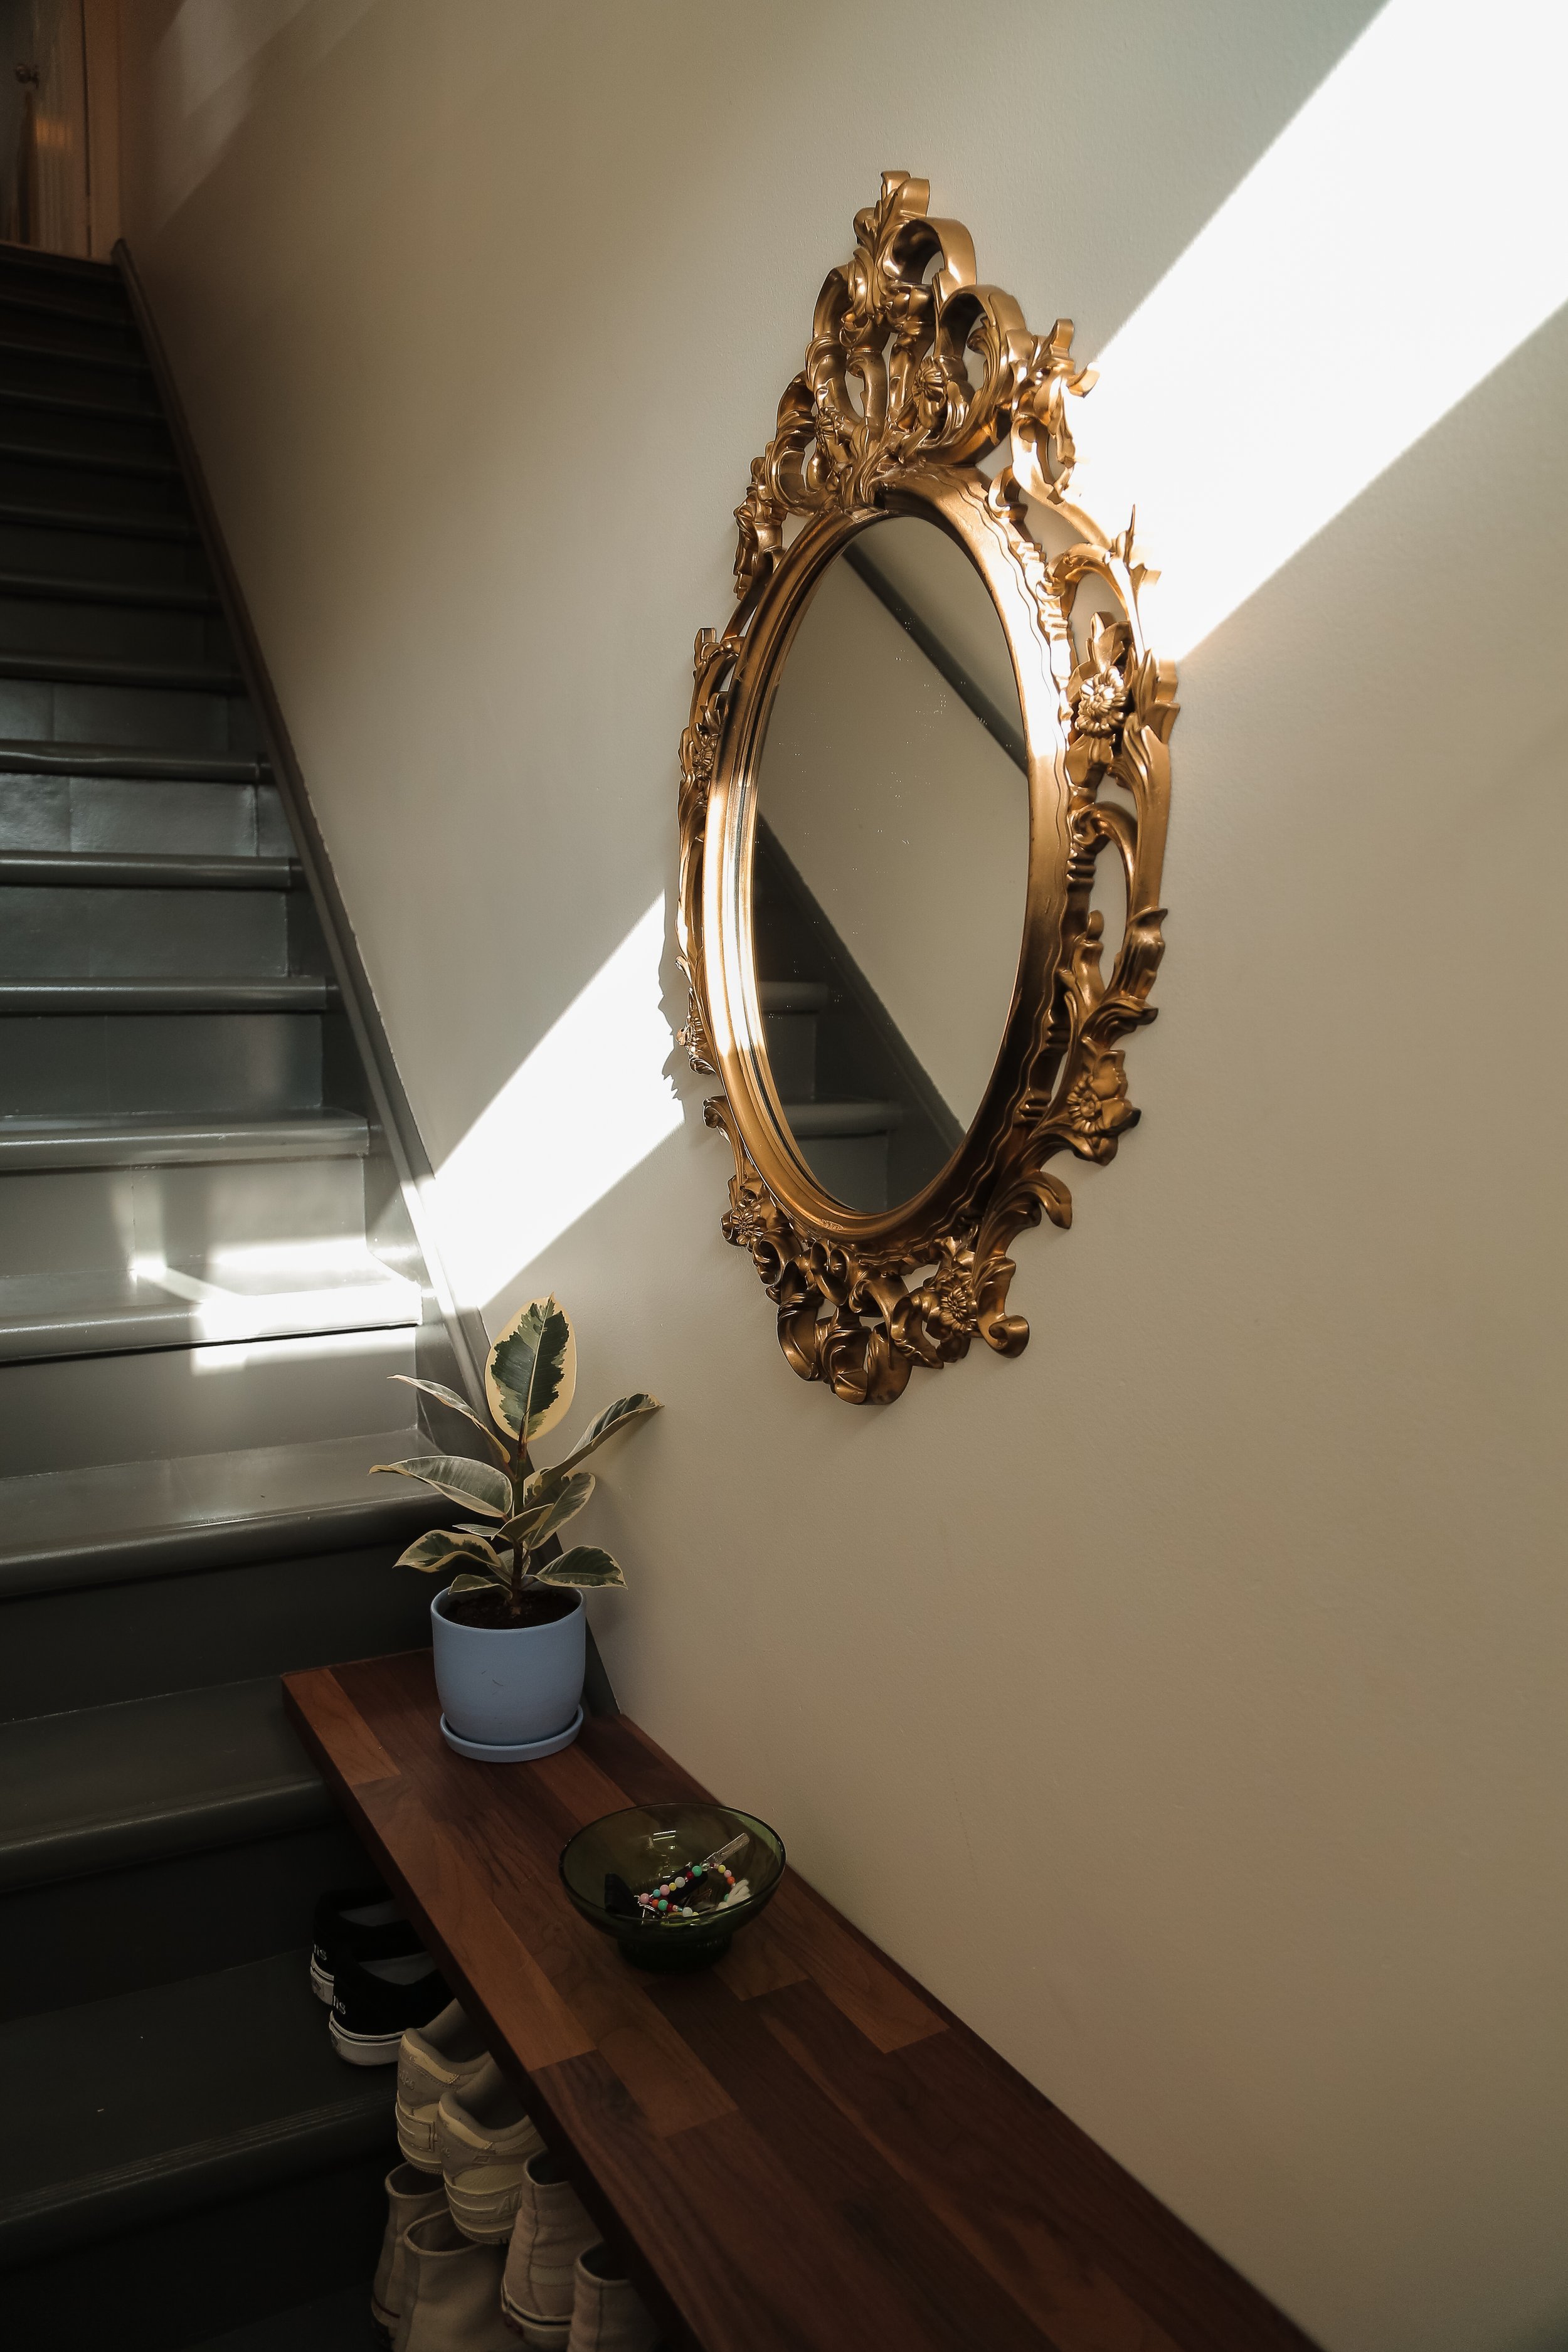
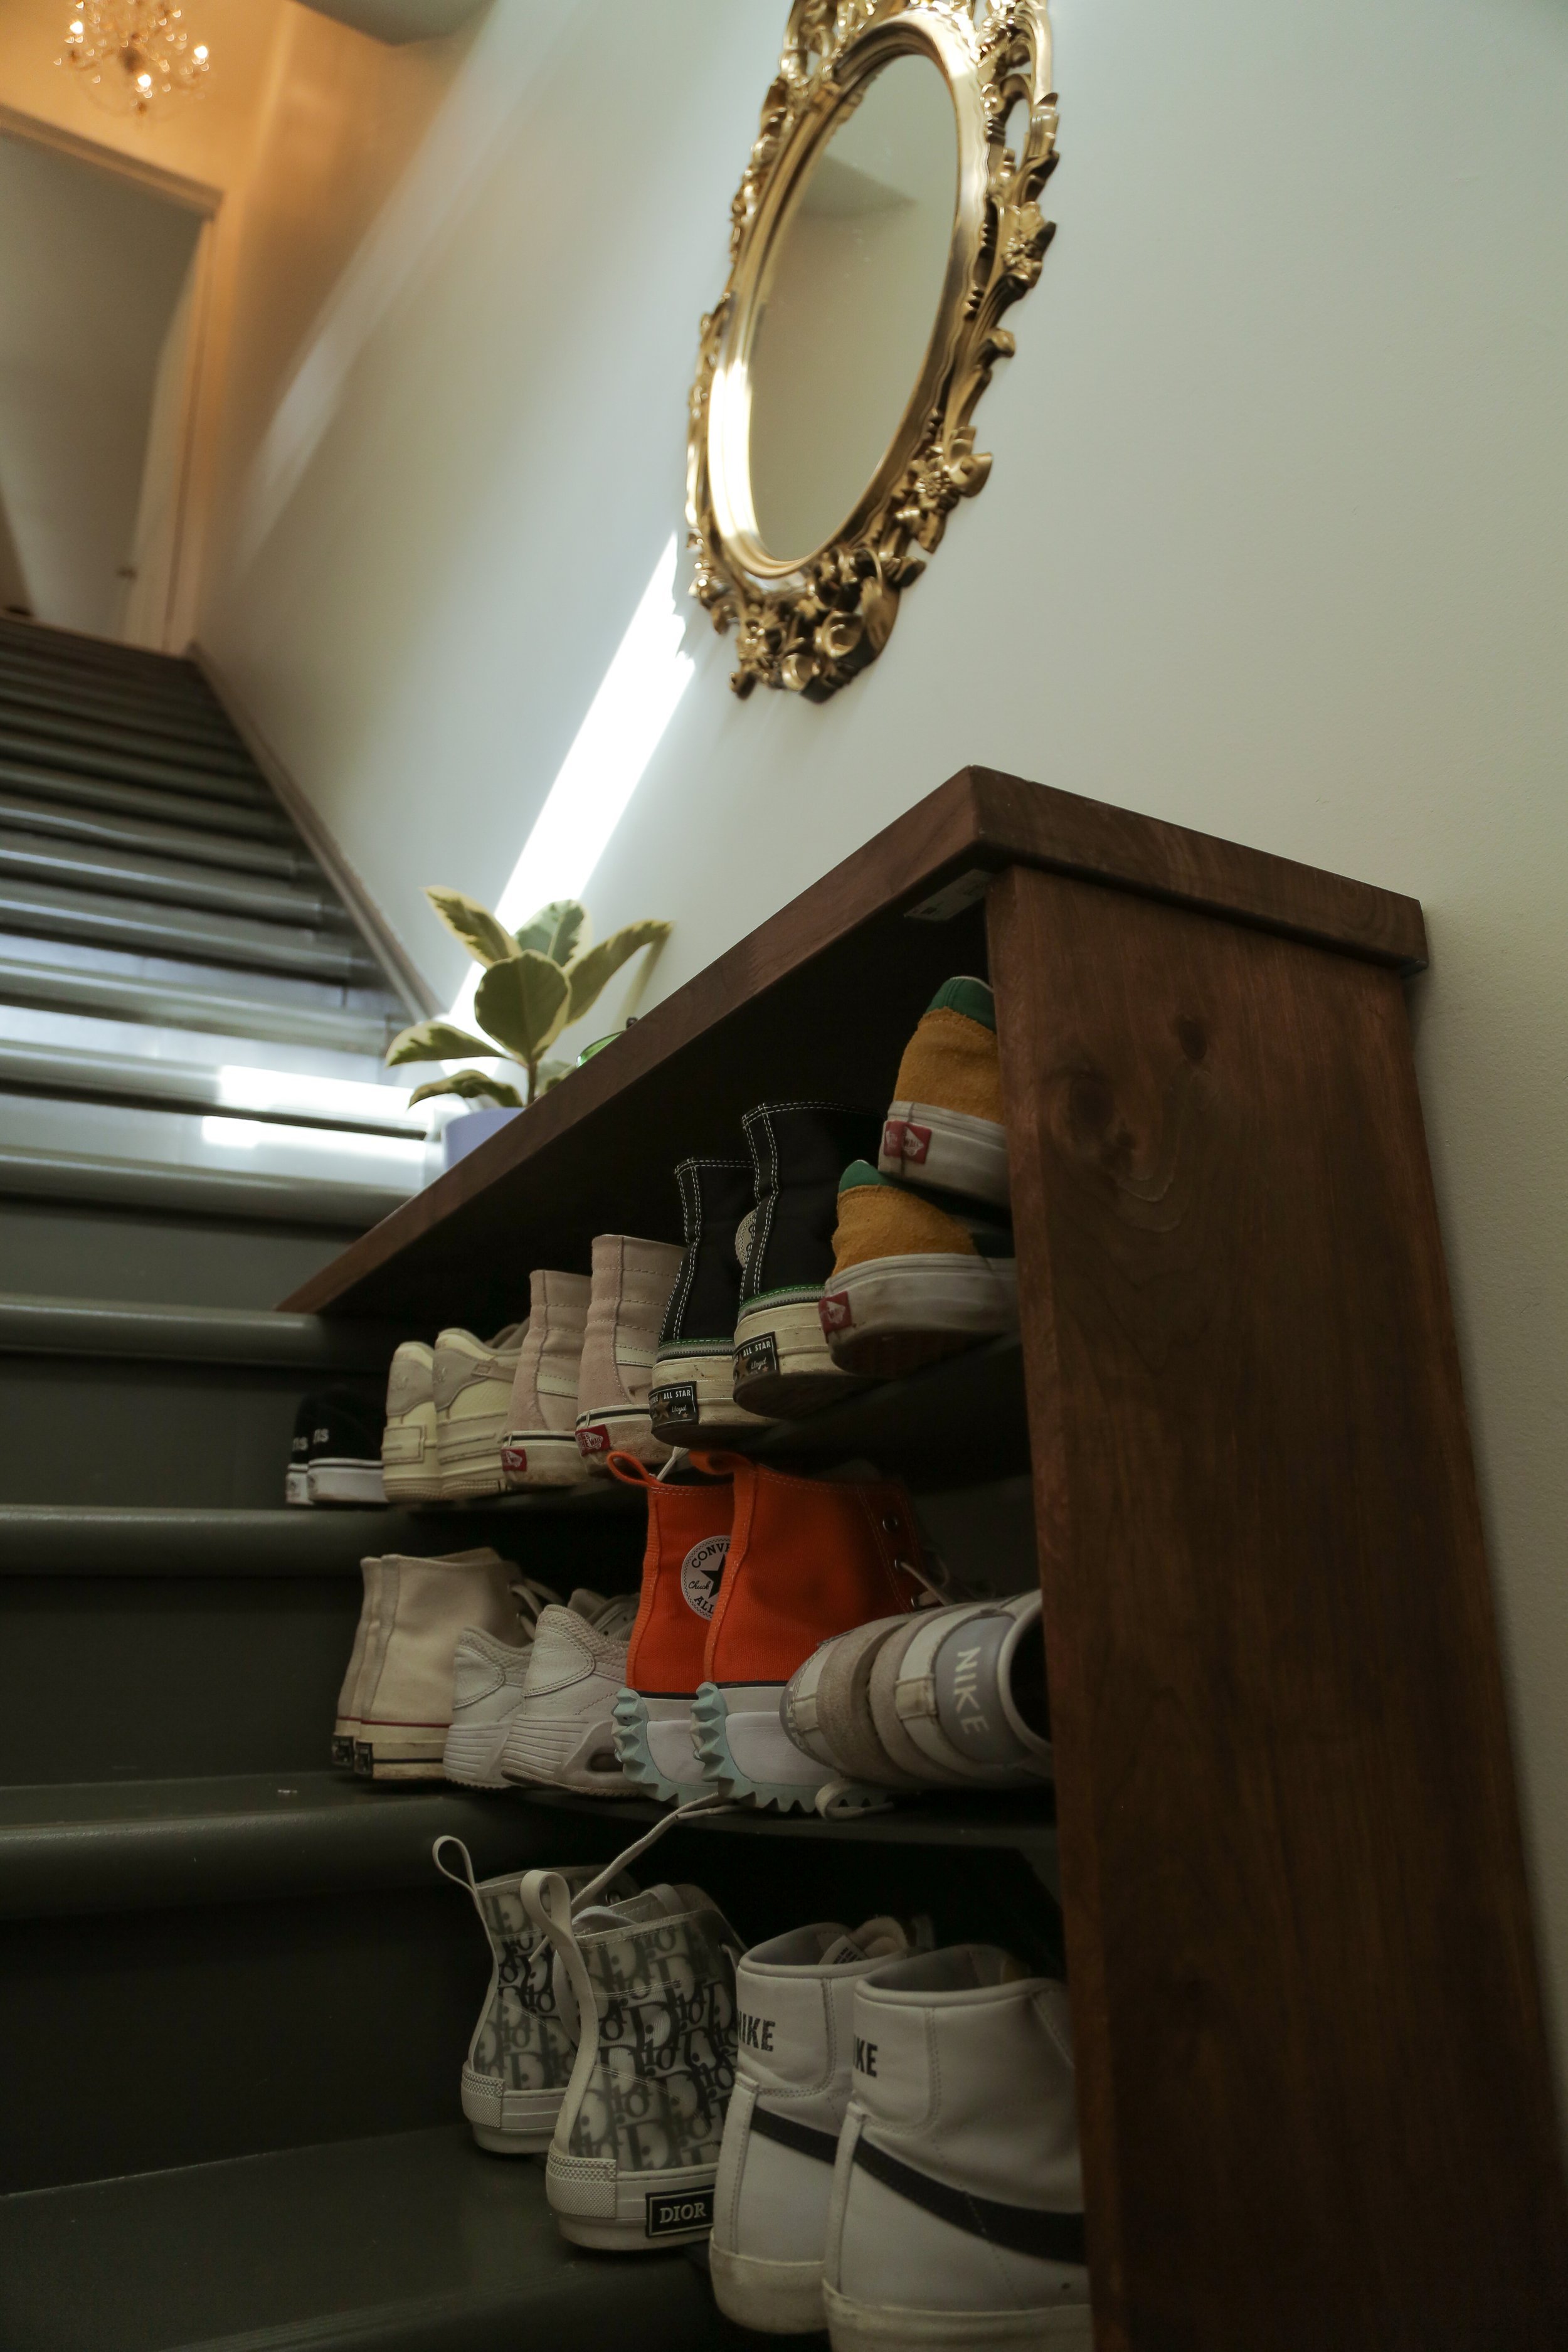
Final Results!