IKEA Pet Upcycles
We know you guys love pet diys. We also know you guys love IKEA upcycles. Why not have both?! Today, we are going to be making some DIYs for some of our fave pets out of some dope IKEA finds!
CAT LAWN CHAIR
What you’ll need…
SVENSHULT Shelf
Fabric of choice
Fabric measuring tape
Scissors
Pillow stuffing
Sewing machine
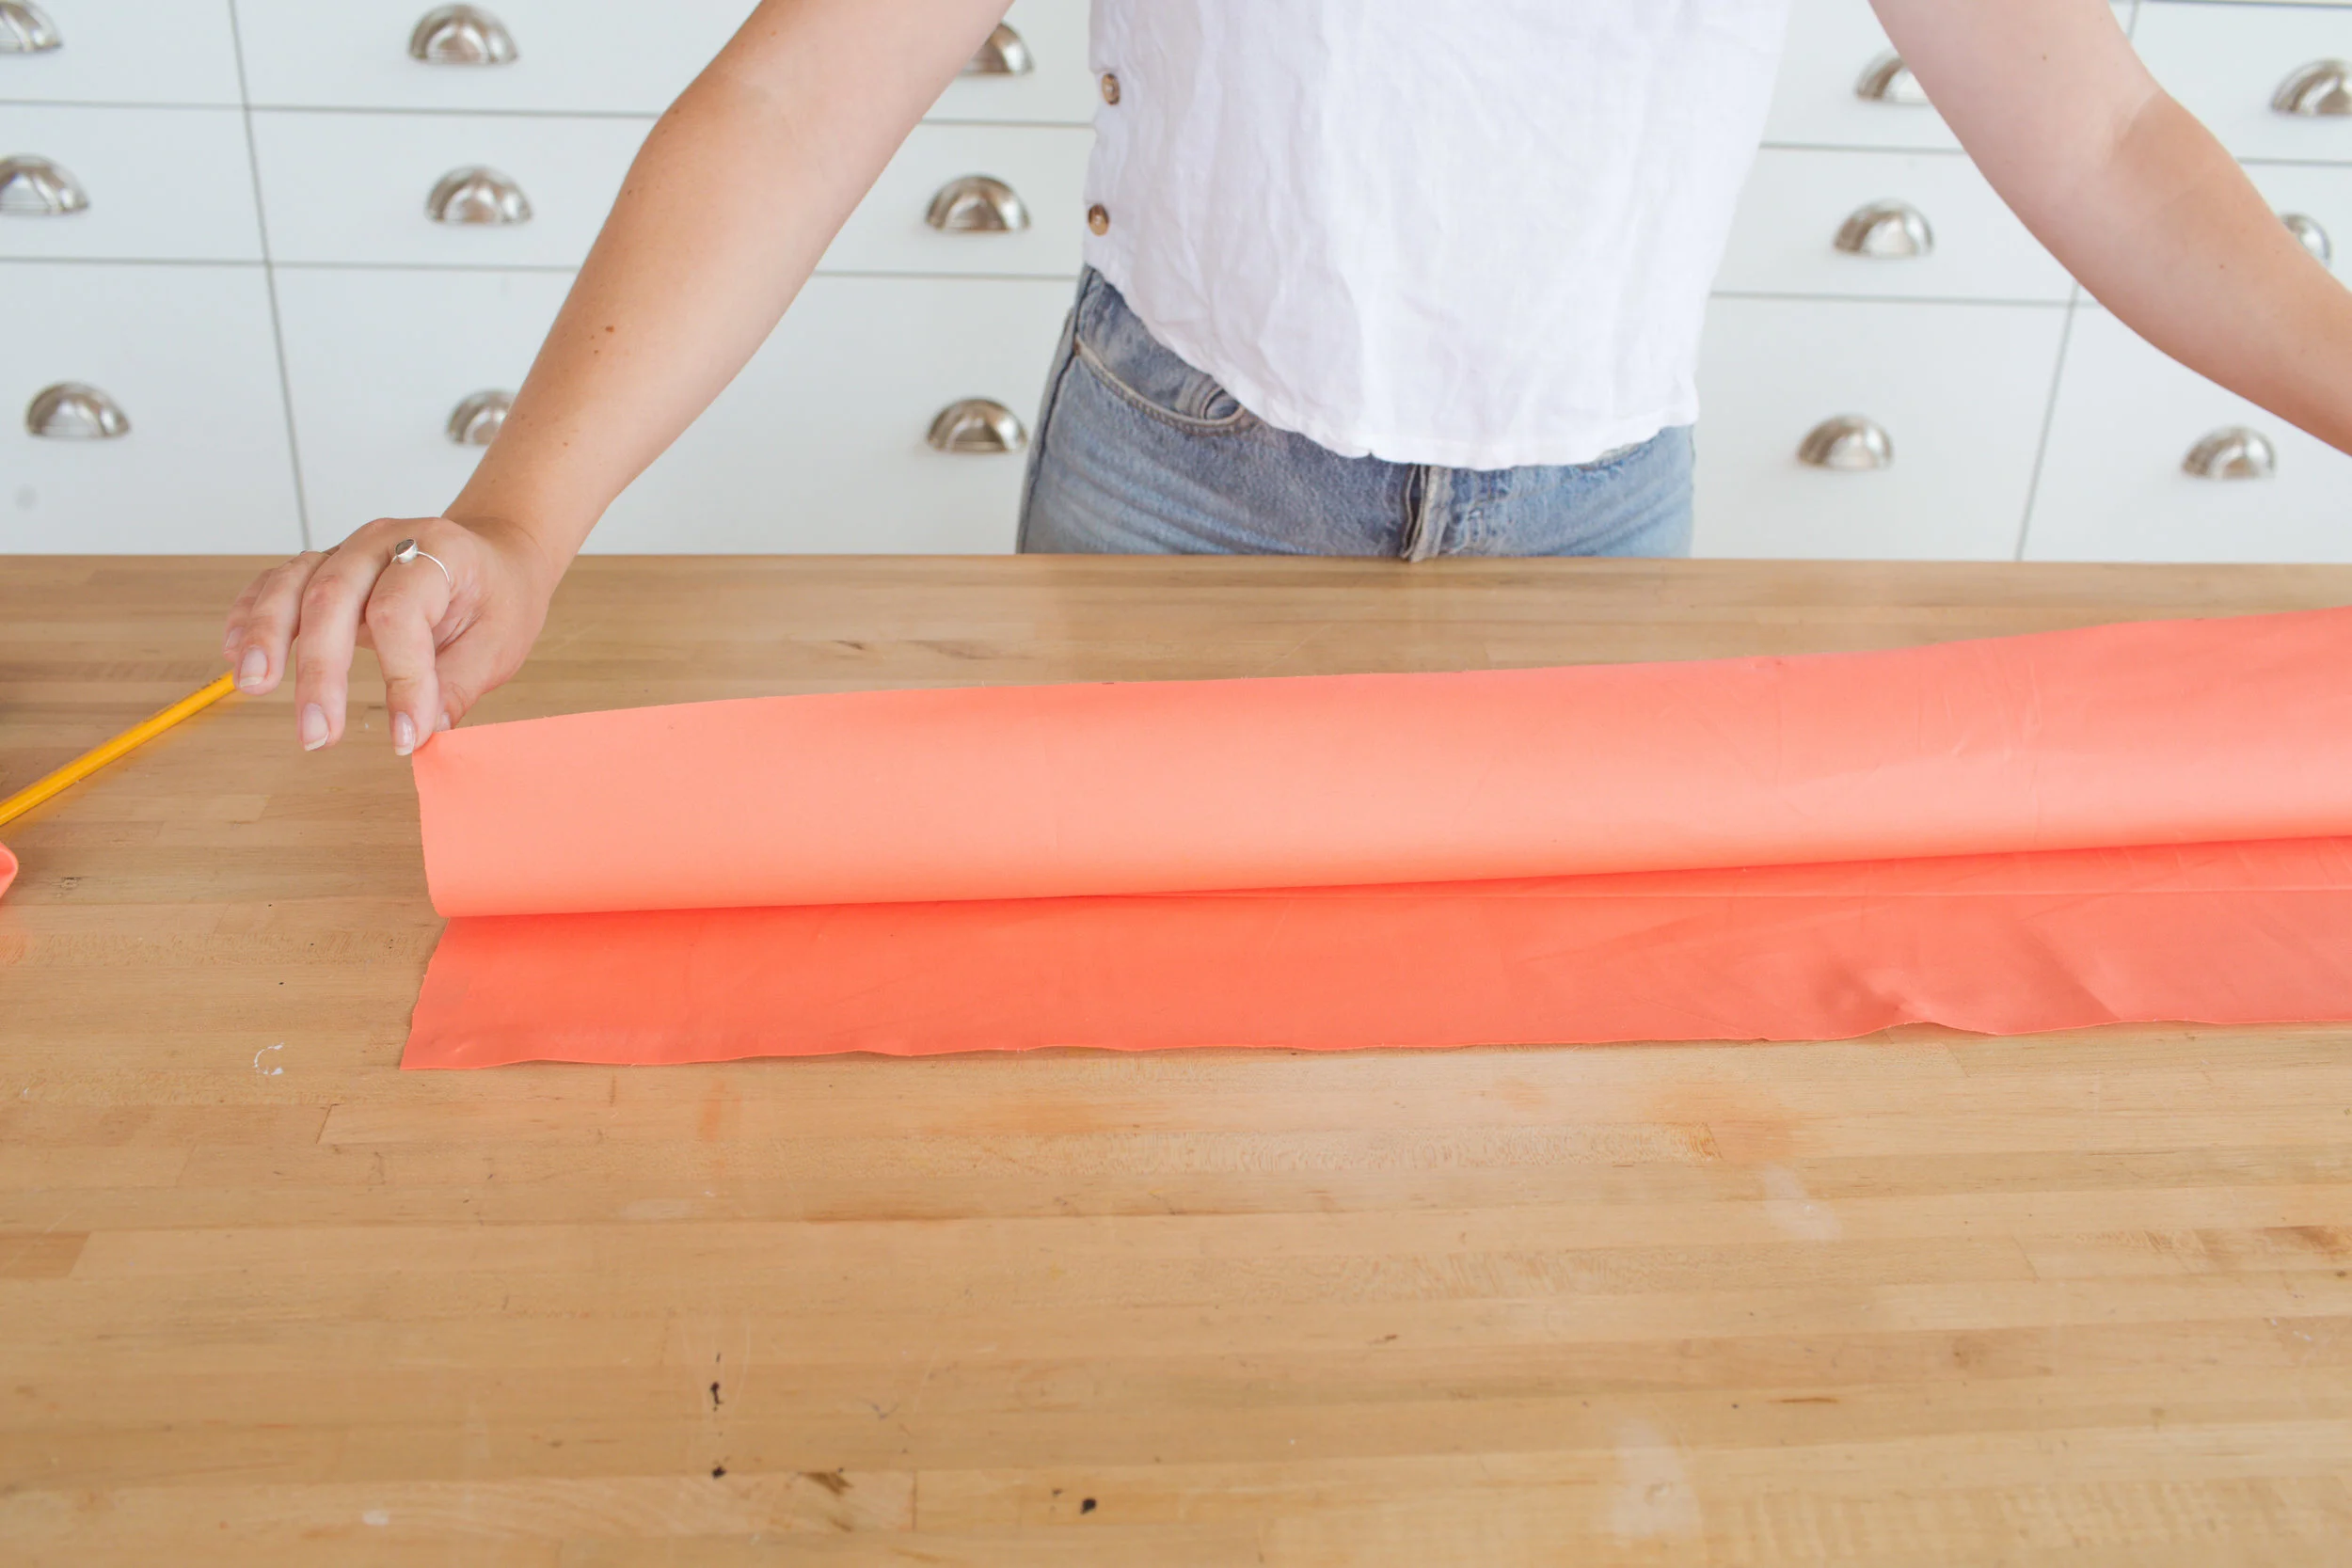
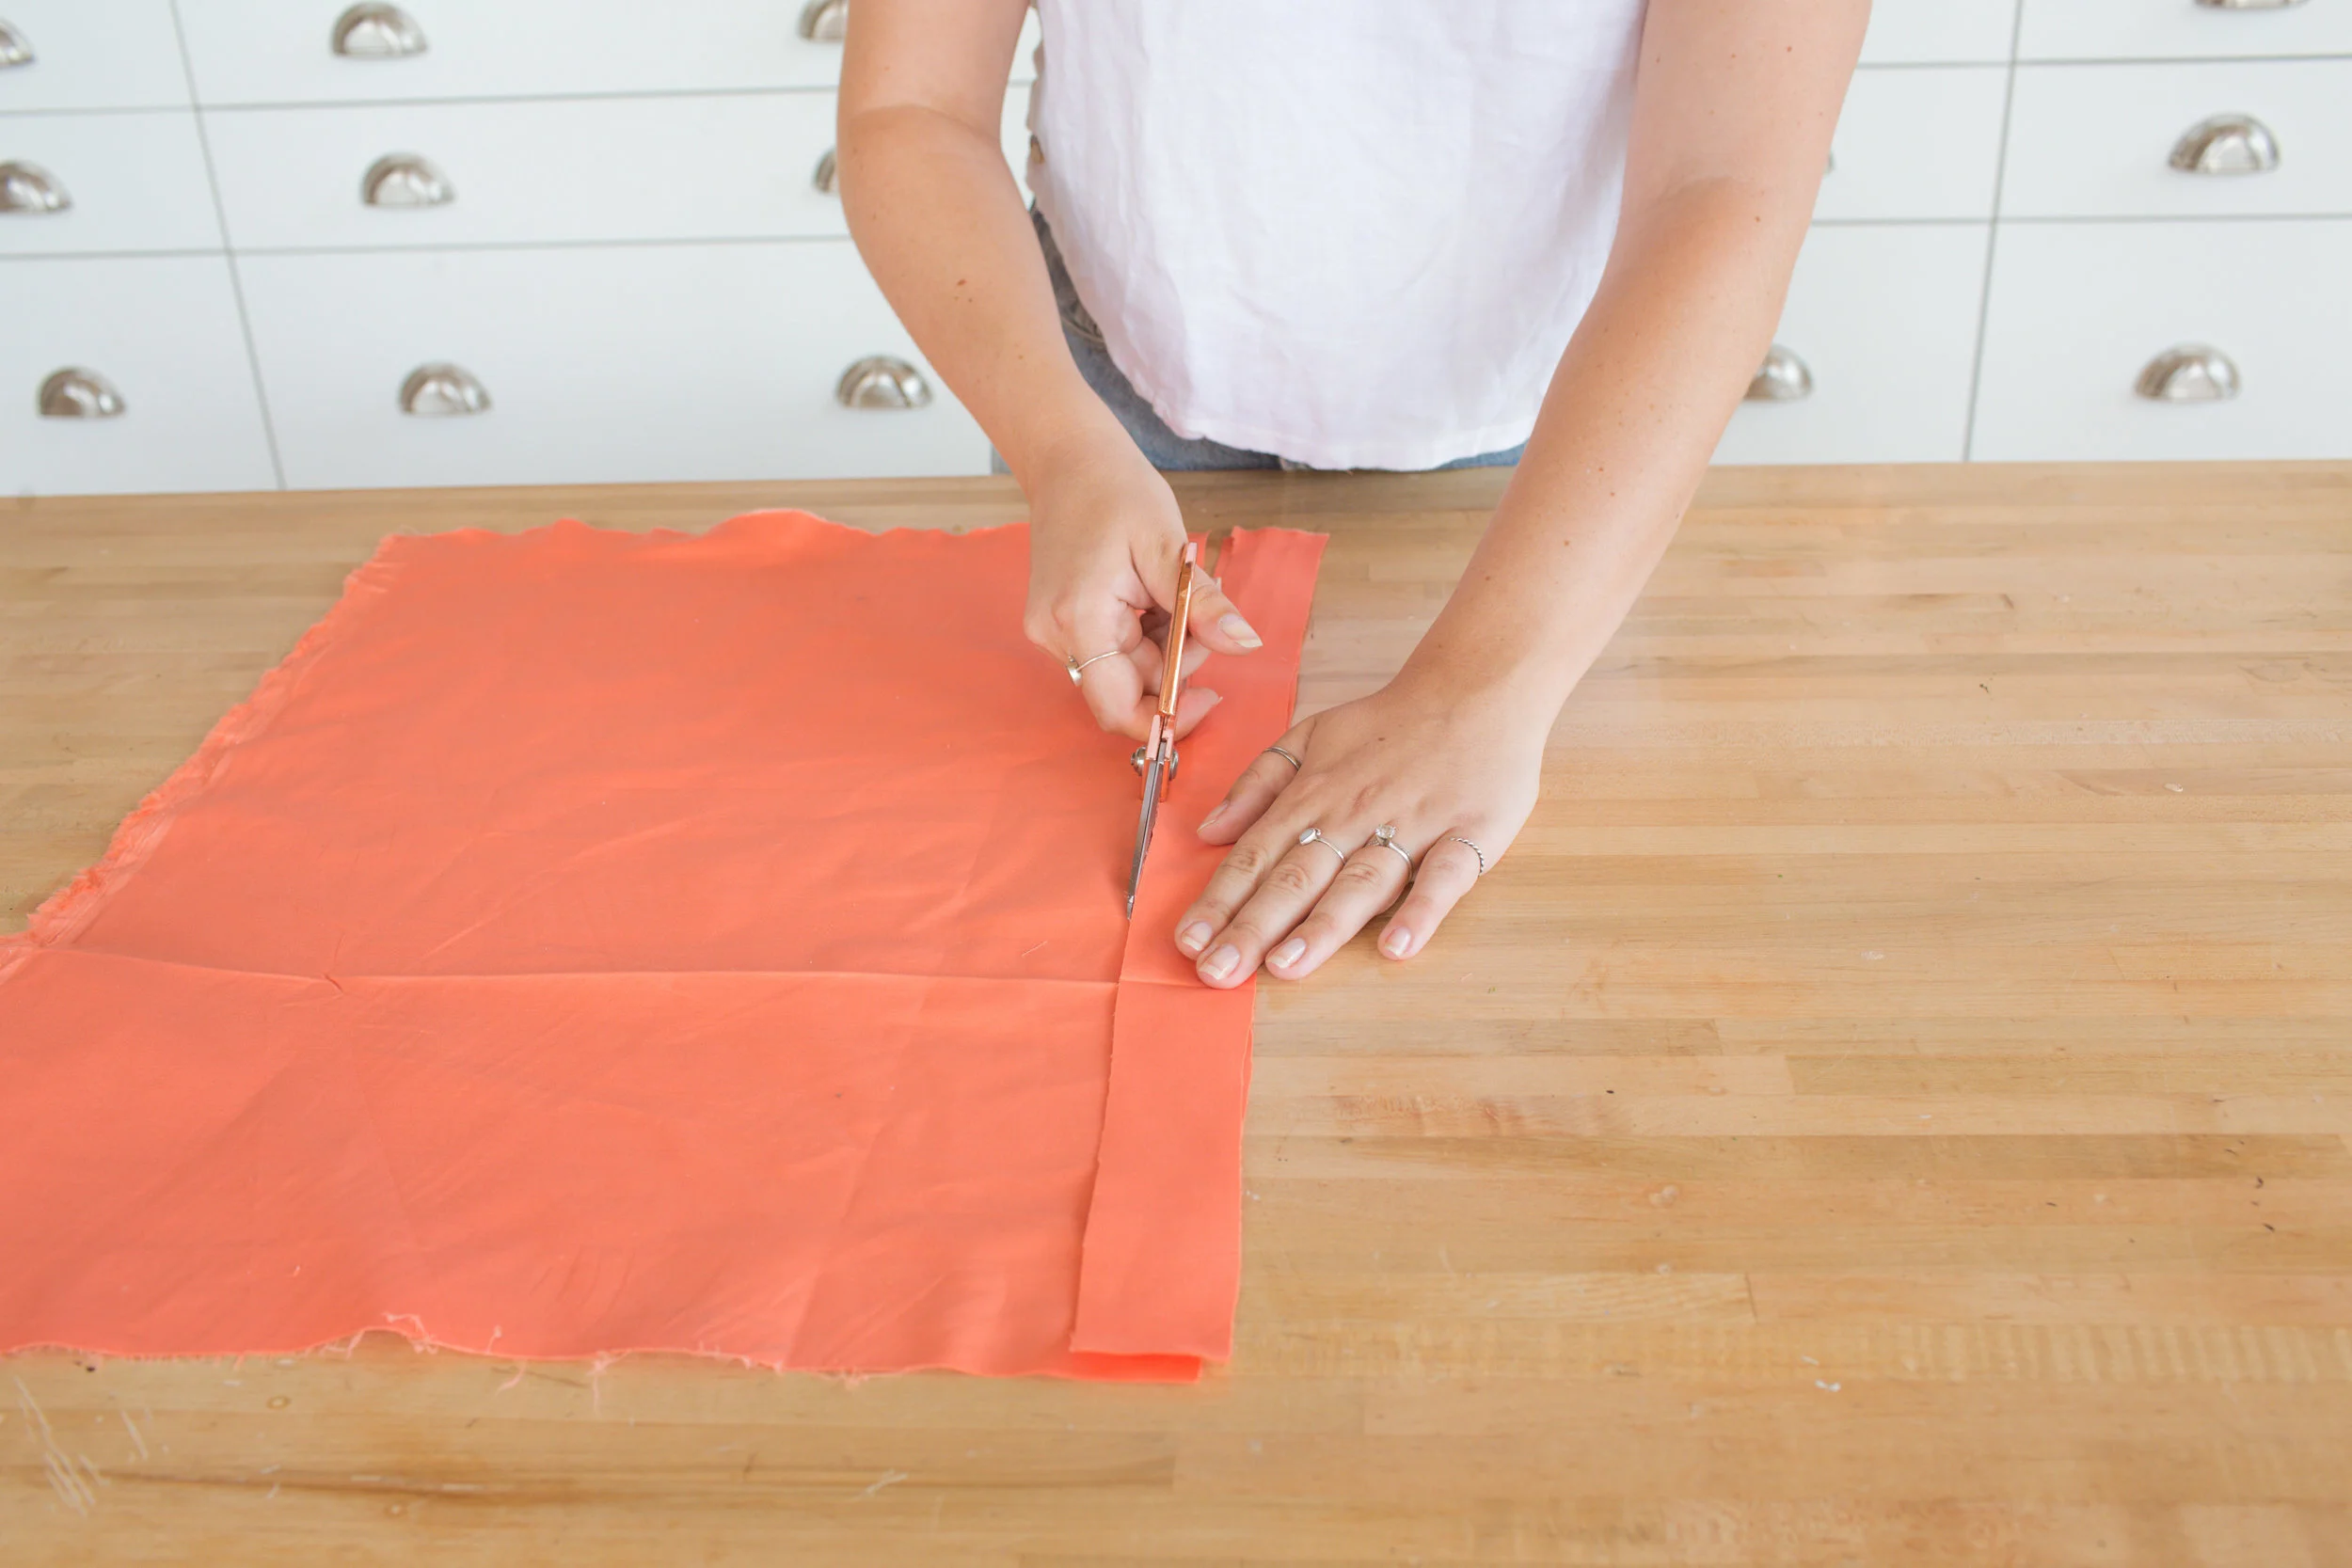
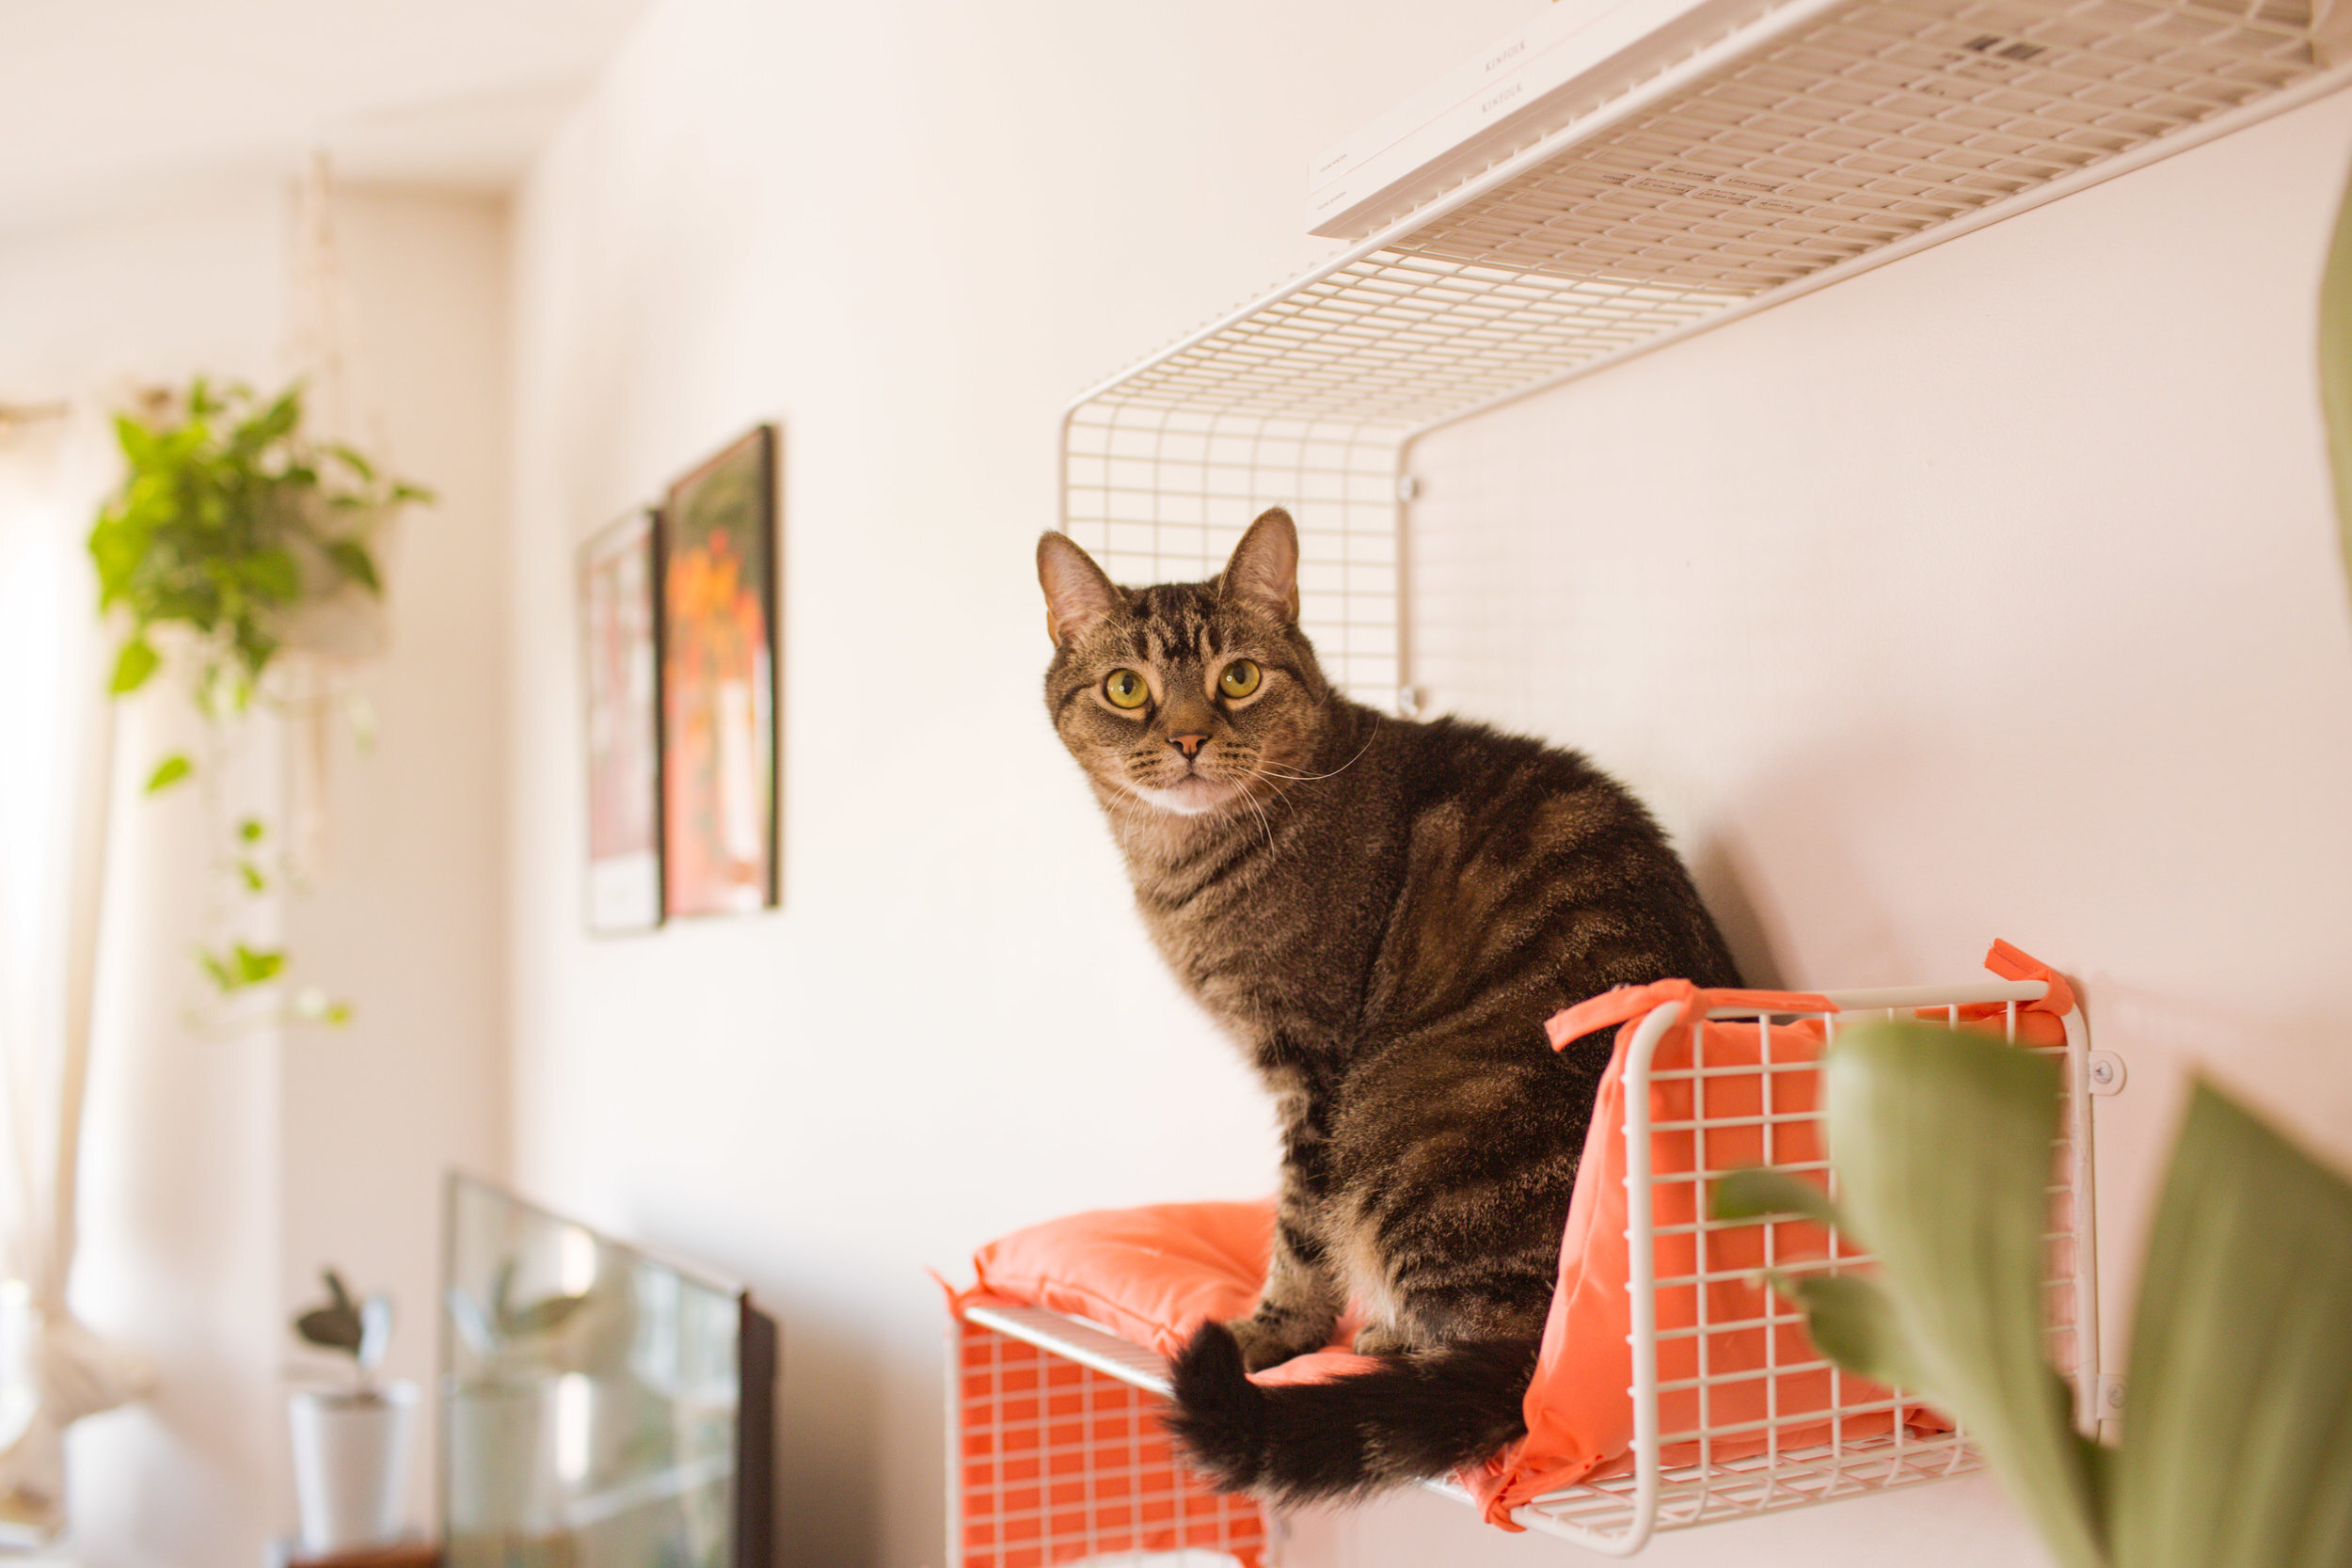
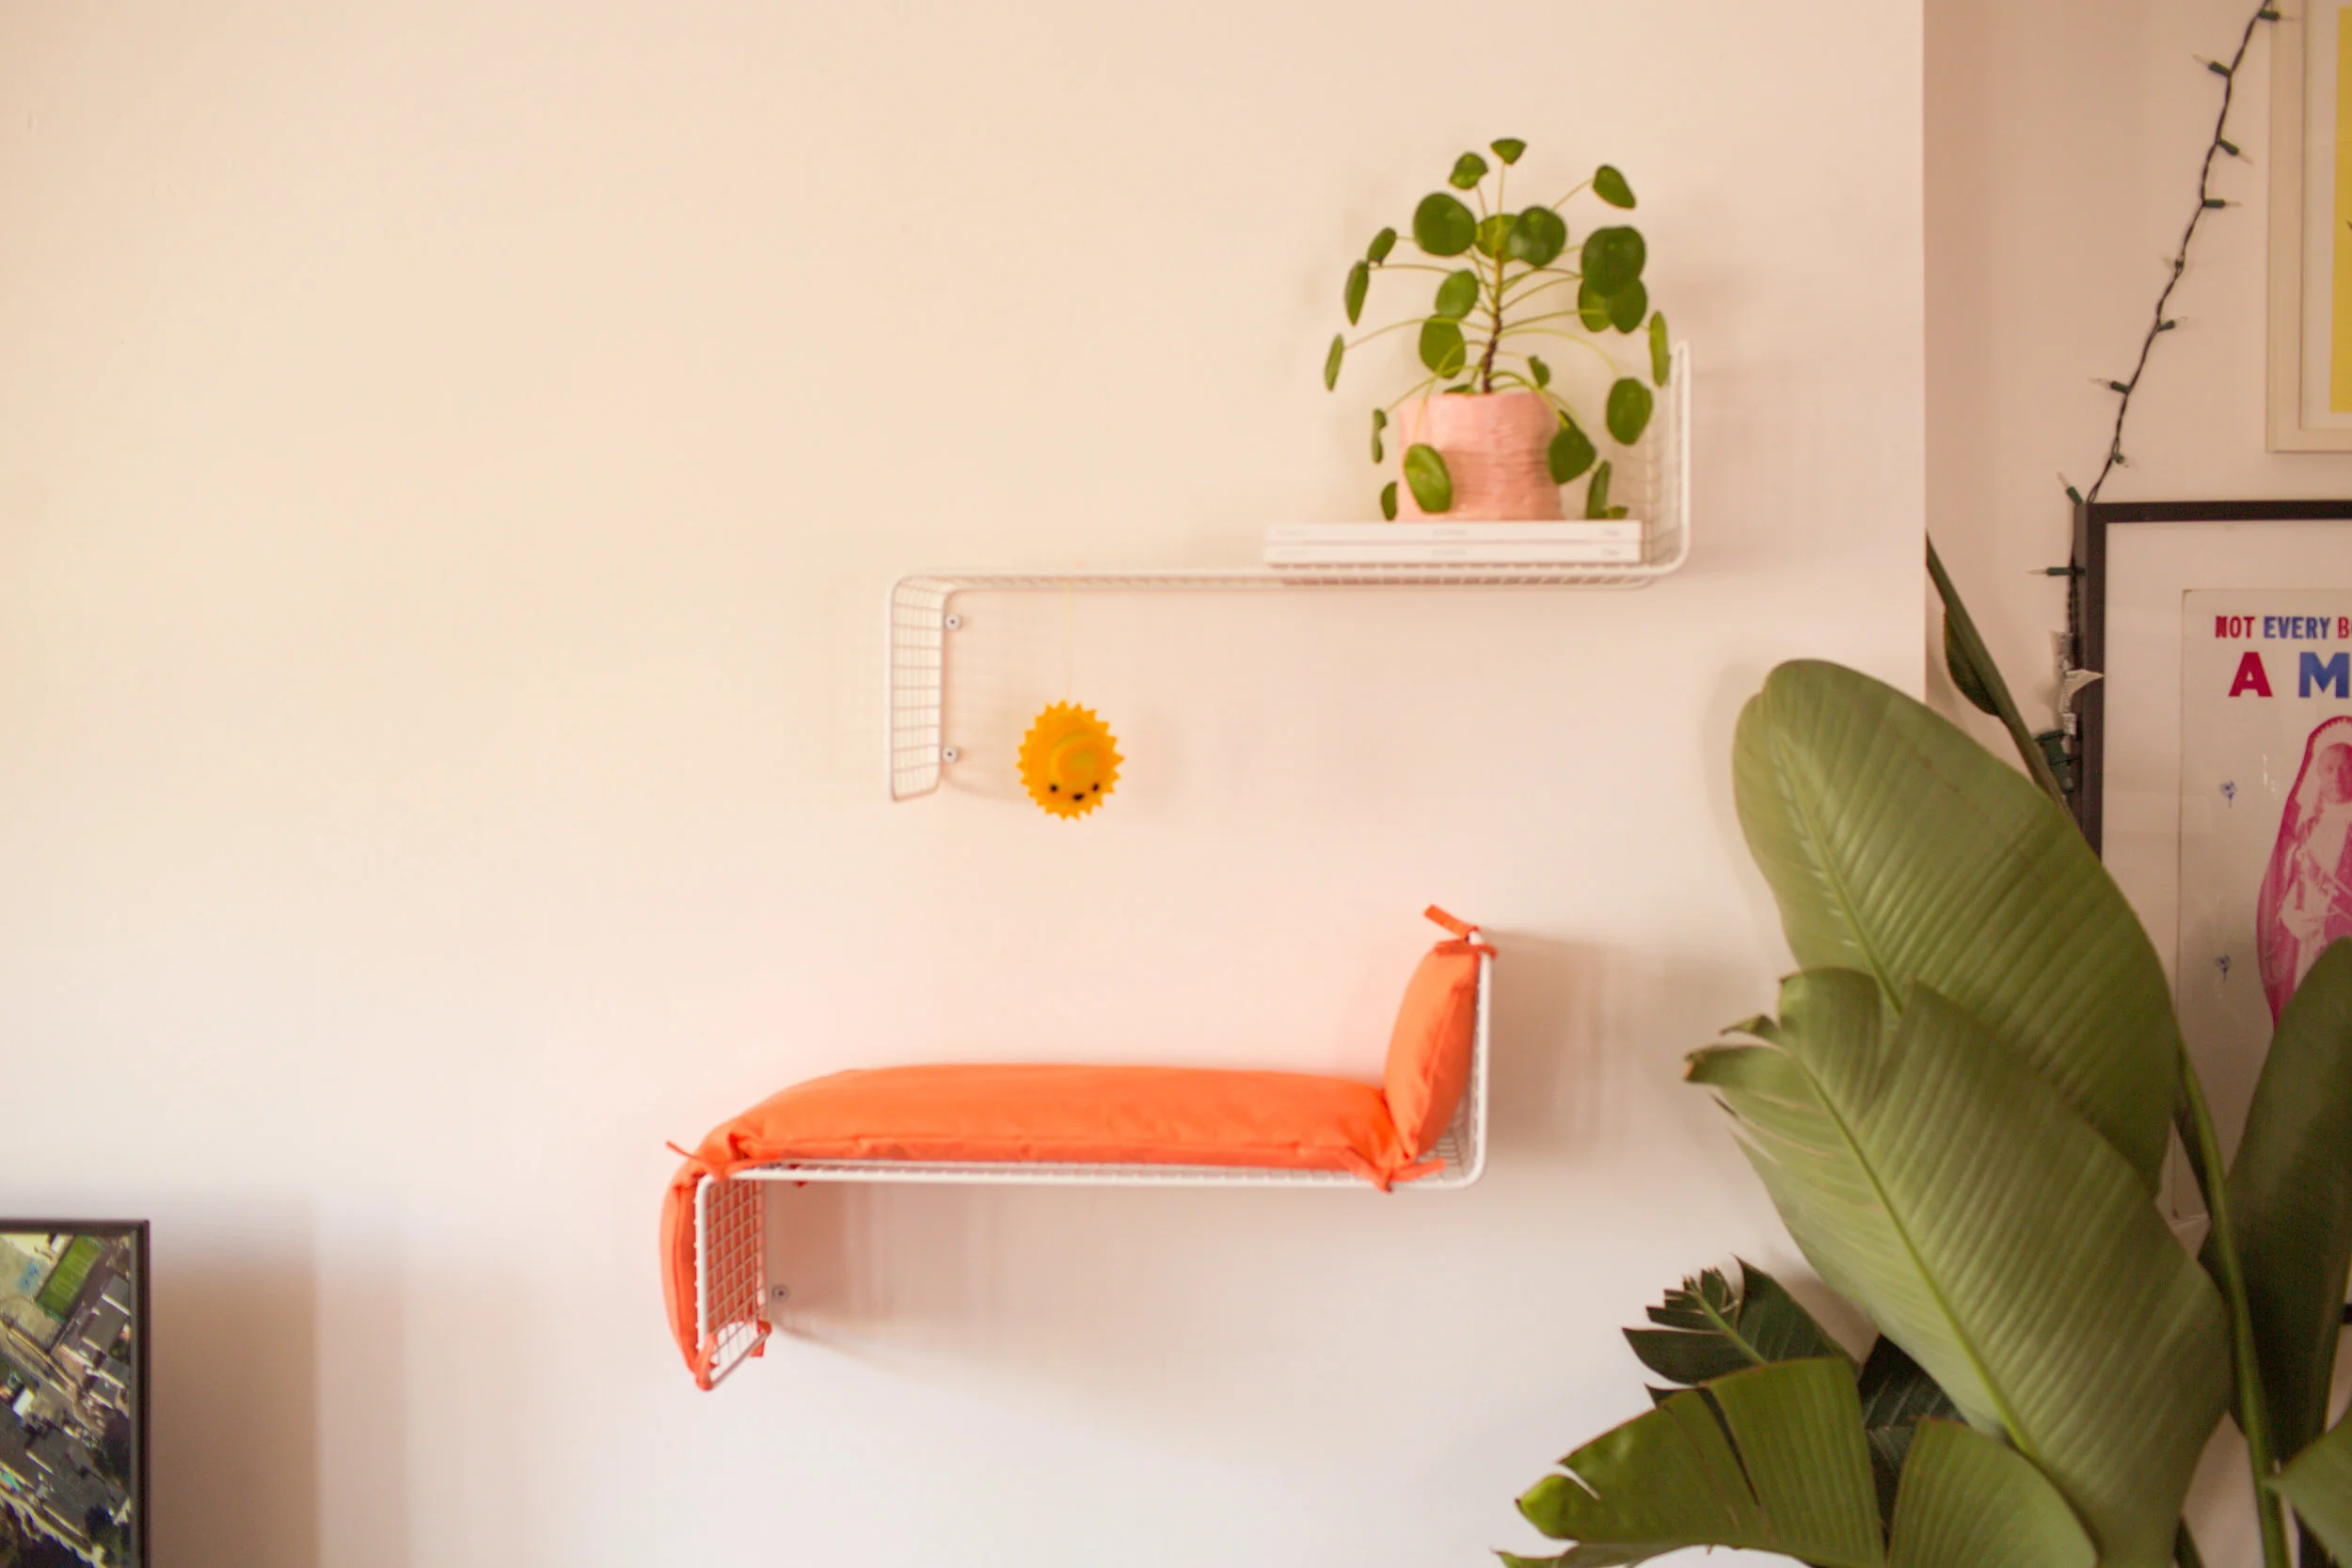
The first thing we are going to do to turn this shelf into cute mini patio furniture is create a cushion to sit on top of the shelf! We picked up this adorable peachy orange fabric from the fabric store and marked the surface area of the shelf (plus a little extra for seam allowance) on it with a pencil. The shelf ended up being 37.5 inches long and 9 inches wide! Cut this rectangle out and use it to trace and cut out another rectangle of the same size.

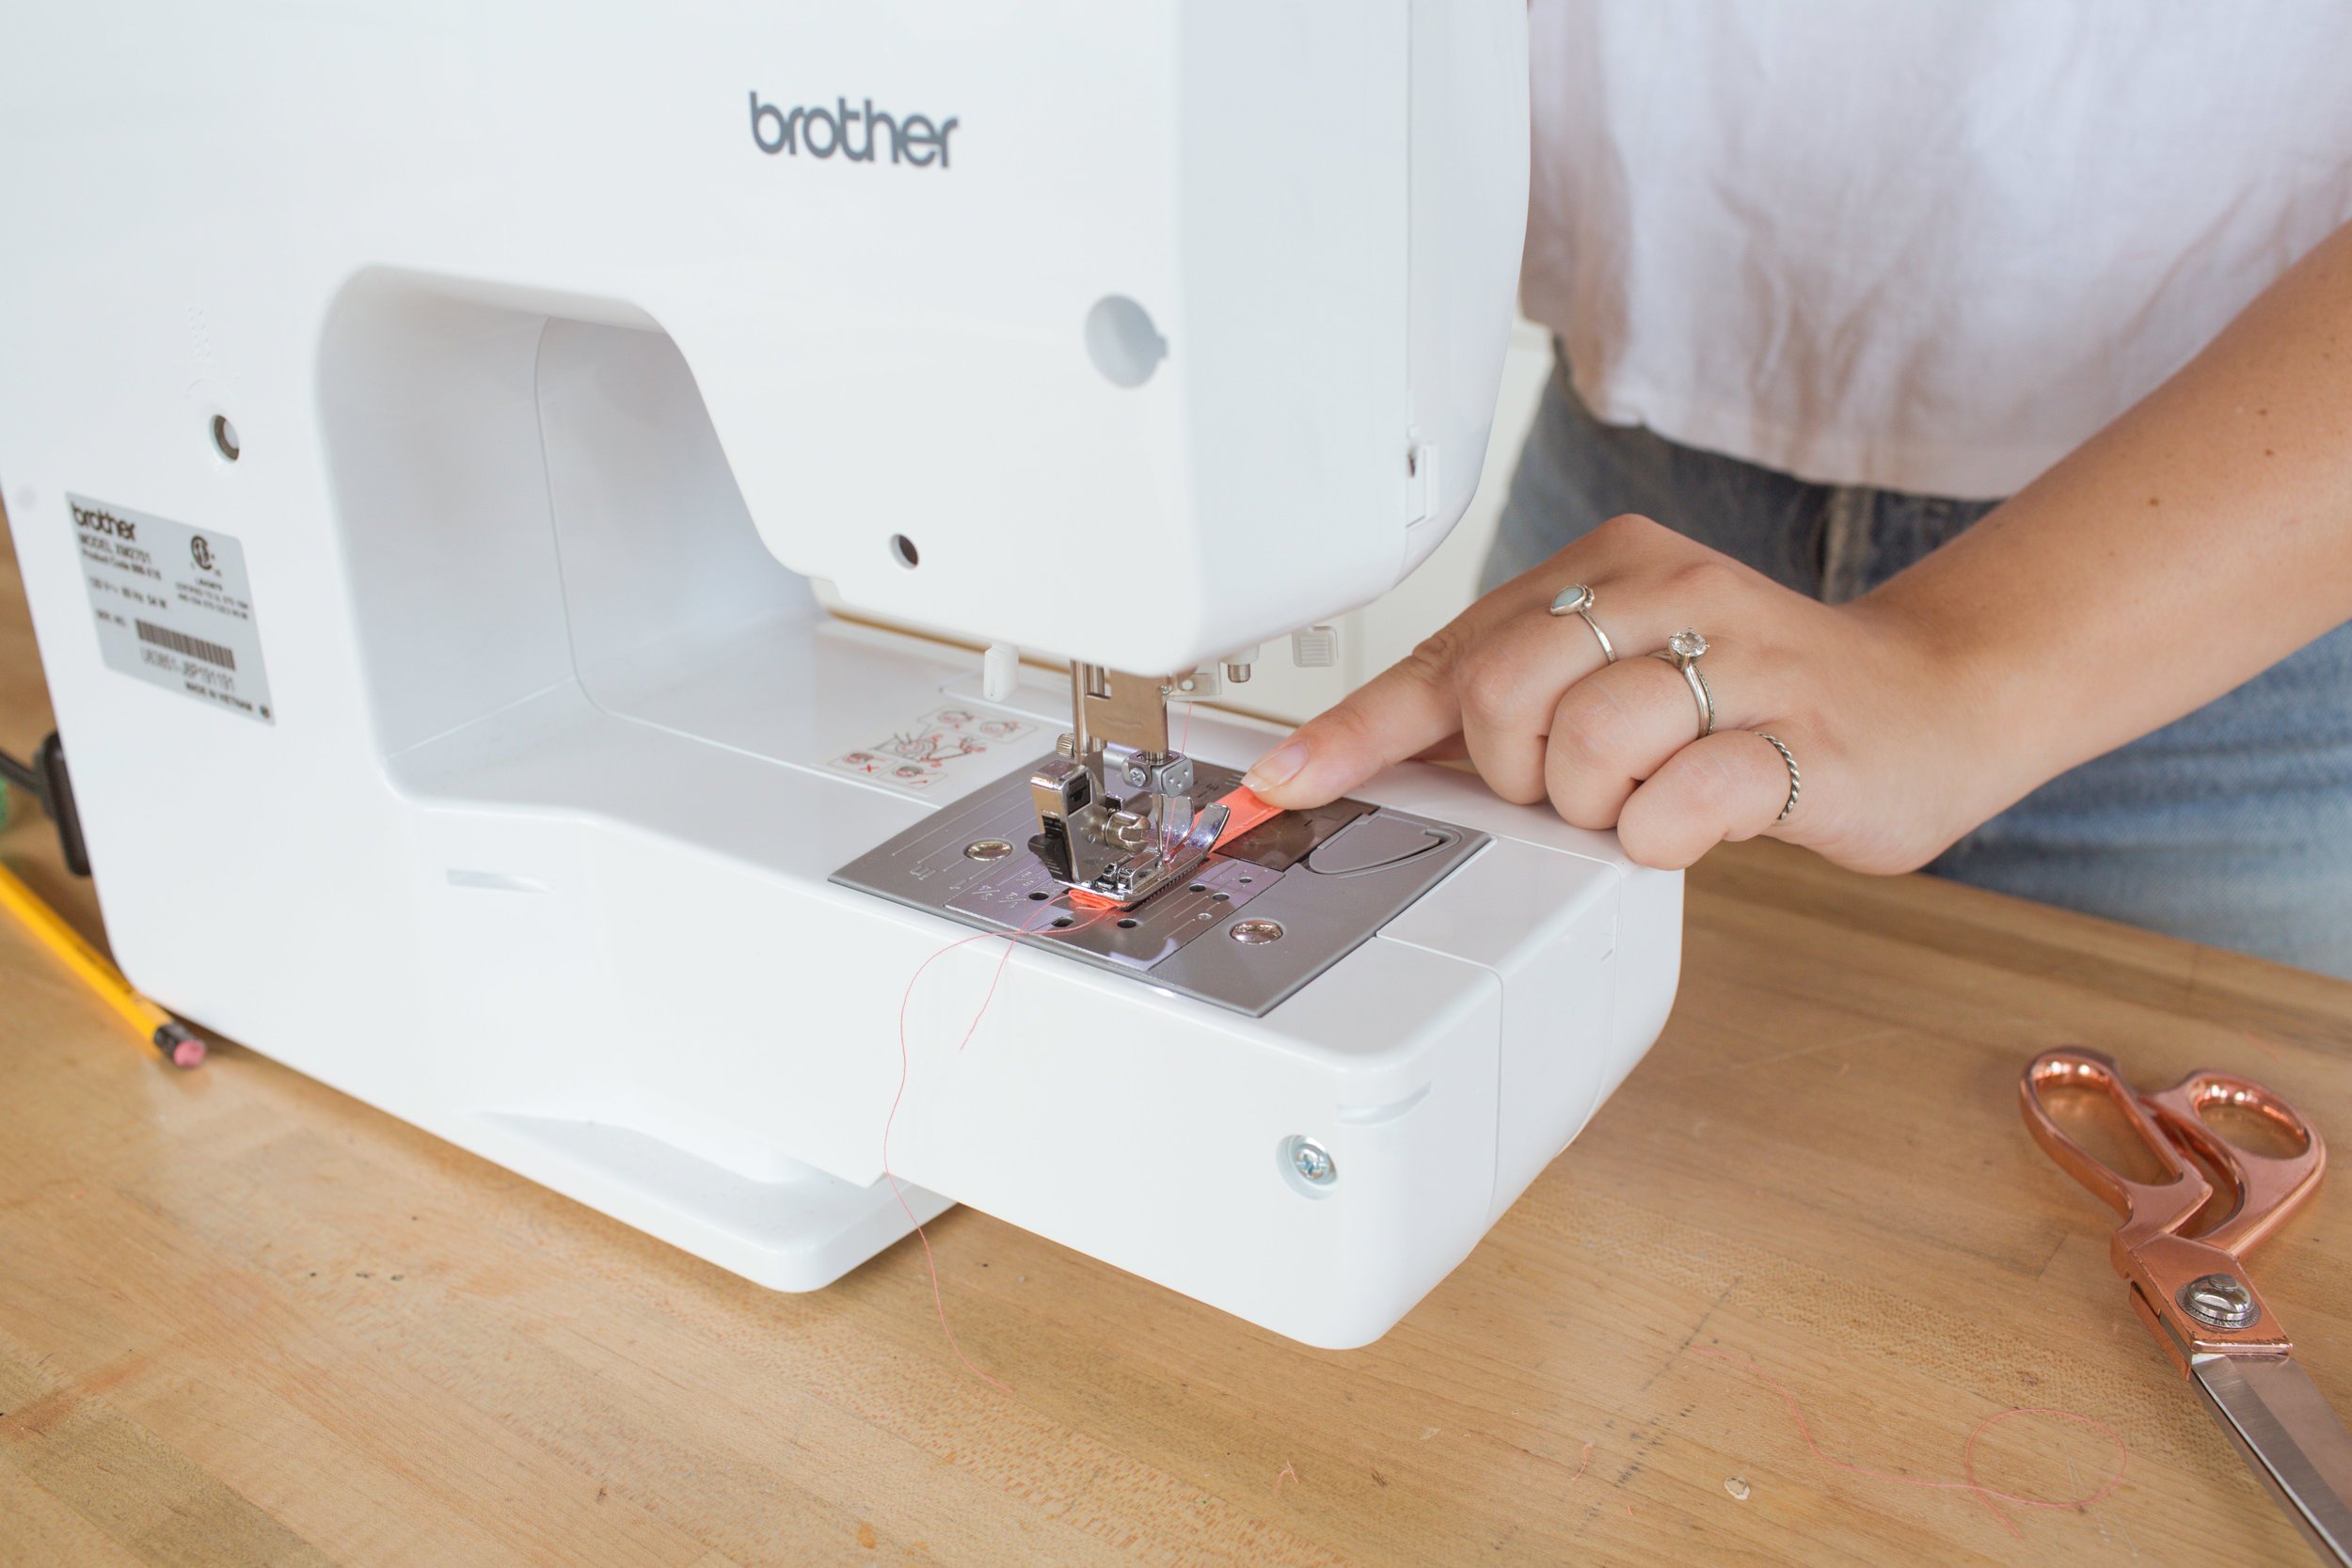
Next, time to make some ties for the cushion! Cut out four rectangles that are about 1” and ¼ wide by 14” long. Once cut out, cut these four rectangles in half to create eight small rectangles. Next, roll up each rectangle lengthwise, and run a straight stitch along the whole length of the middle to create a tie! Do this with all eight of the rectangles!

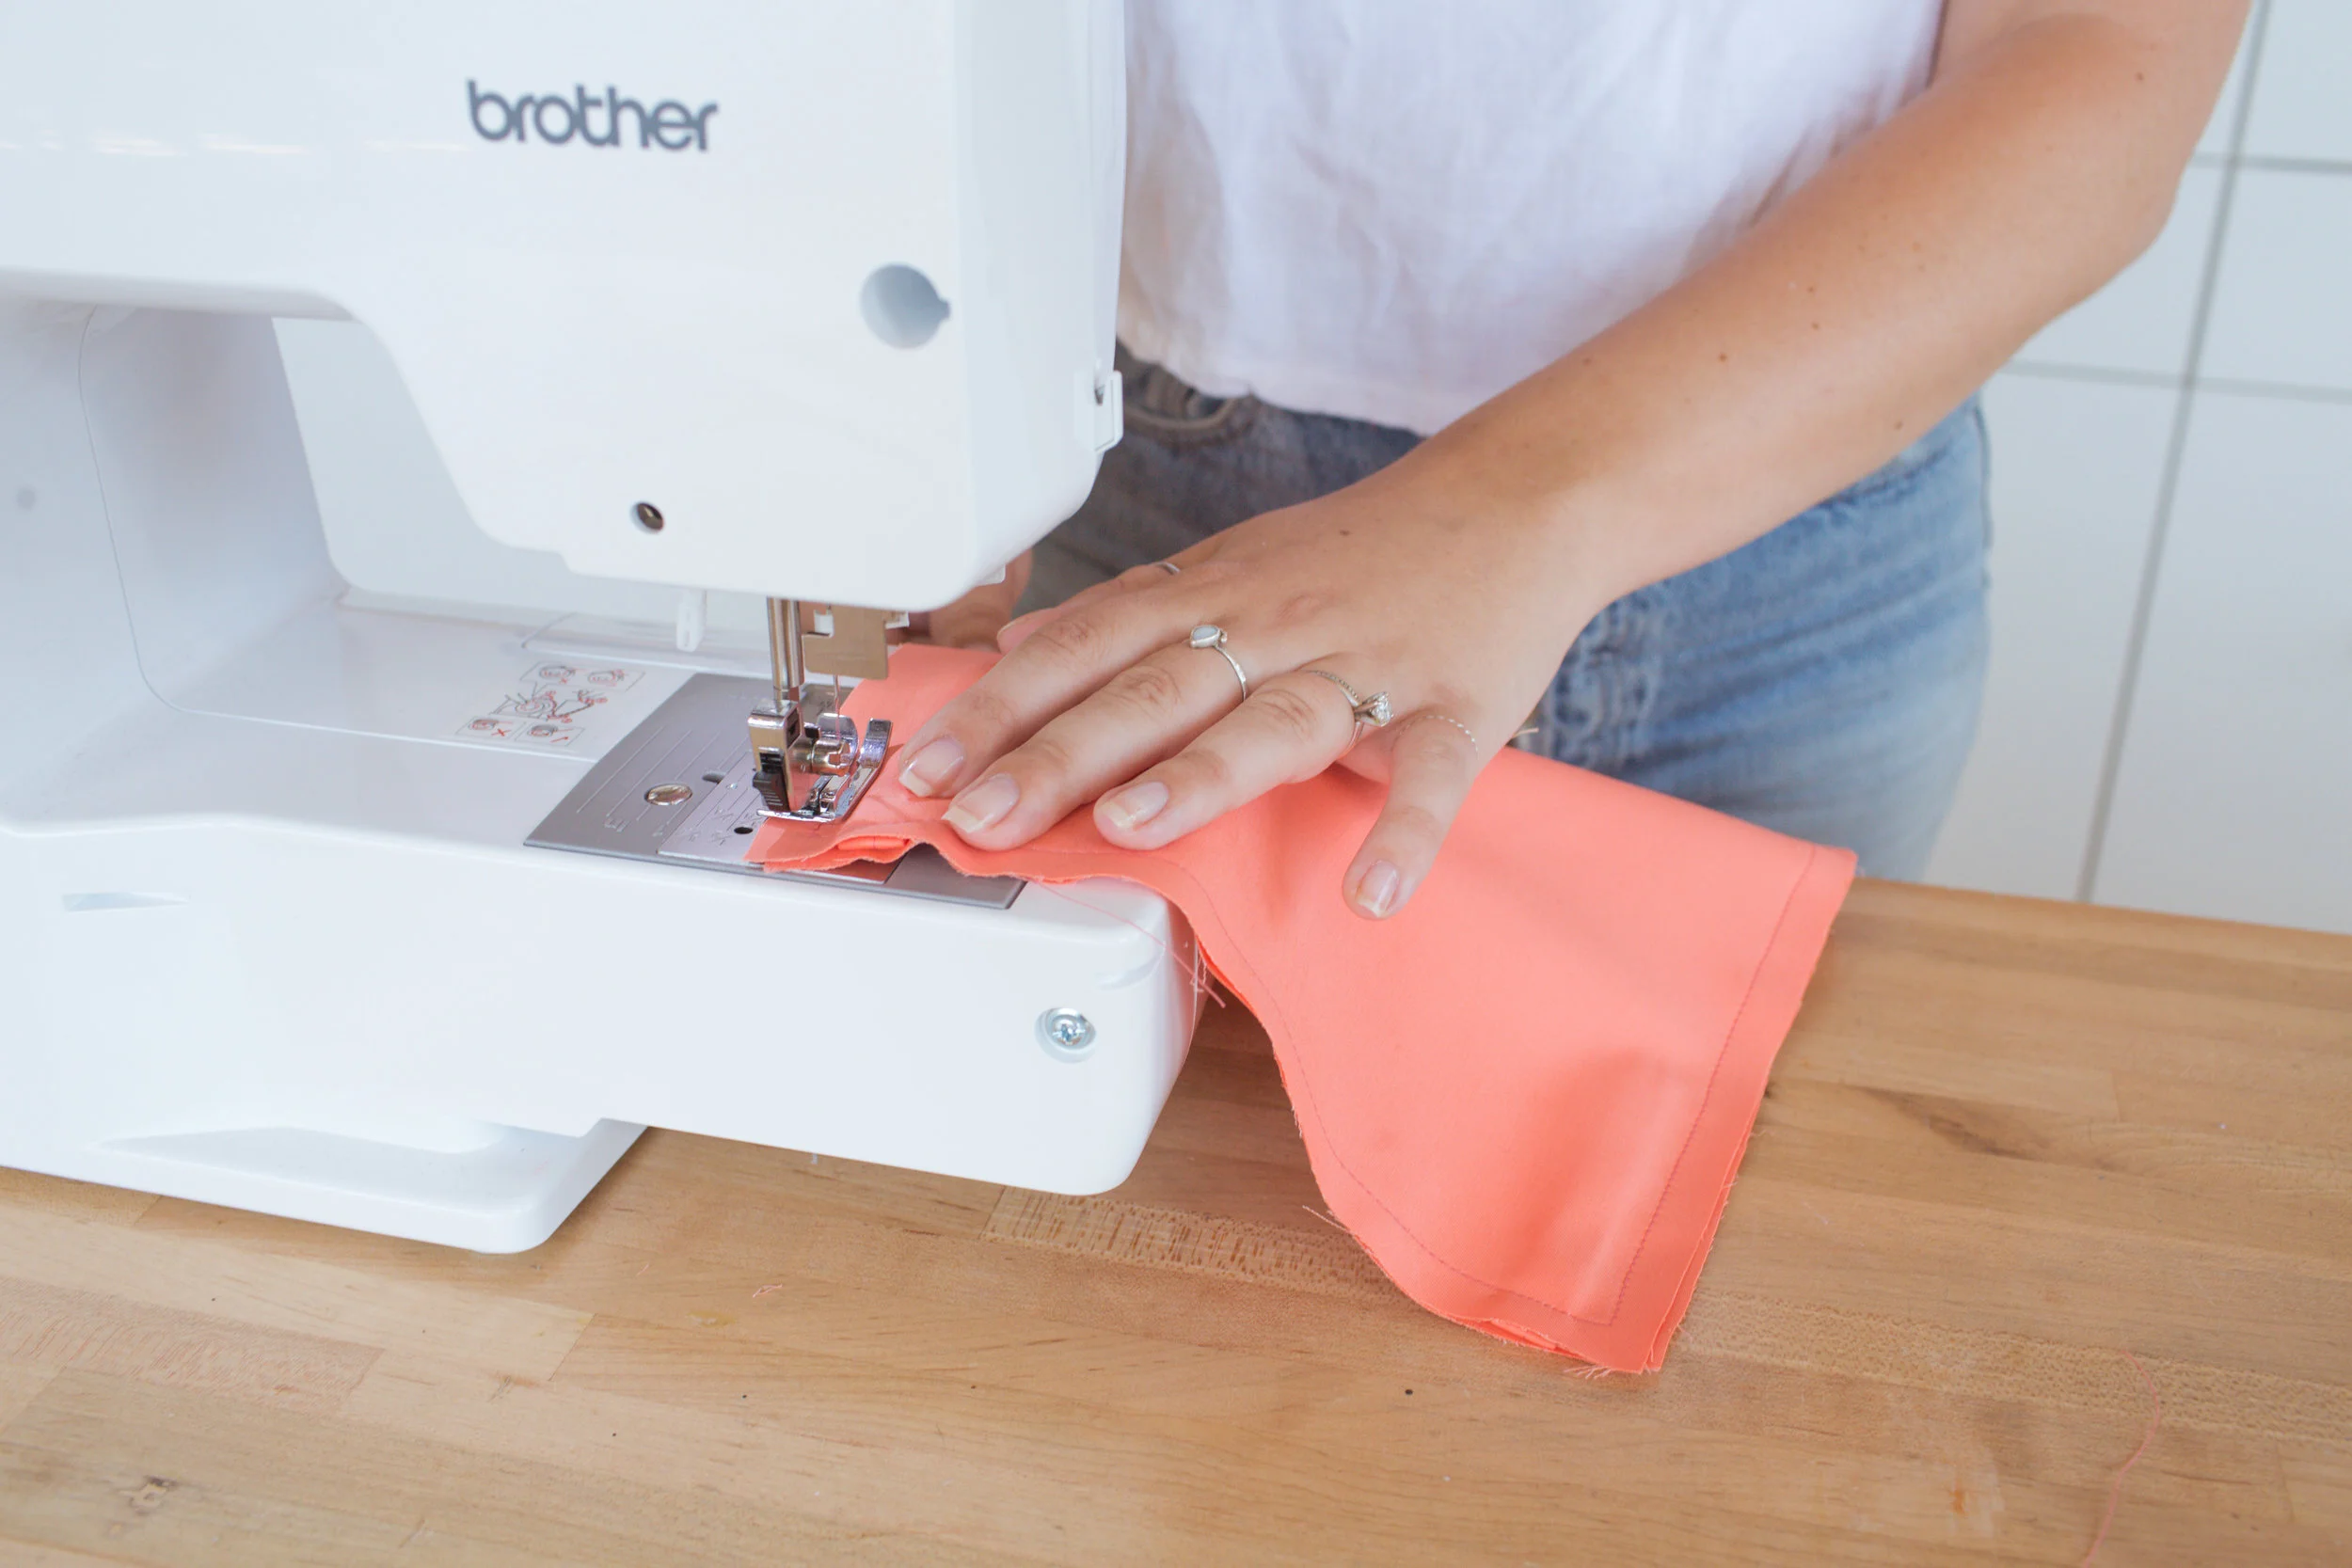
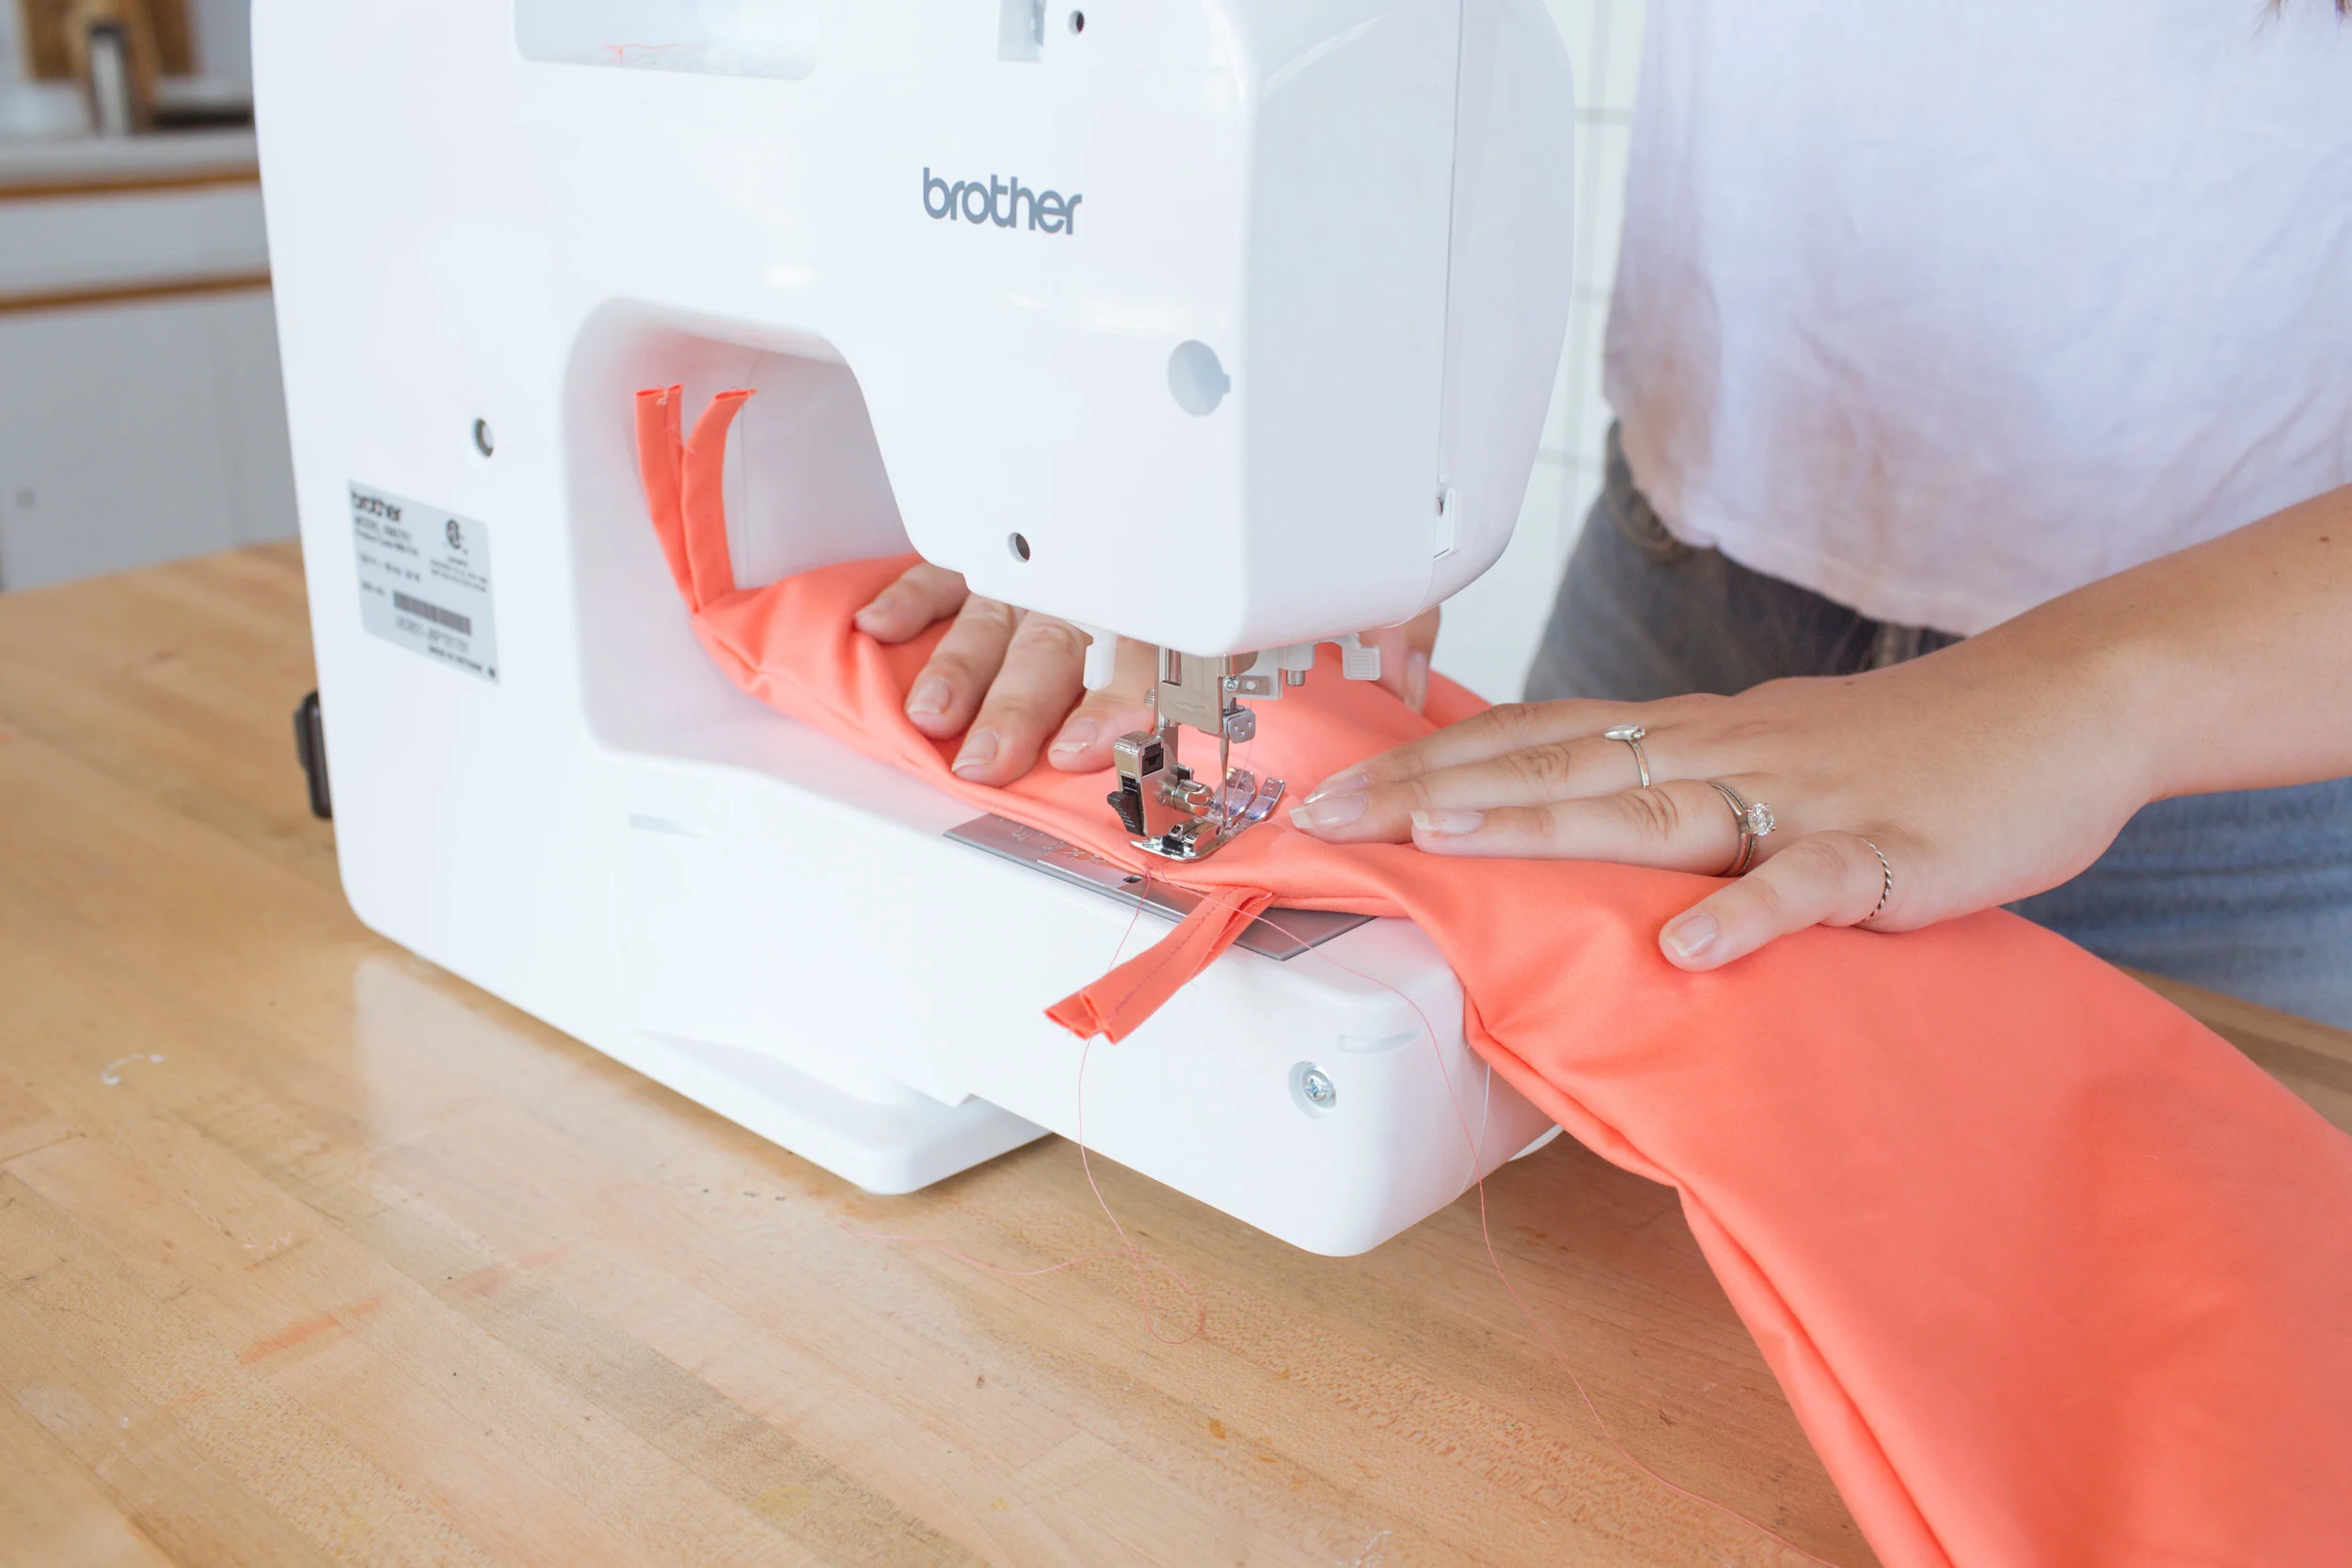
Time to add the ties to the cushion. Lye your two large rectangles on top of one another. Grab your first tie, fold it in half, and place it between the two large rectangle layers in one of the corners, making sure the ends of the tie are fading inward and the folded end is on the edge of the rectangle. Pin this in place. Add ties in each of the four corners, and along the side of the cushion 8” apart from each other. Once everything is pinned, sew all the way around the edge, making sure to leave a hole to flip inside out and stuff the pillow.

Flip your project inside out and stuff just the two ends of the cushion, just up to the 8” ties. Next, mark a line with some pins that is 6 ¾” away from each end of the pillow and sew a line at each of these marks to create some cute lines in the pillow.
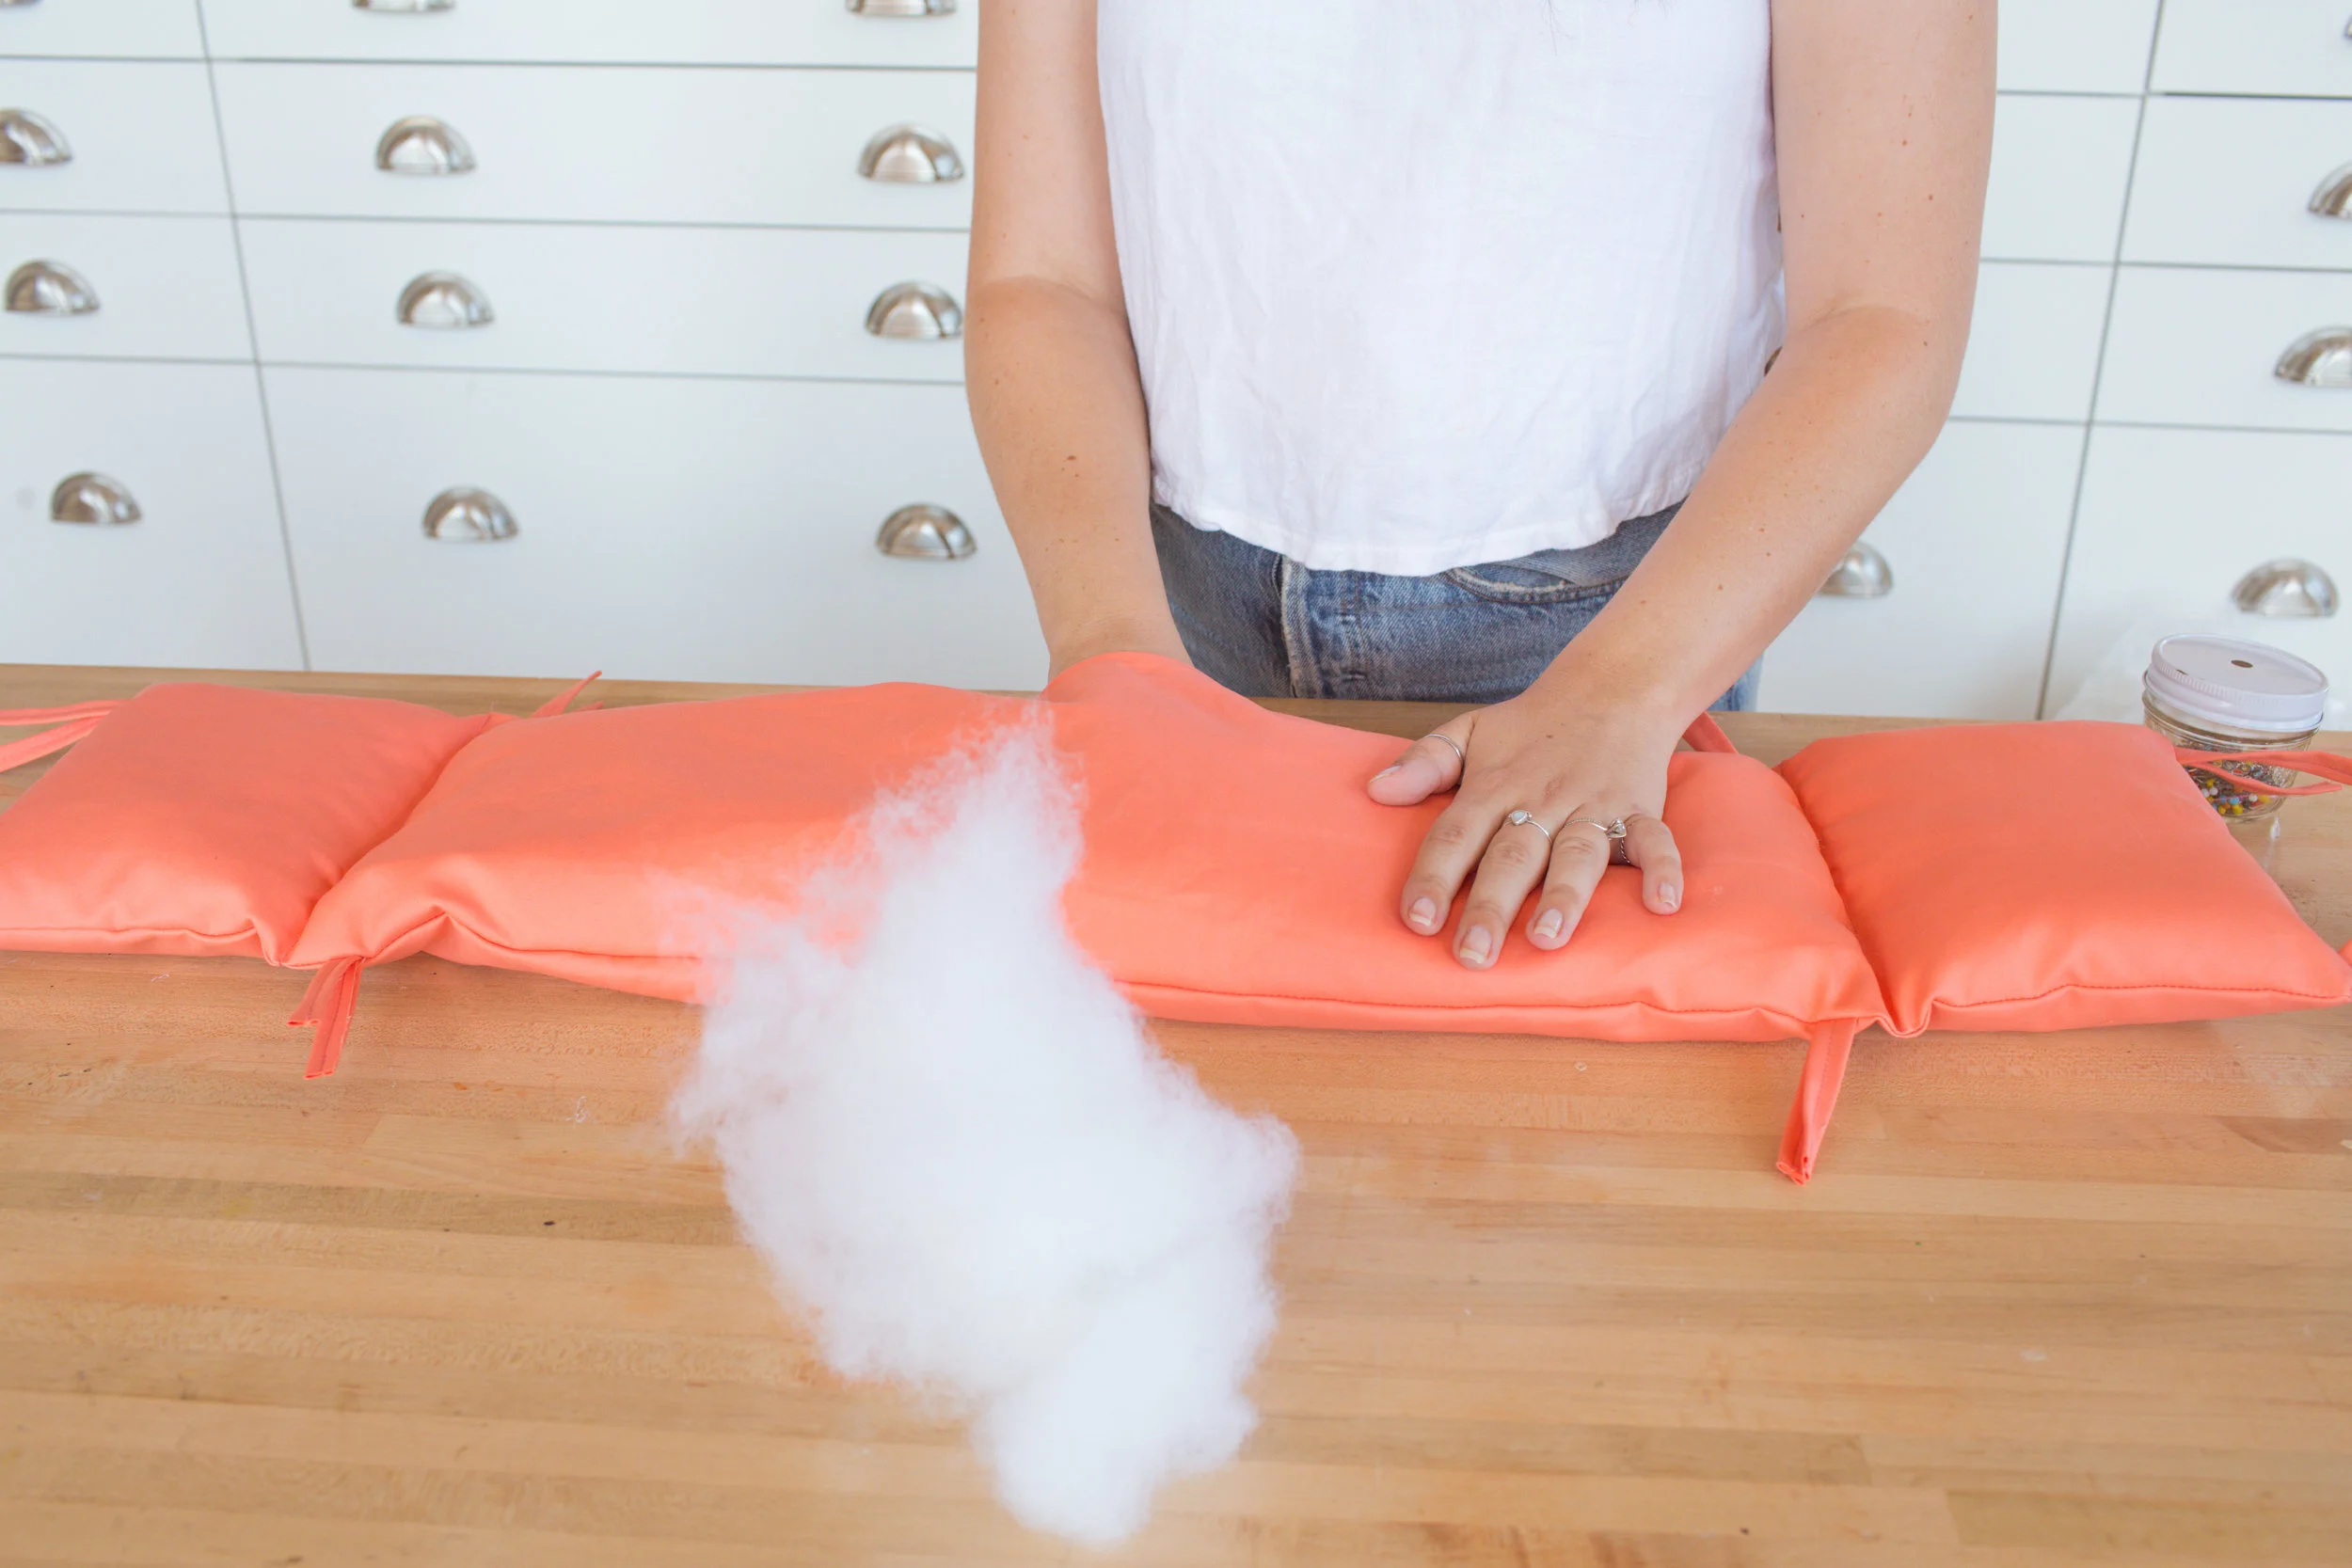
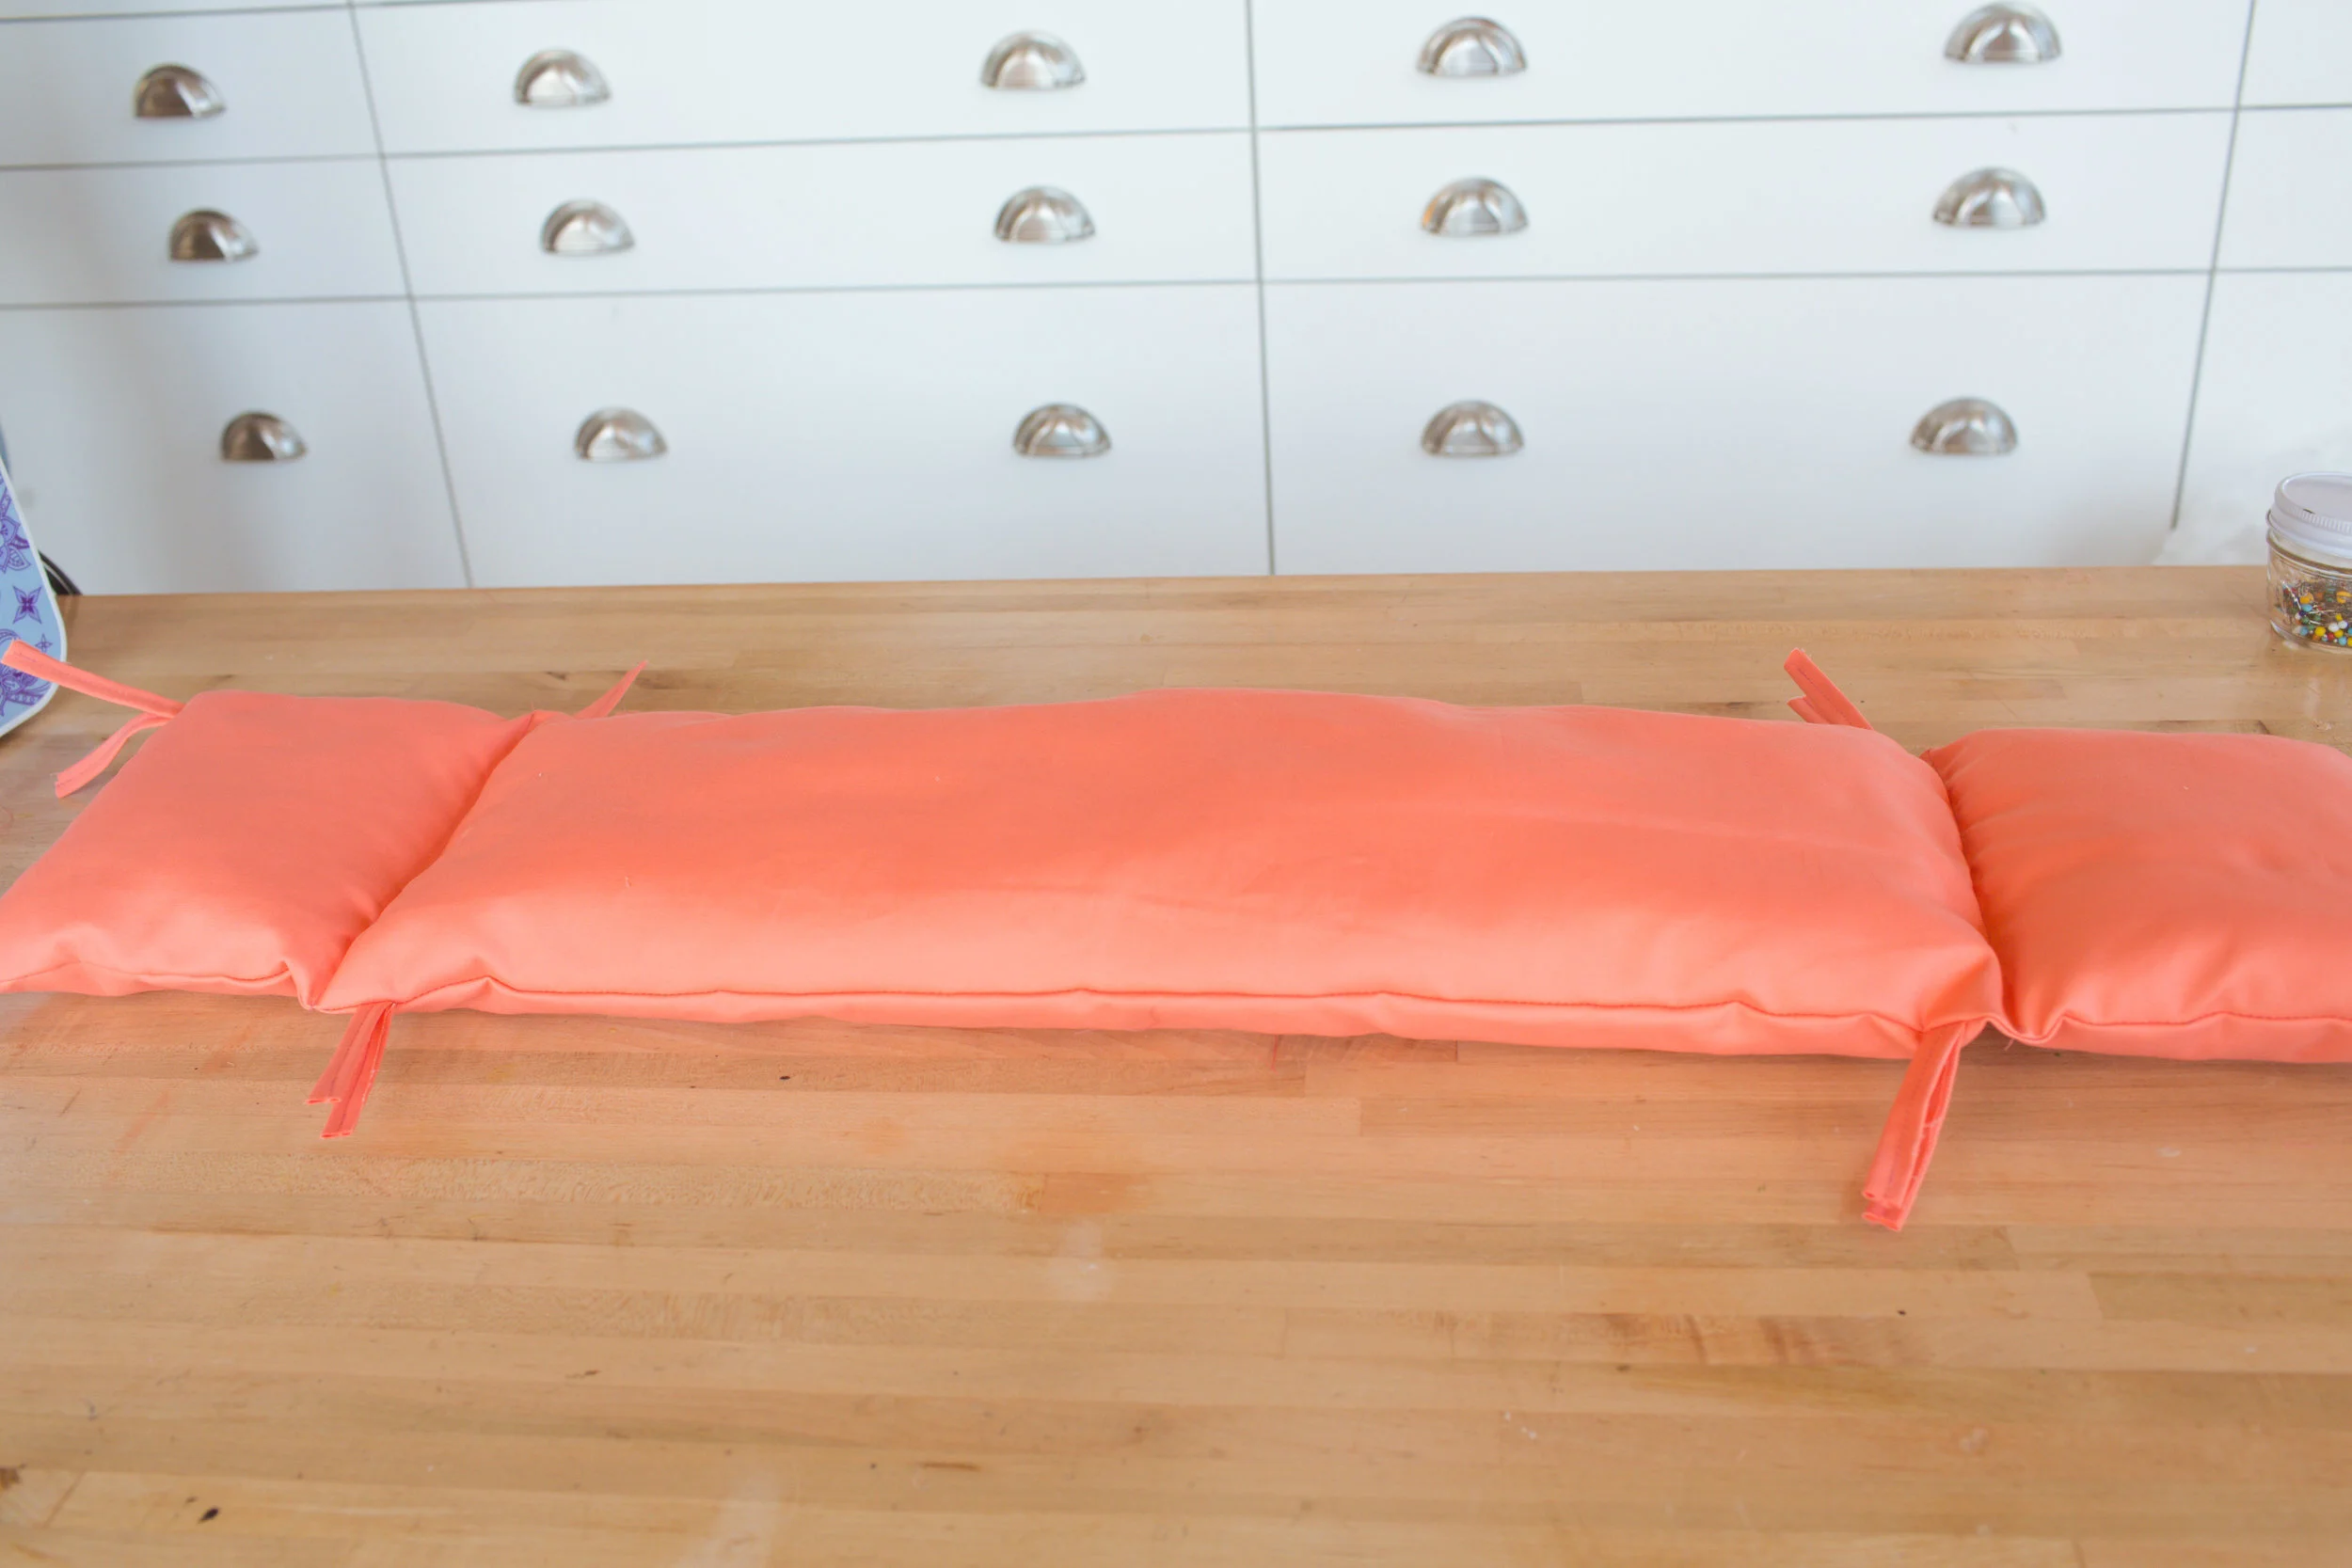
Finally, stuff your final middle compartment and sew the hole closed. Time to tie the pillow to the grid of the shelf and hang!


BONUS DIY - CATNIP TOY
To hang from our shelf, we decided to make a little catnip toy out of felt! Here’s how to make it…
WHAT YOU’LL NEED…
Felt
Scissors
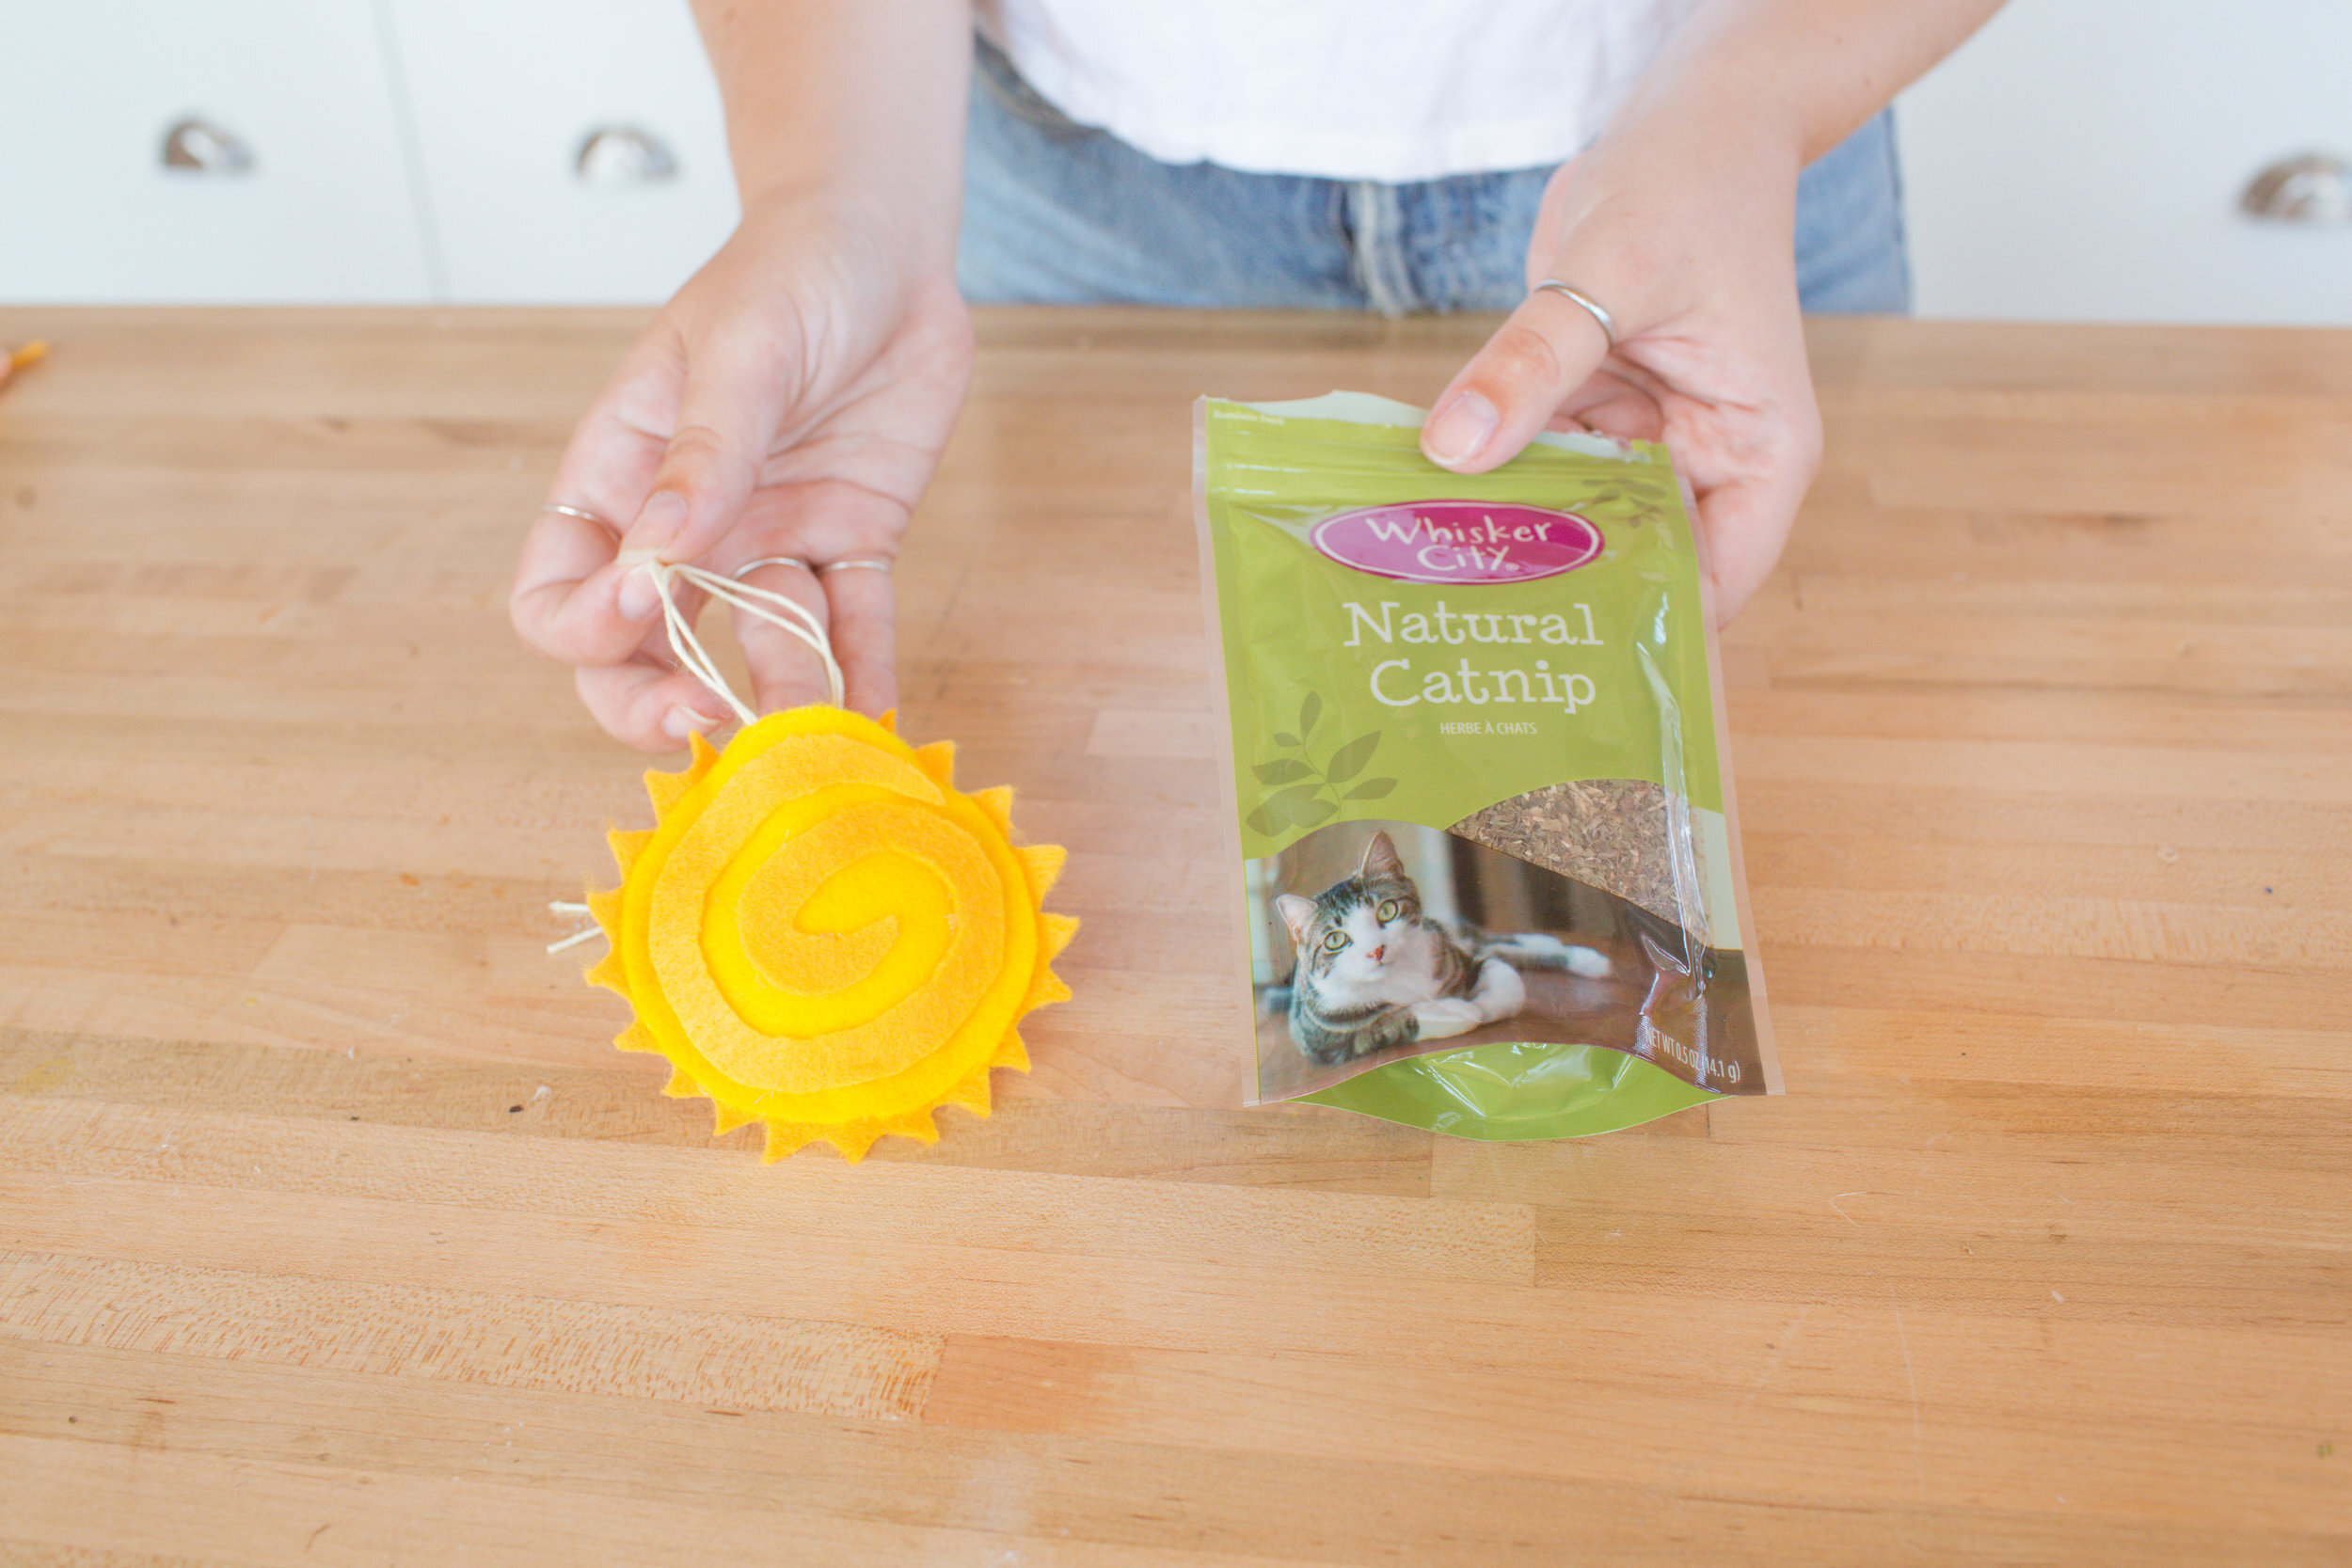
Catnip
Hot glue
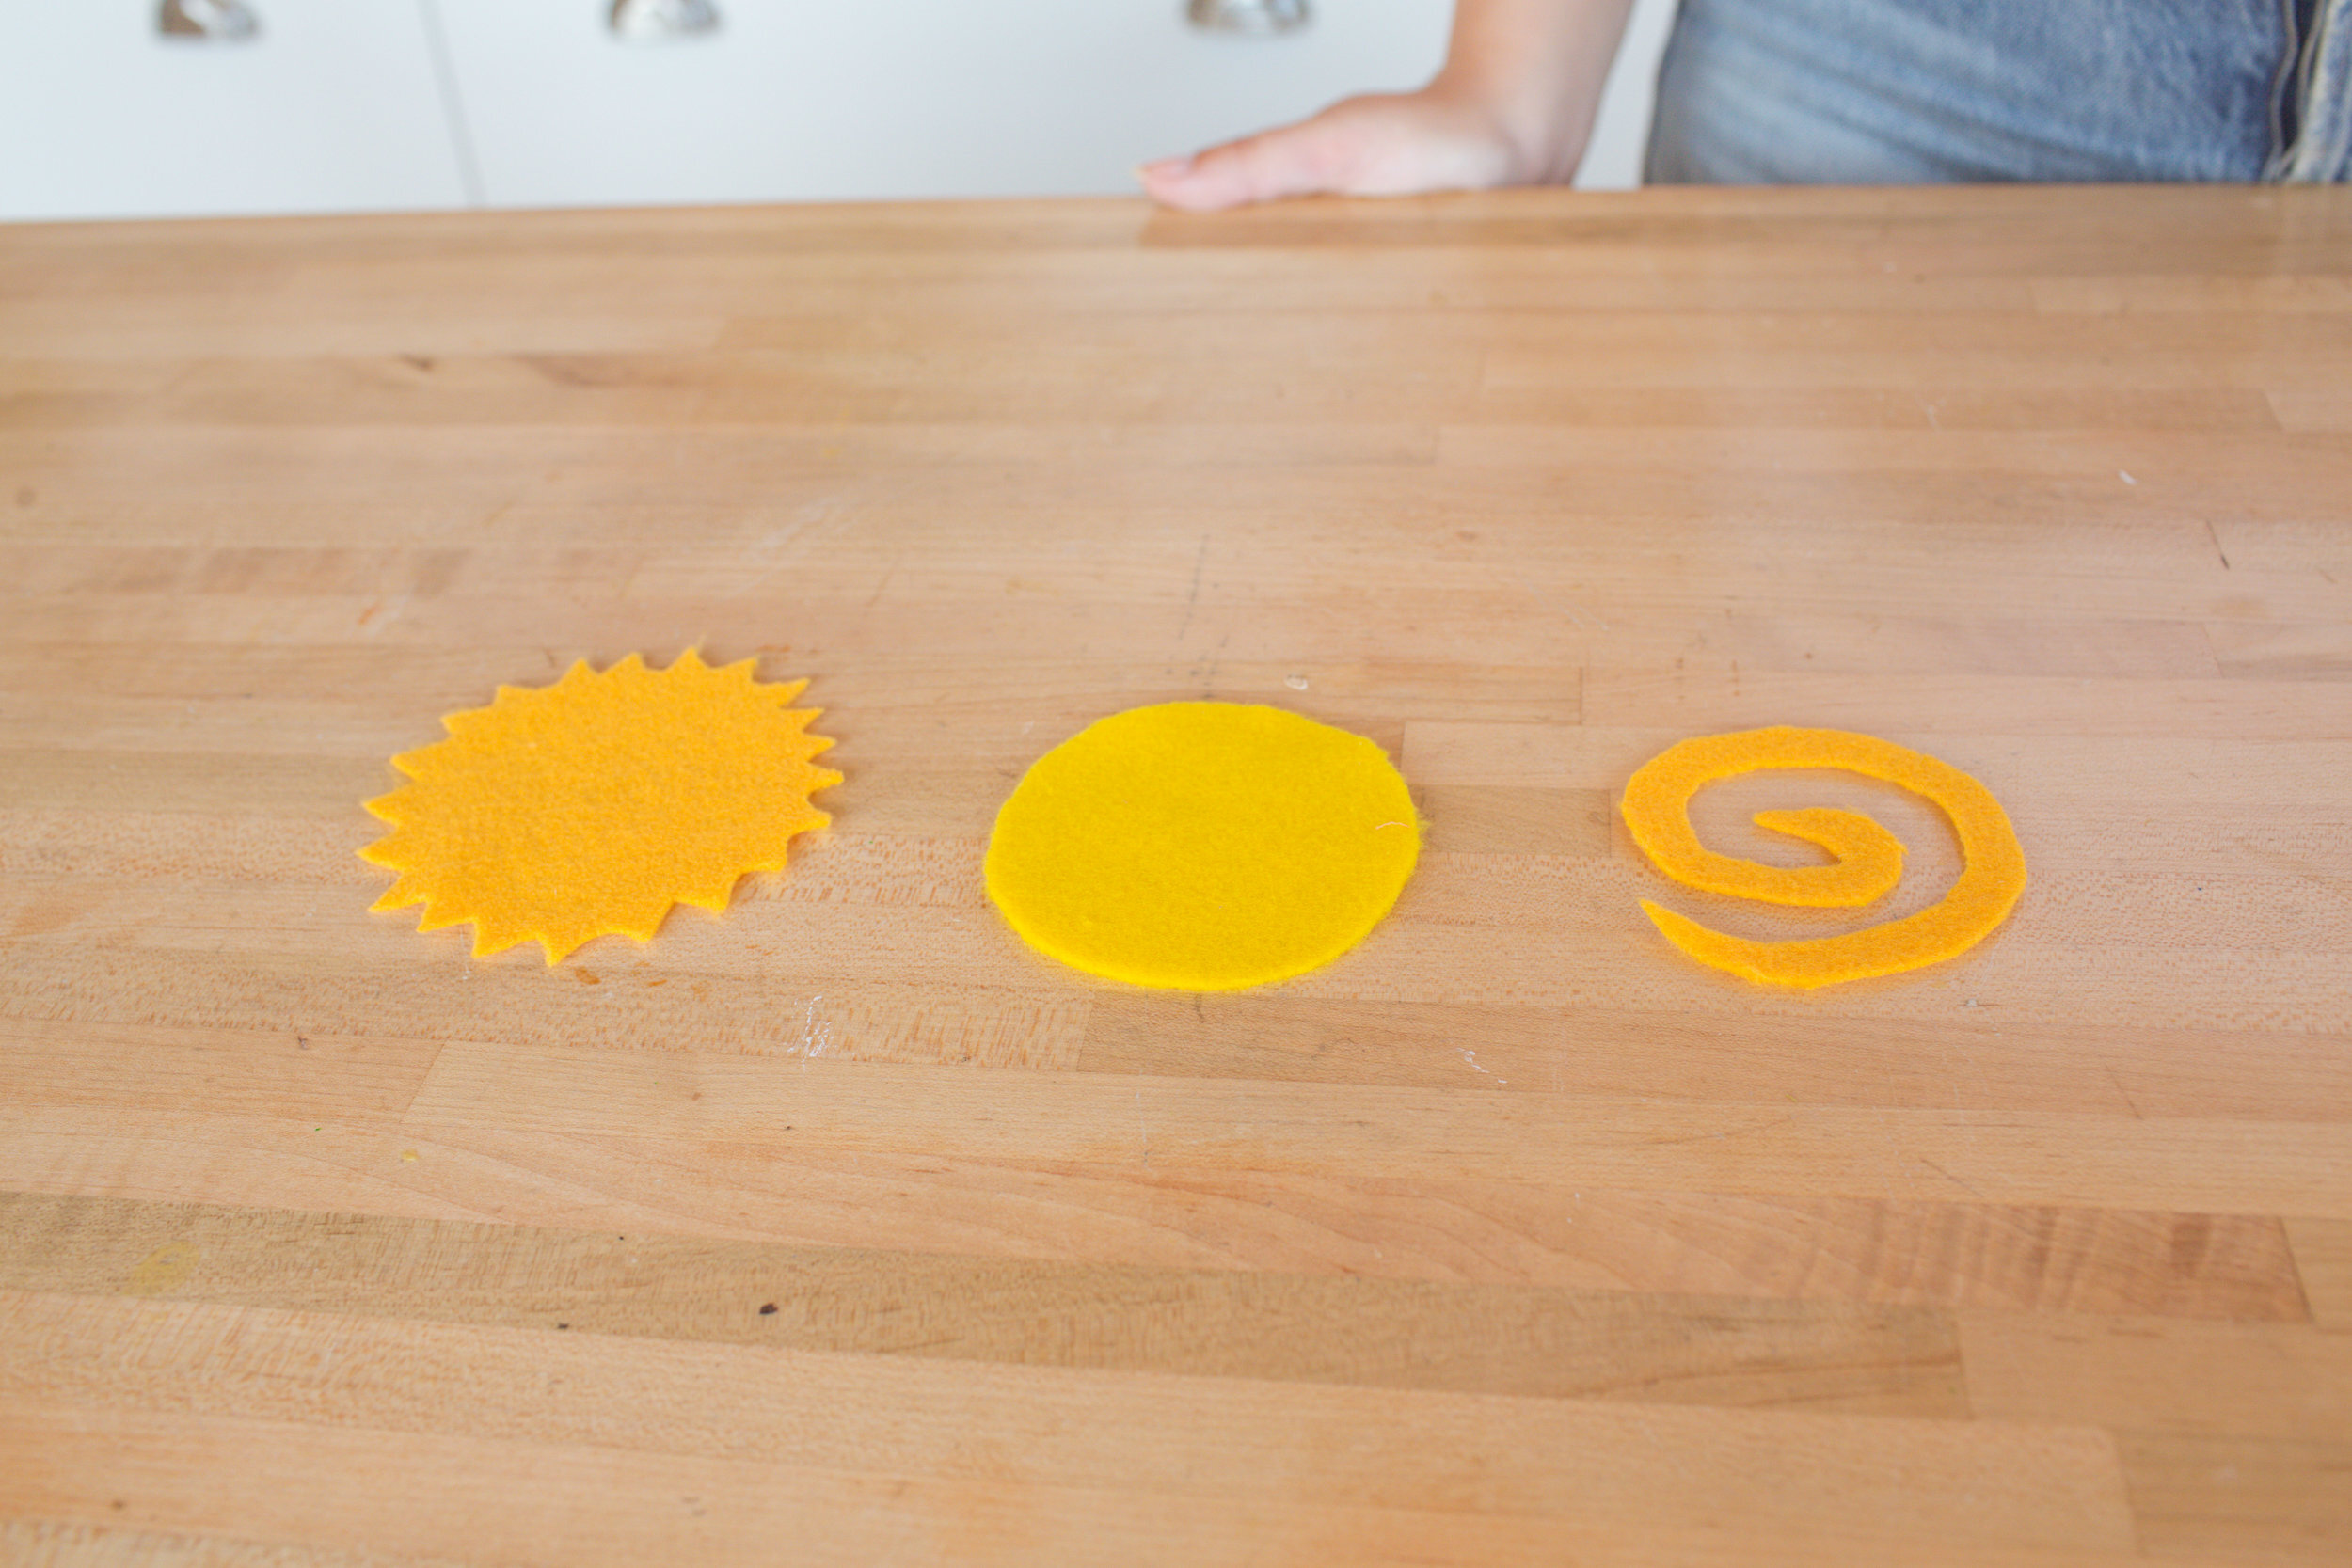
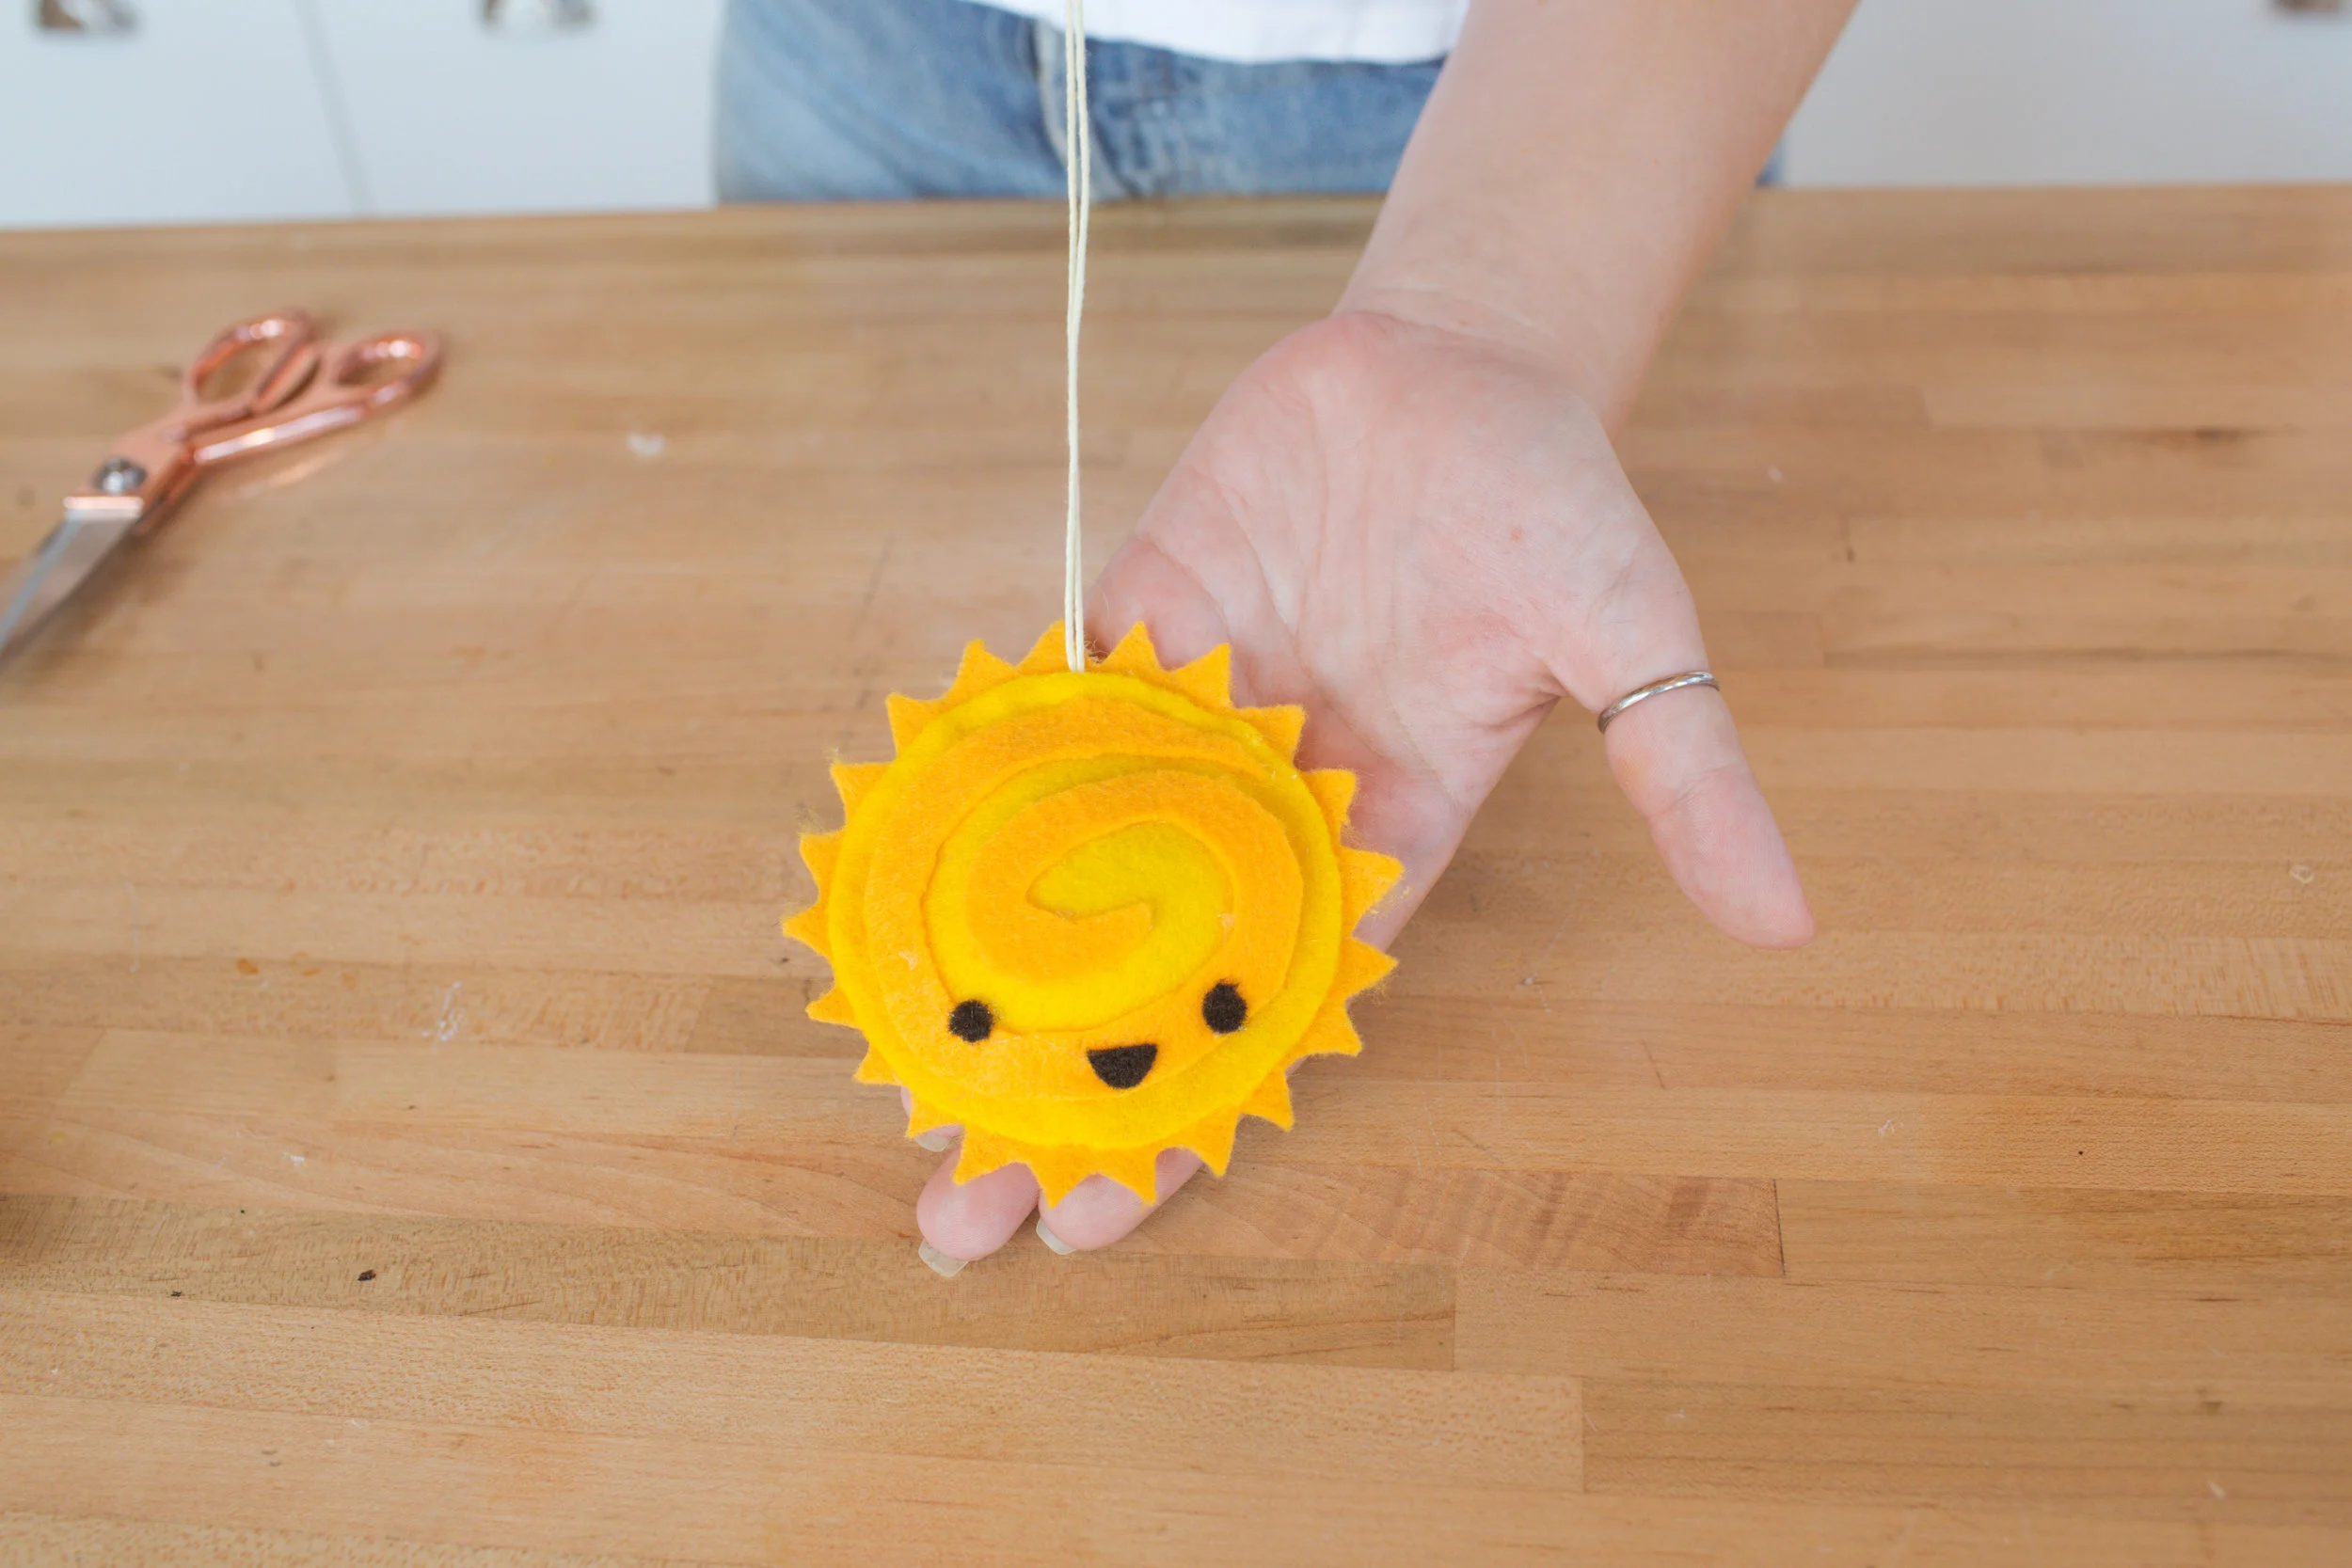
Start by cutting three shapes - one circle, one spikey sun shape, and one circle/swirl shape. Use hot glue to attach the swirl shape to the circle shape. Glue a piece of folded in half string to the inside of the spikey sun shape. Next, glue the circle shape to the spikey sun shape, making sure not to glue the middle of the circle and to leave a gap around the edge to create a little pocket. Finally, add a little bit of stuffing to the pocket plus some catnip and glue everything closed. Next, add a little smiley face to the sun with black felt and hot glue!
KALLAX HAMSTER CAGE
WHAT YOU’LL NEED…
Kallax shelf
Pencil
Ruler
Hole saw
Nail gun
Staple gun
Electrical tape
Plastic sheeting
¼ inch hardware mesh
Hamster accessories
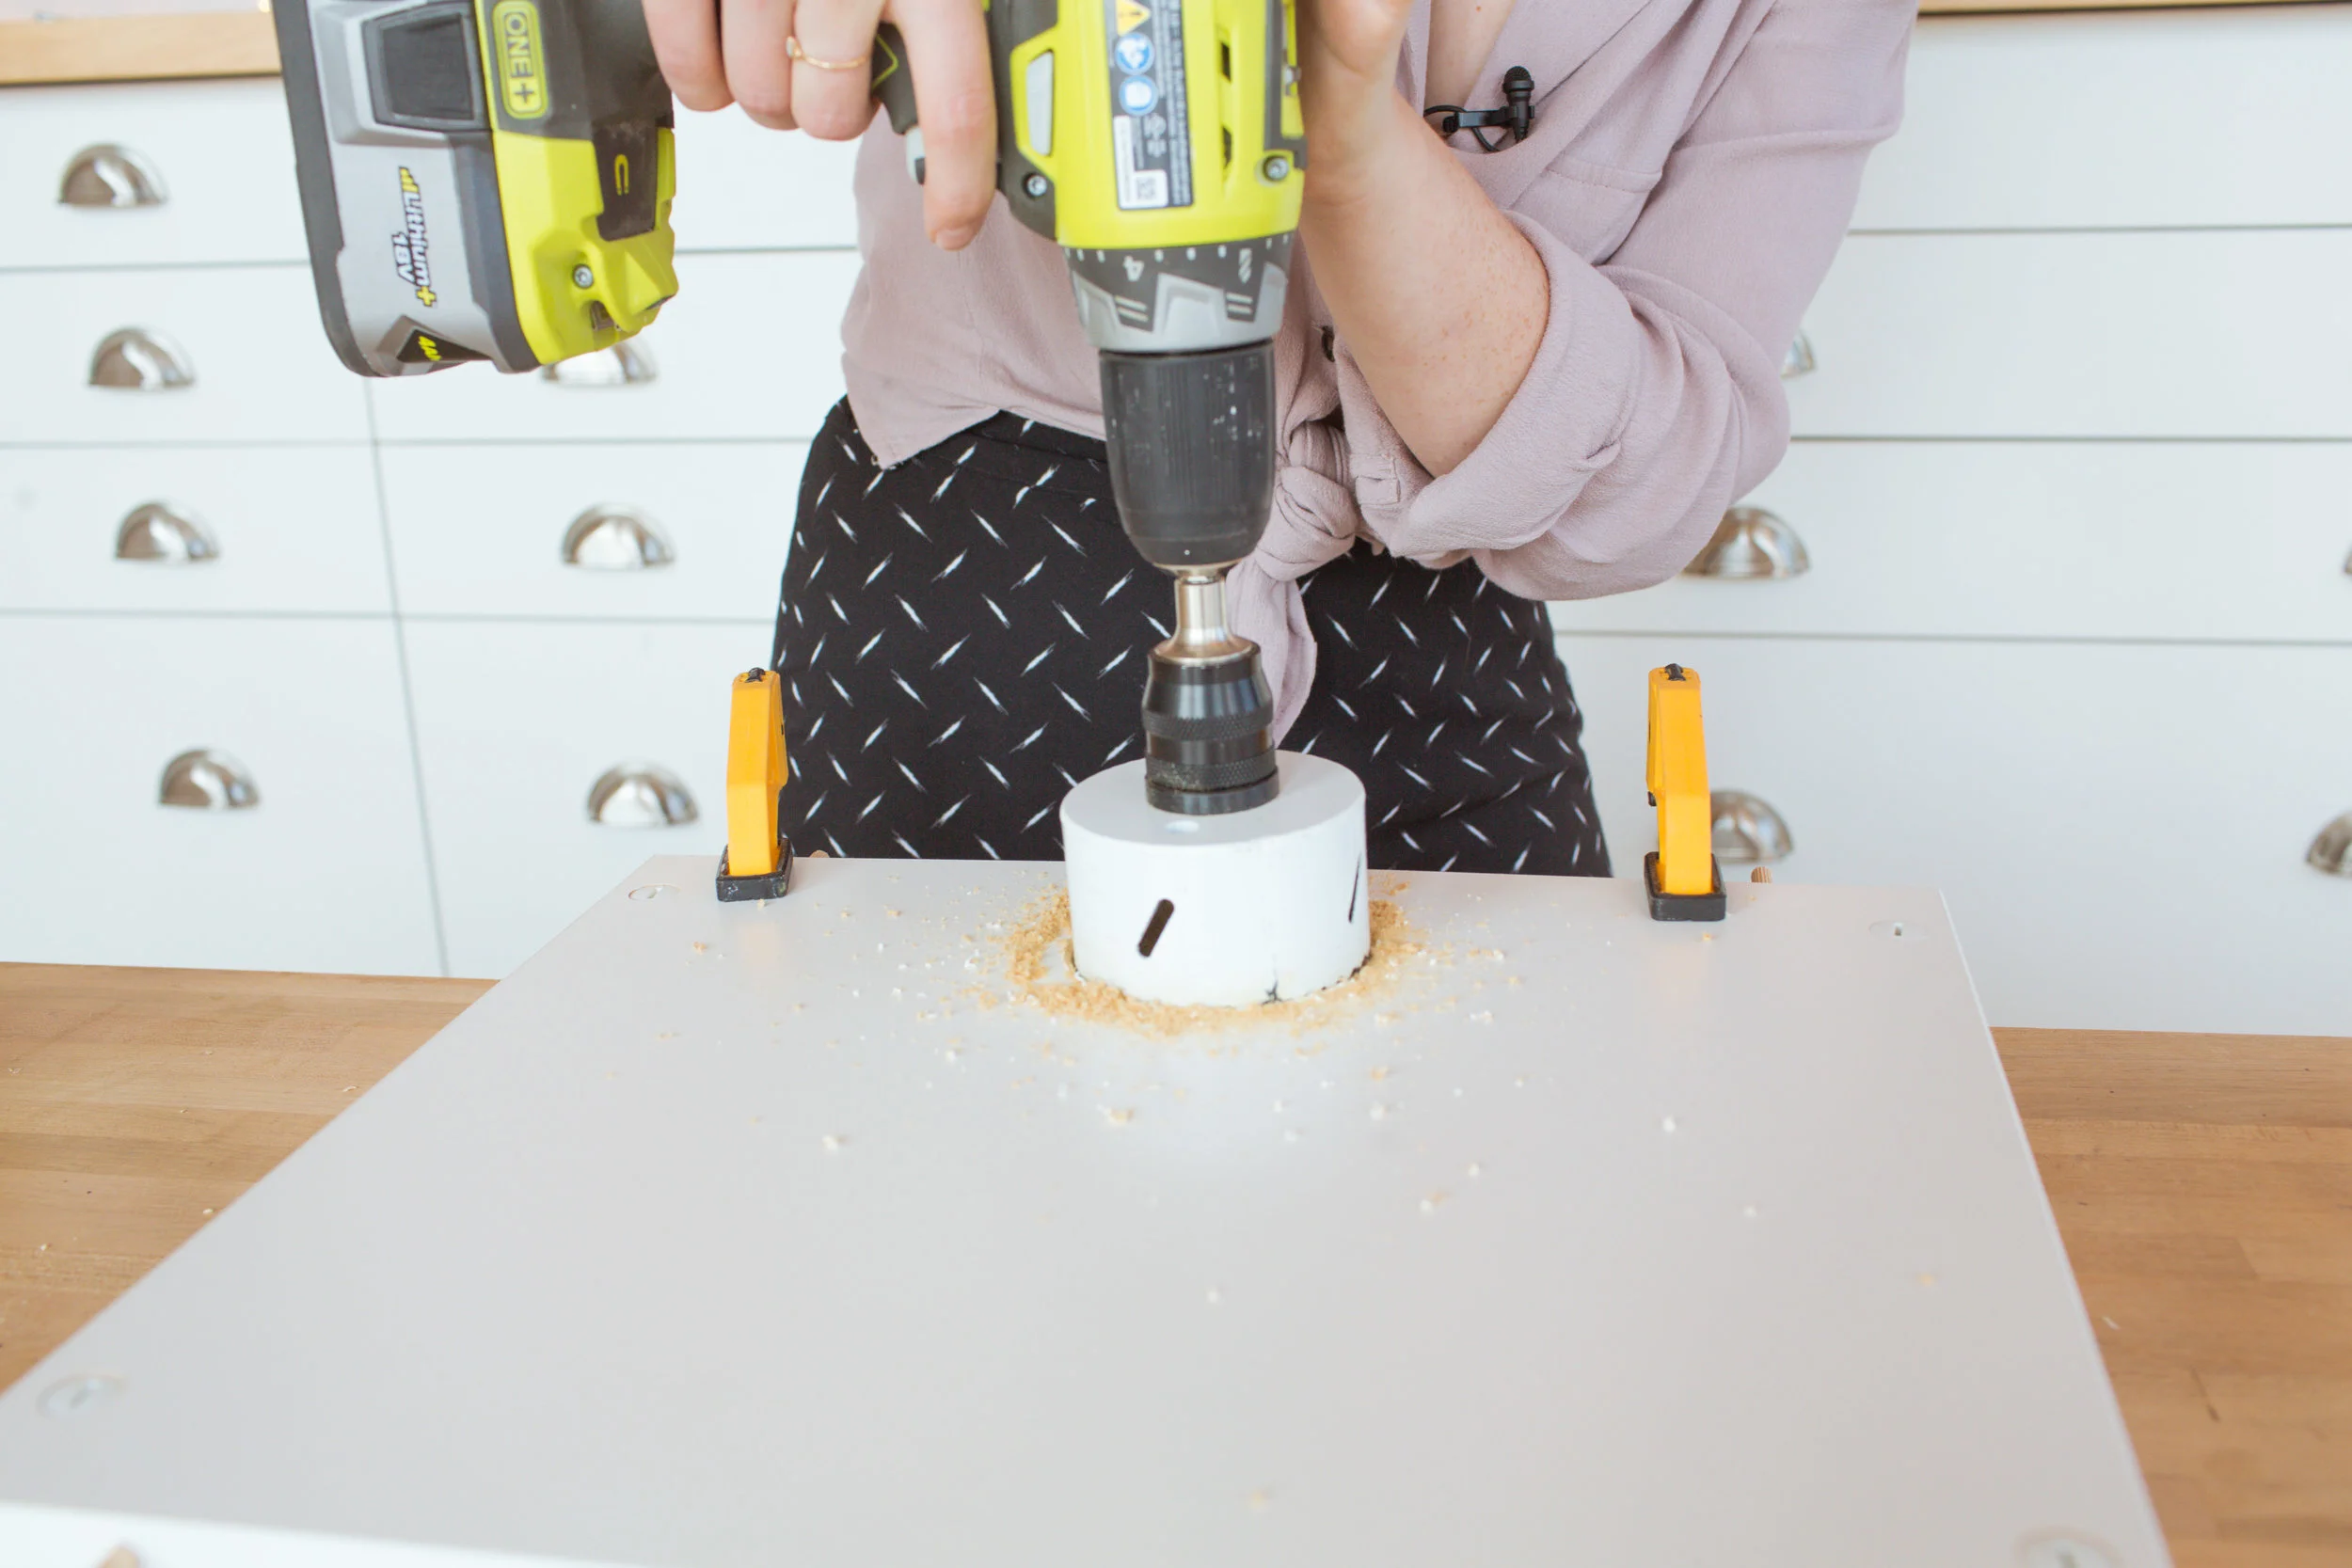
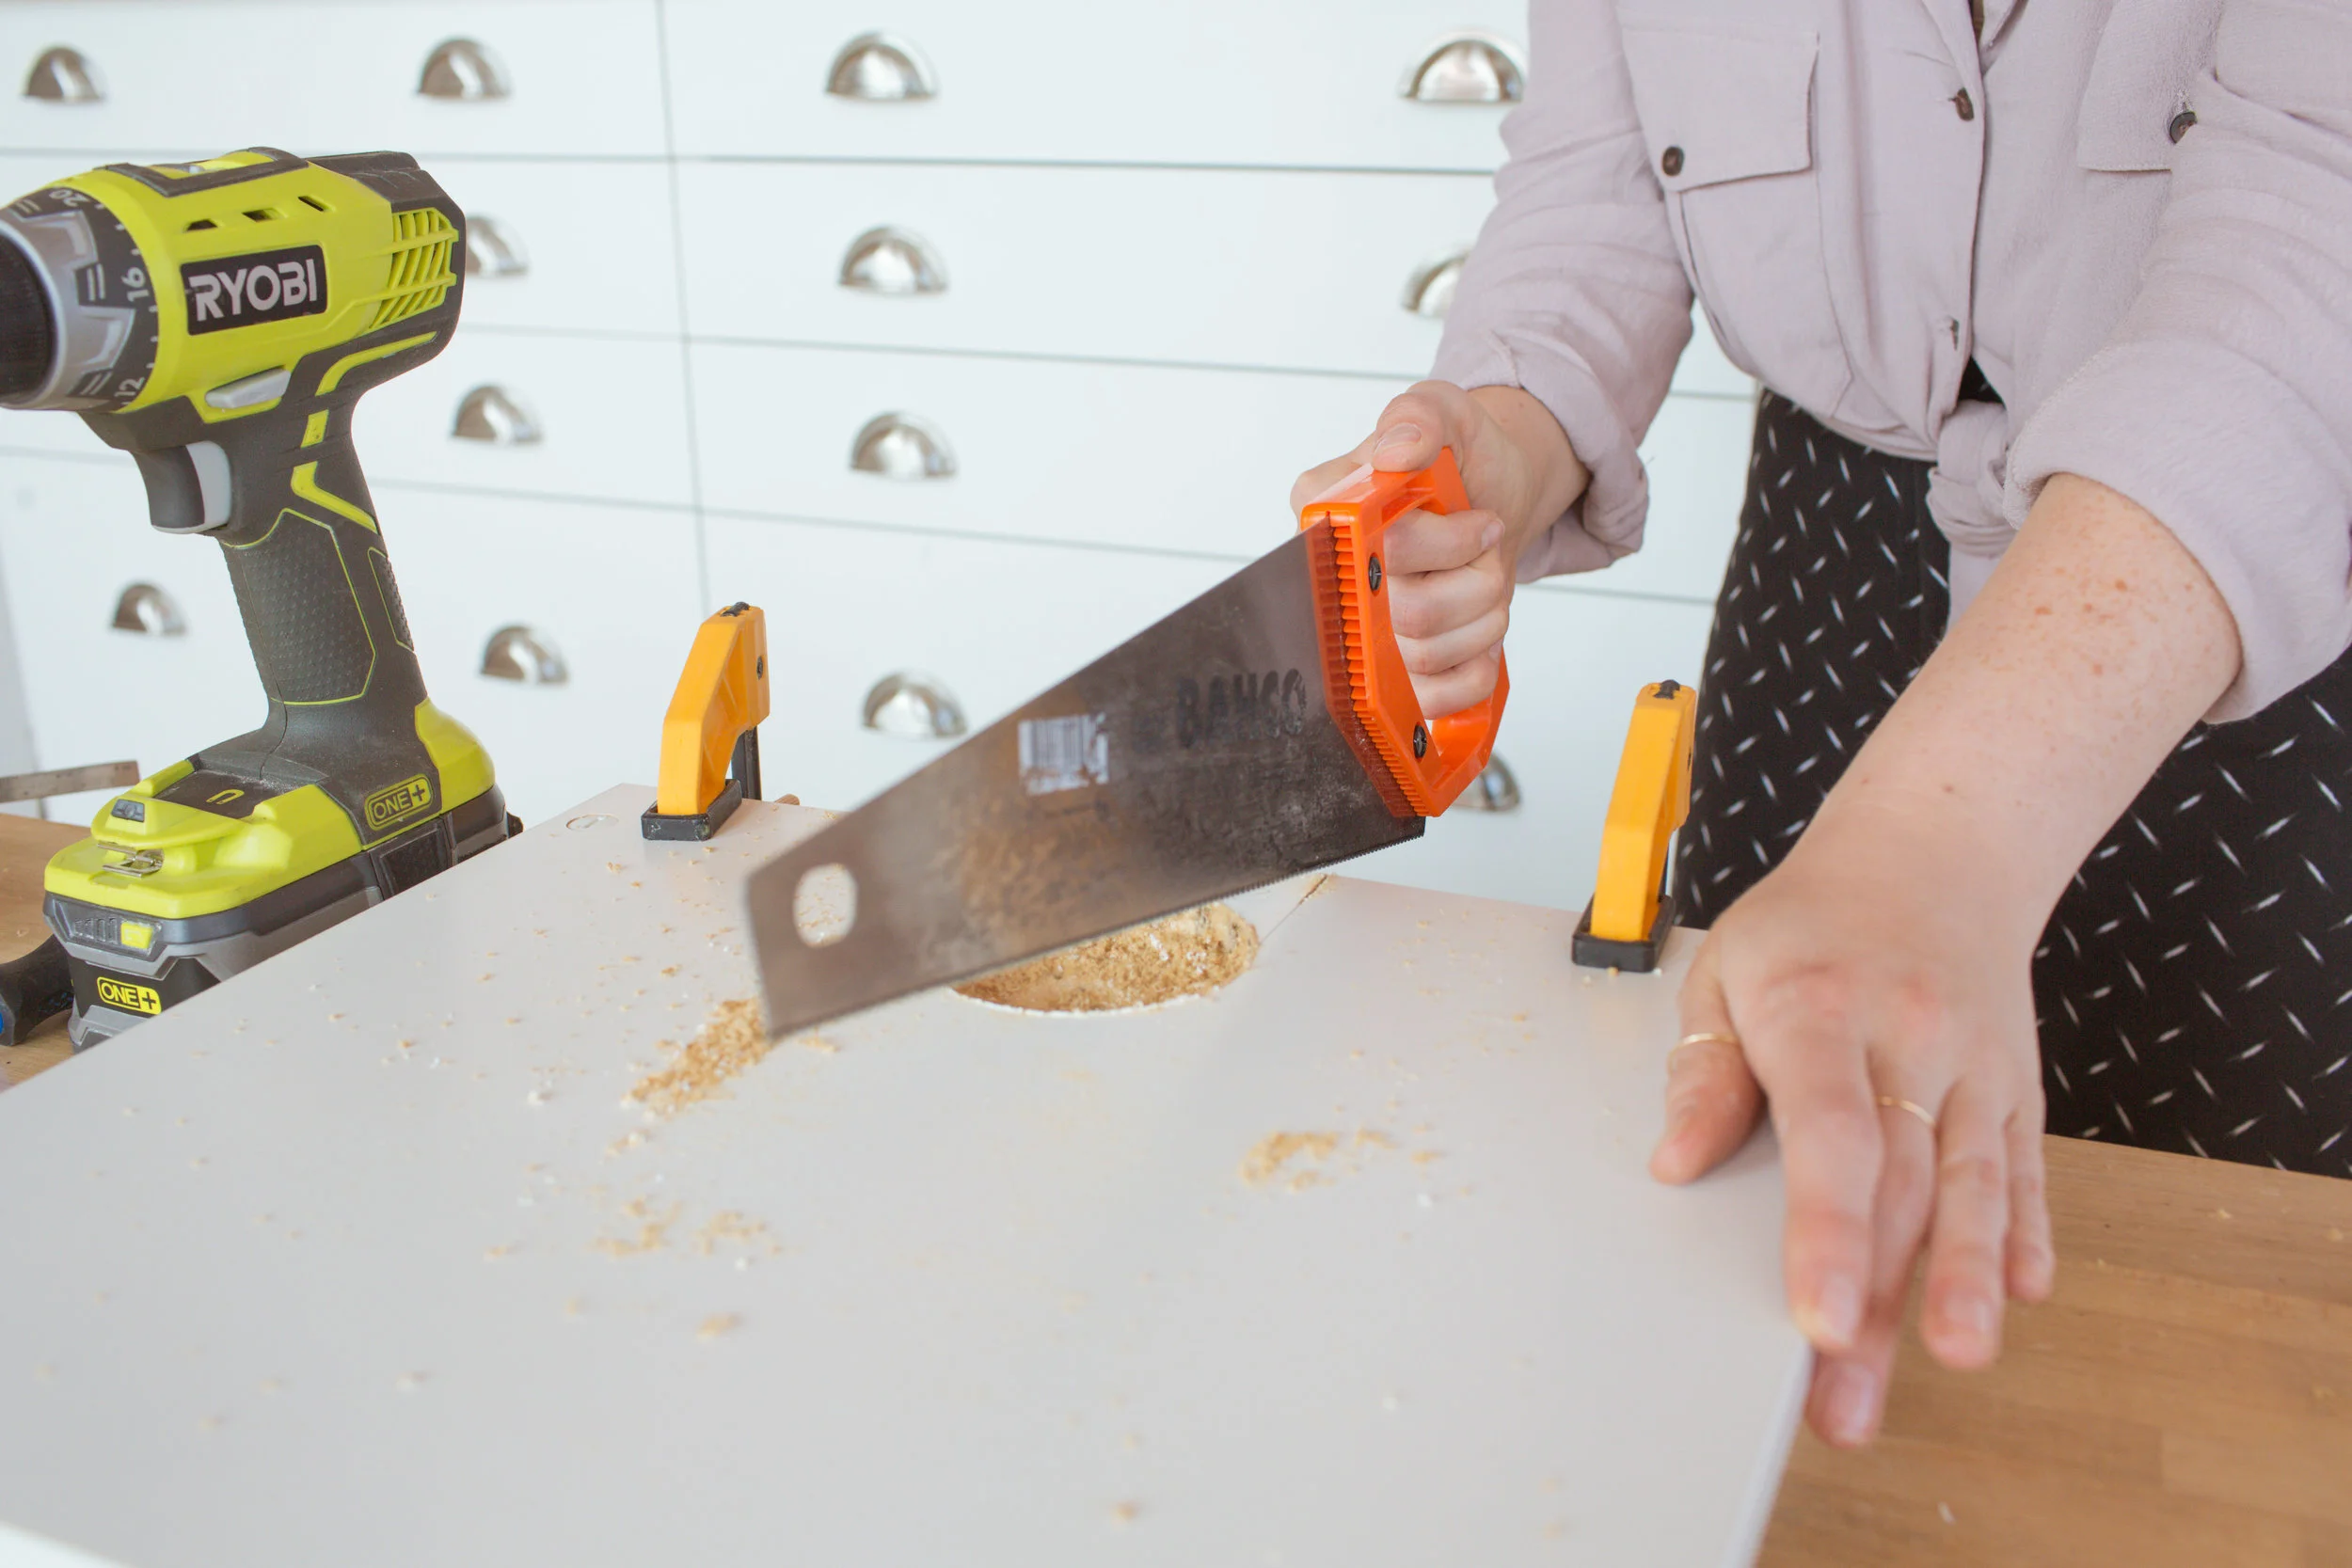
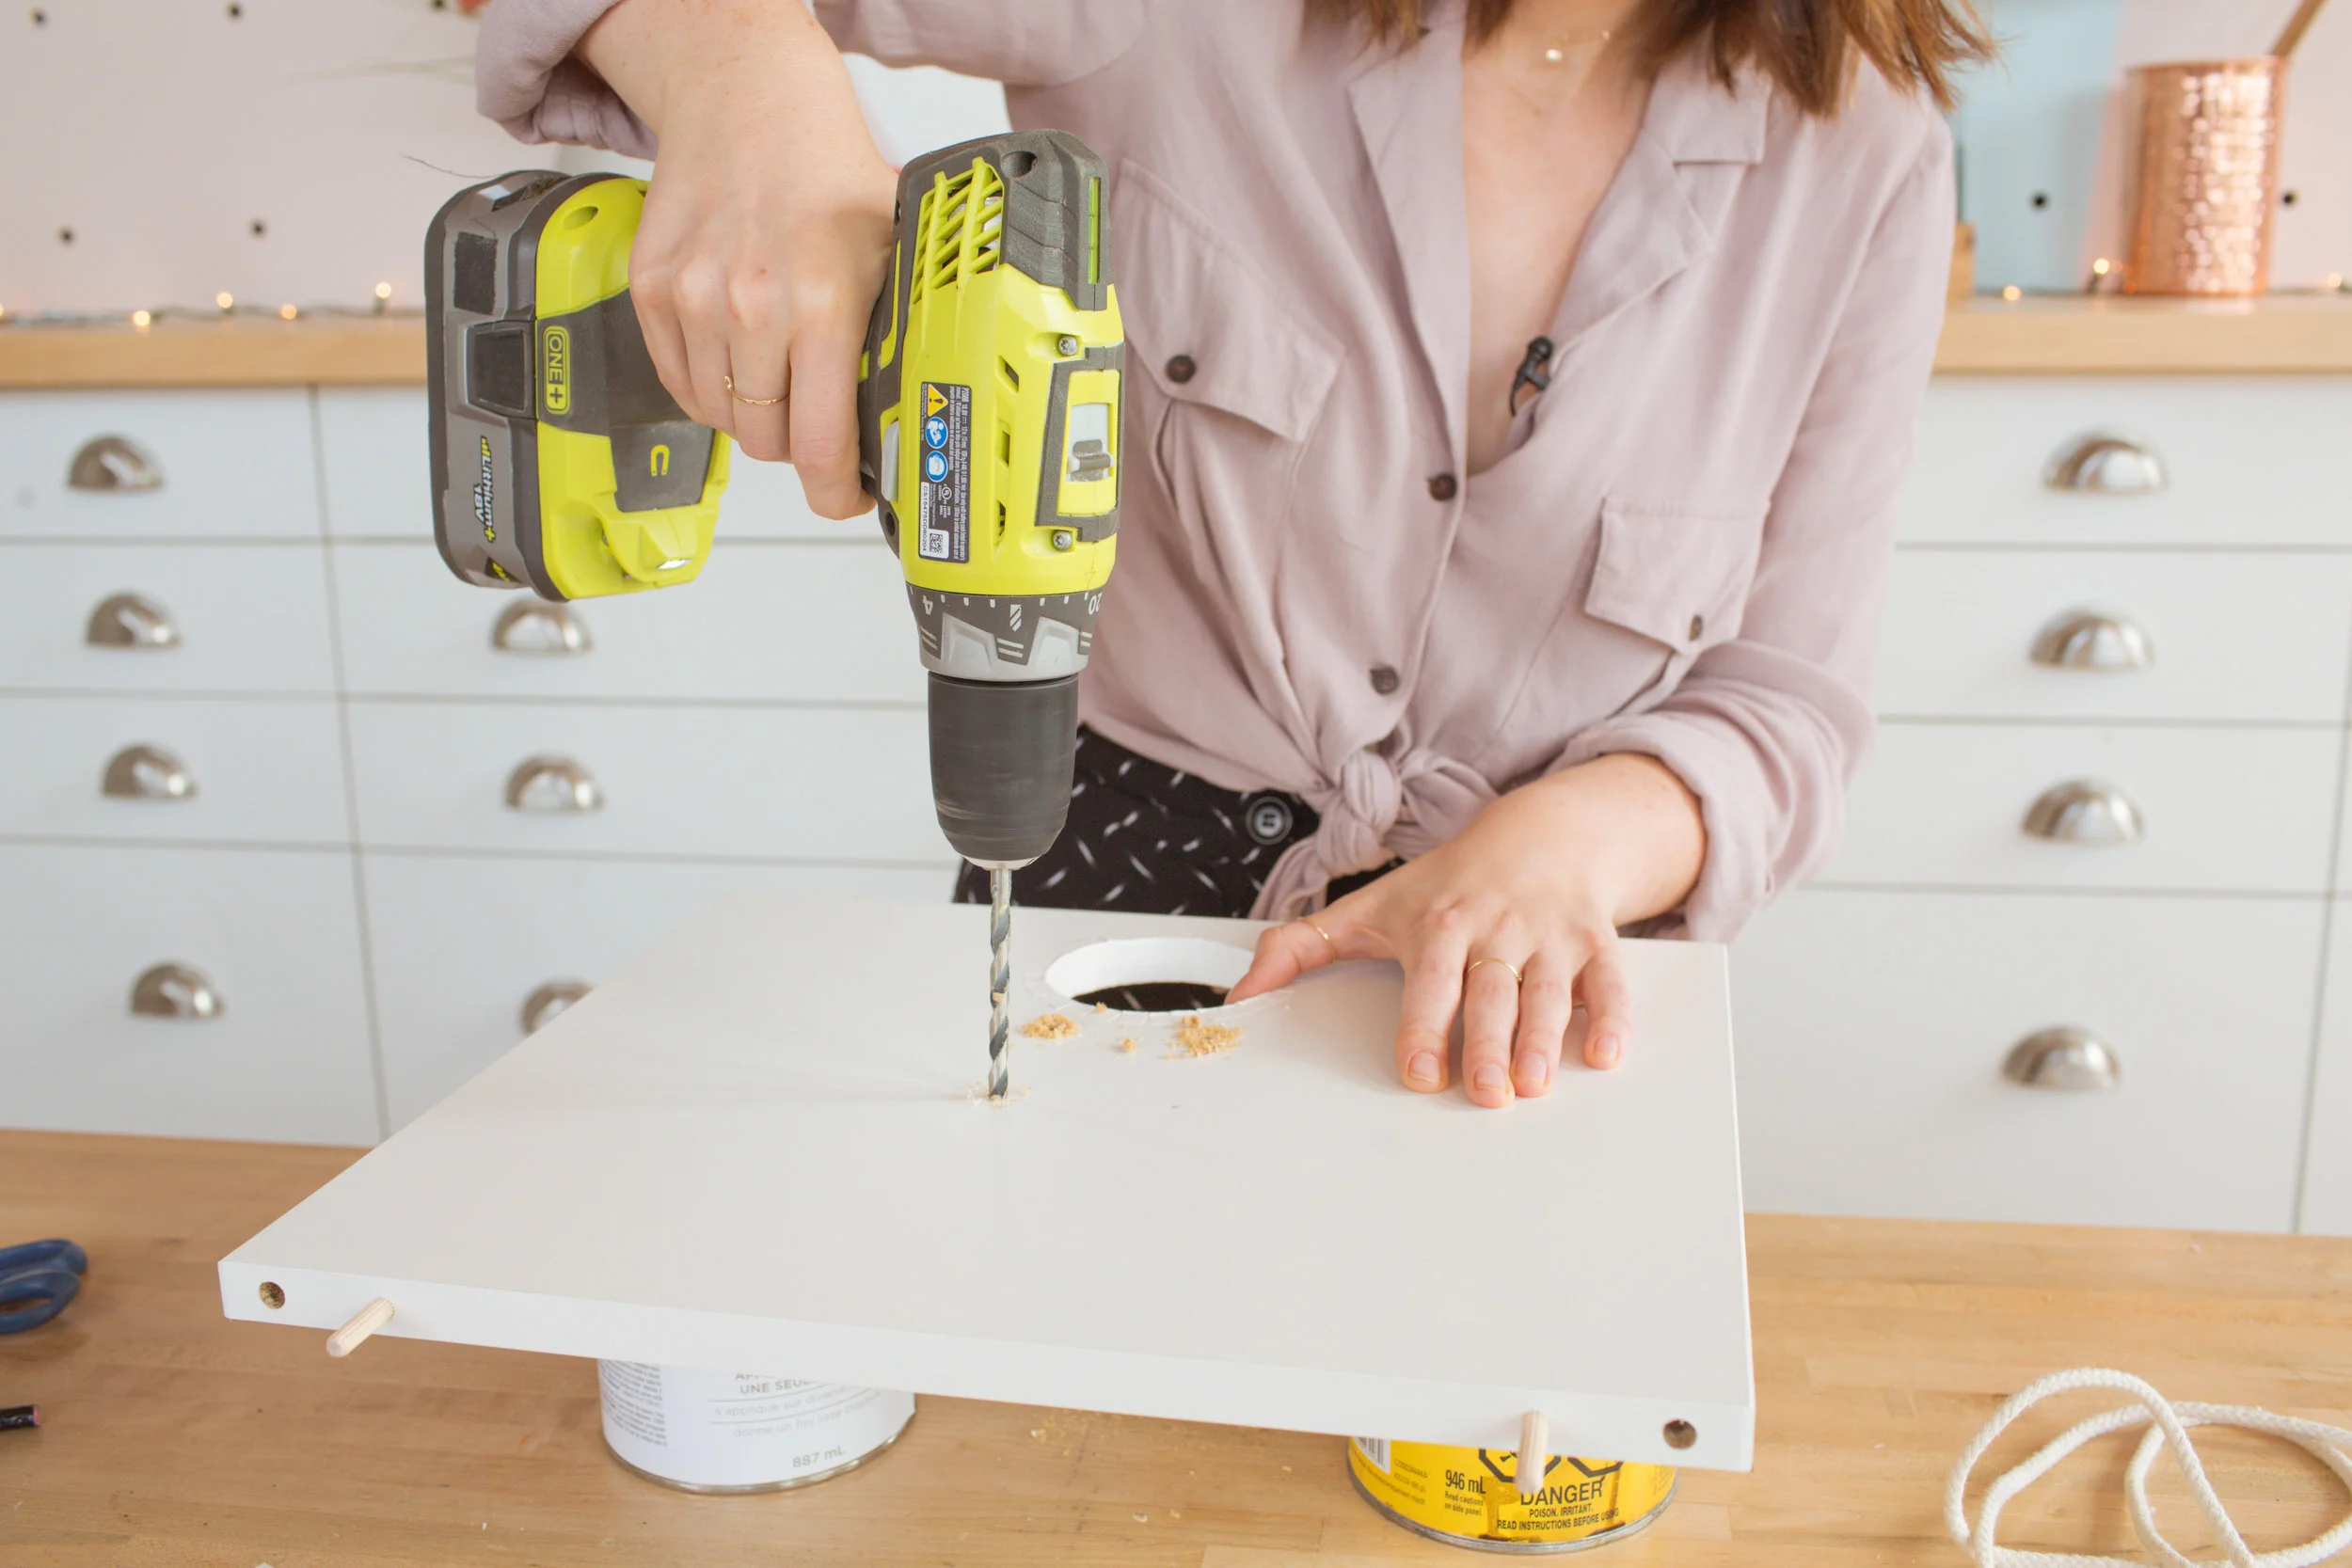
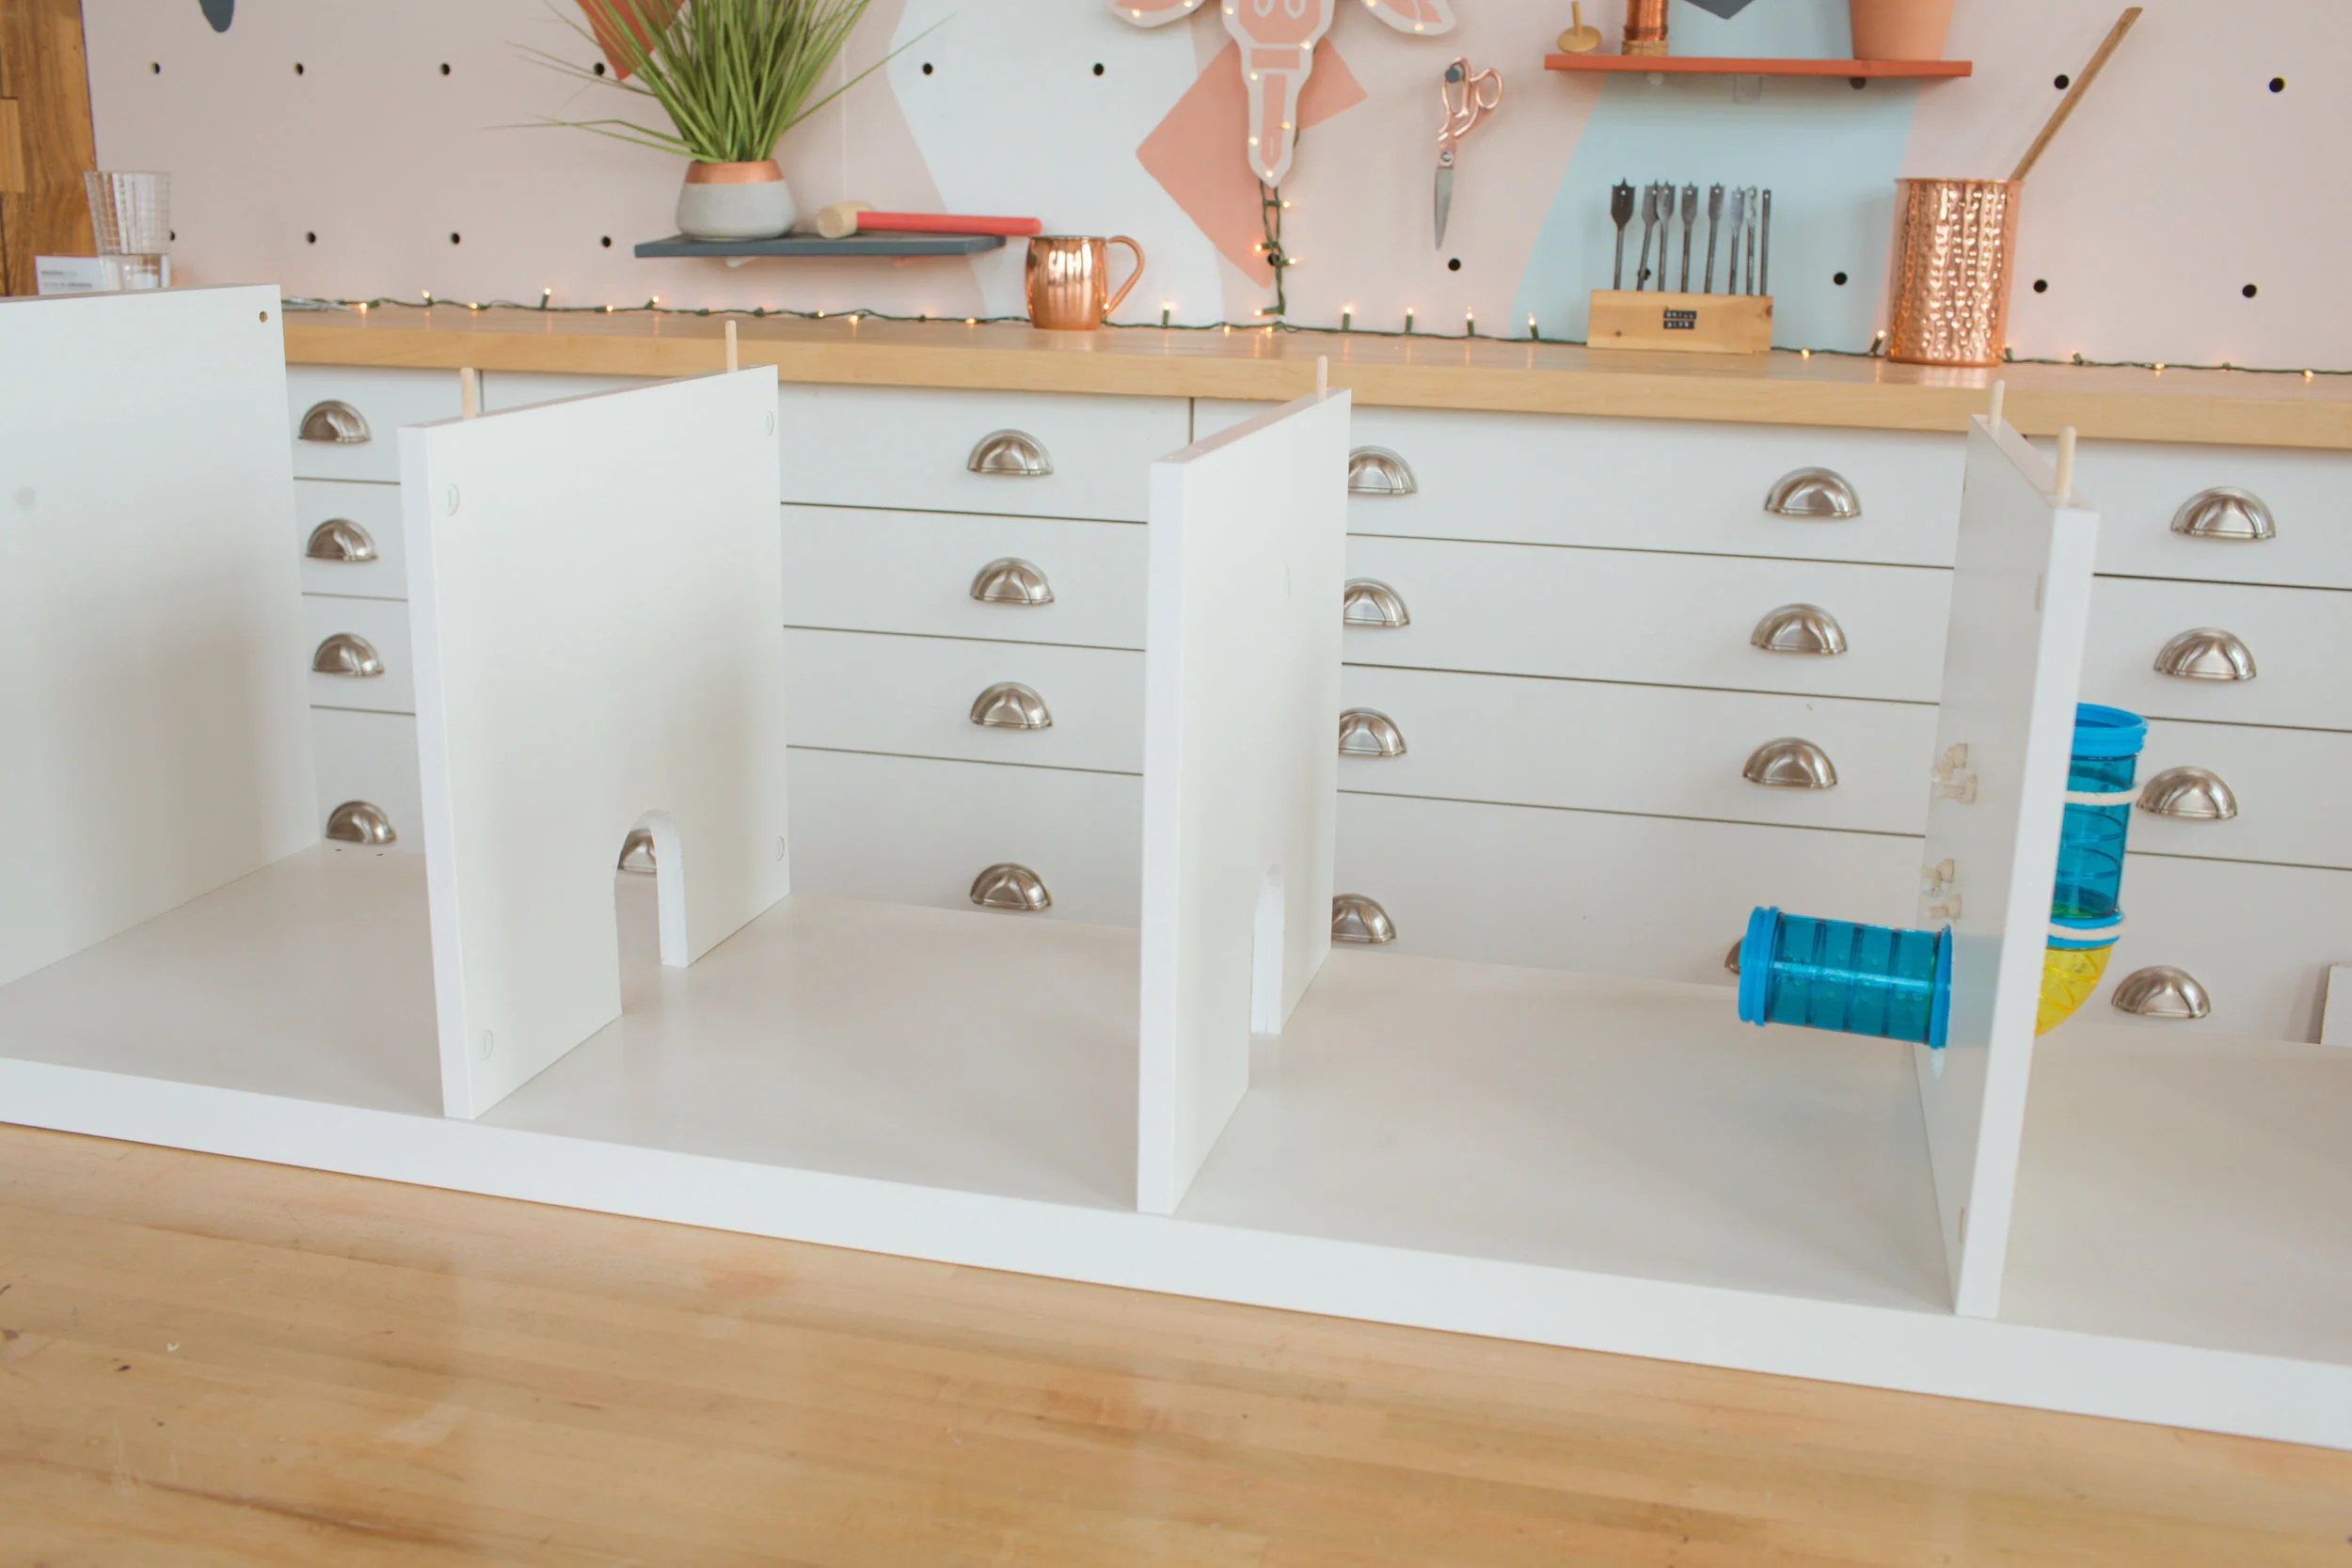
Our first step is to take apart our Kallax. Next, we took each square middle shelf piece and marked a line 4 ¼ inches up from one edge. Use a hole saw to drill a hole in the wood at the top of this 4 ¼ inch line. Next, cut two straight lines up from the edge of the shelf piece and into the hole.


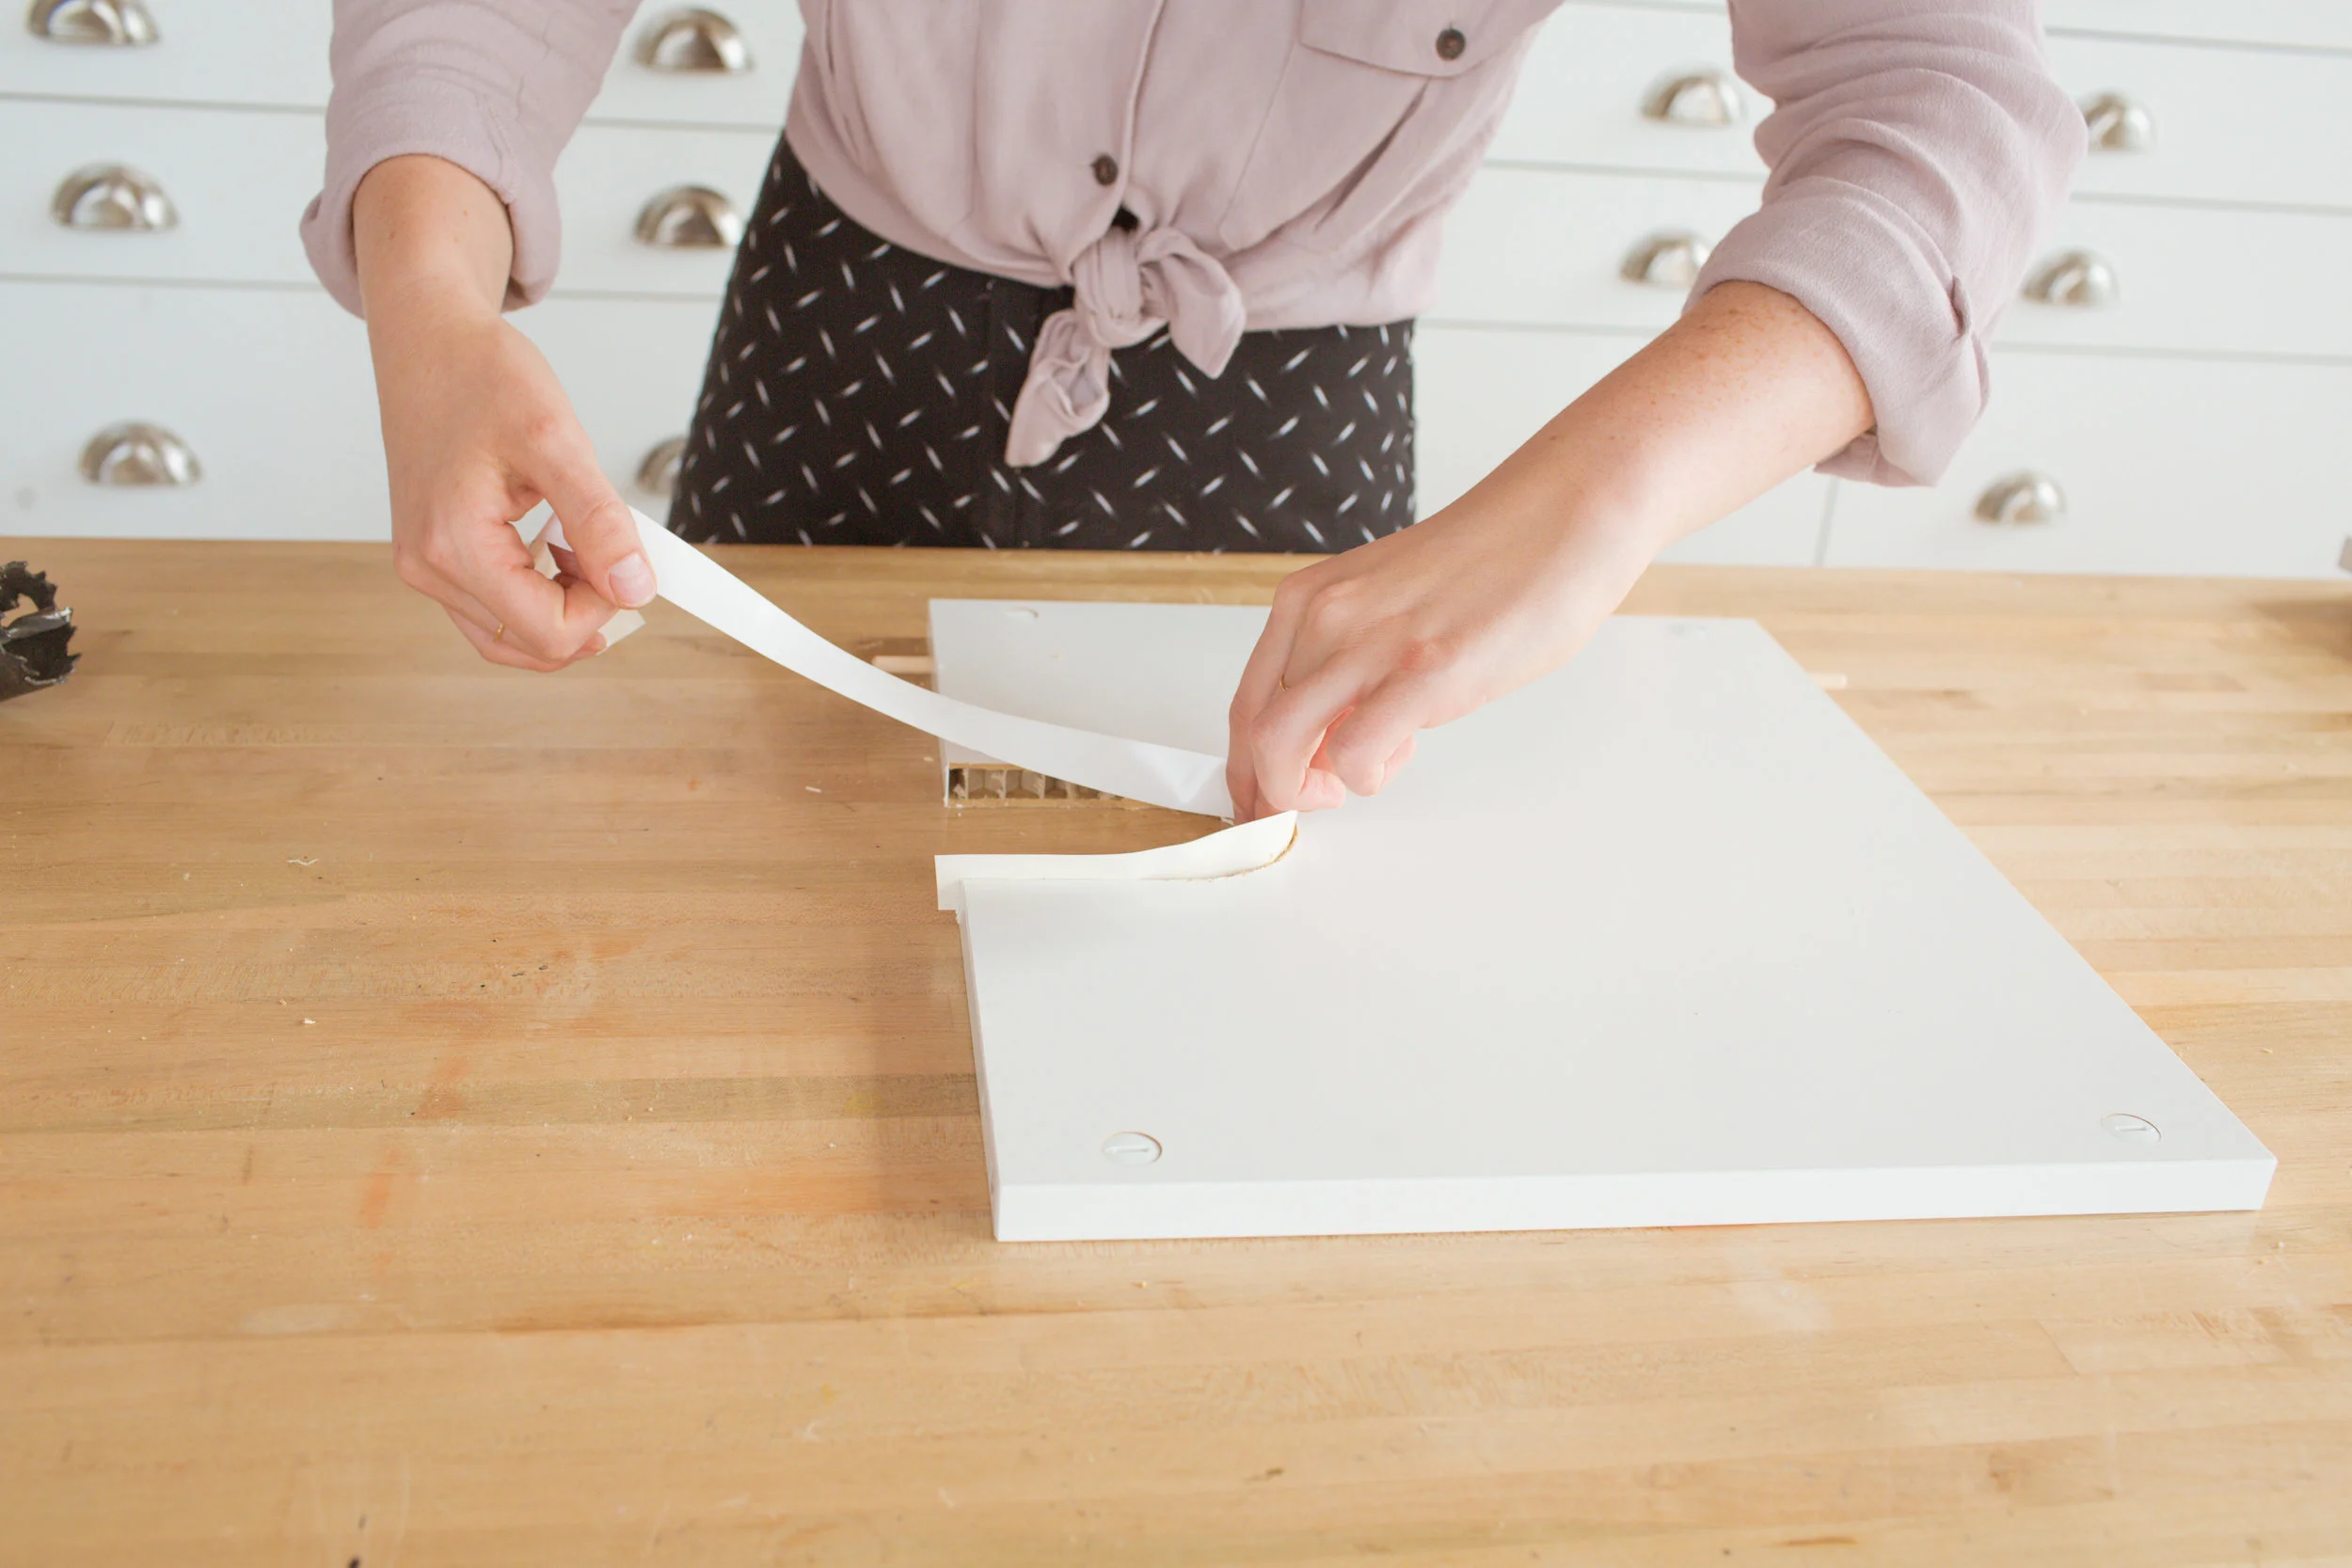
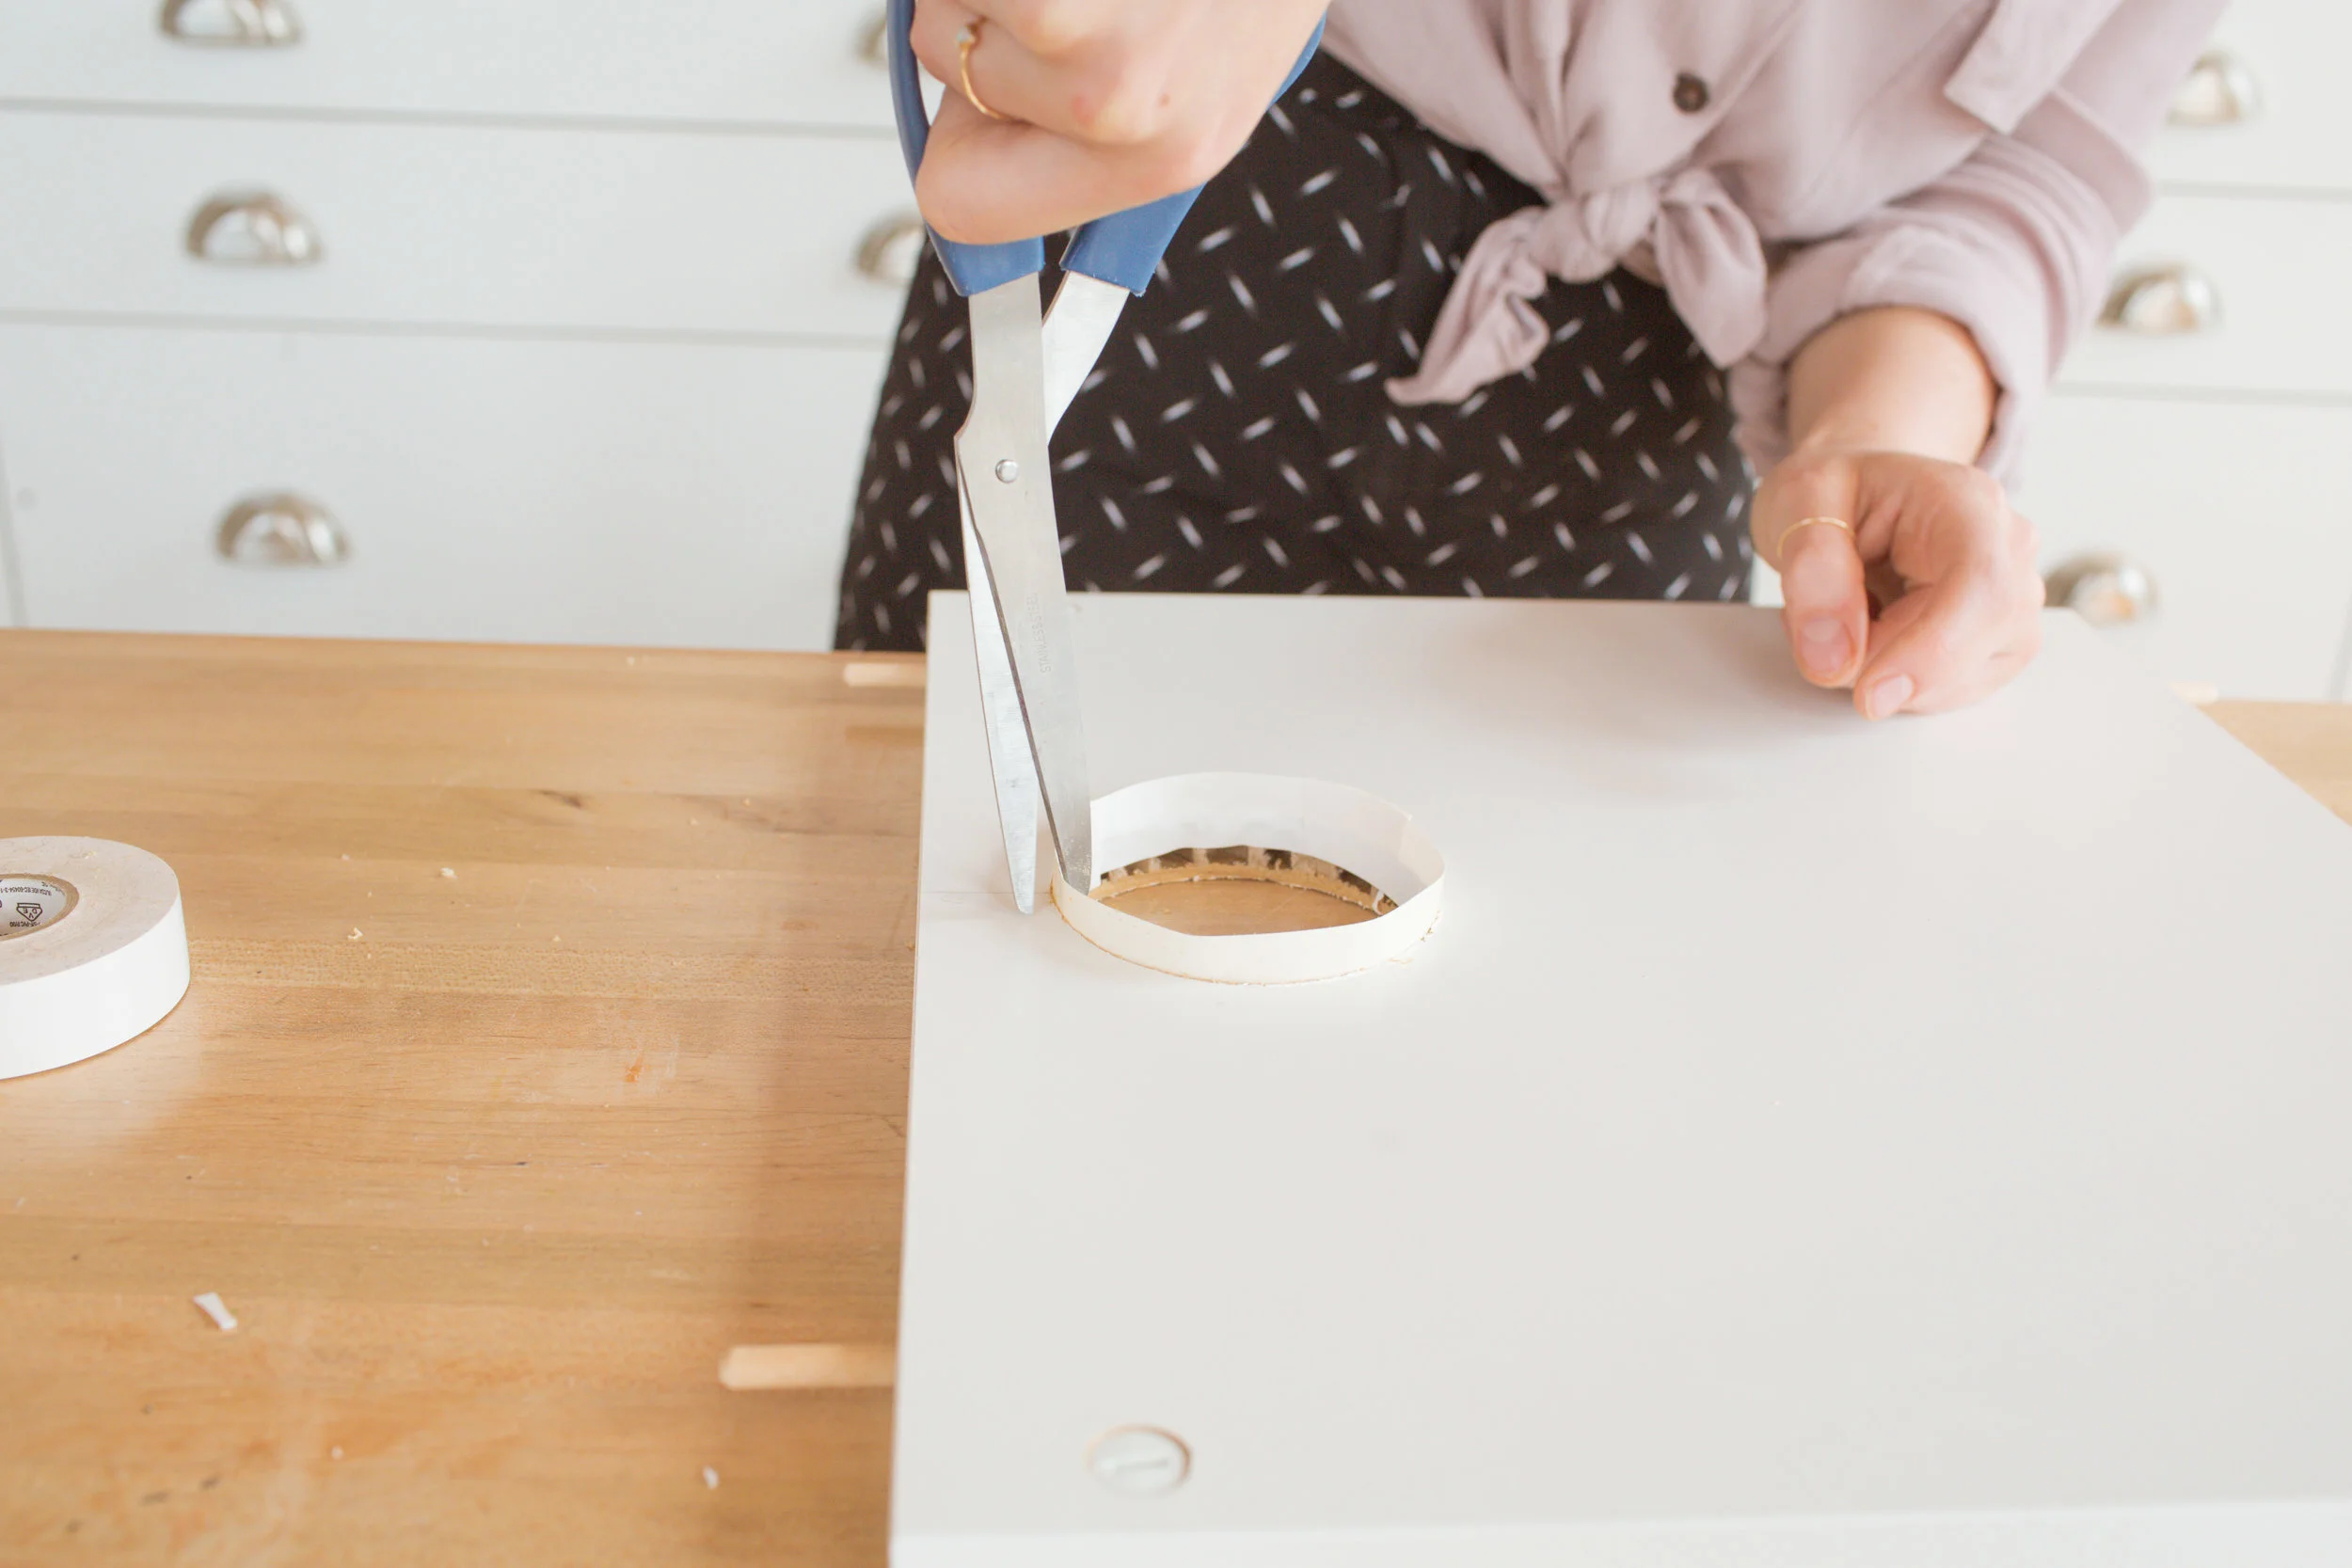
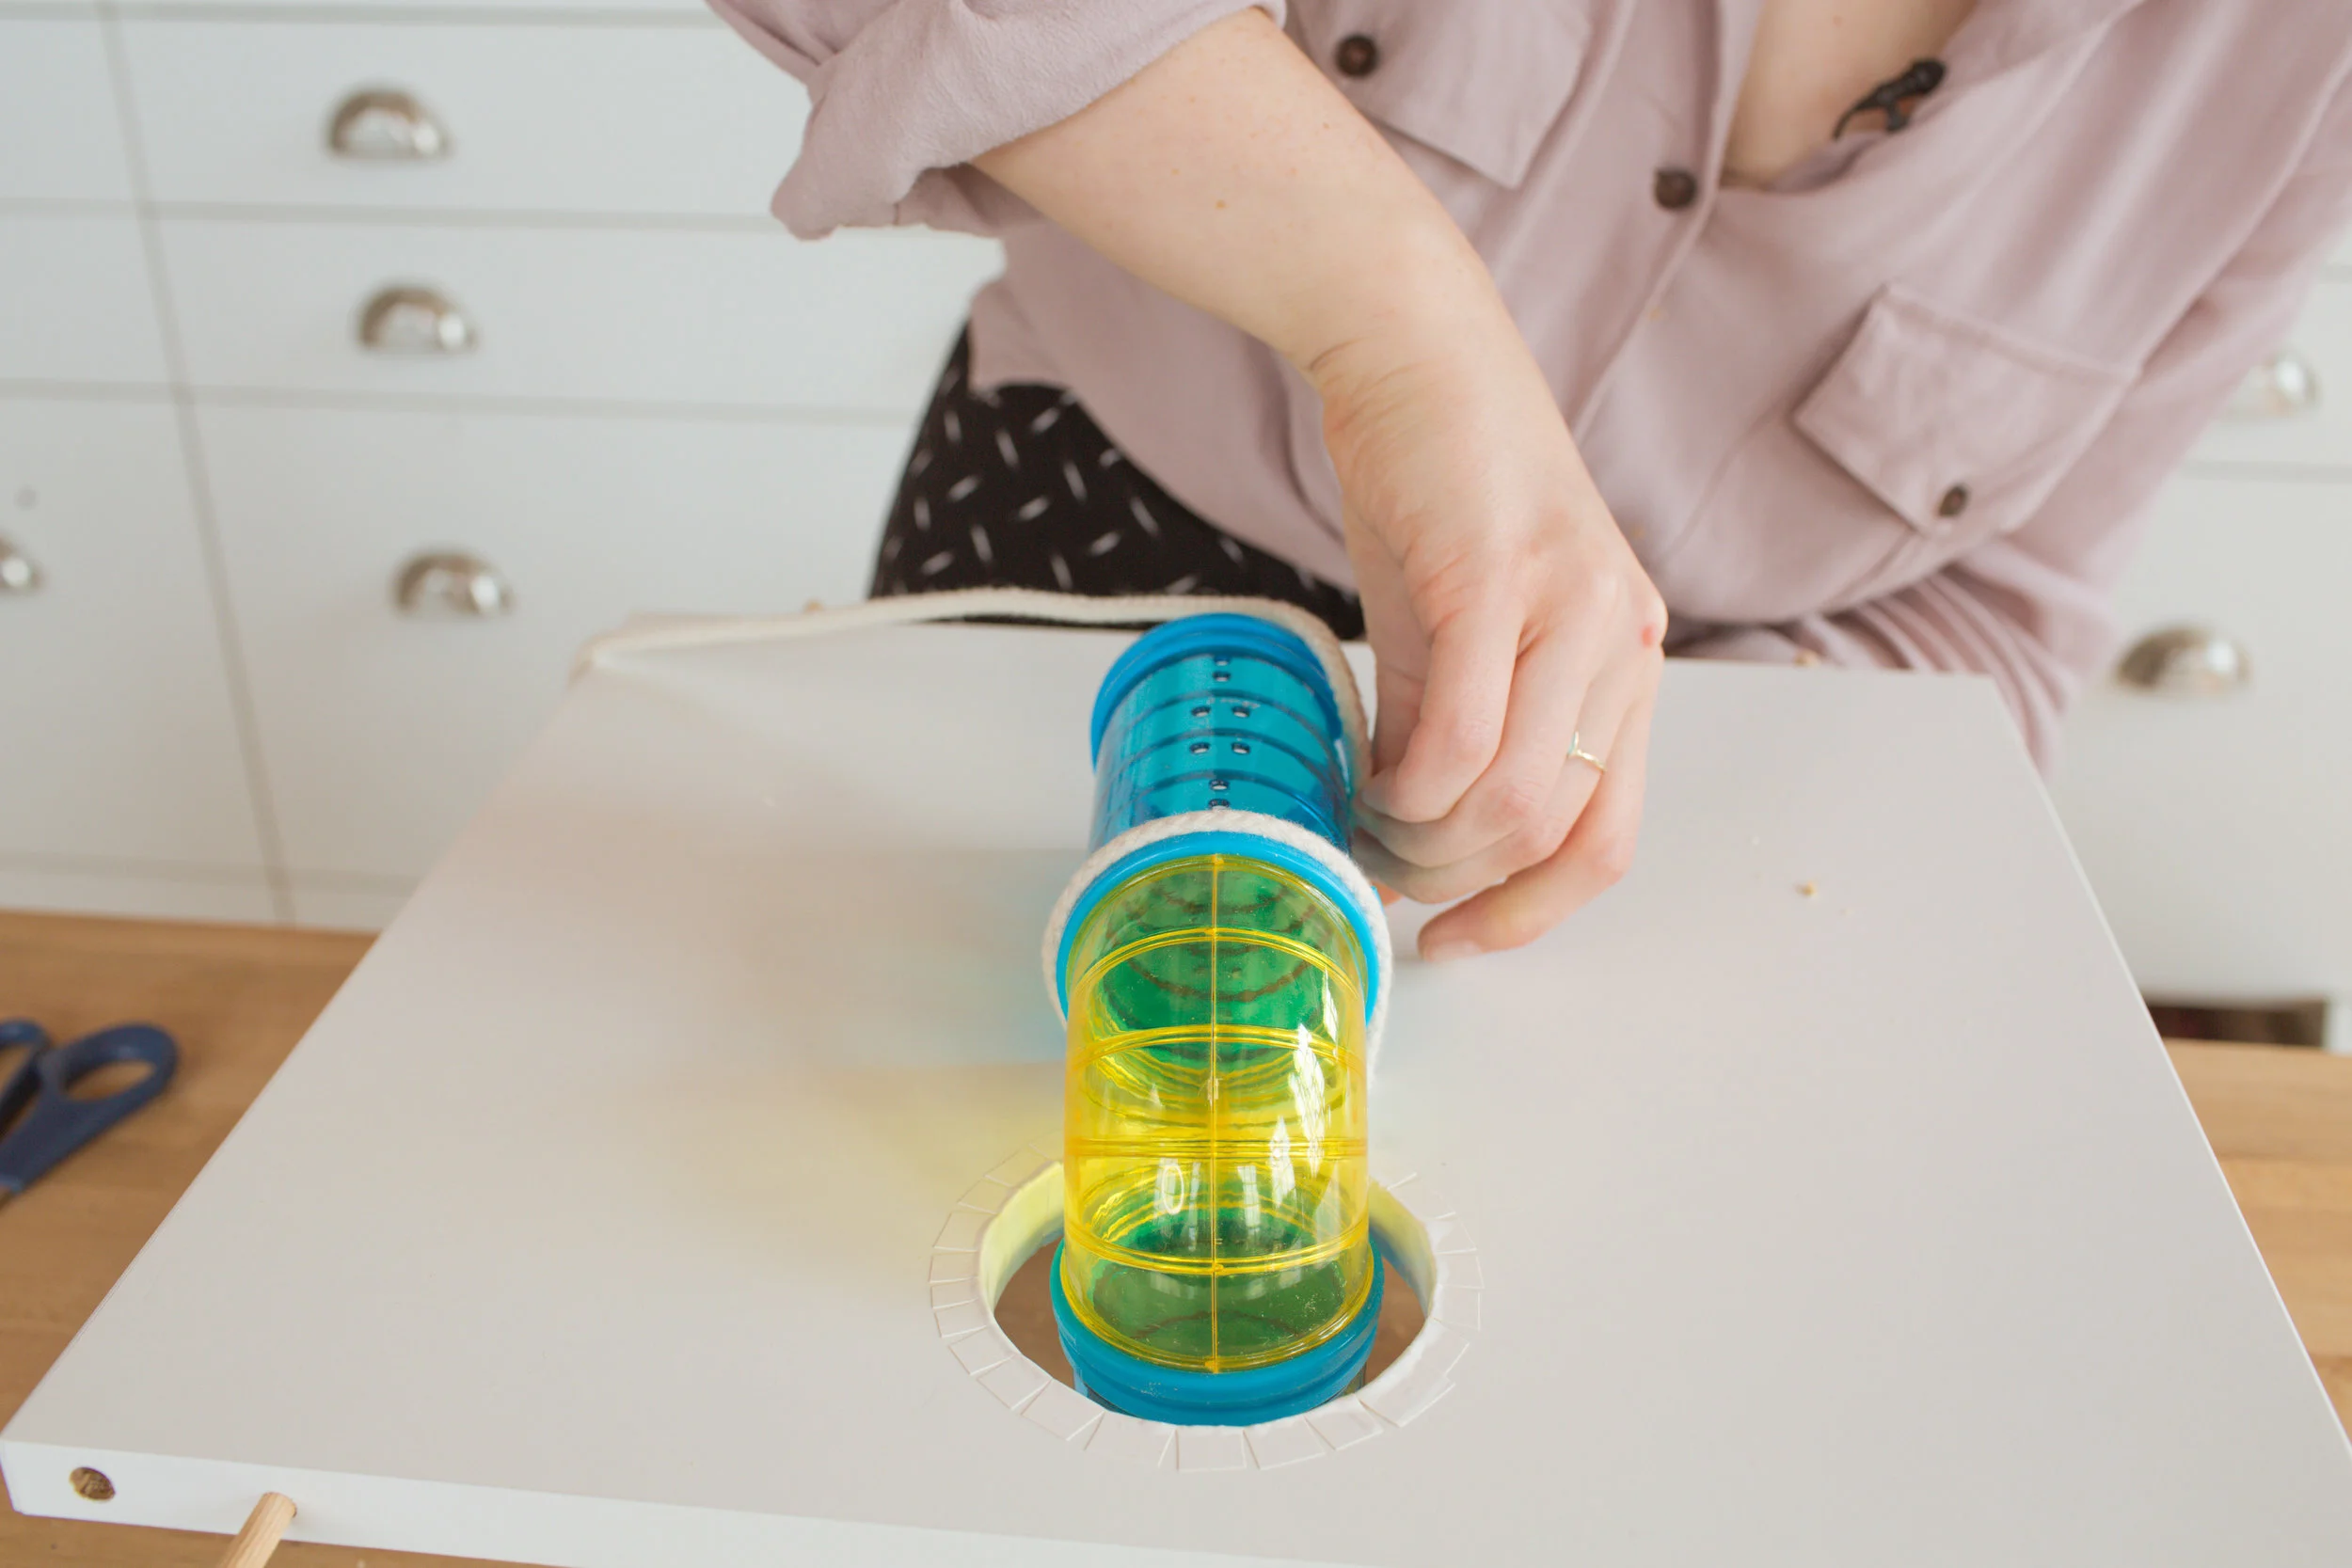
This will create a cute little archway for Timbit to walk through! We did this on two of the boards. One the third board, we added just a hole because we are planning to add a tube later! We then used some white electrical tape to line all of the raw edges for a more finished look. We found cutting tabs in the tape really helped the tape to curve nicely around the edges.

On the piece with just no archway, we laid our tubing onto the board and marked two holes on each side of the tube, four holes in total. We then used rope threaded through the holes to tie the tube onto the board to hold it in place!
Go ahead and reassemble the whole shelf. Next, we added a protective layer of plastic onto the bottom of the shelf. We used small dabs of hot glue and the white electrical tape from earlier to secure everything in place.

Next, we picked up a 1 ¼” MDF piece from the hardware store, got it cut to the size of the back of our kallax, and nailed it into the back of our shelf.
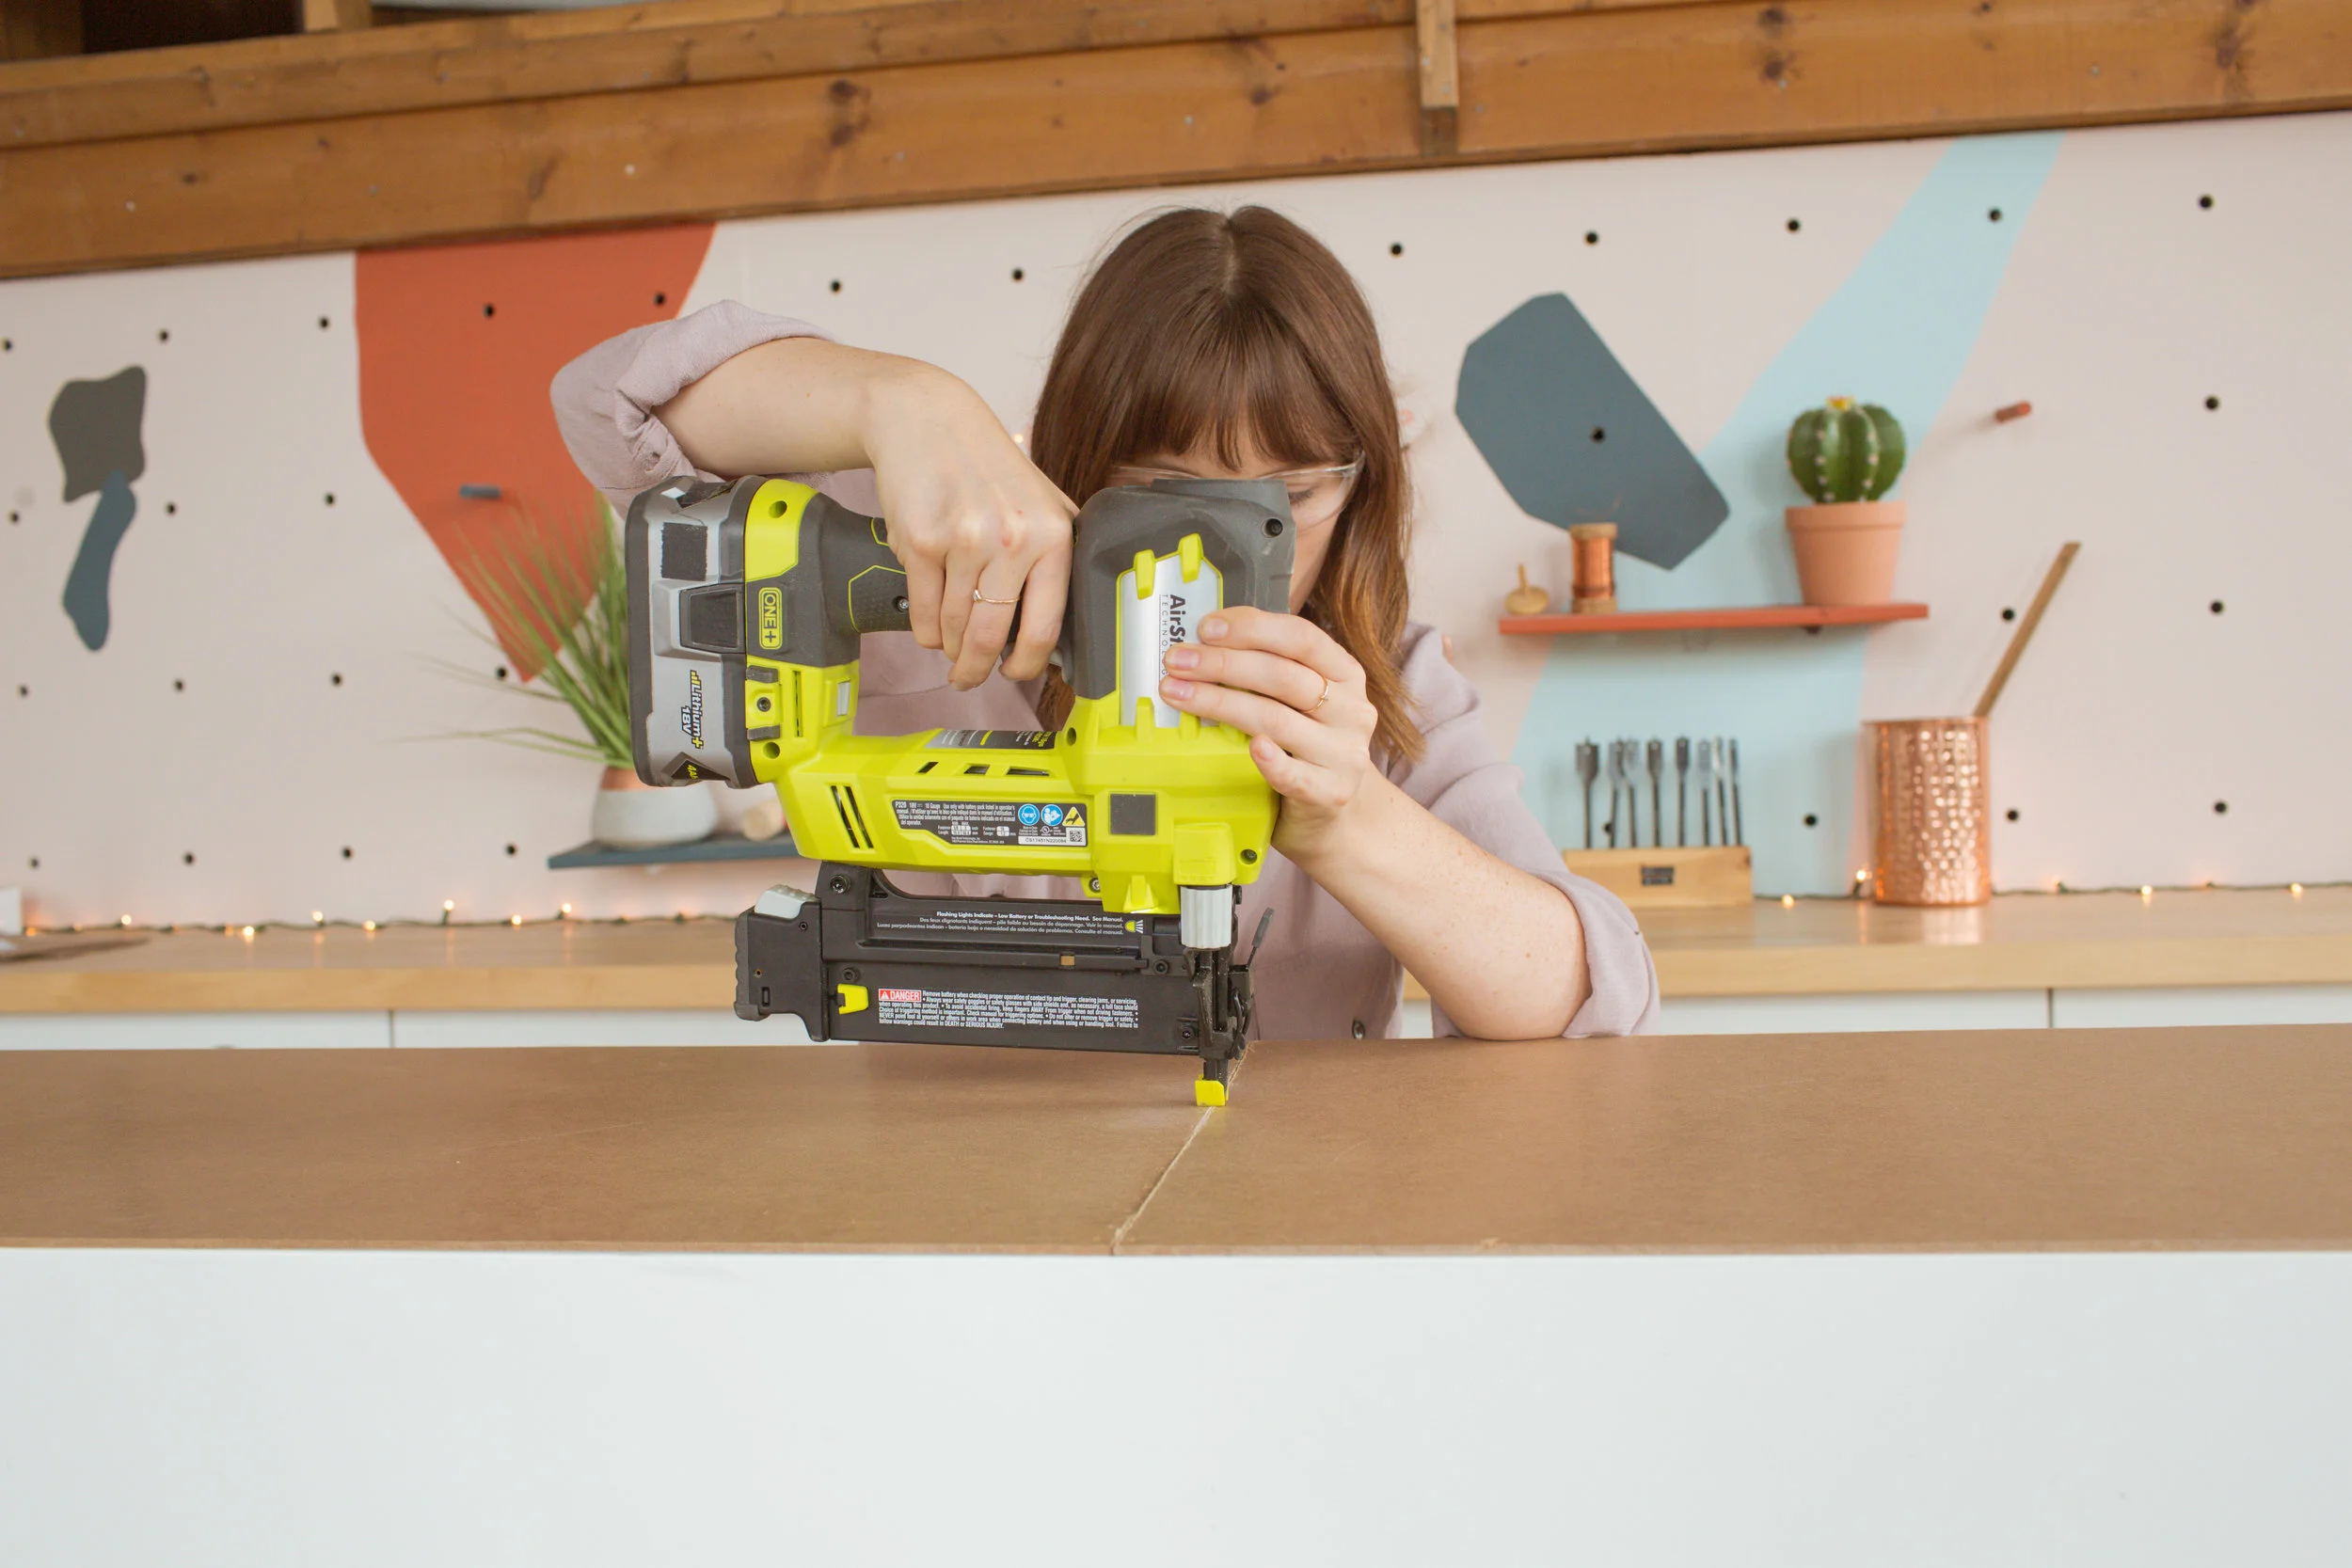

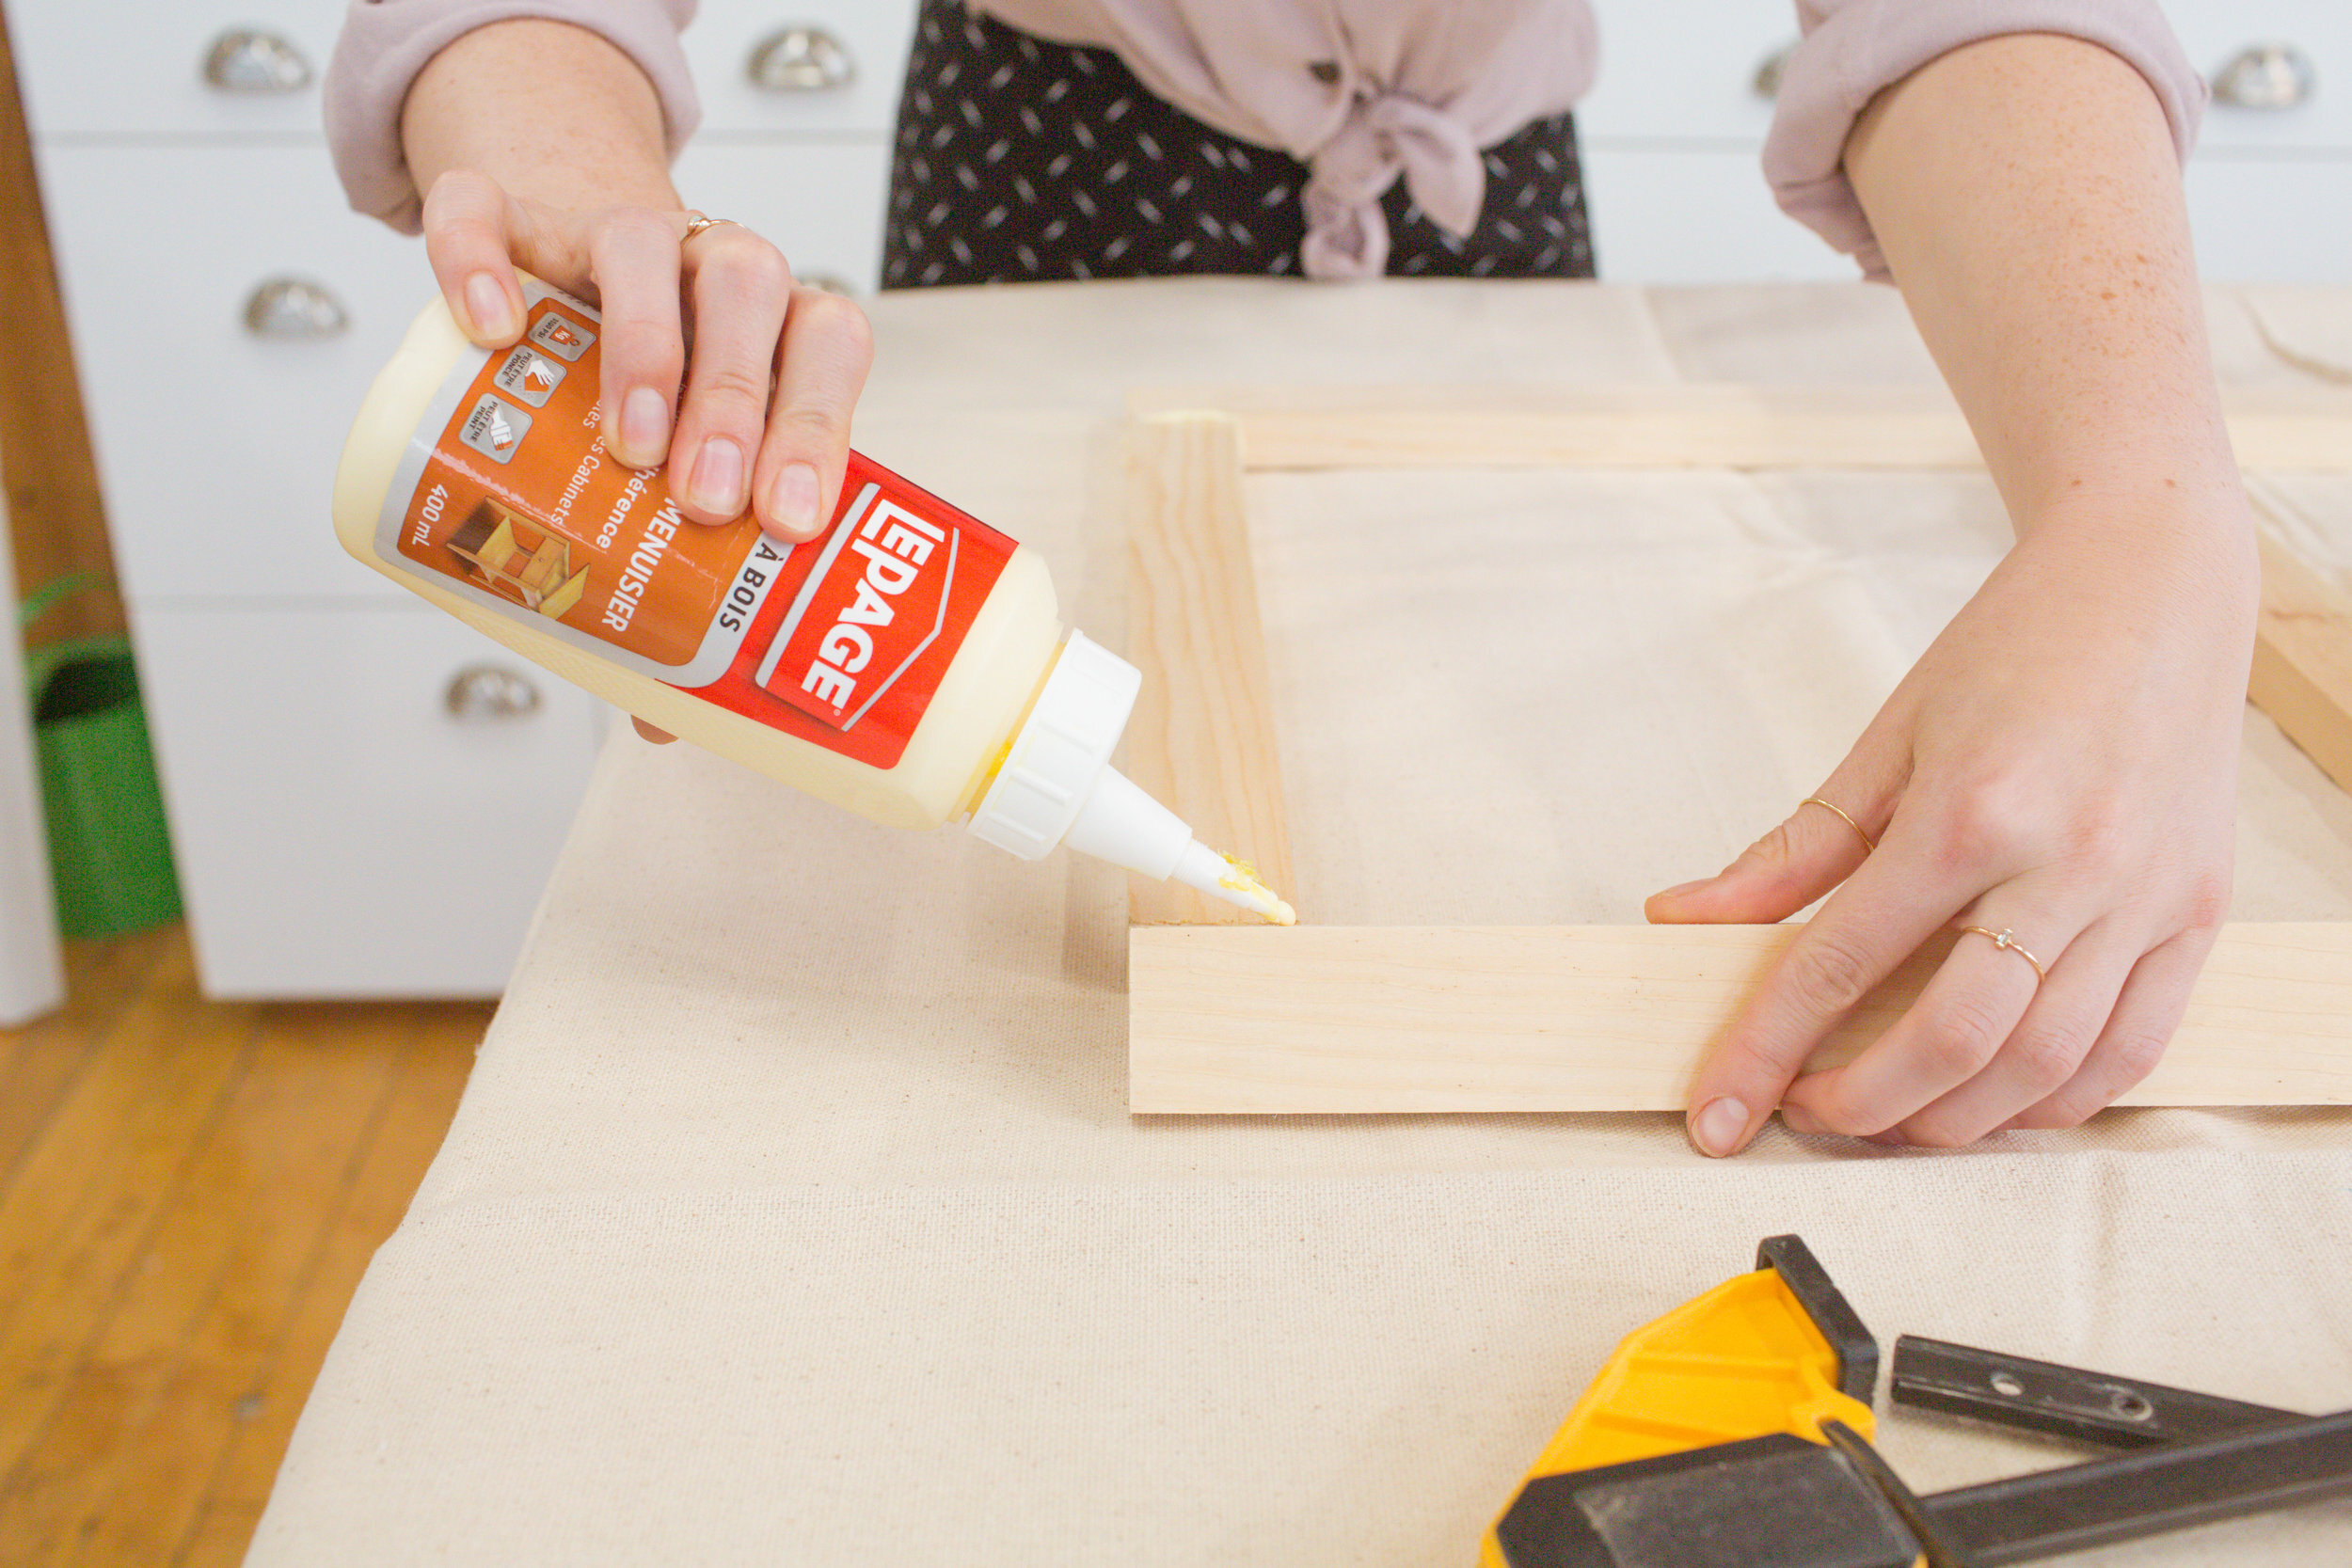
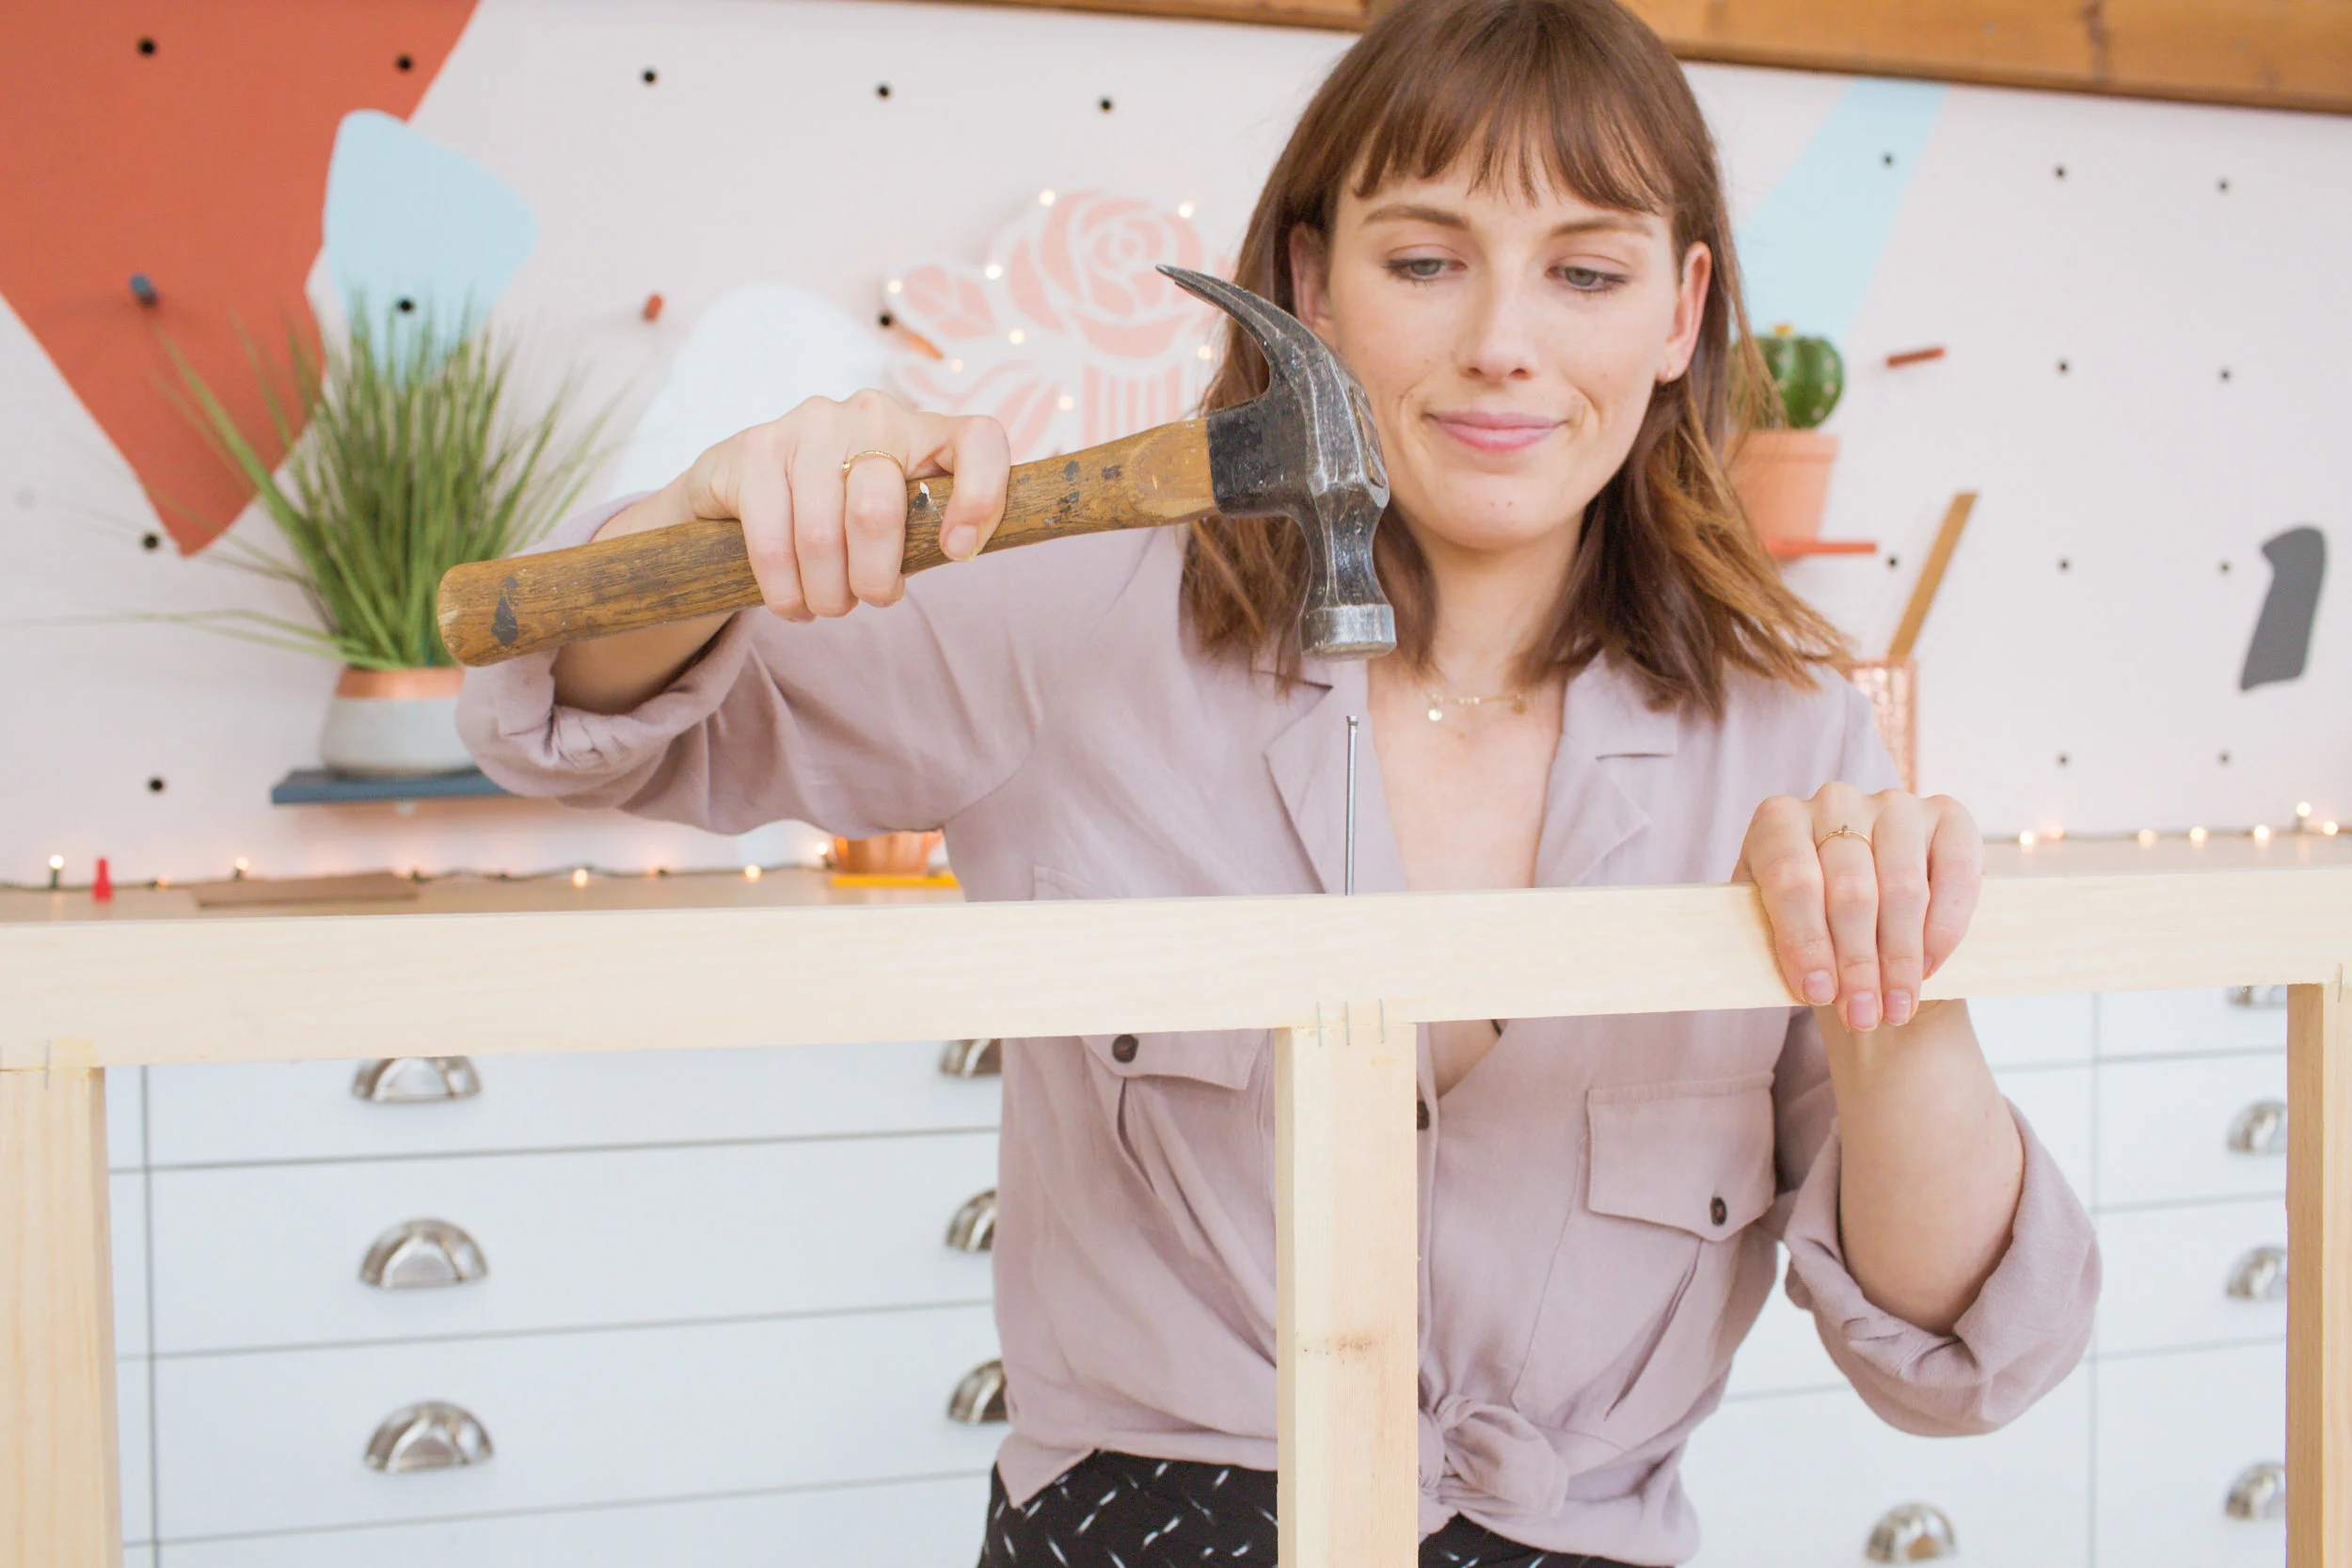
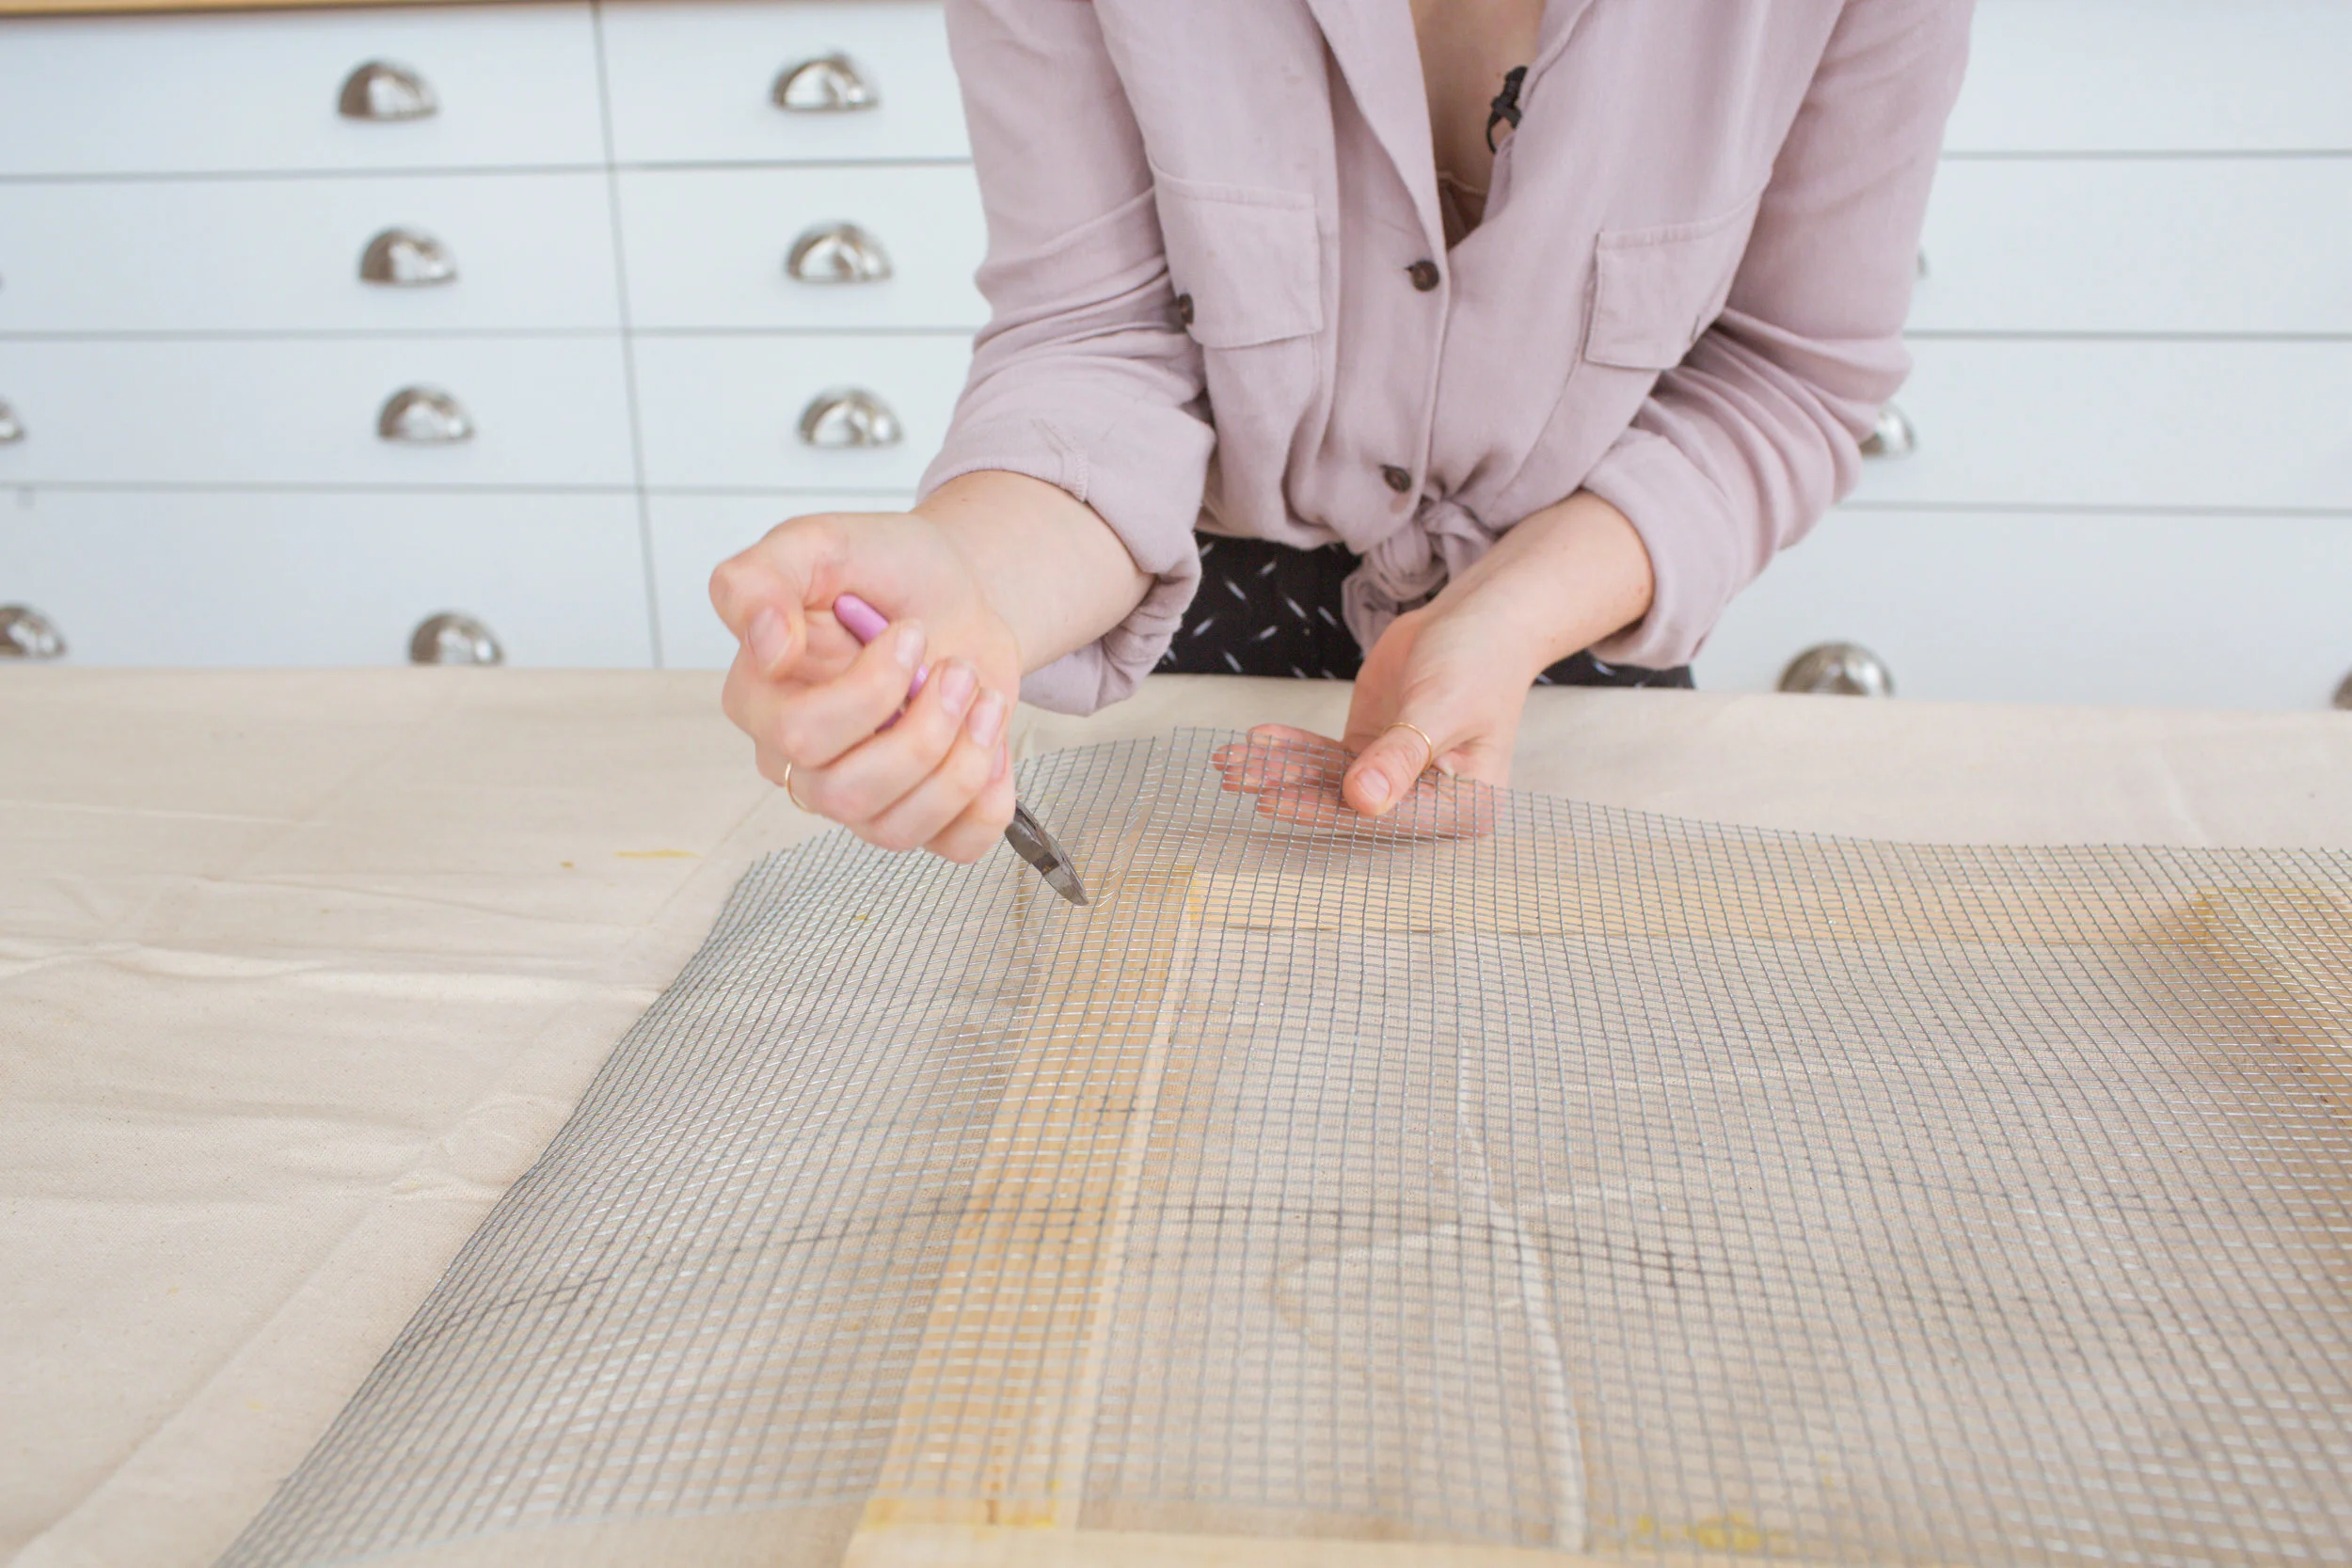
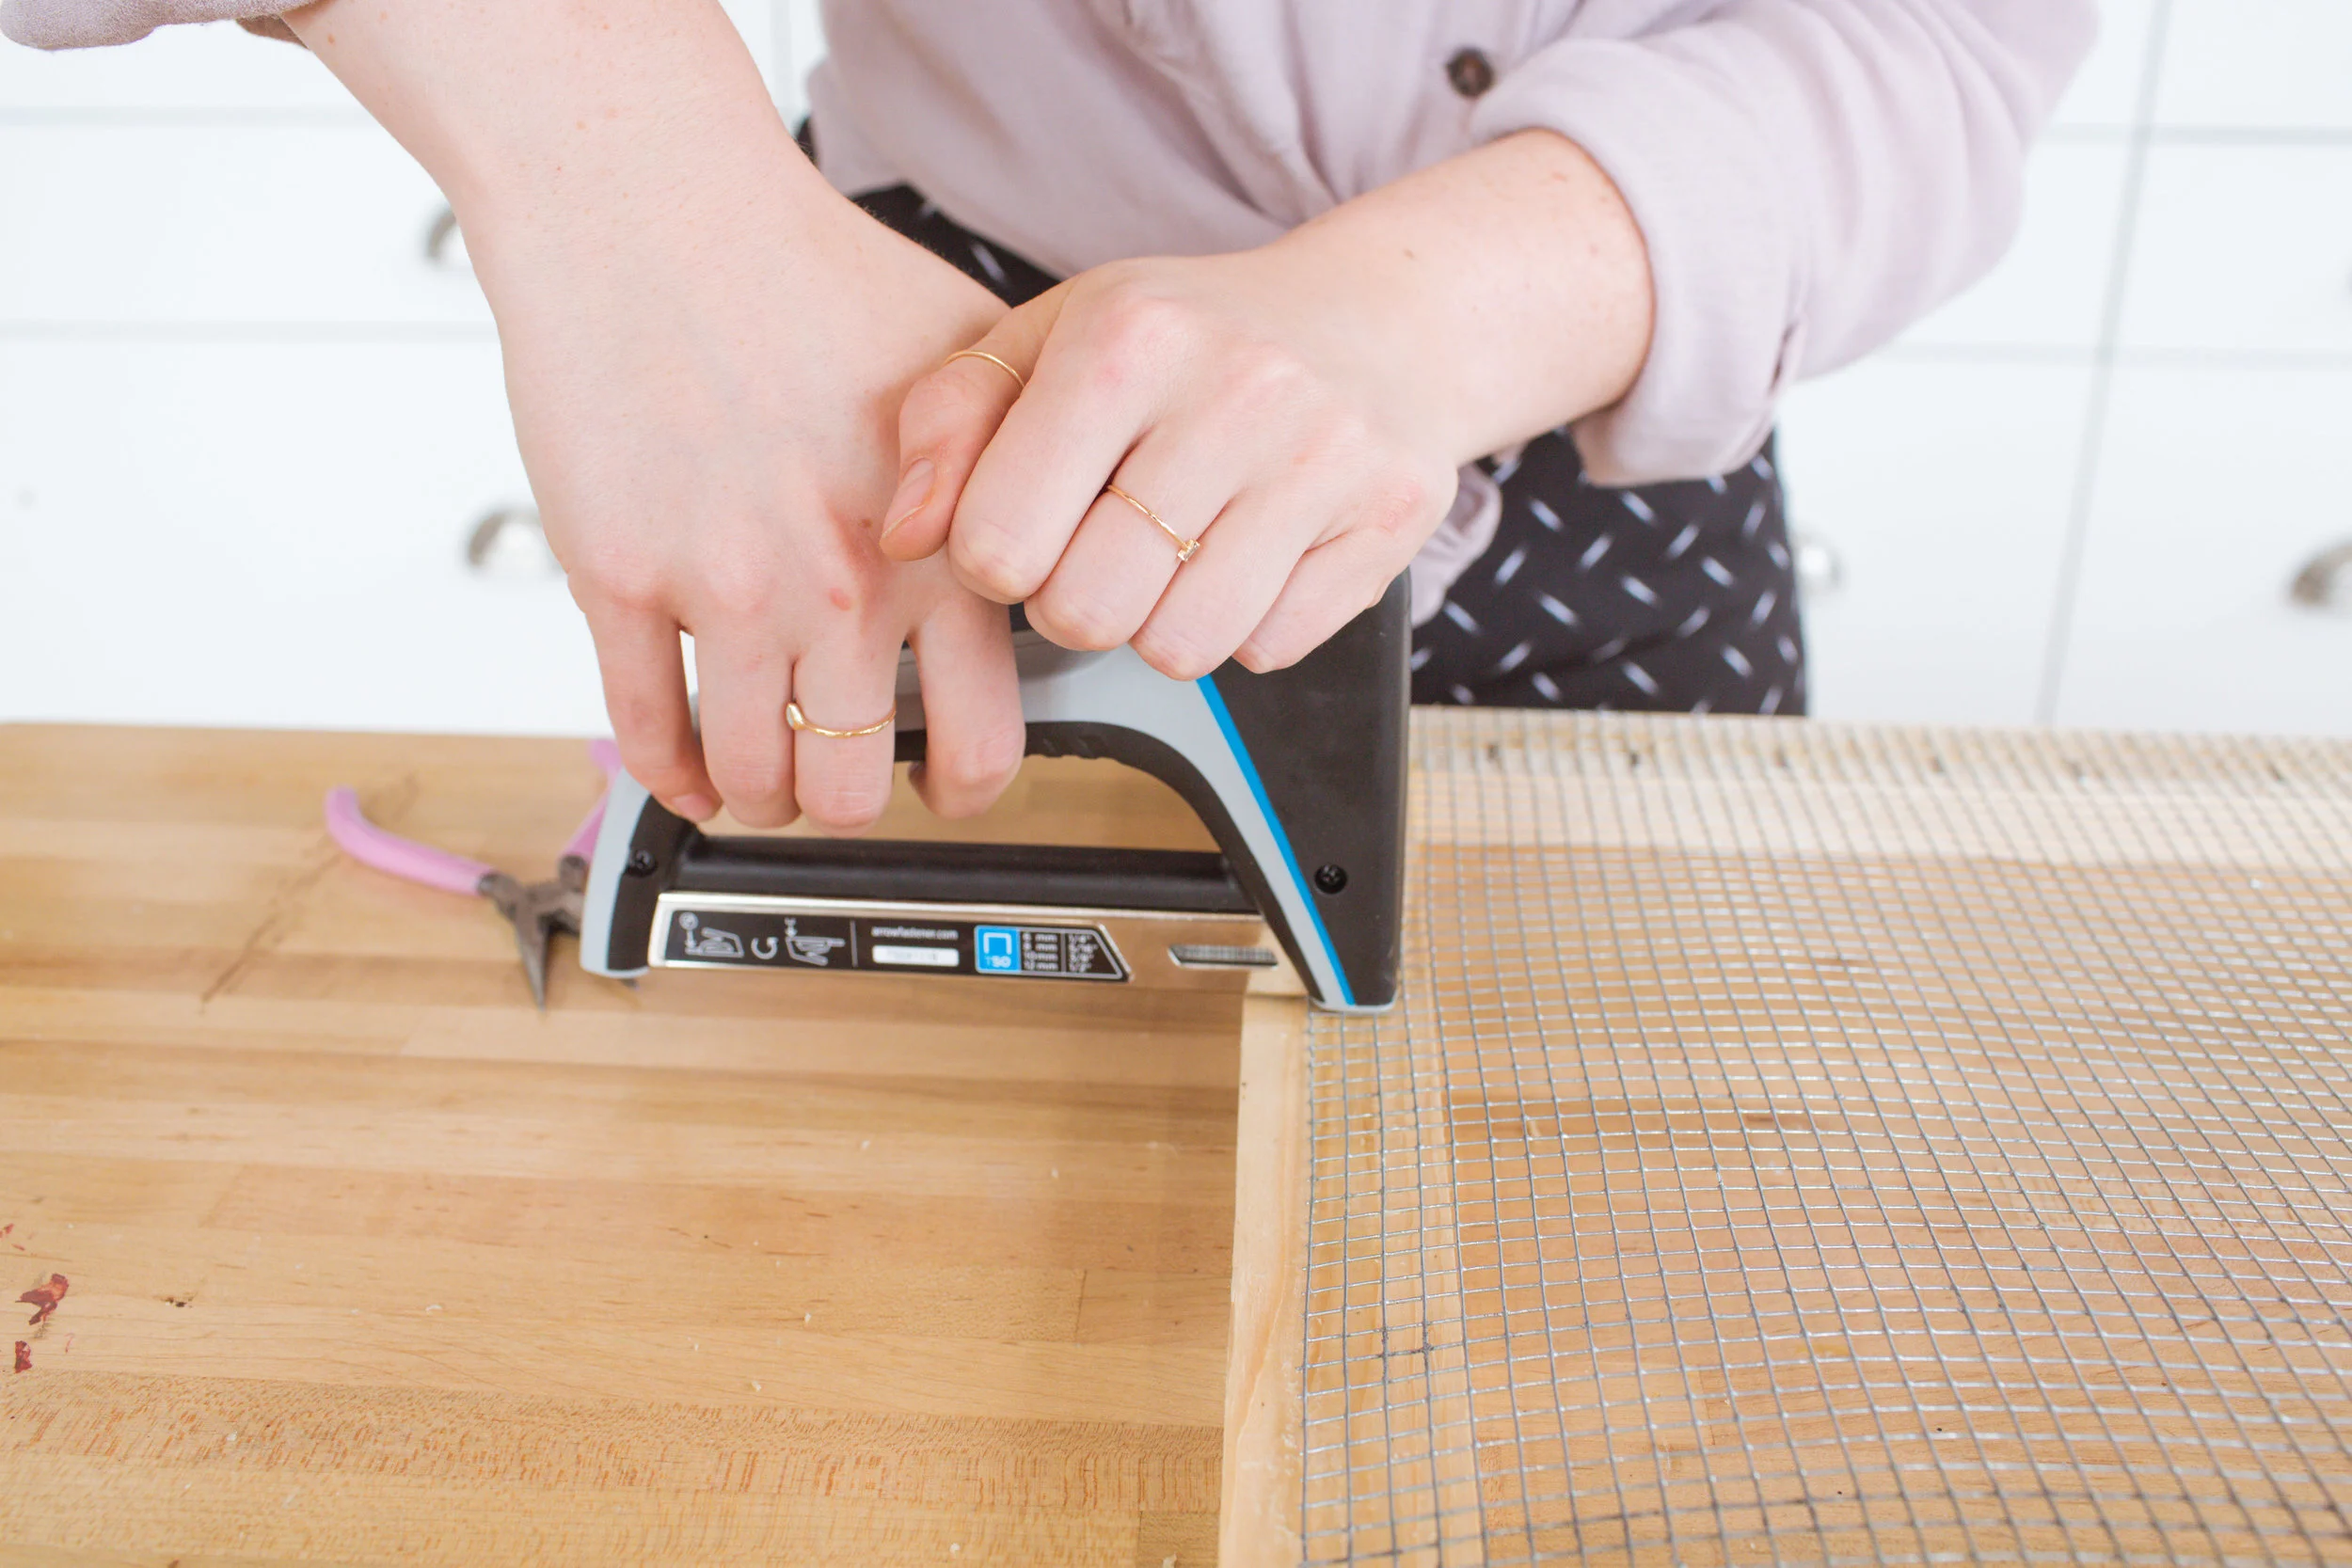
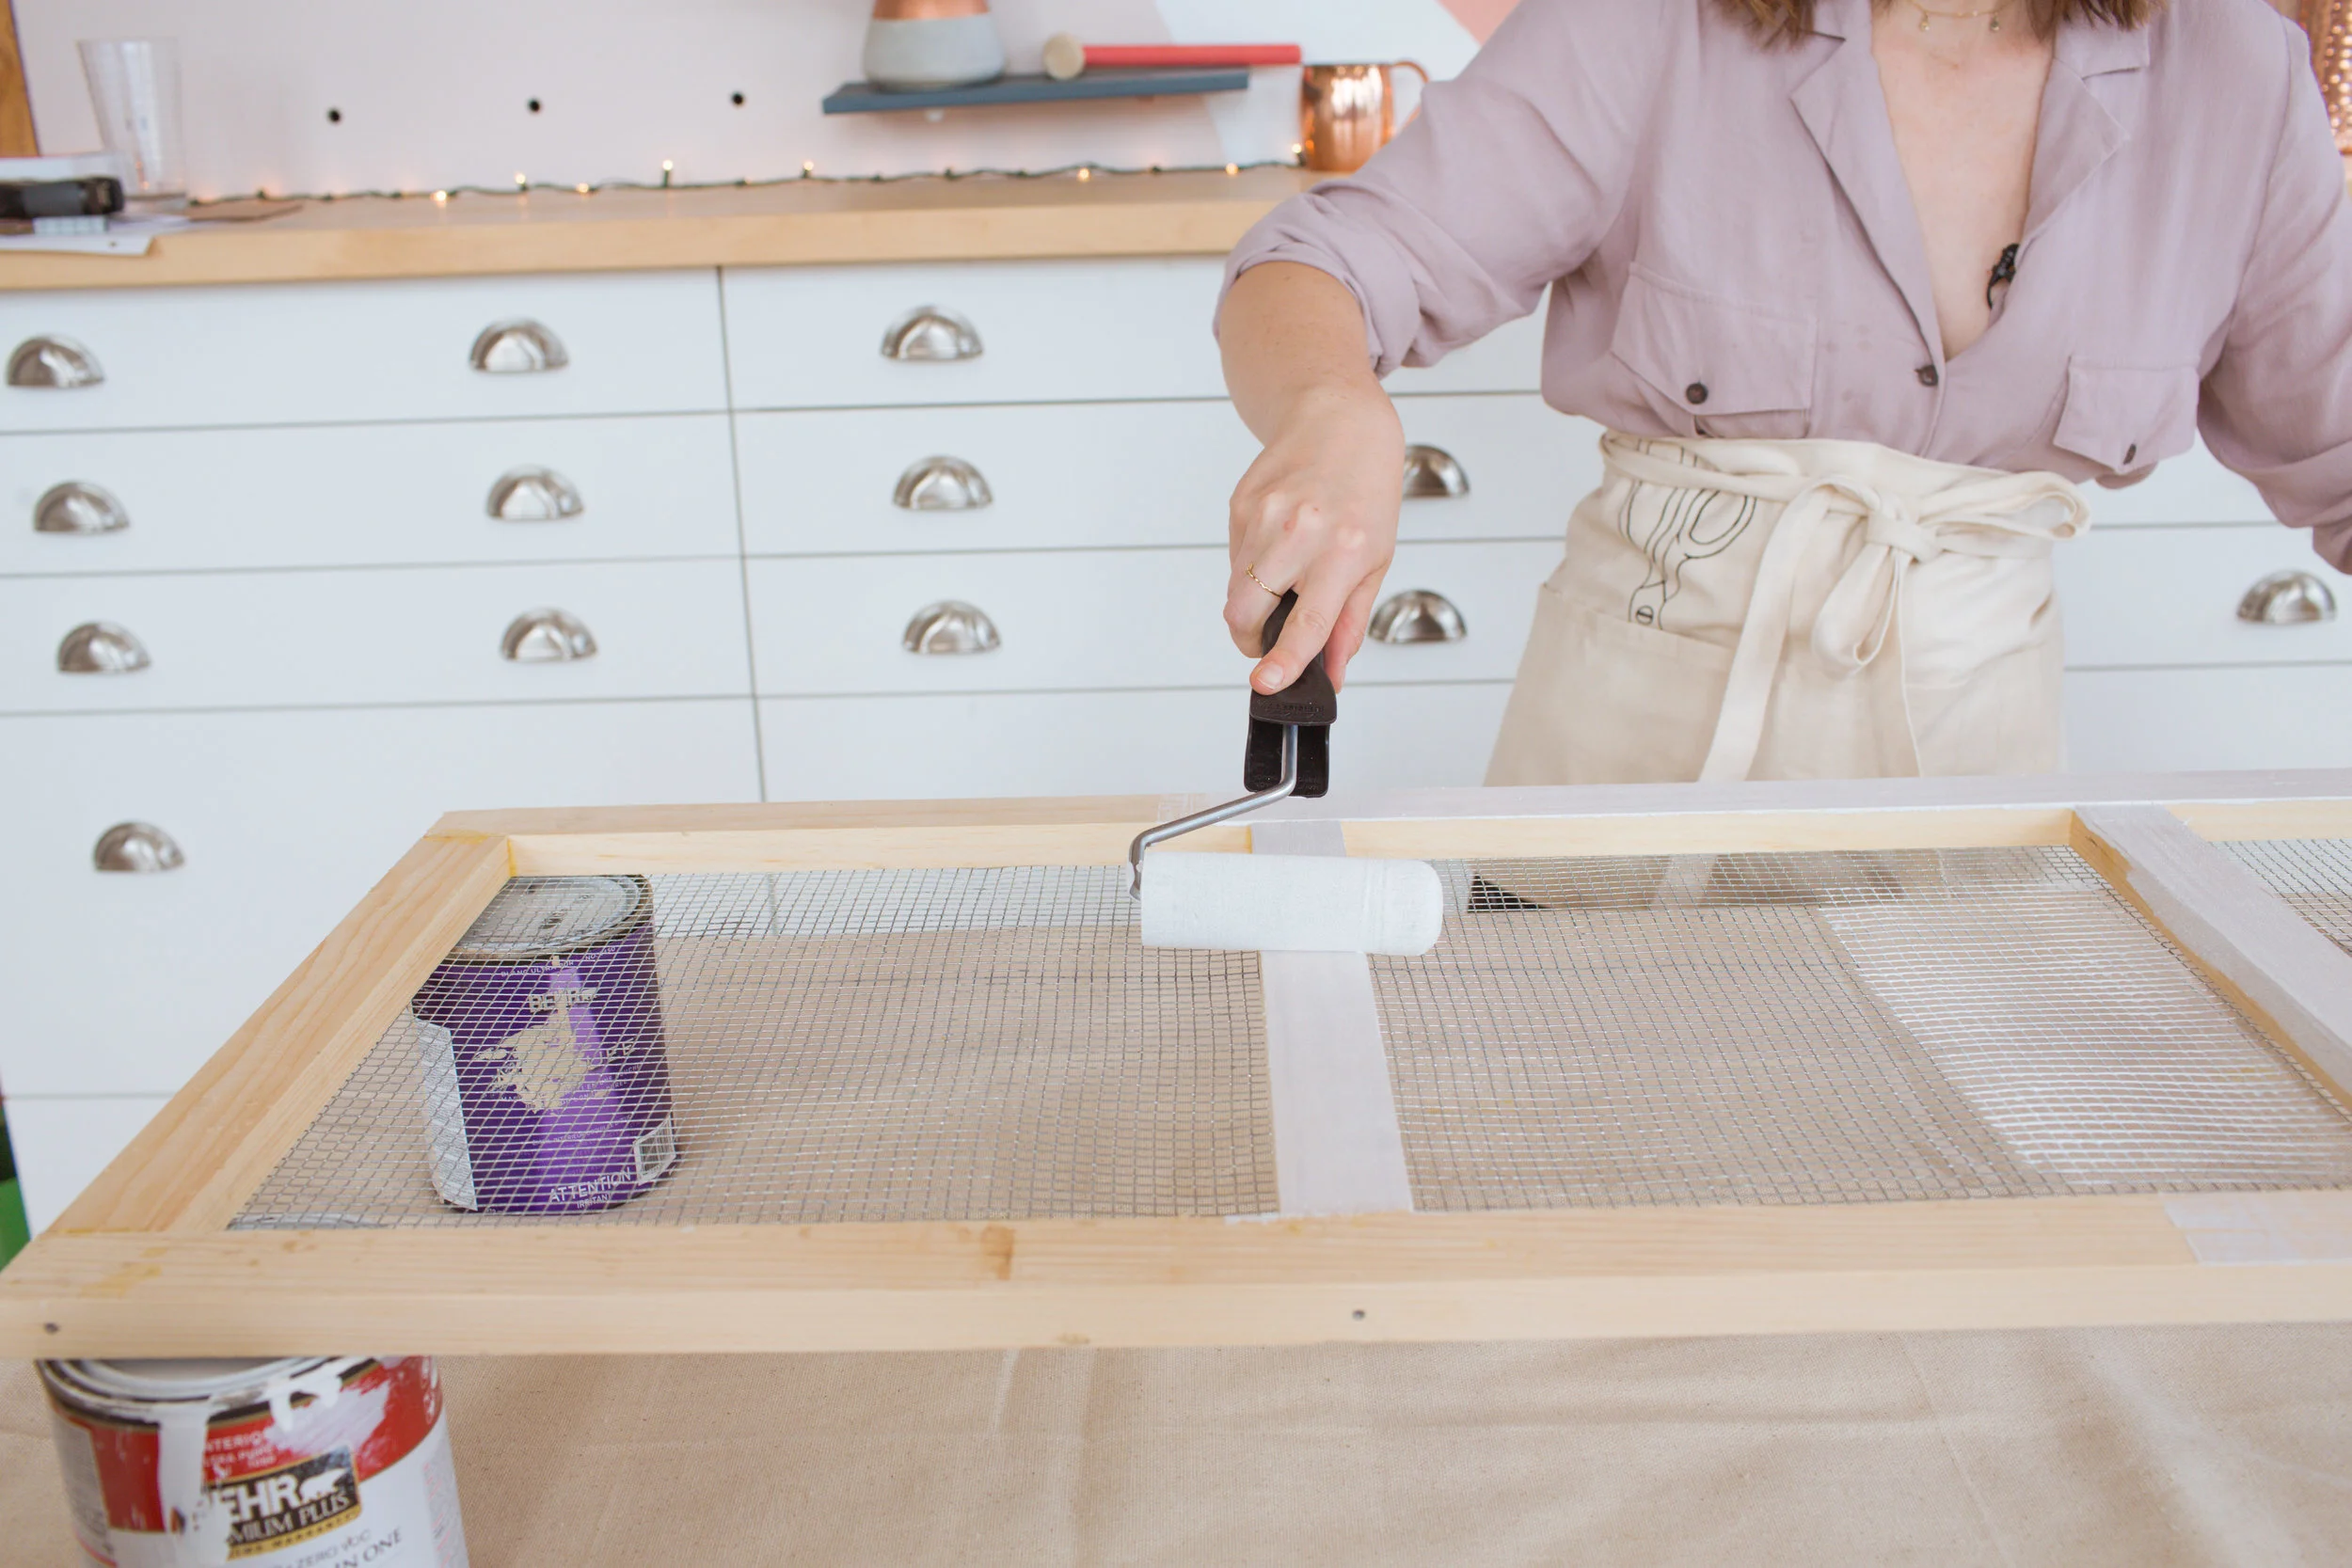
Next, we picked up some 1”x2” wood in 6 ft pieces and created a frame that is the size of our KALLAX shelf with it (including the cross beams of the KALLAX). We then added some long nails through the cross beams of the frame to really secure these pieces in place. Time to add our mesh to the back of the frame, we used ¼ inch hardware mesh and stapled it to our frame. Once stapled, we painted the whole thing white and let it dry.

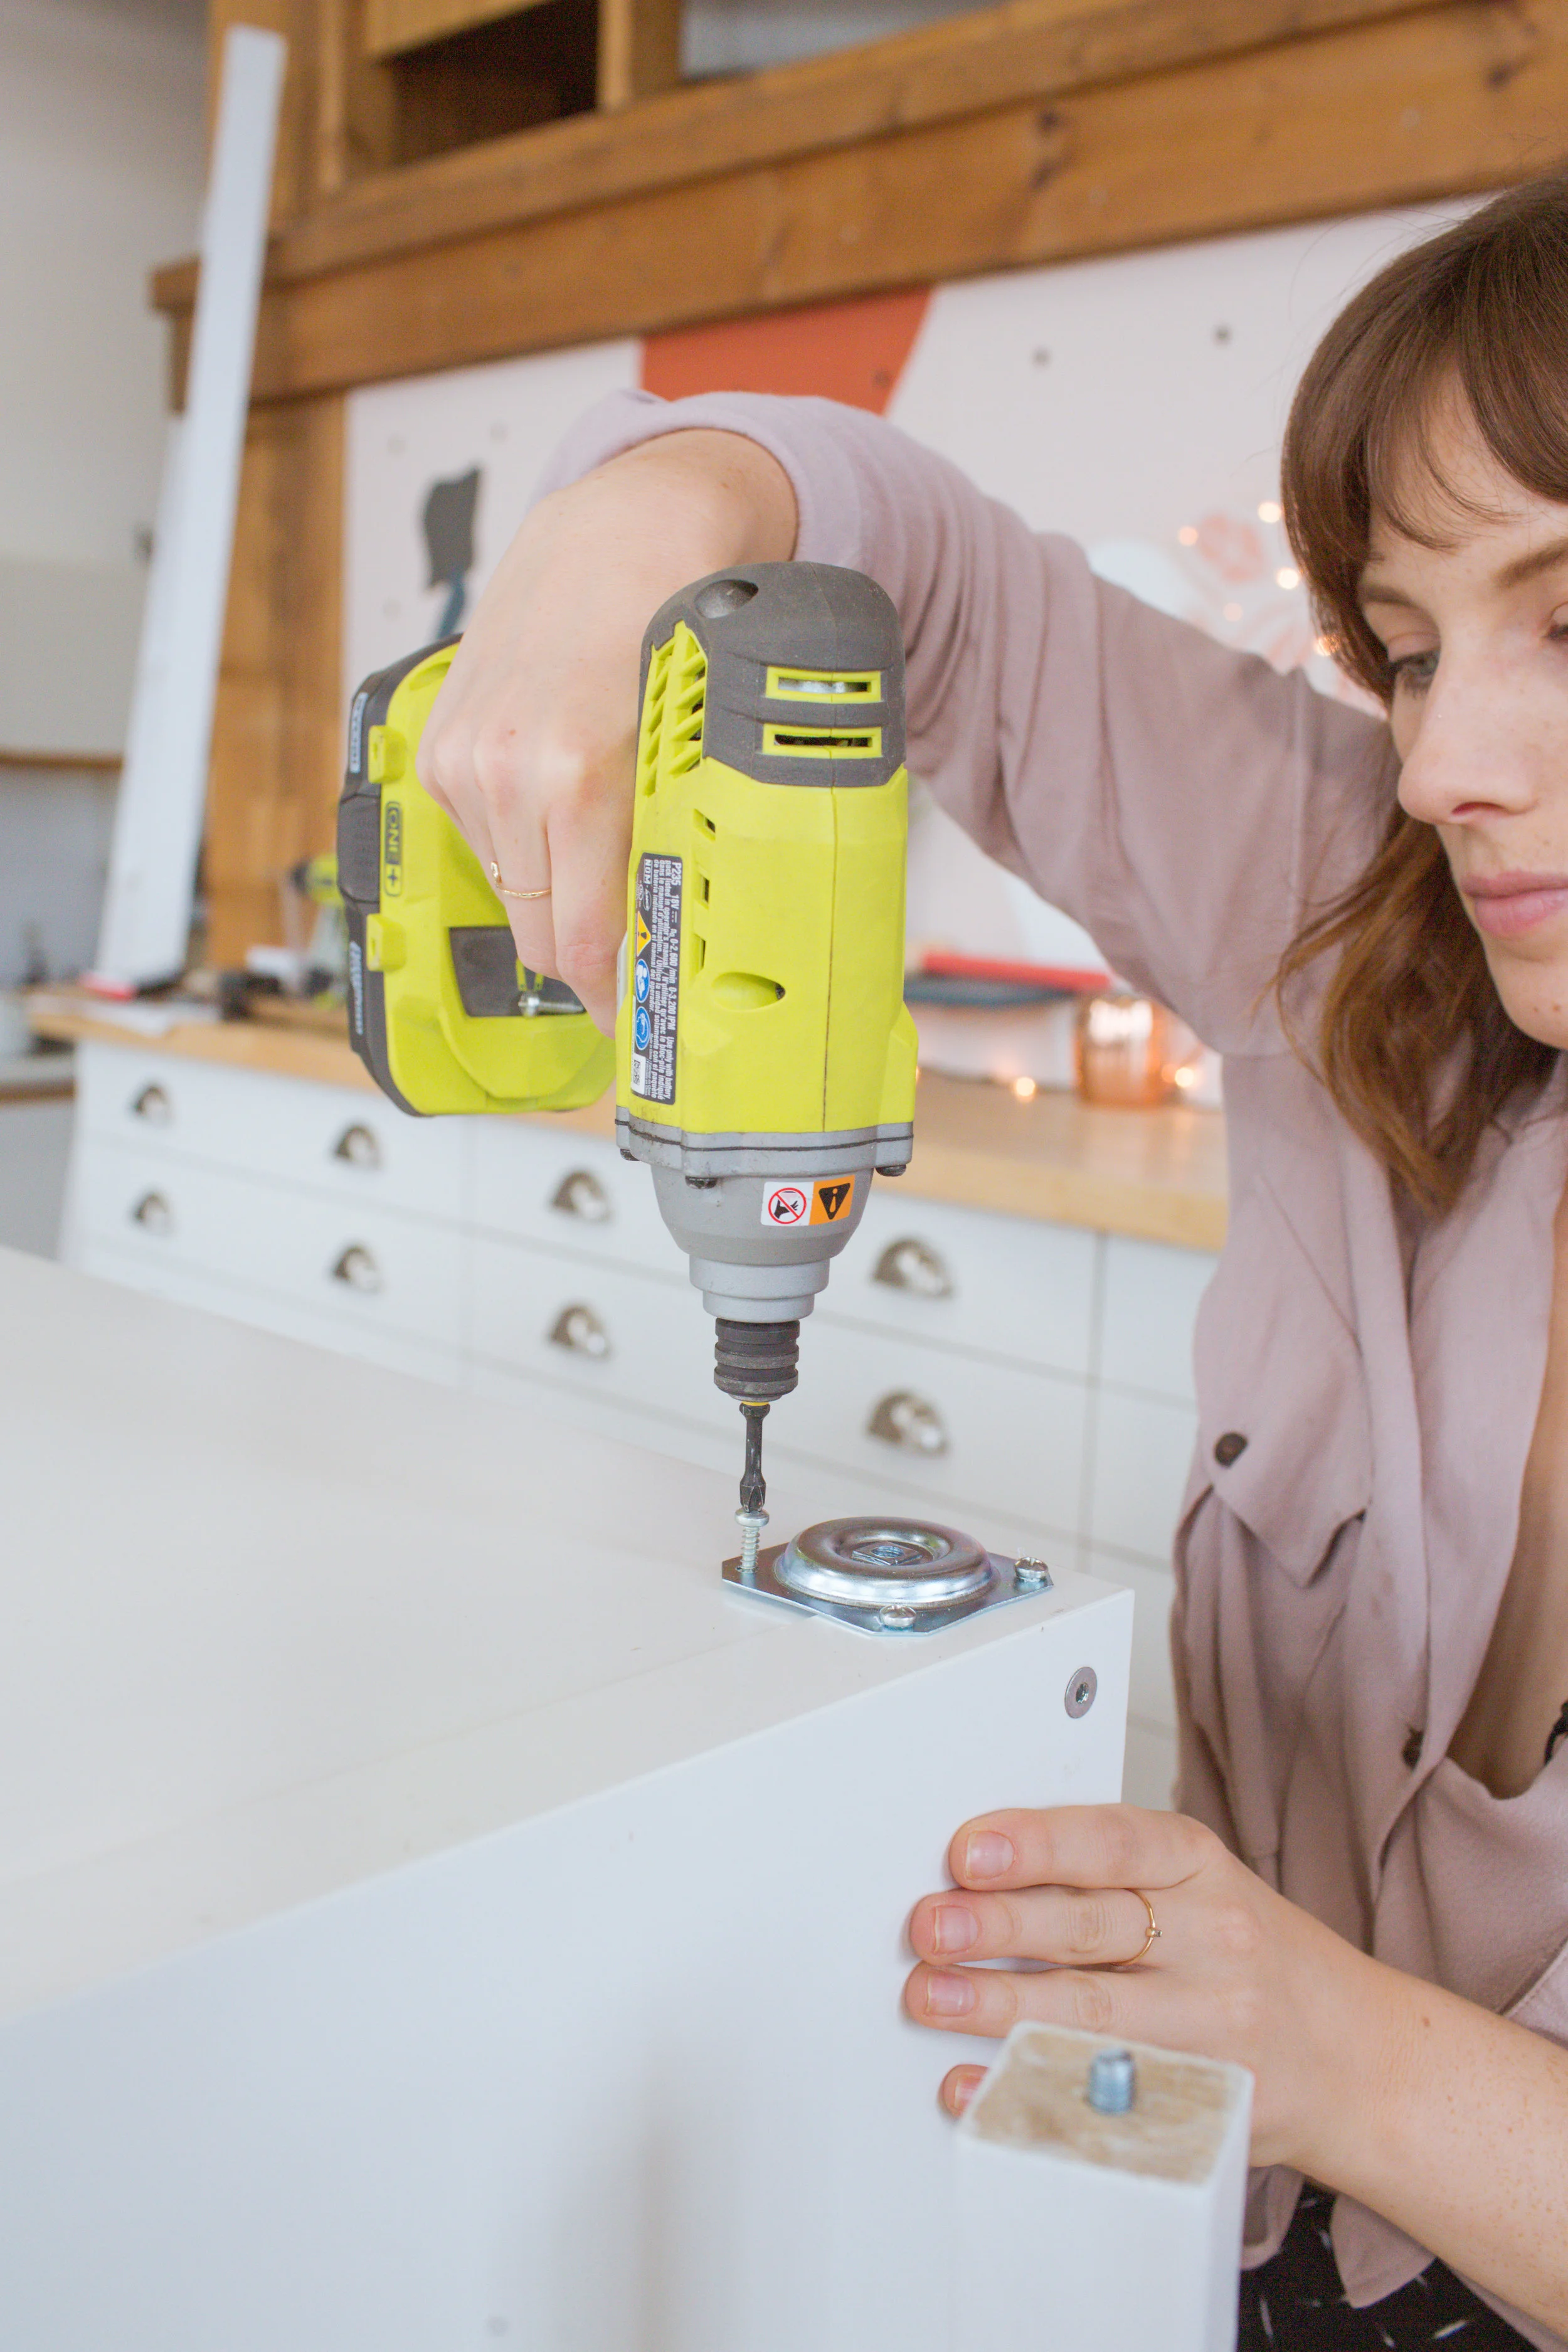
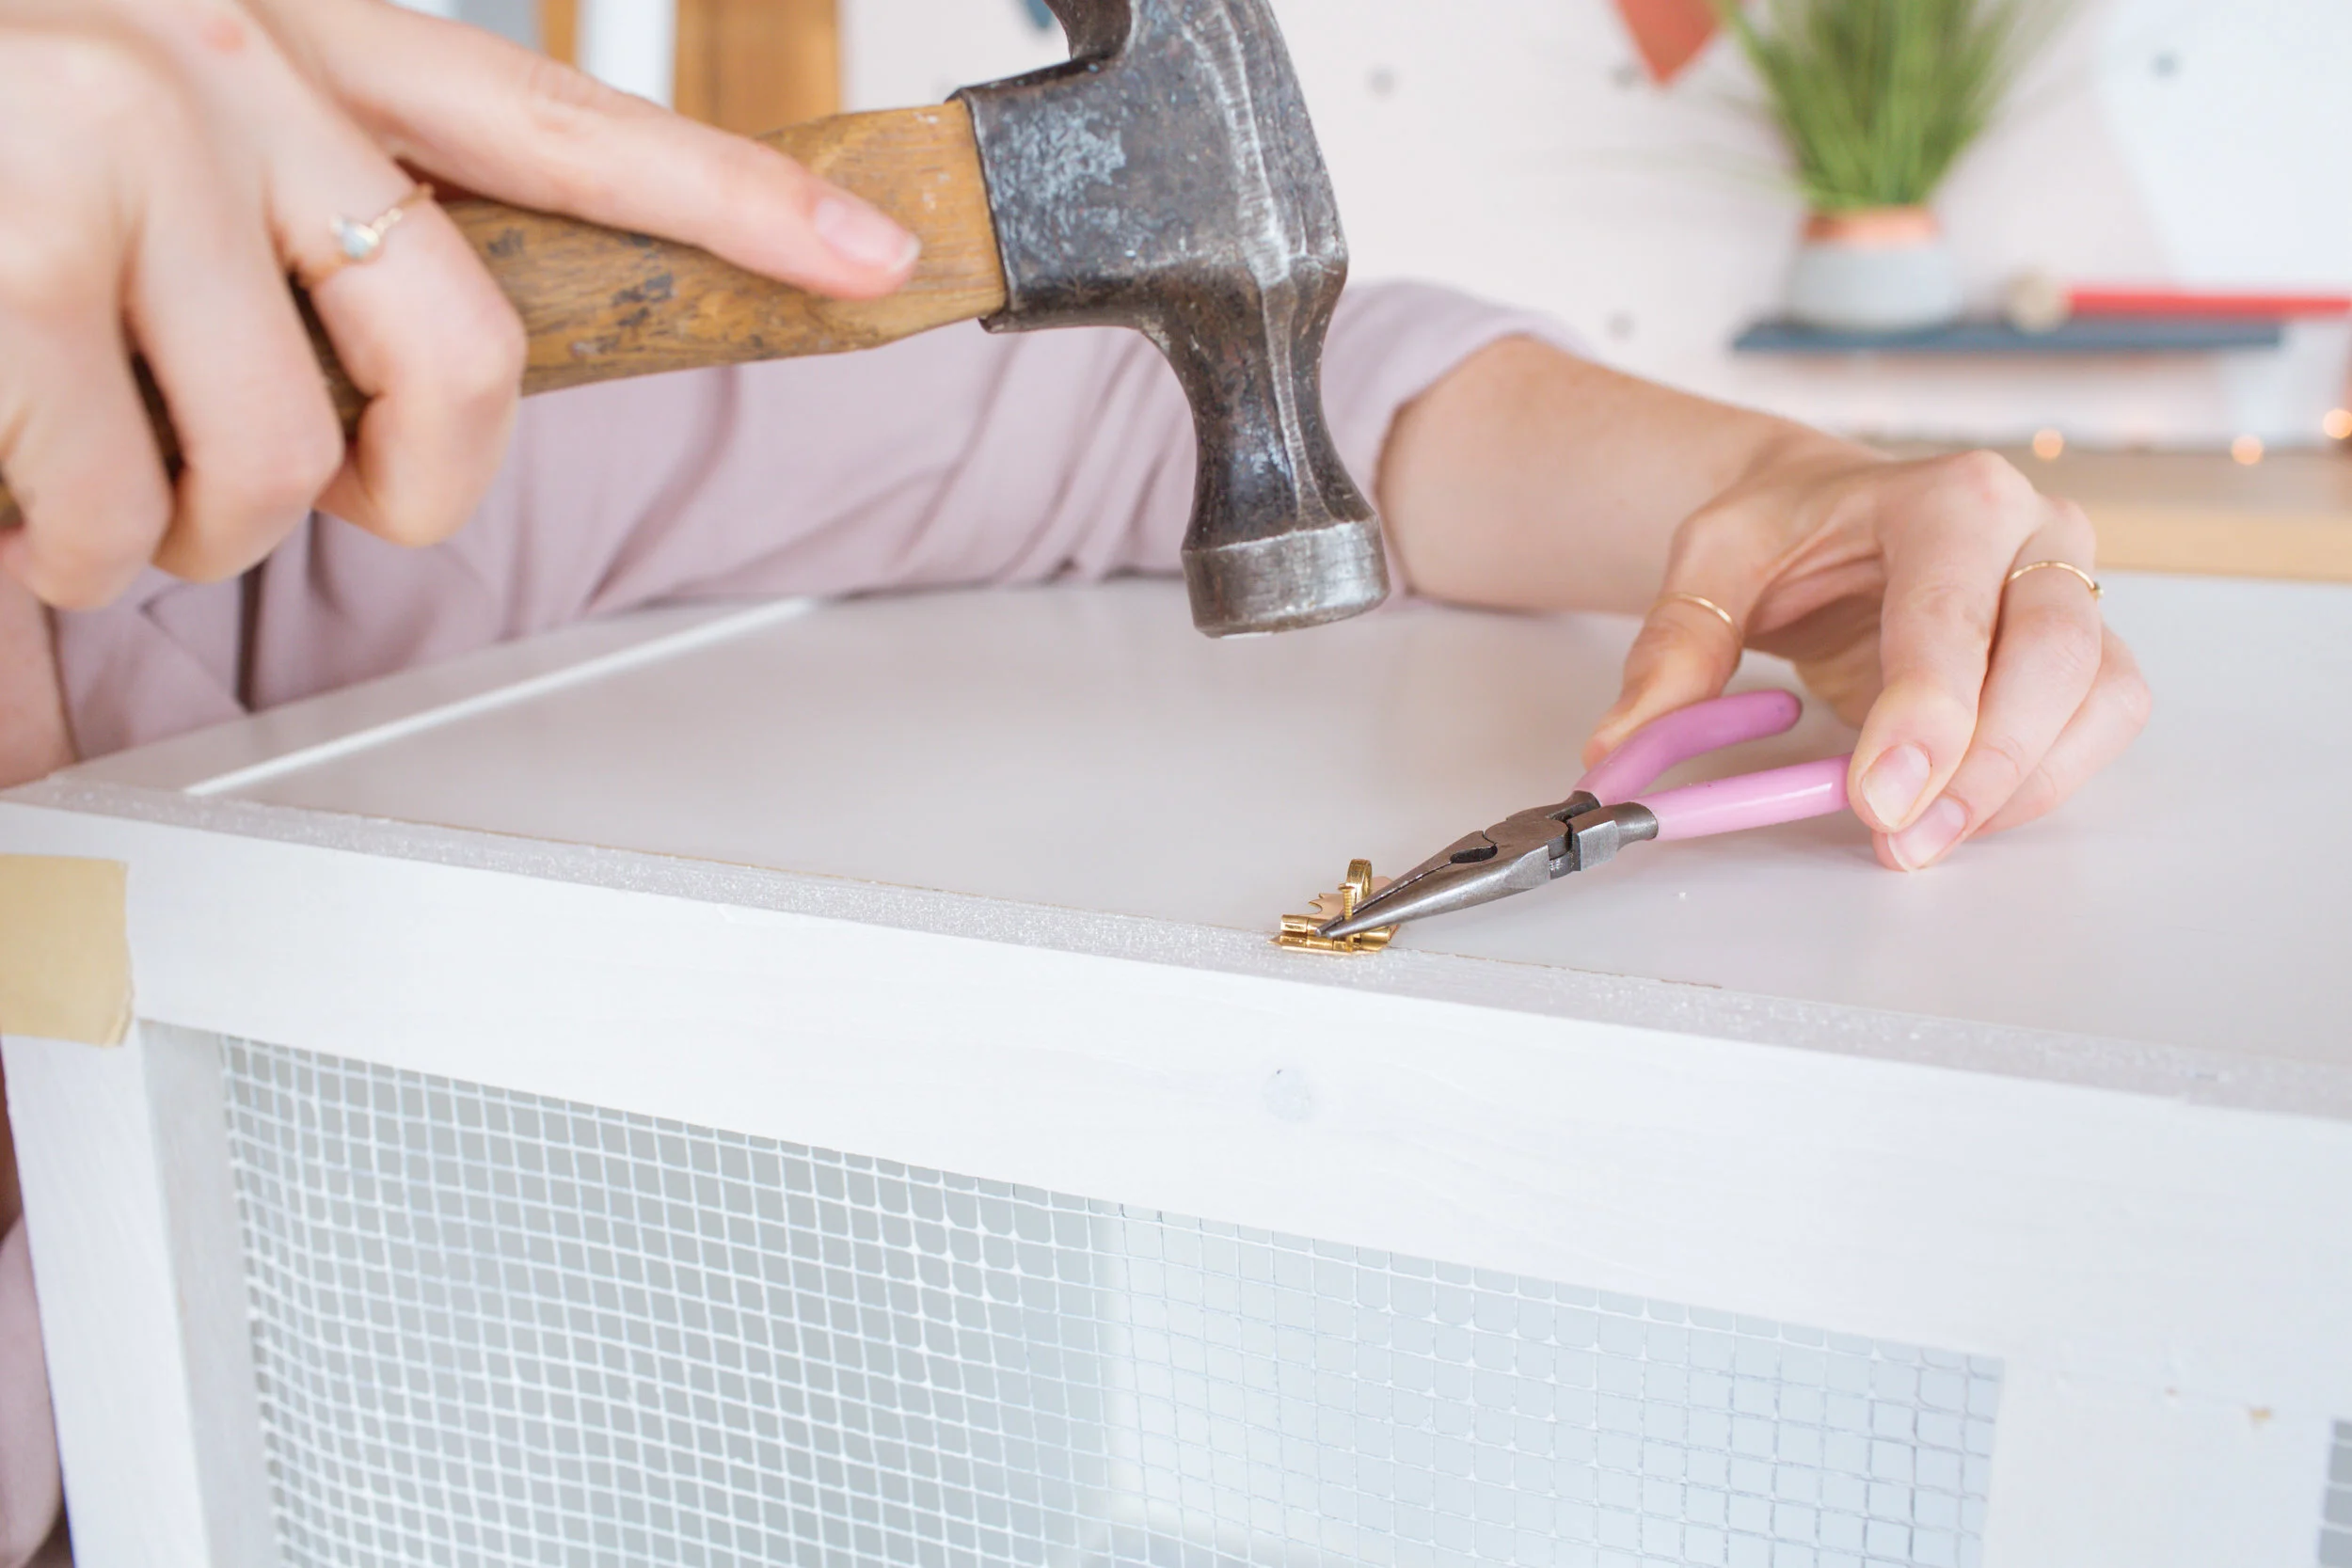
Next, we added five legs to the bottom of the piece using furniture leg plates! To finish this off, we added hinges and latches to the kallax and frame to allow for the frame to open and close like a door.

We ended up adding a plastic sheet with some electrical tape to the cube that will be our burrowing cube to make opening and closing the unit easier and to prevent the bedding from falling out. Add all of your accessories, and you’re done!

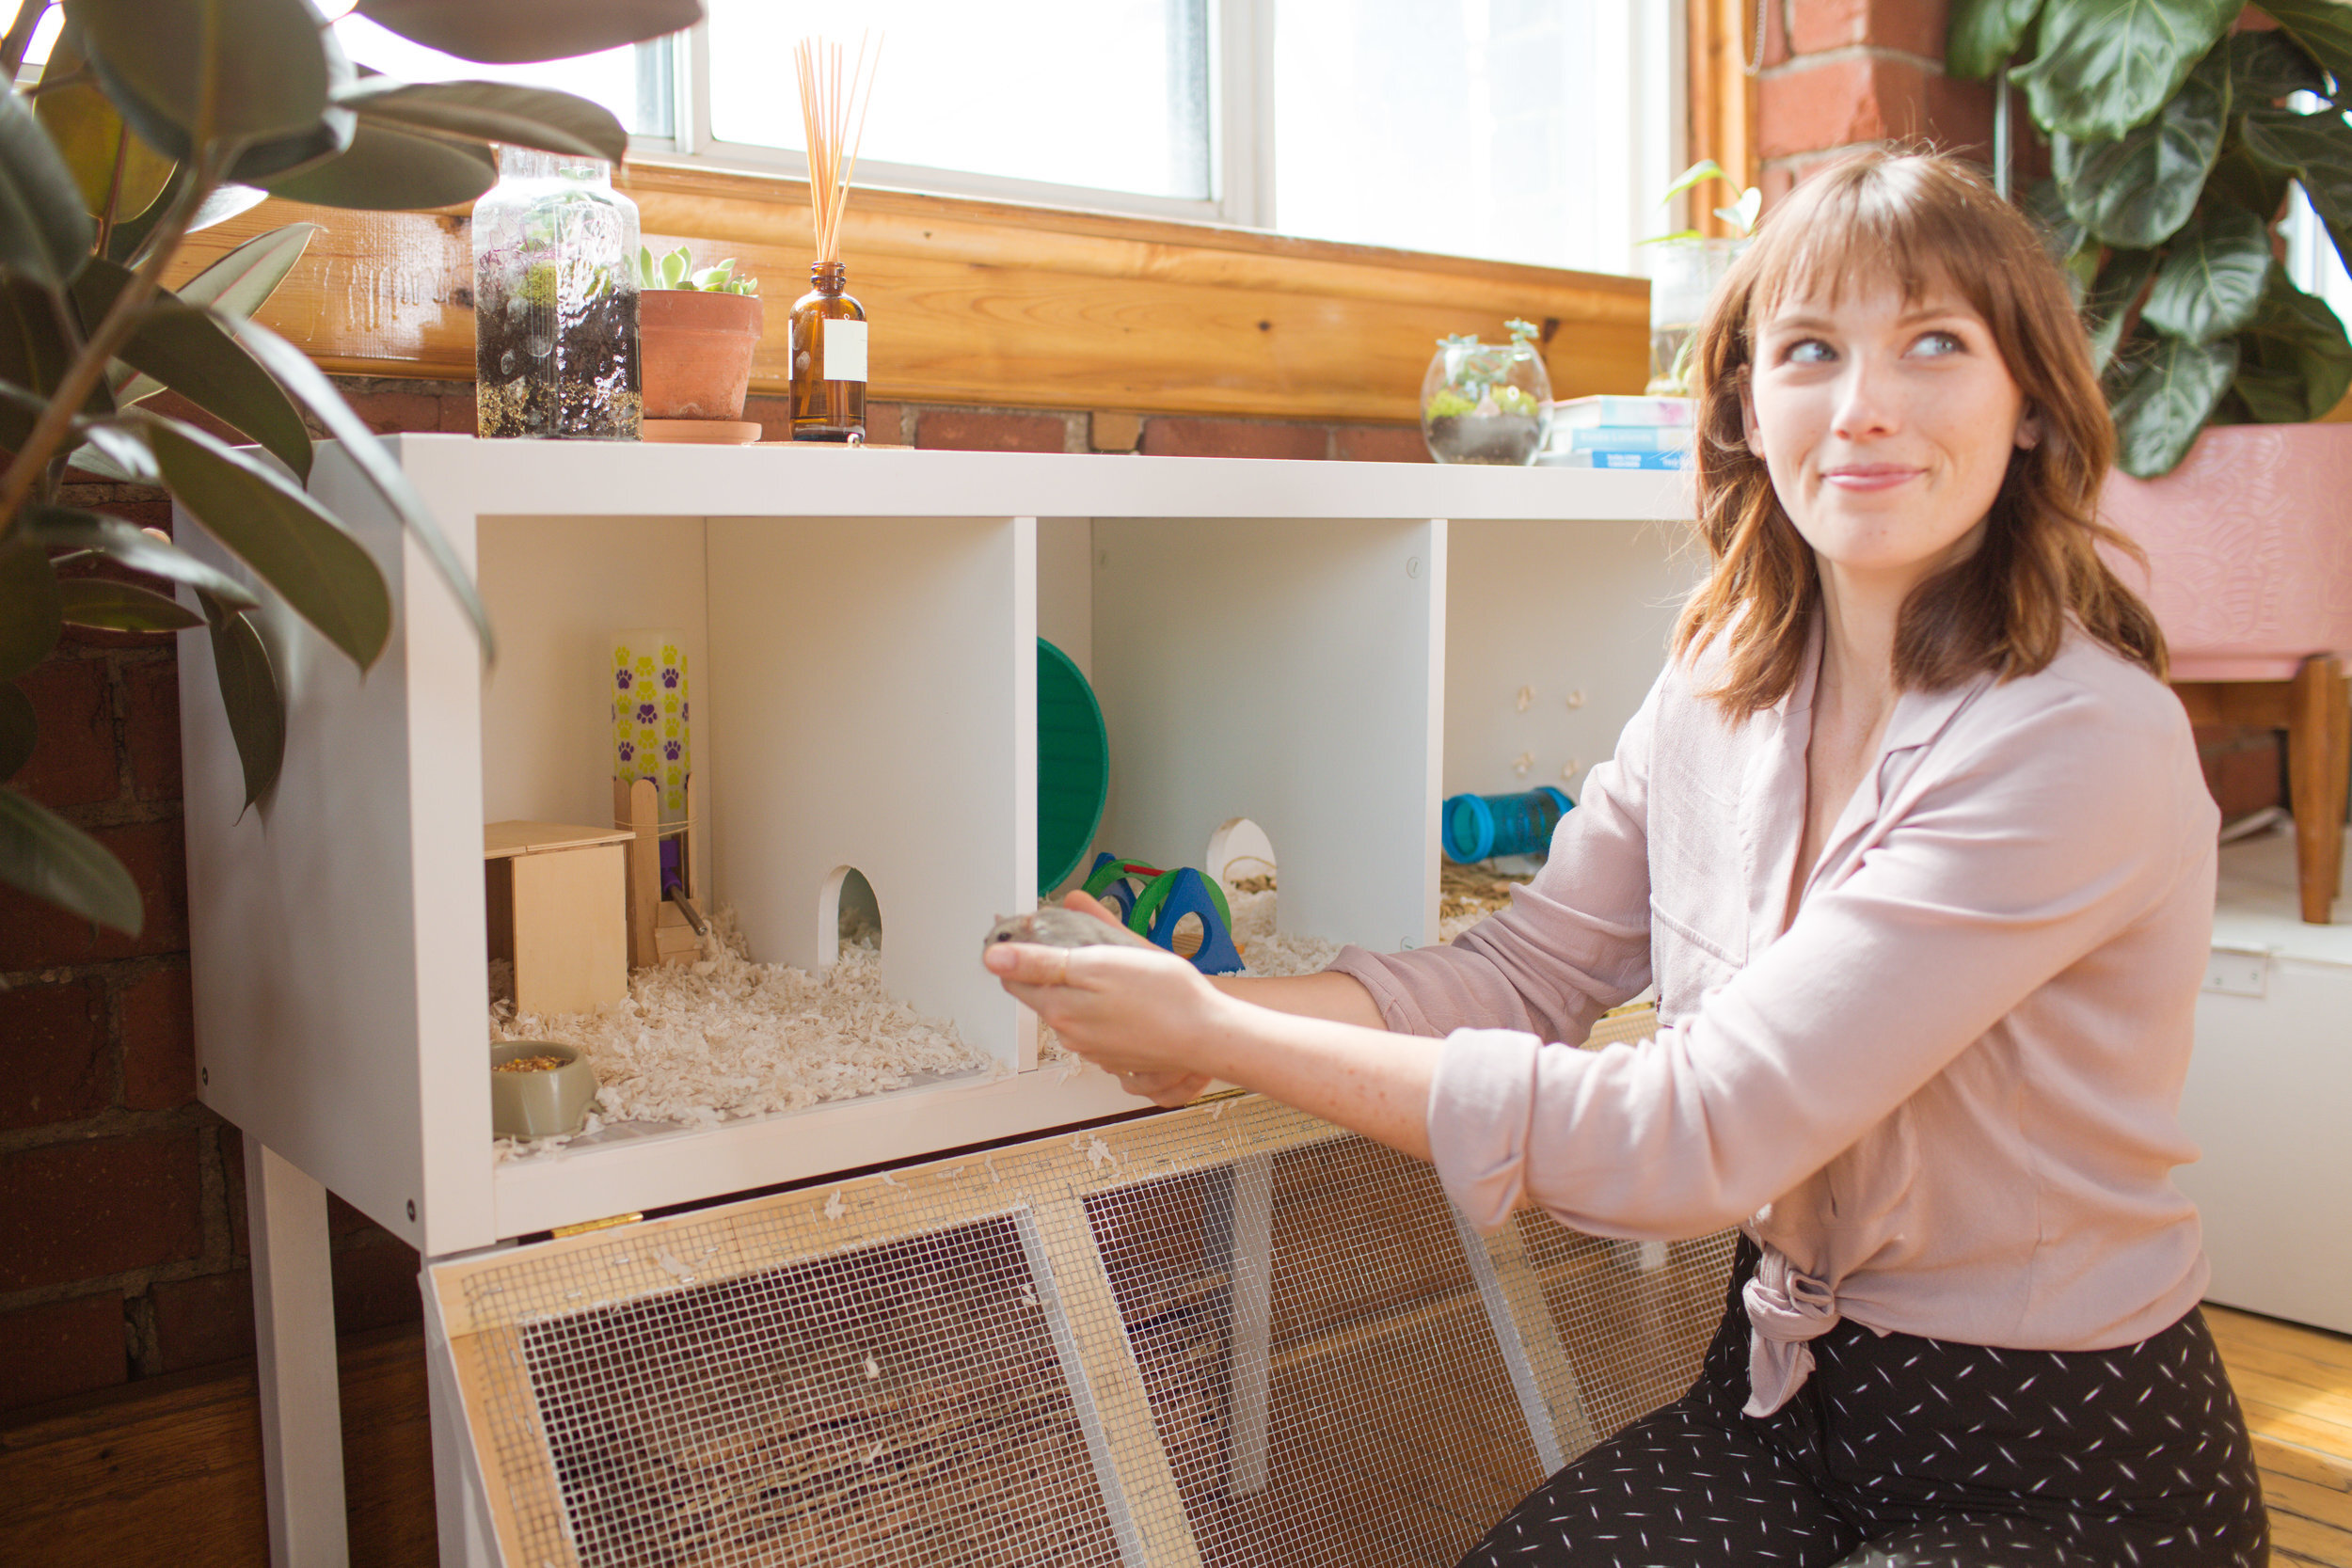
Thanks for reading! Check out the video below!


Vivamus pellentesque vitae neque at vestibulum. Donec efficitur mollis dui vel pharetra.