IKEA Kallax Turned Chic Storage Bench

Hey everyone, Rach here! We all love an IKEA hack so i’m here to show you how I turned this basic (but beloved) IKEA KALLAX unit into a chic and elevated storage bench for your entryway!
TIP: always check Facebook Marketplace to see if you can find your item secondhand before heading to IKEA for a new one.The KALLAX typically retails for $89.99 but I found mine on Marketplace for only $40!
Materials
IKEA KALLAX unit
Measuring tape
Paint brushes + roller
⅝ inch thick MDF board
Titebond melamine glue
Sandpaper (120 + 100 grit)
Wood filler
2 Hinges
Primer (oil or shellac based)
Paint (semi-gloss, high scuff)
Circular saw
Jigsaw
Drill
Step 1: Planning
I knew I wanted to make a storage bench from my KALLAX unit, so this meant I’d have to flip it on its side and add a top piece with a hinge. I also wanted to add a decorative element to the unit so I opted for arched panels that span across the whole front, really making it feel elevated.


Step 2: Prepping the piece
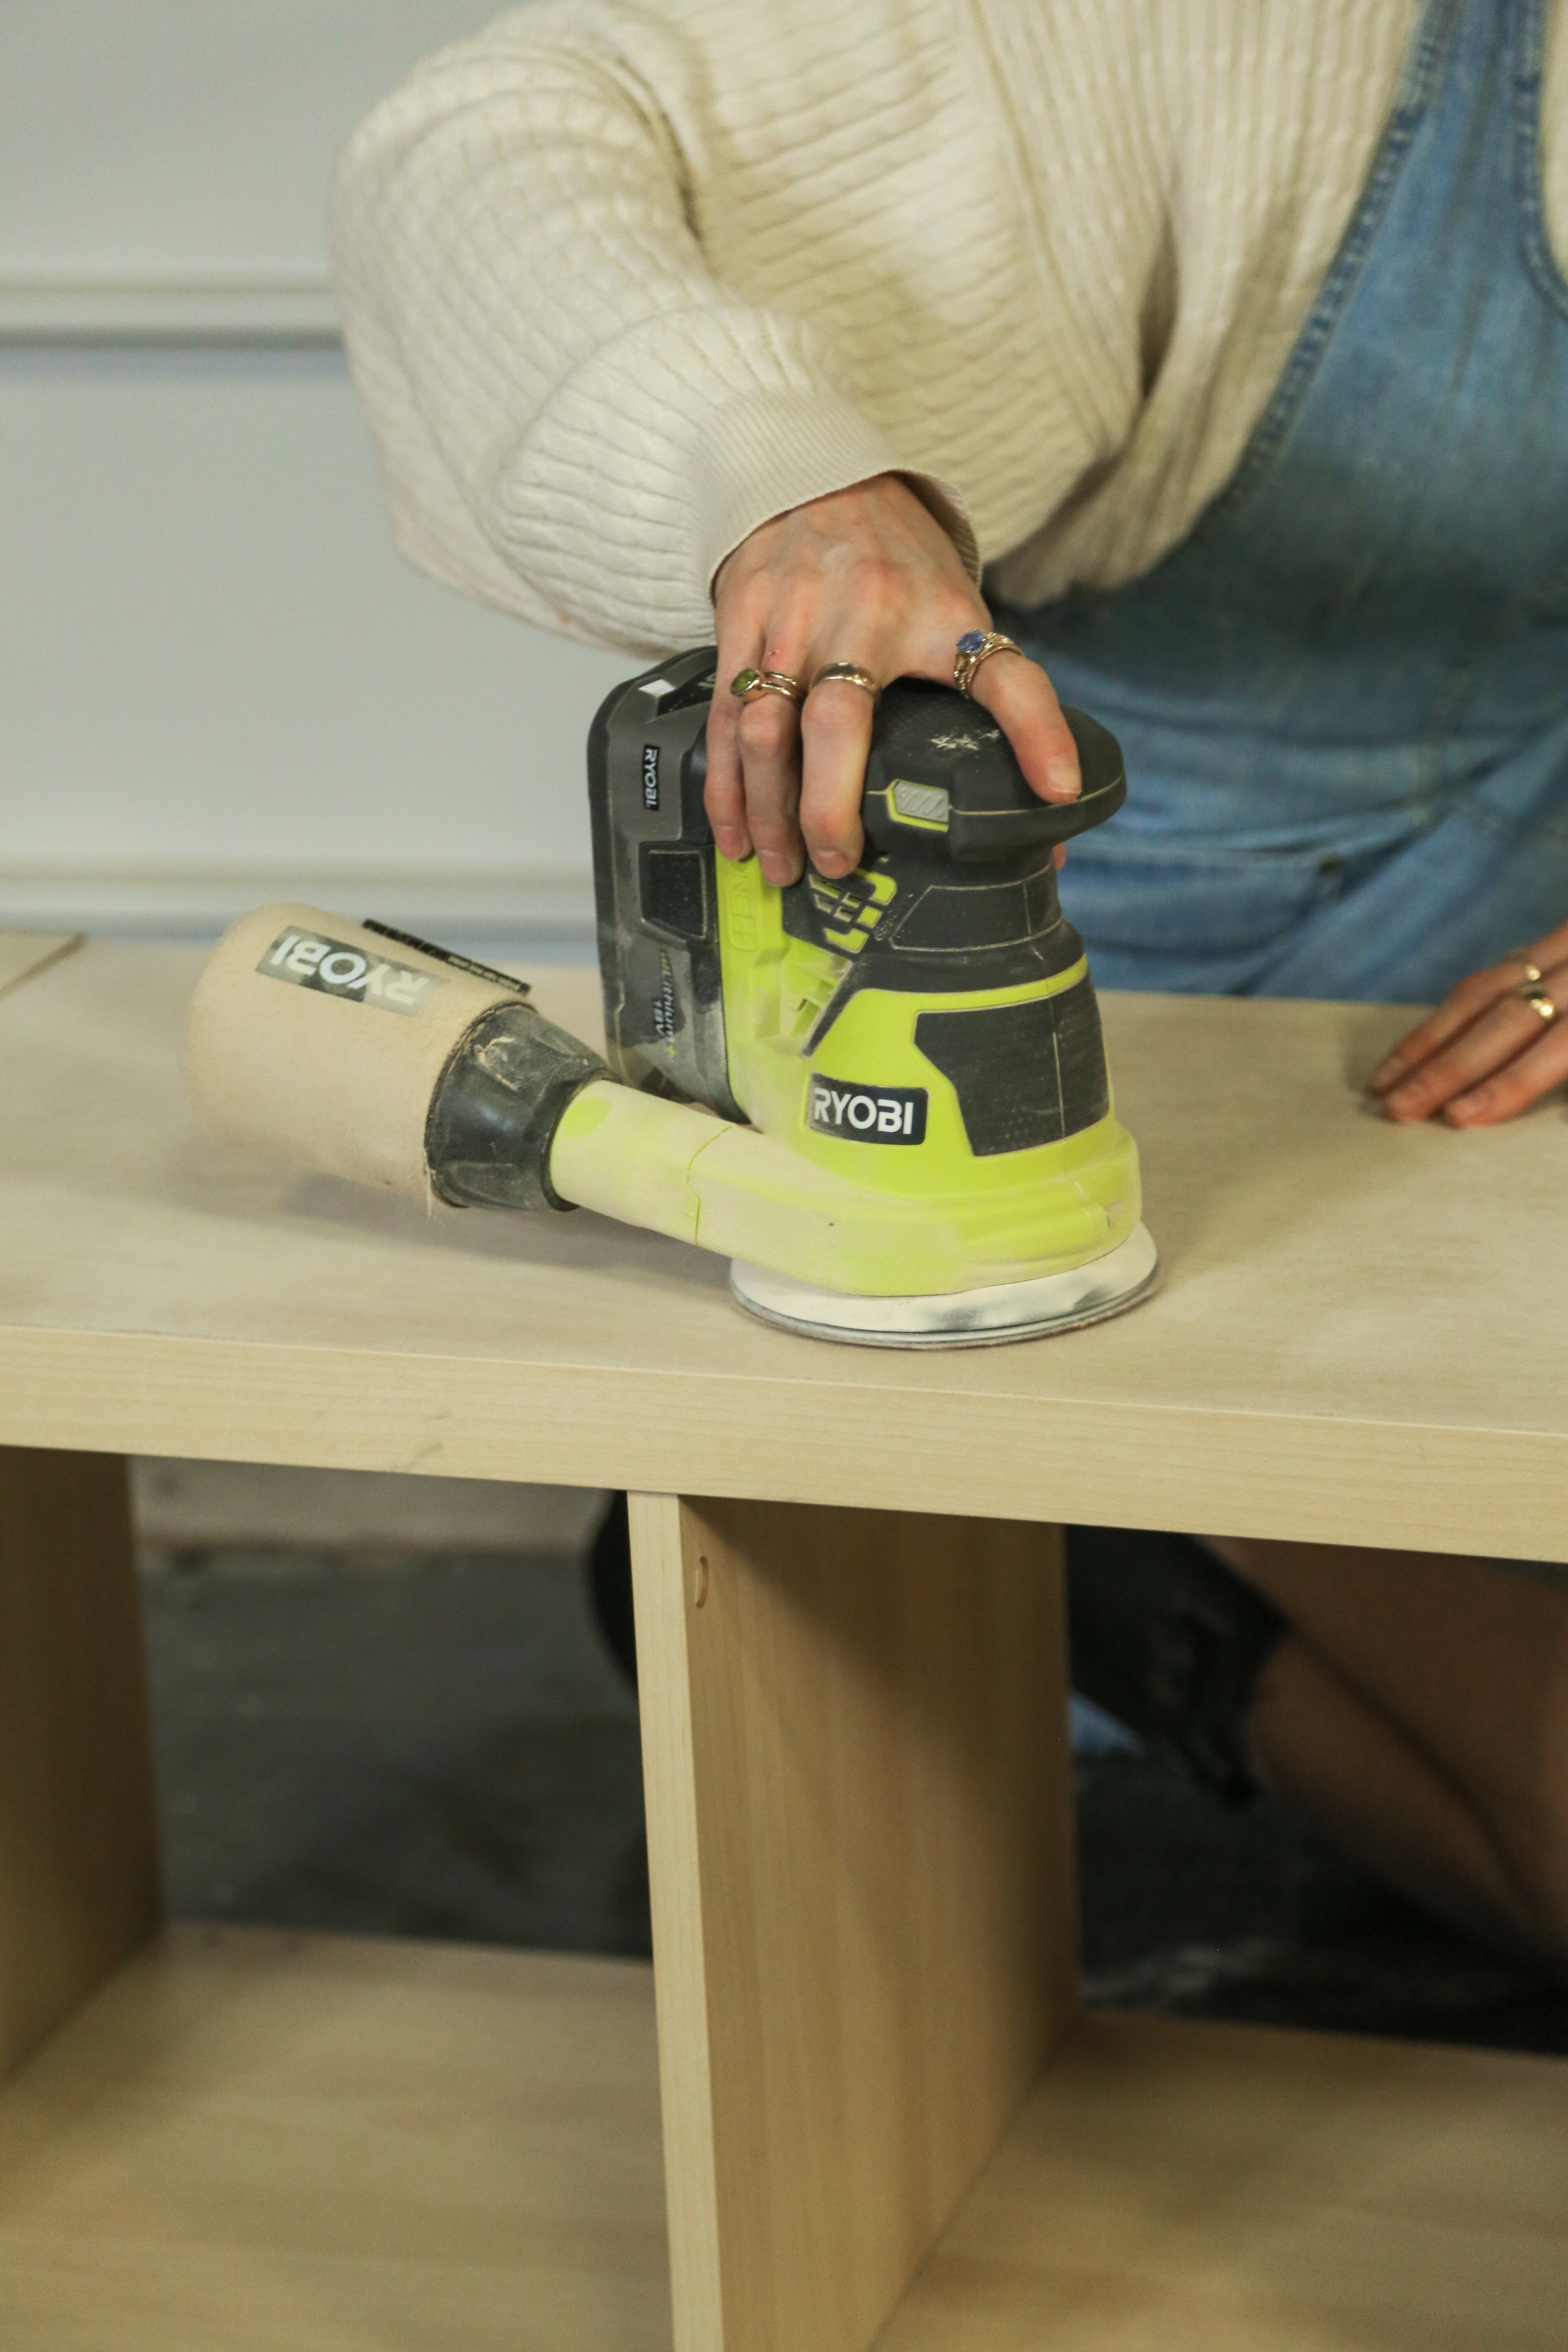
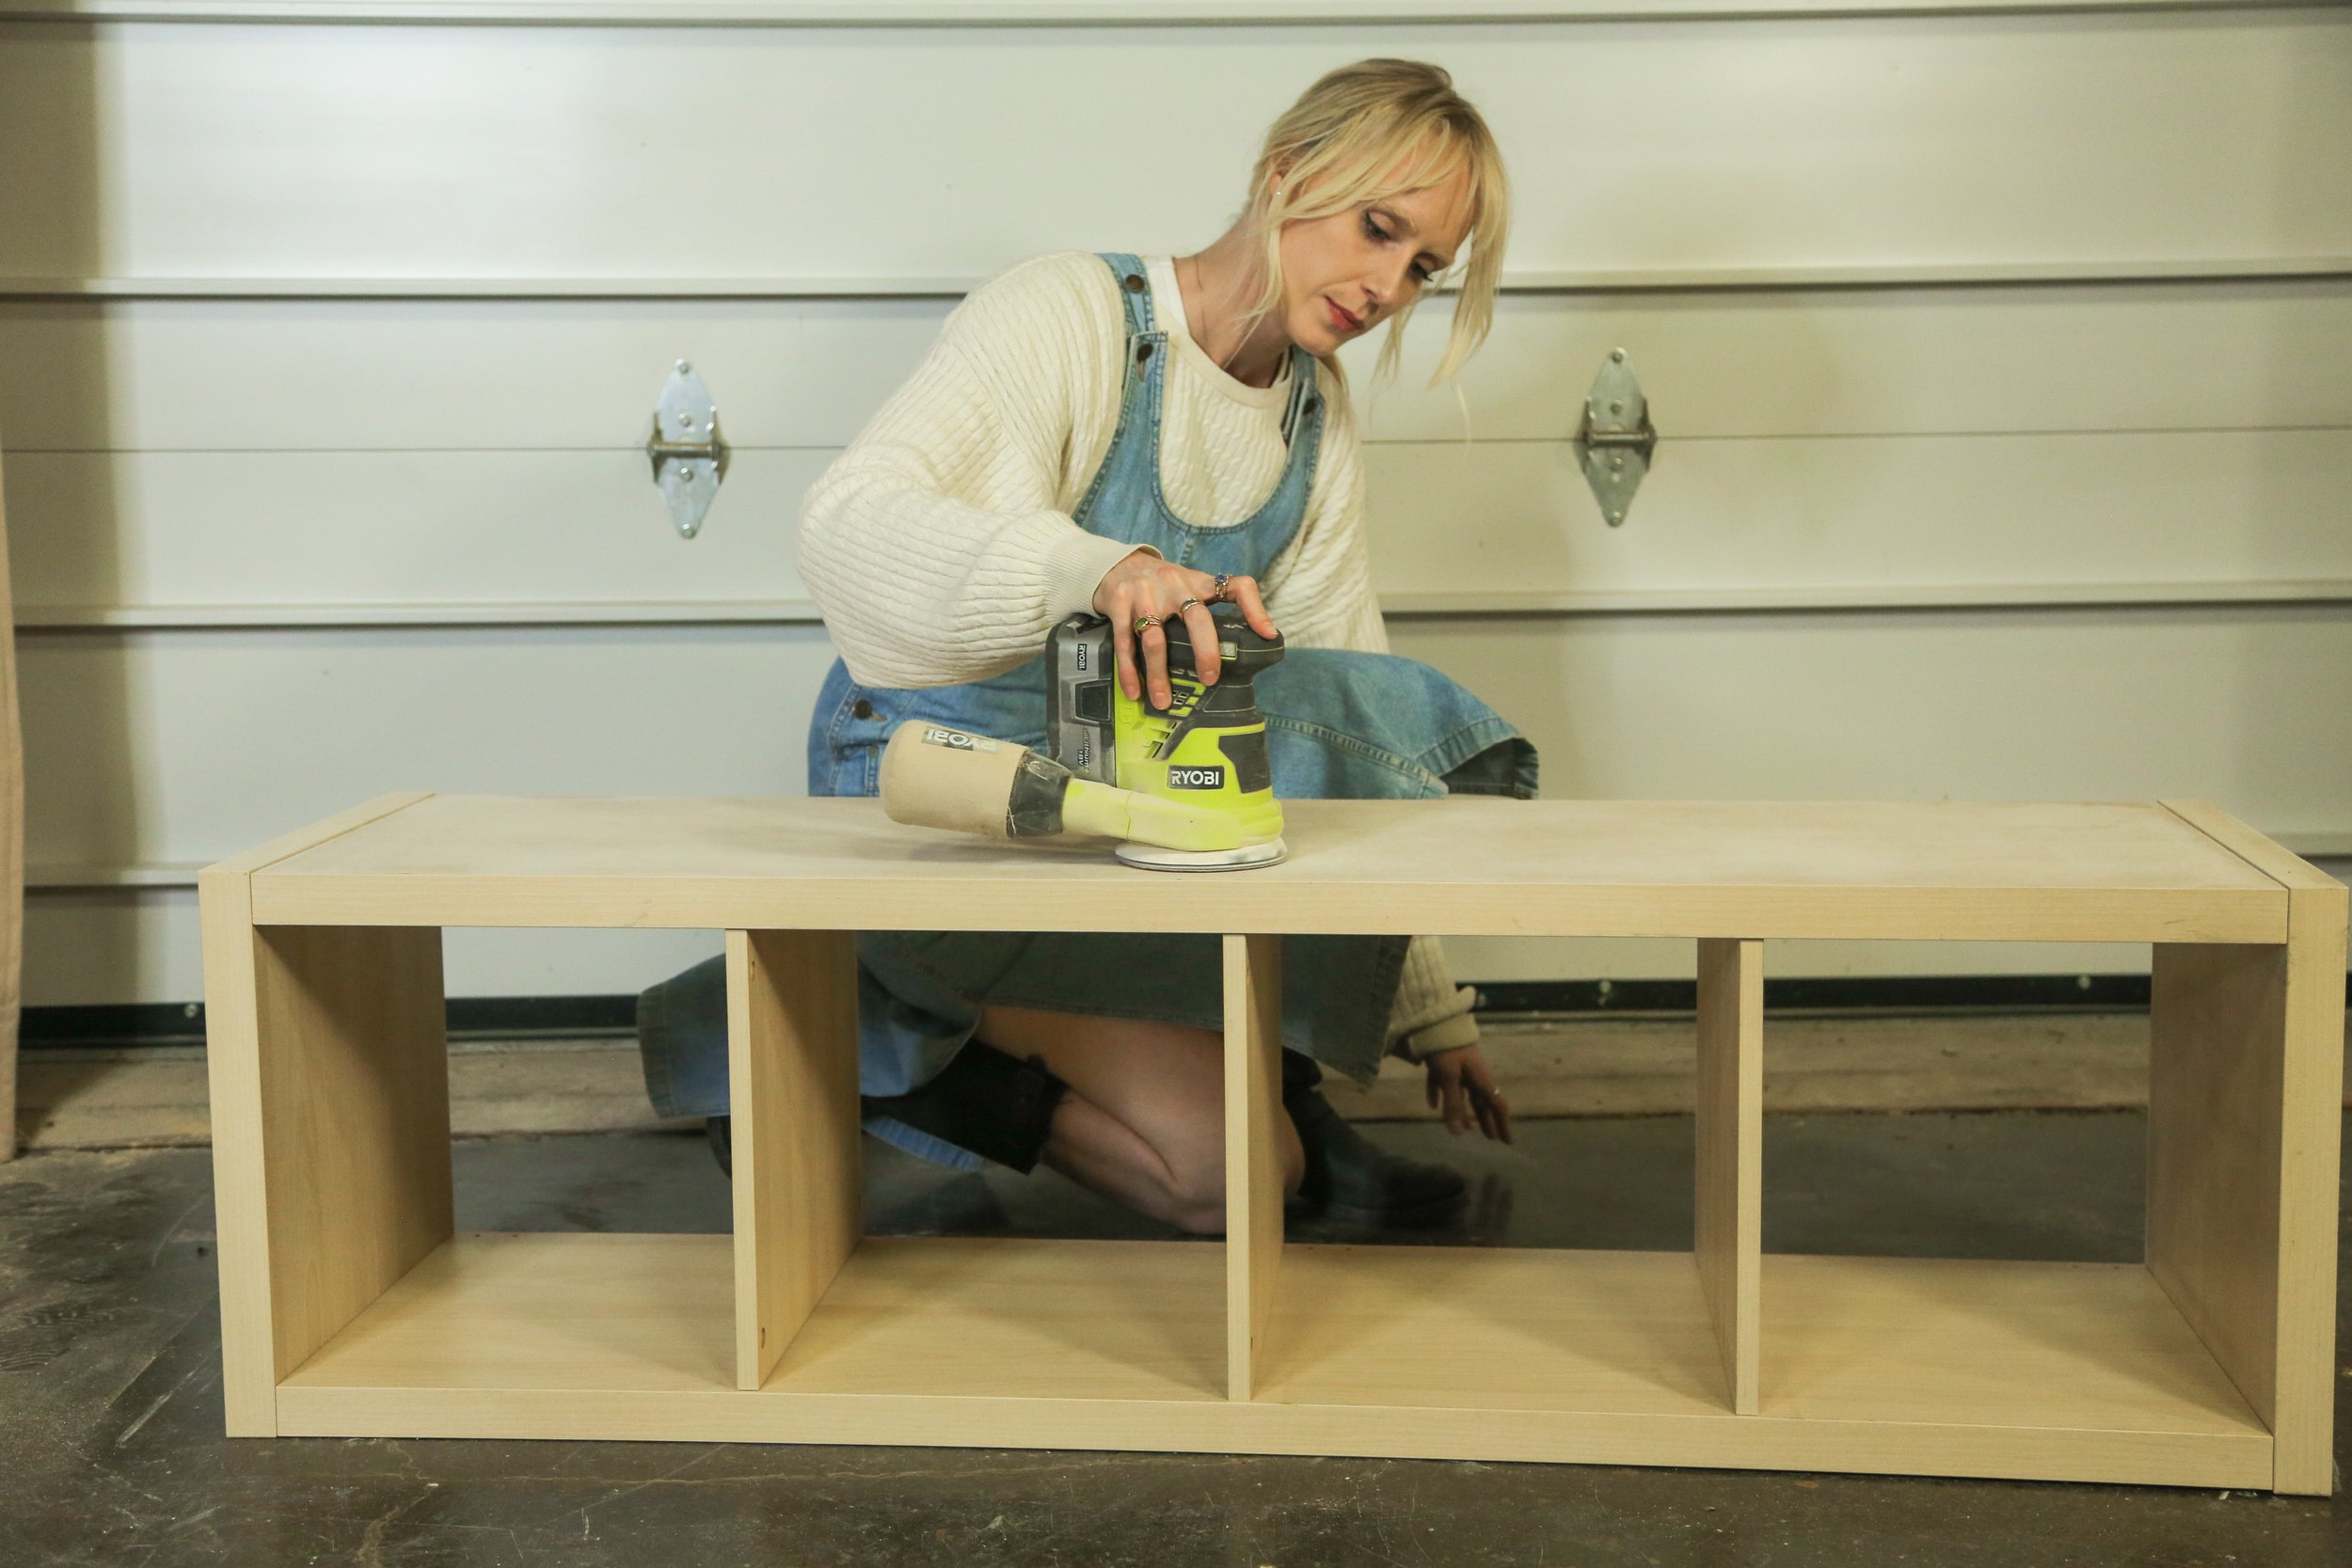
Using a 120 grit paper attached to my orbital sander, I went in and sanded the unit to create a more porous surface for when I started painting and adding the decorative paneling. The goal is to rough up the surface a bit, not completely remove its coating.
Step 3: gather extra materials
Time for a trip to the hardware store! I needed a few cut pieces of ⅝ thick MDF board to create the closed ends to our bench, as well as the decorative arches. I had a very straight forward cut-list so they were able to cut my pieces there for me.
Step 4: creating the first closed side
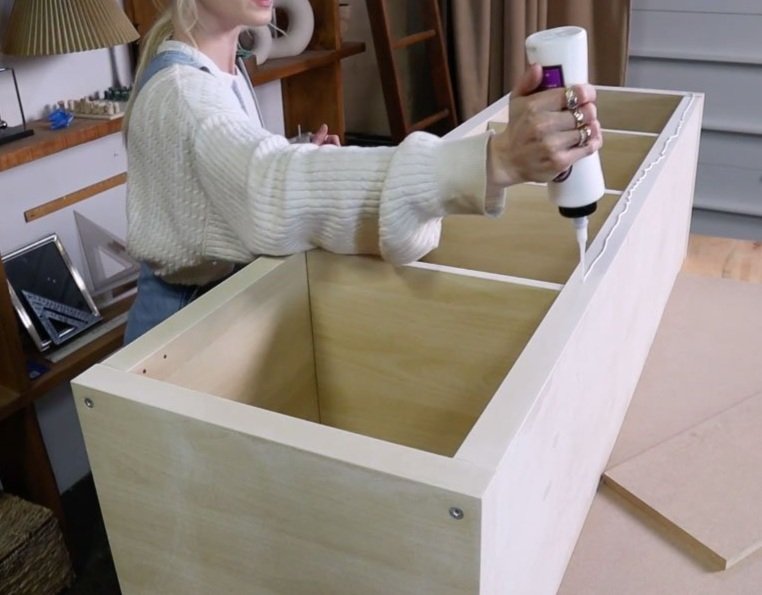
I added my first piece of MDF to the unit by gluing it down with Titebond melamine glue (hot tip… don’t wear bagging clothing while doing this because you may accidentally glue down your sleeve… like I may have…). Then I placed some heavy weight on top of this newly glued piece to make sure the adhesive has an extra strong bond to the KALLAX.

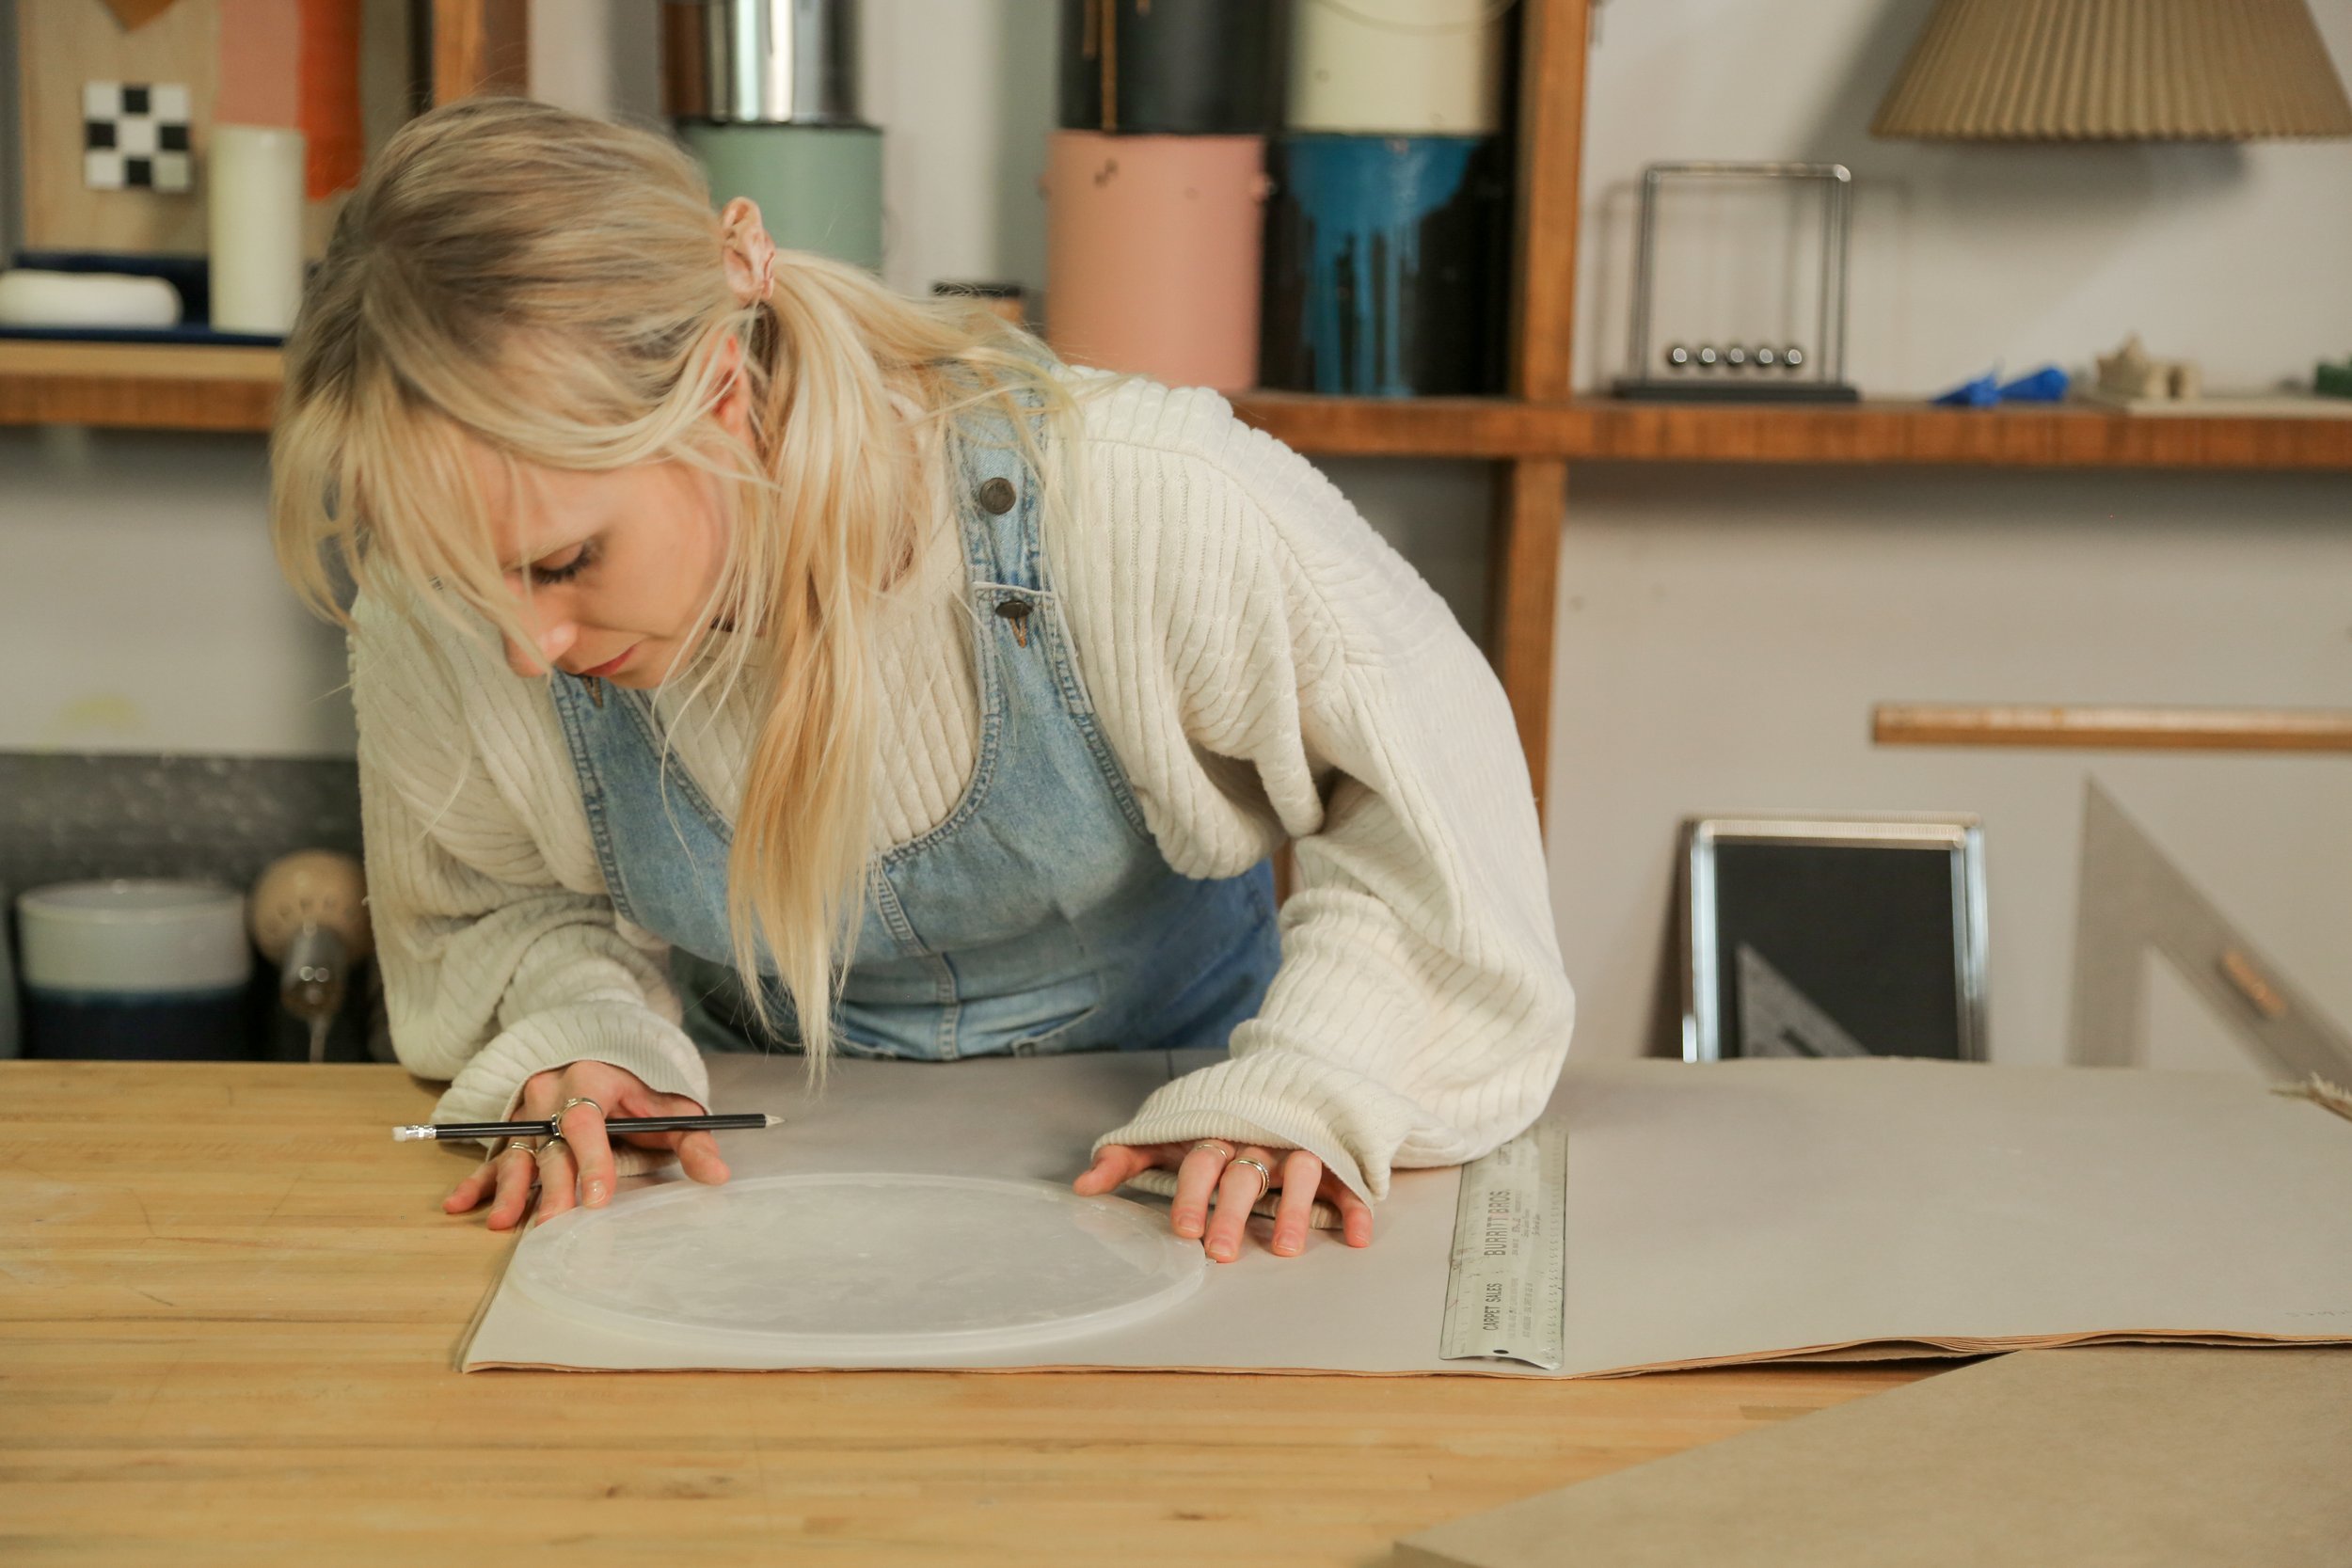
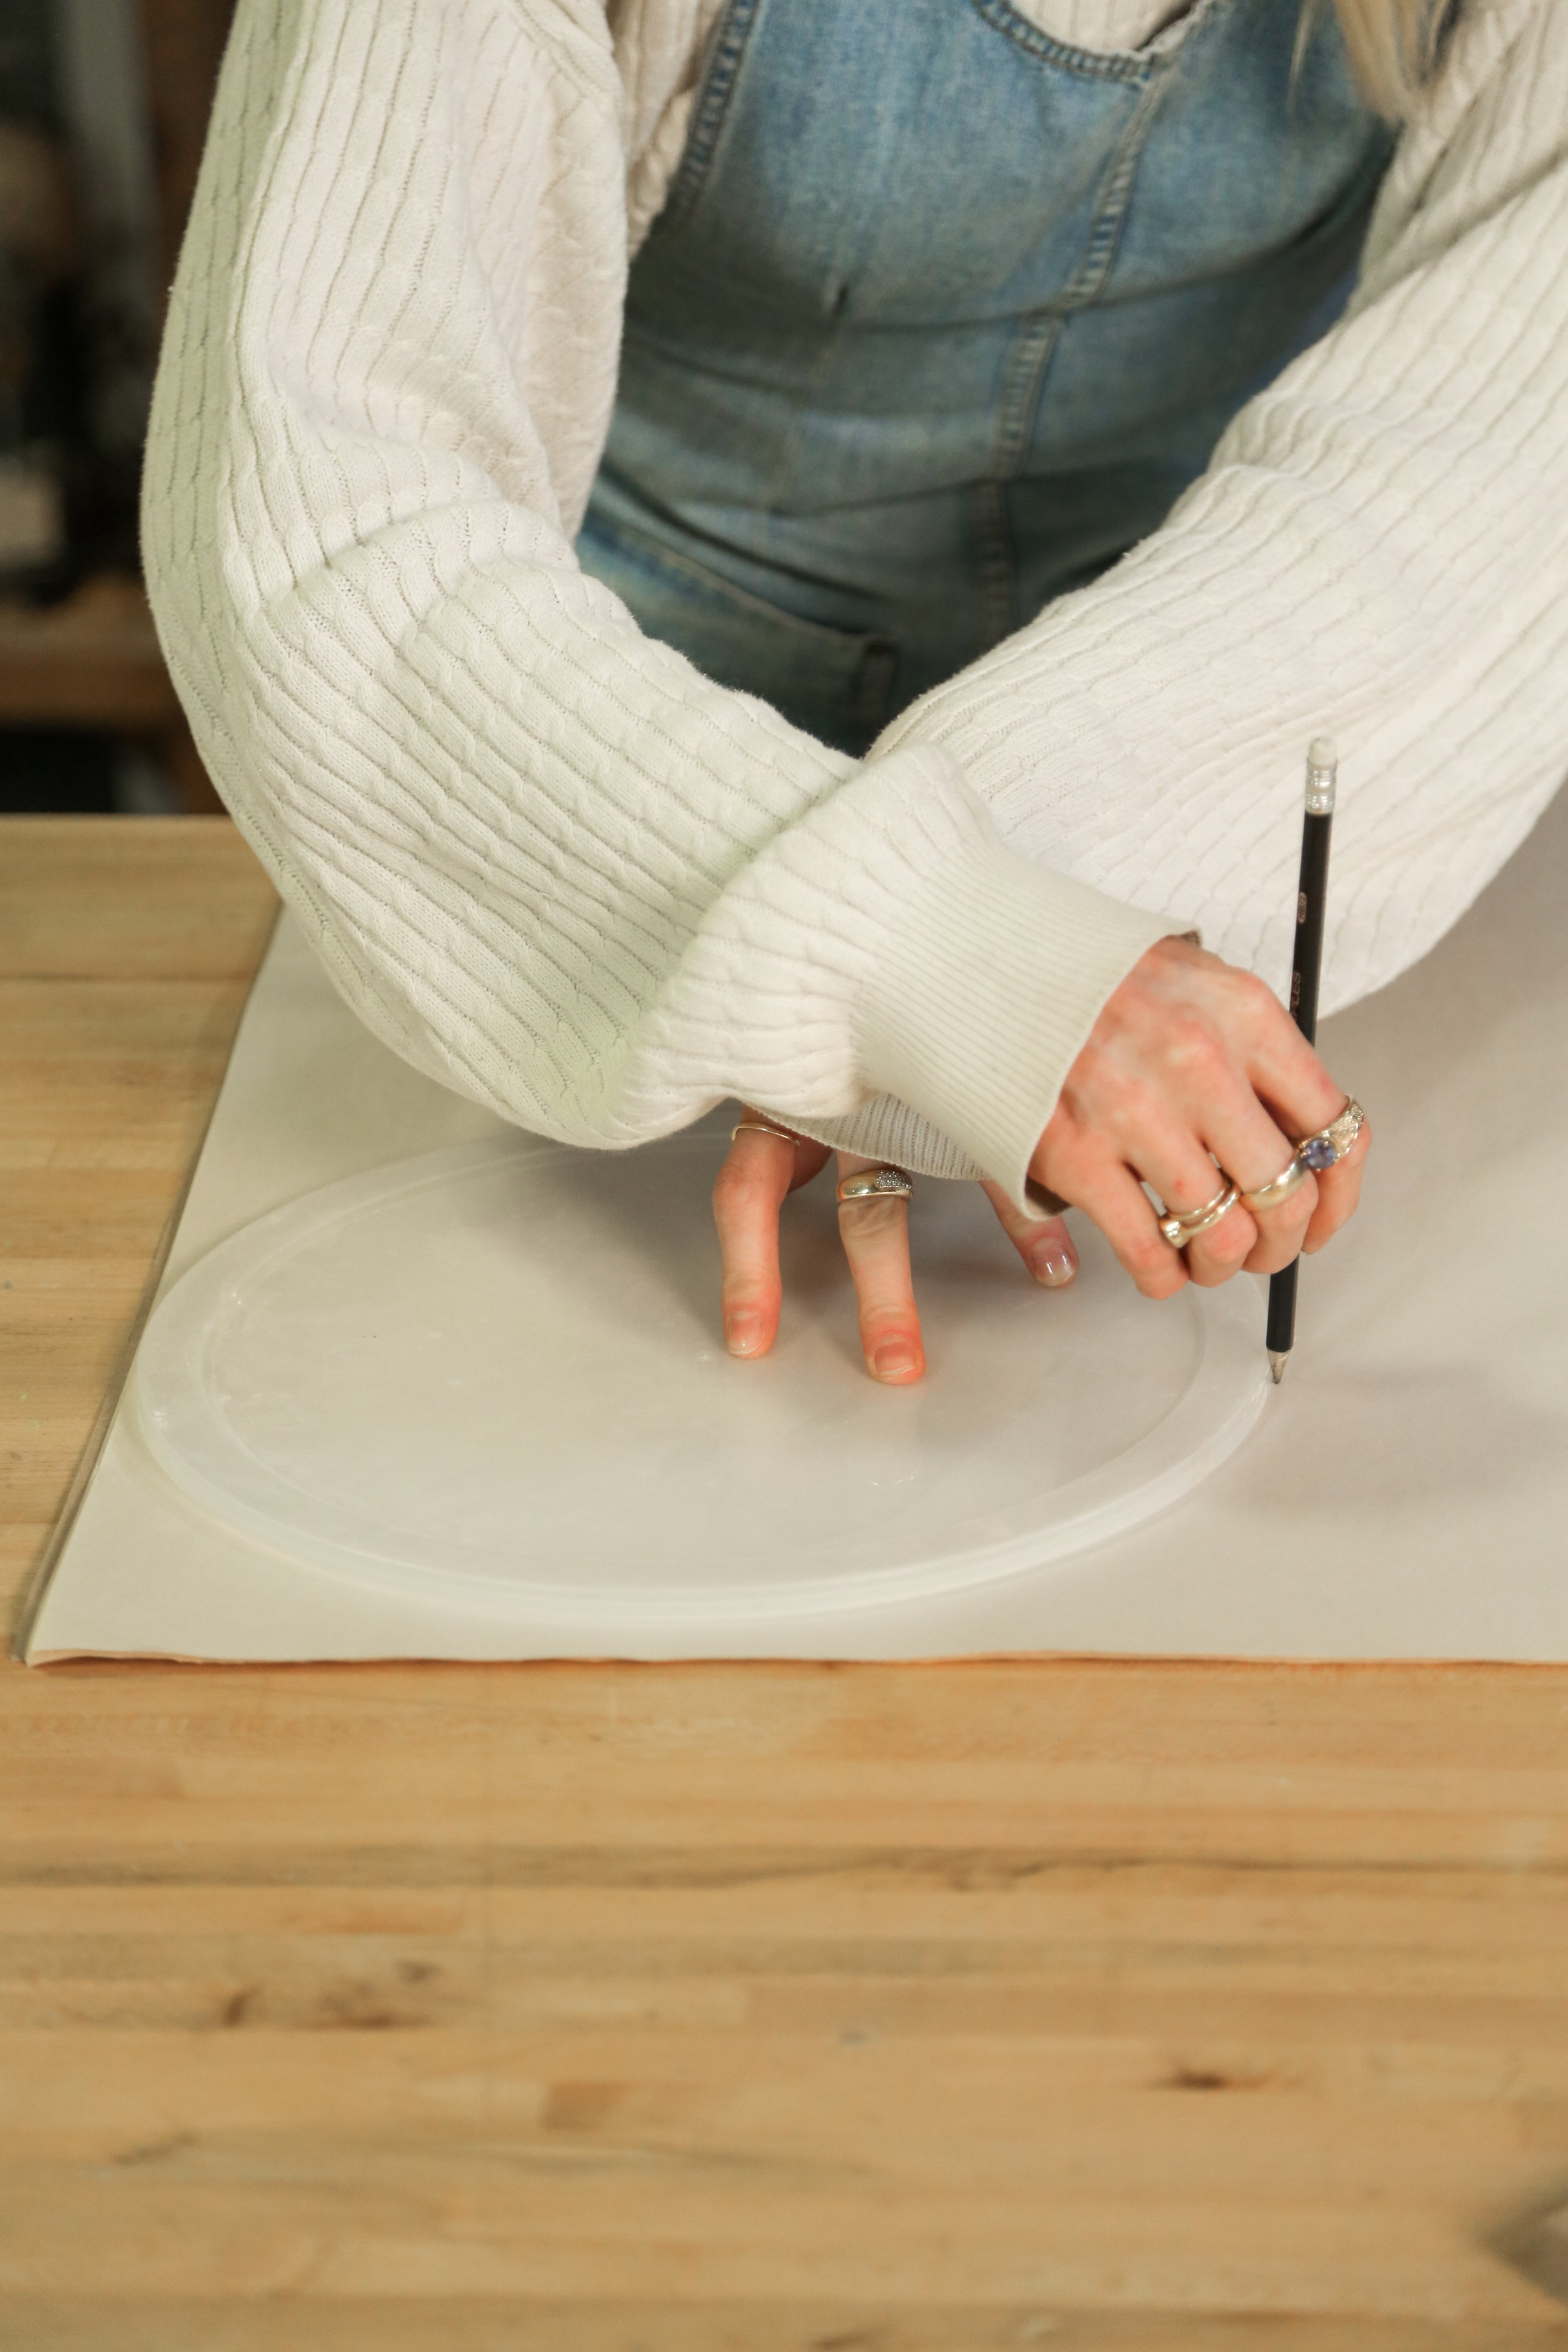
Step 5: creating the decorative arches
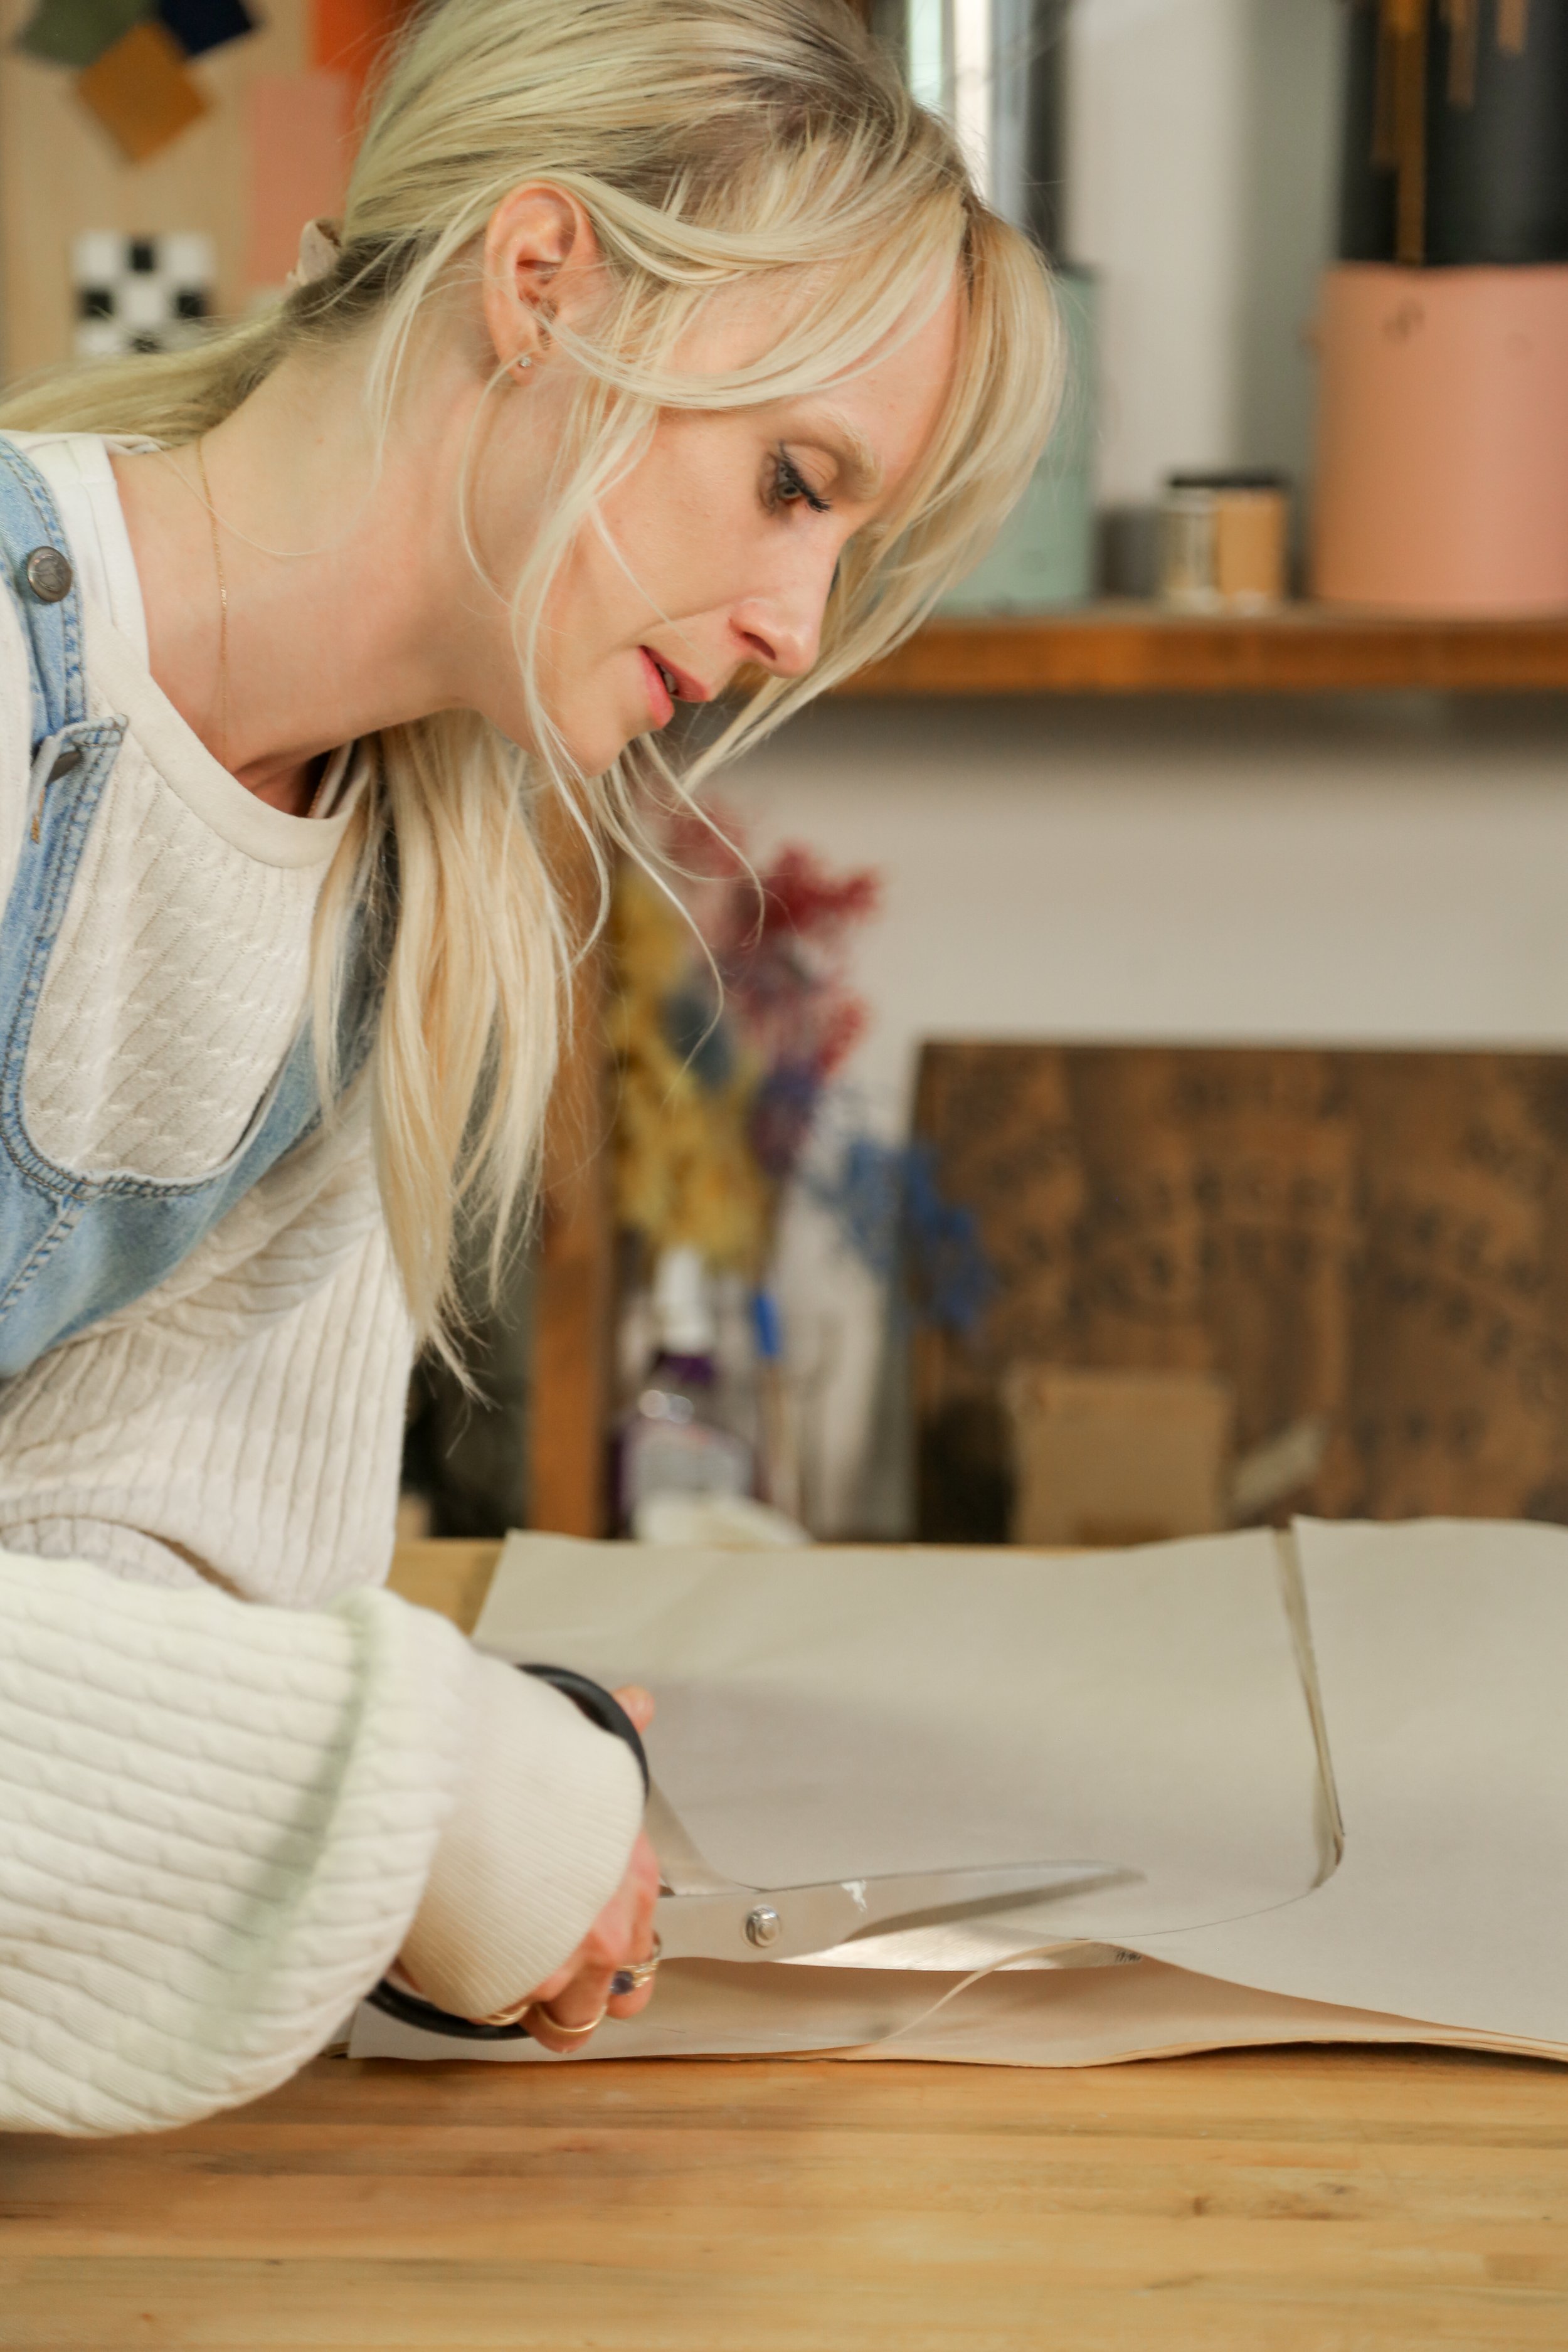
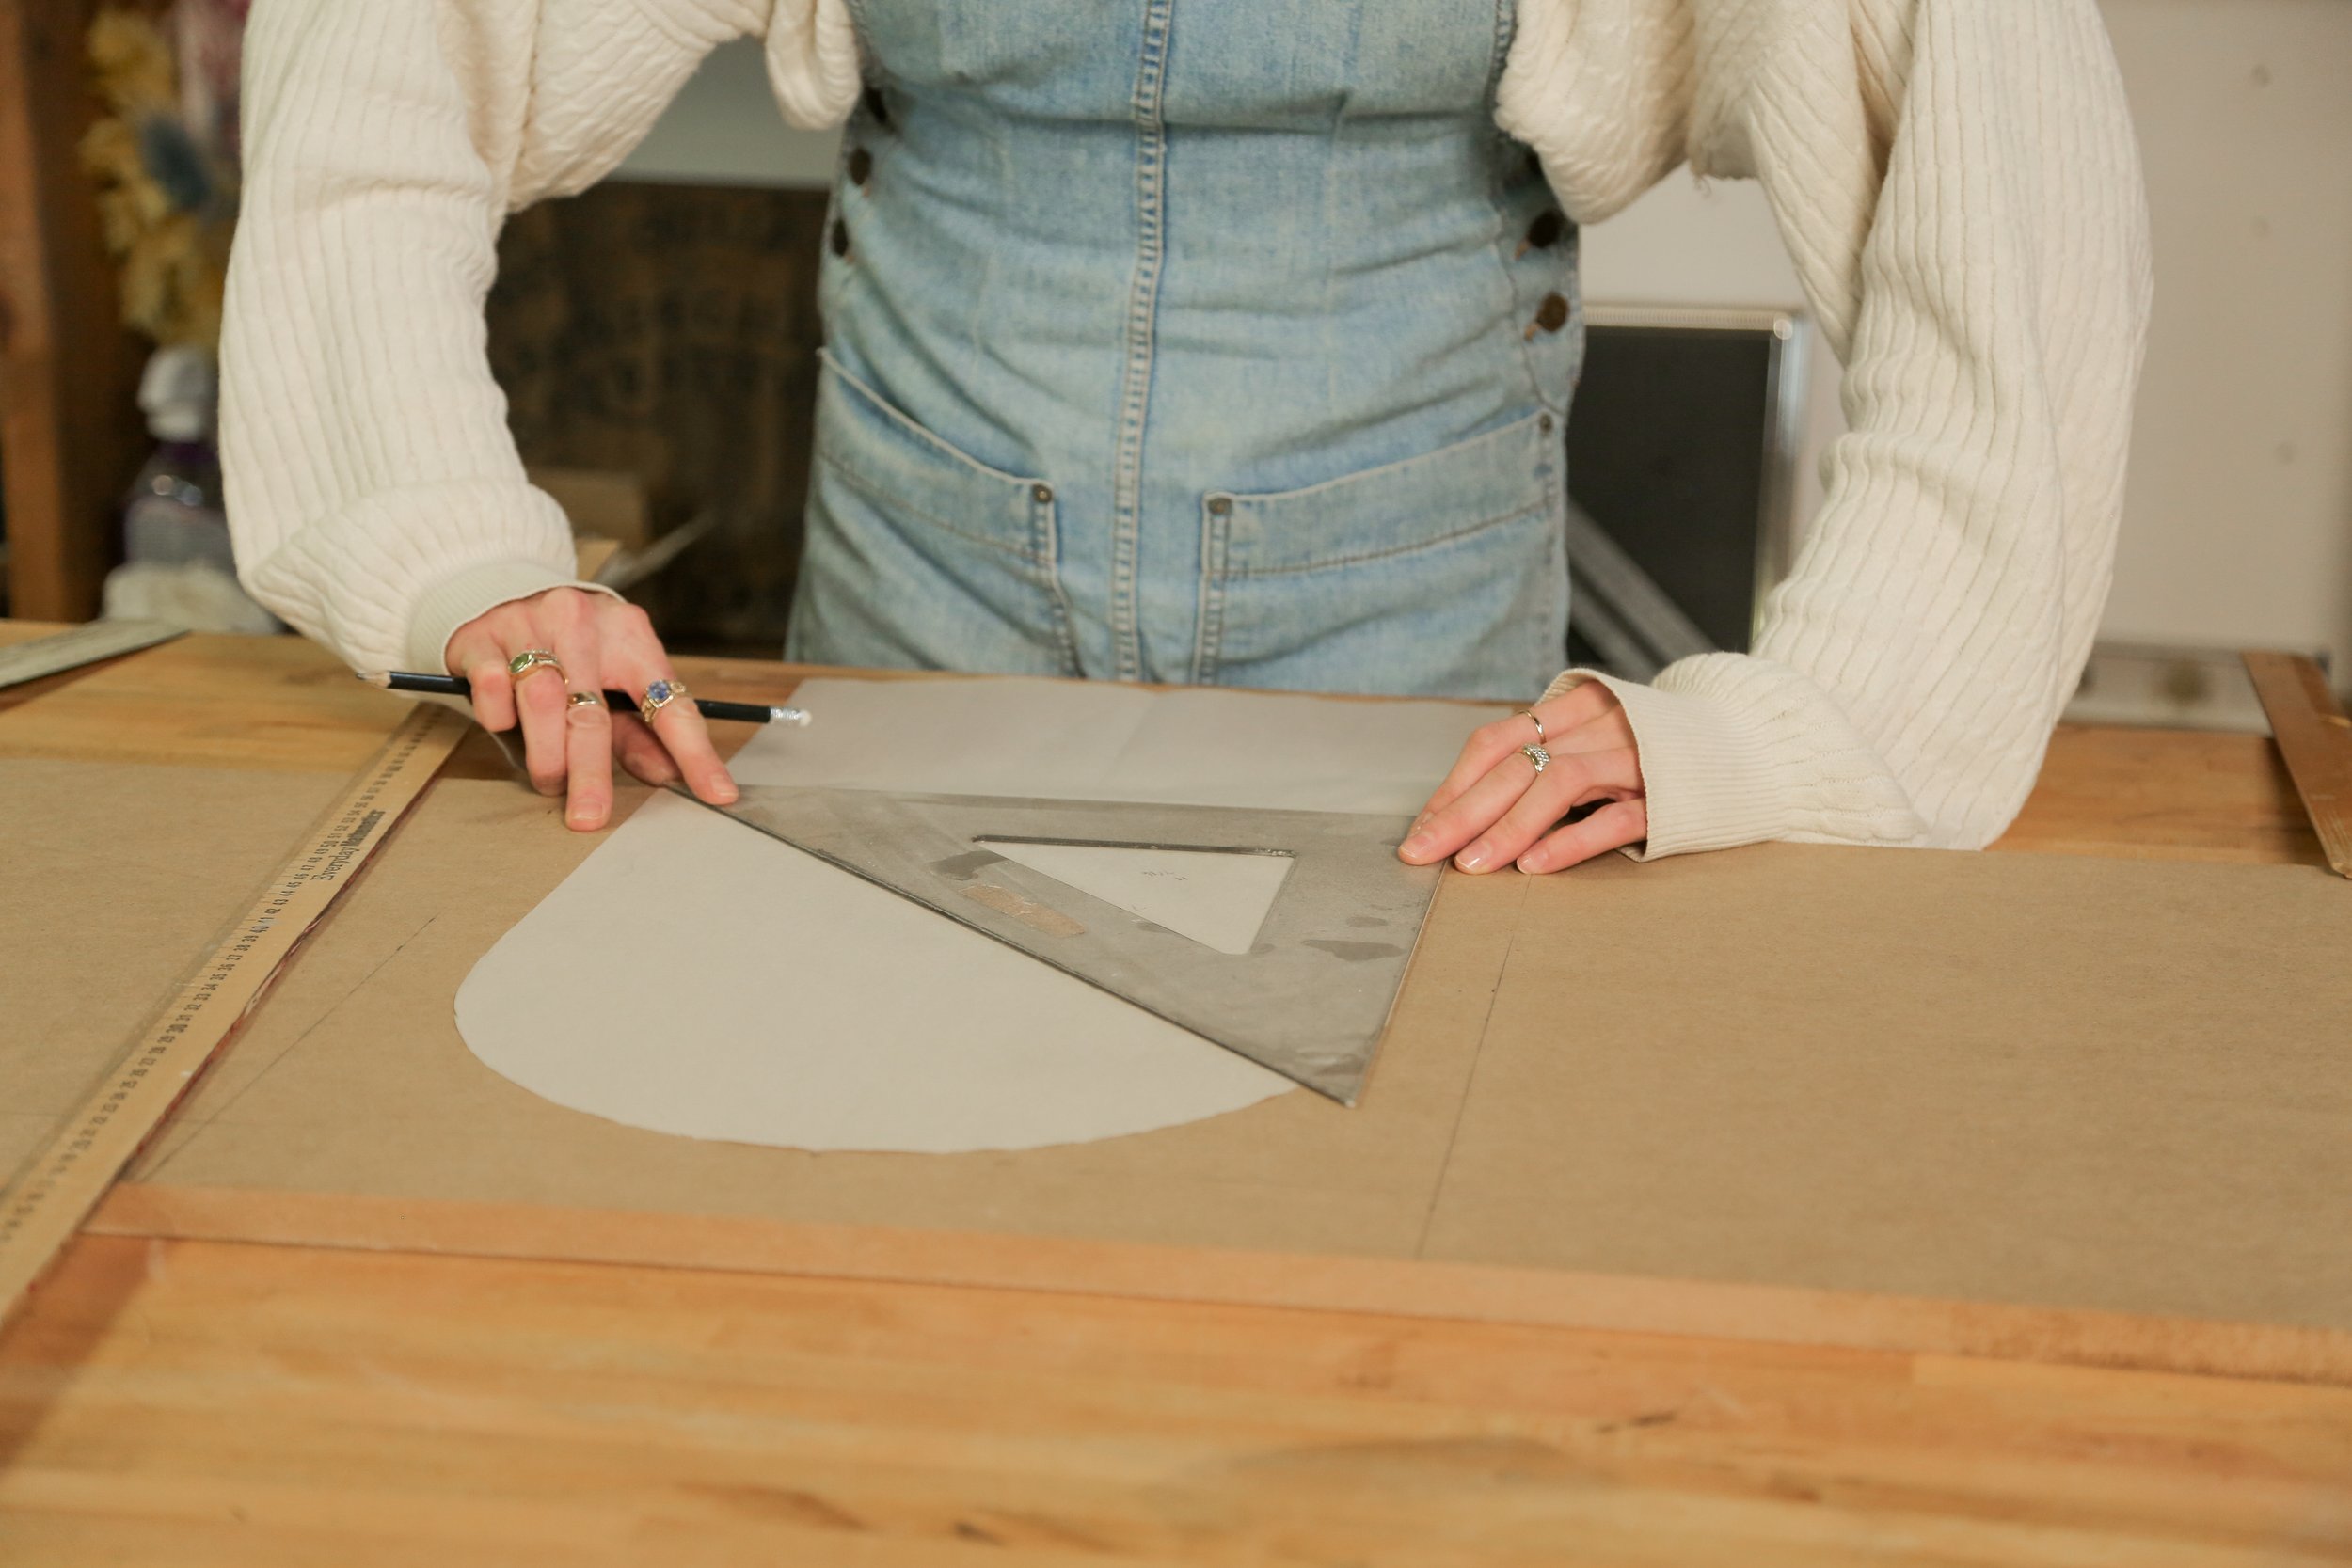
I began by making a traceable template of the arches on a piece of paper, ensuring that the actual arches on our unit stay as symmetrical as possible. These can be whatever size you desire based on the overall look you are going for. I then cut out the arch template.
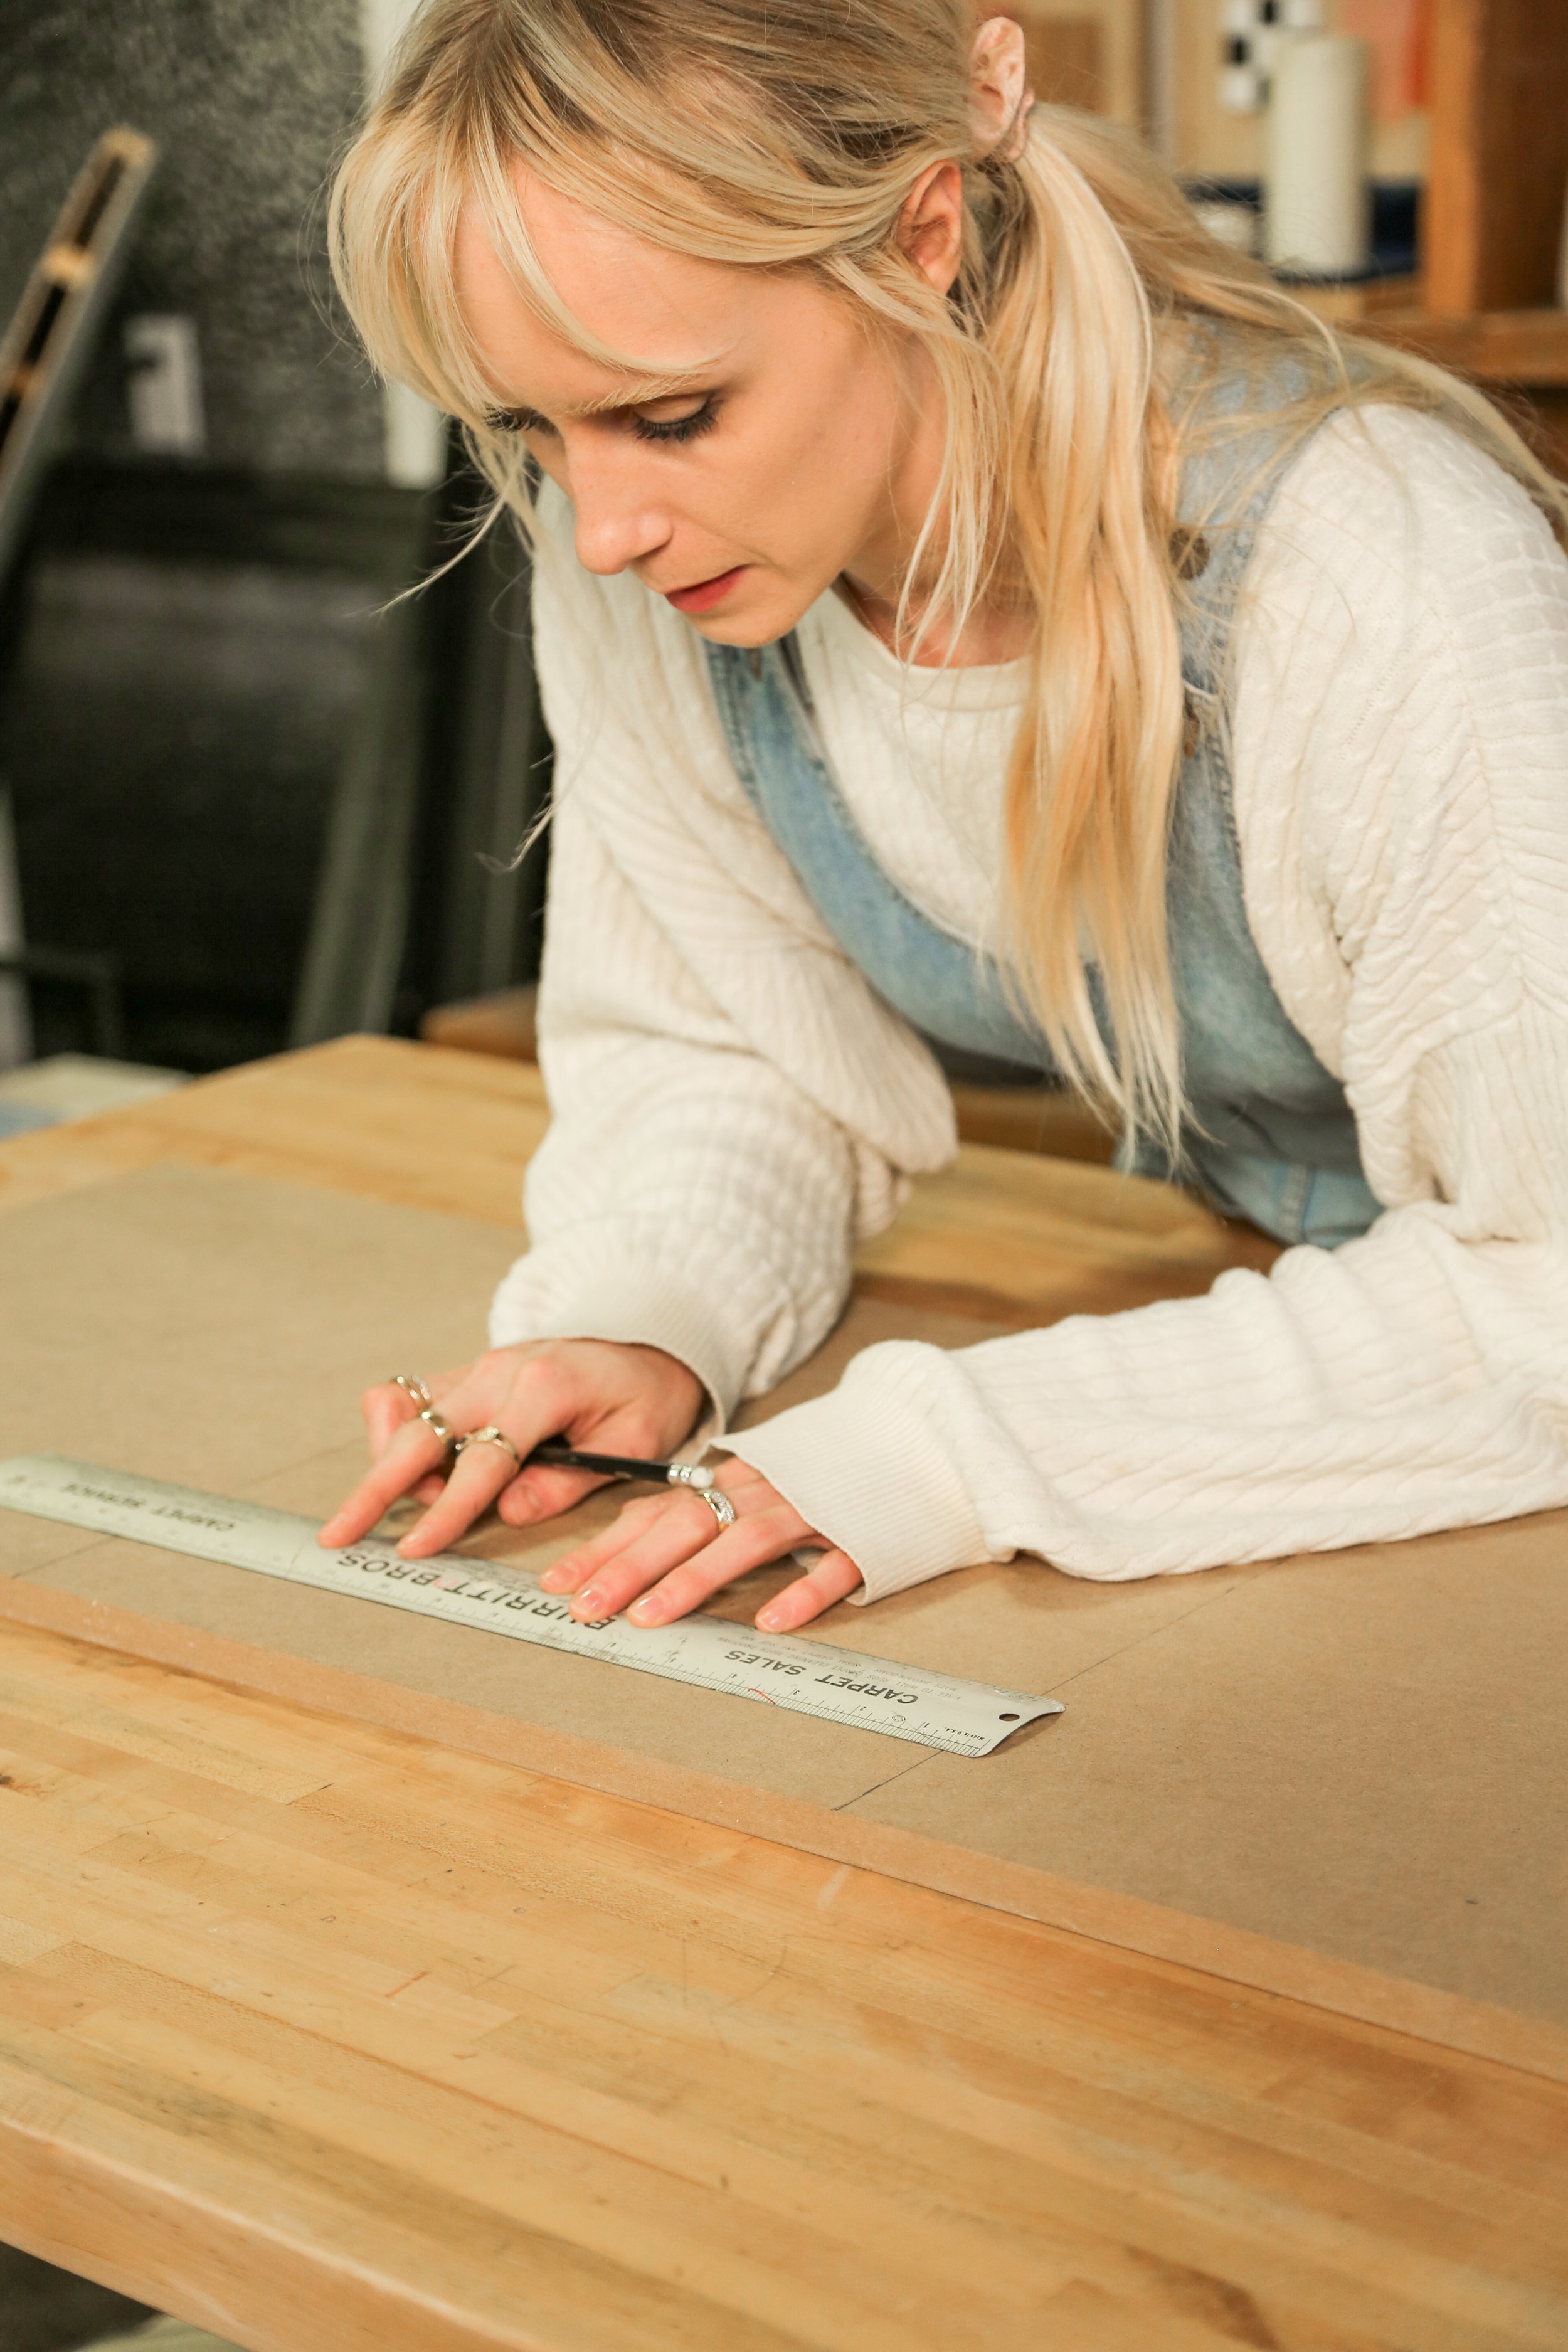
Next I measured and marked four even quadrants onto our MDF board so that the arches would be evenly spaced and centered within these quadrant when tracing them out.
To cut out the arches, I went in with both the circular and the jigsaw to make the most precise cut. The circular saw is great for straight edges and then I switched to the jigsaw for our rounded sections.

Sand down your edges to make them smooth and seamless. I went in with a 100 grit sanding block to take care of those difficult curved areas.

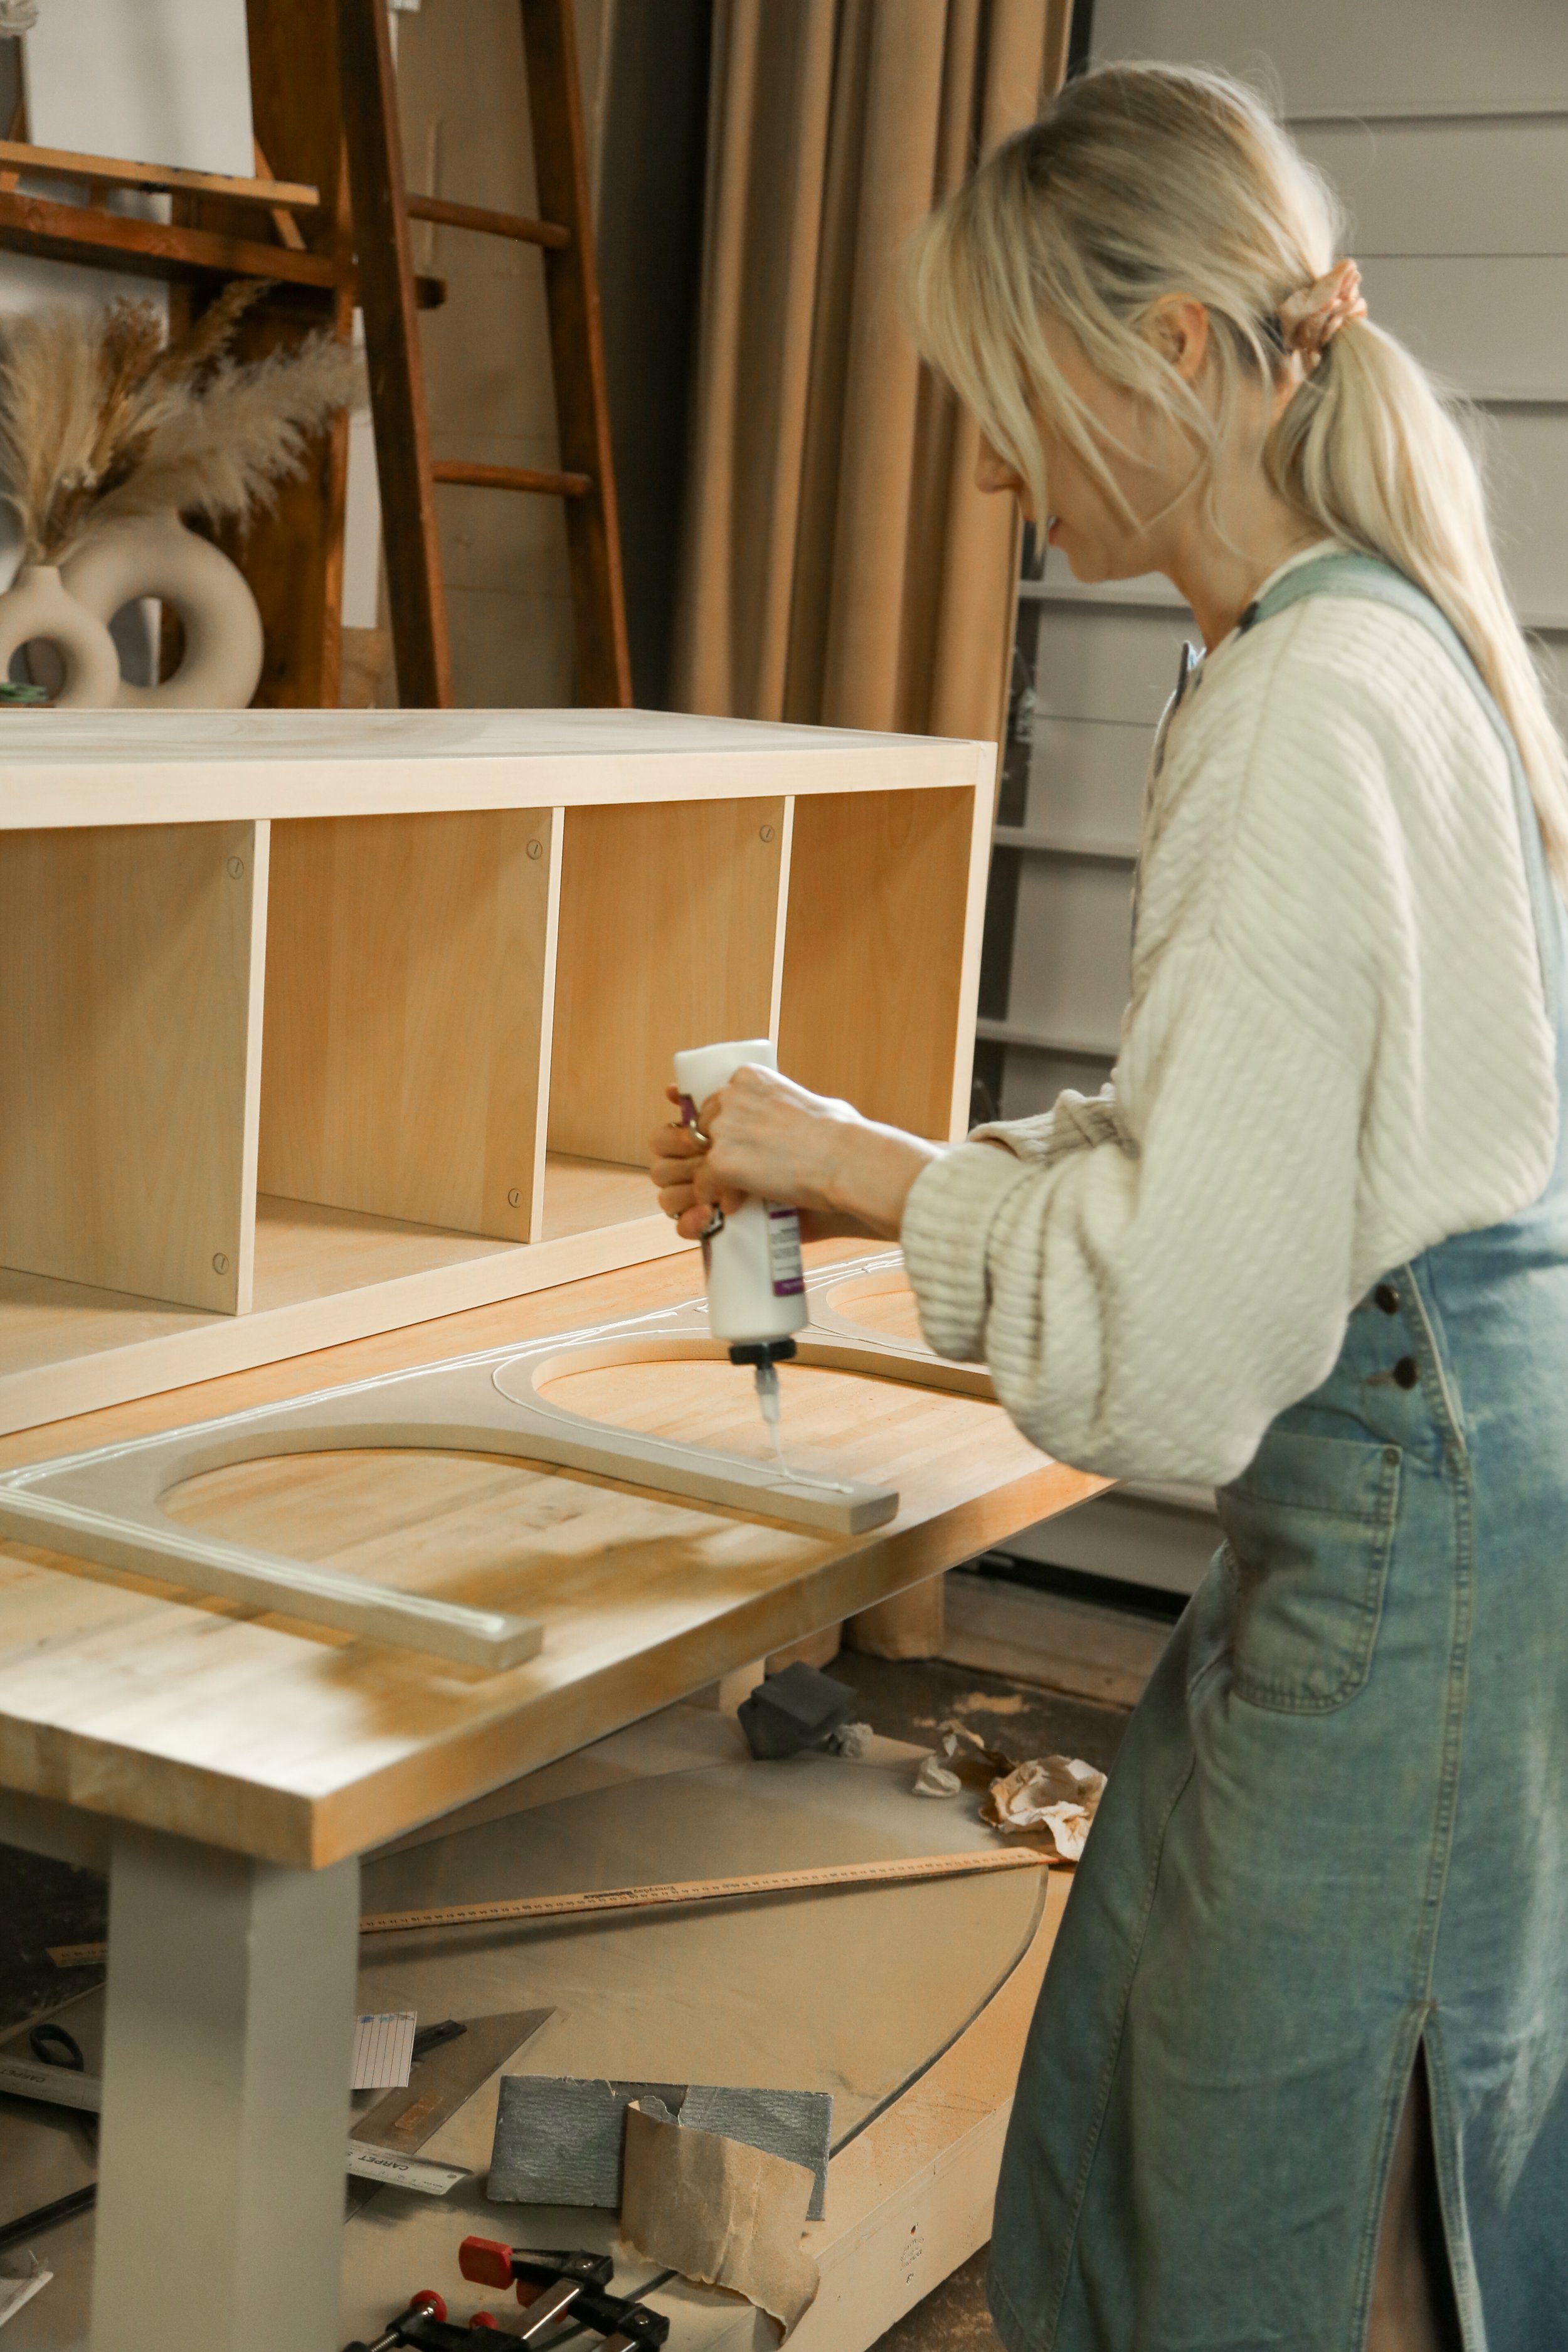
Once this has been completed, use your Melamine glue again and secure the arched piece to your KALLAX unit.
Use wood filler to refine any edges that need to be more seamless and then wait for it to try down completely before sanding it clean.

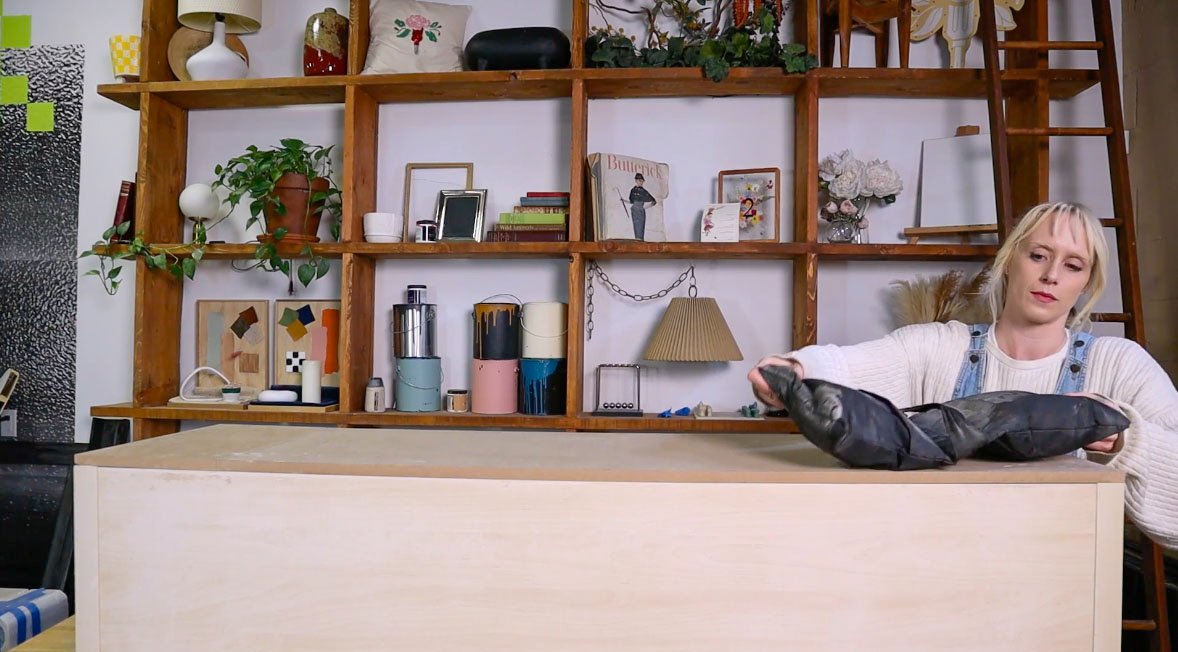
Step 6: creating legs (optional)
I grabbed a piece of scrap wood (2 inch pine) that was hanging out in the office and trimmed it down with my circular saw to create two simple plank-like legs. I then sanded them and we were ready to go!
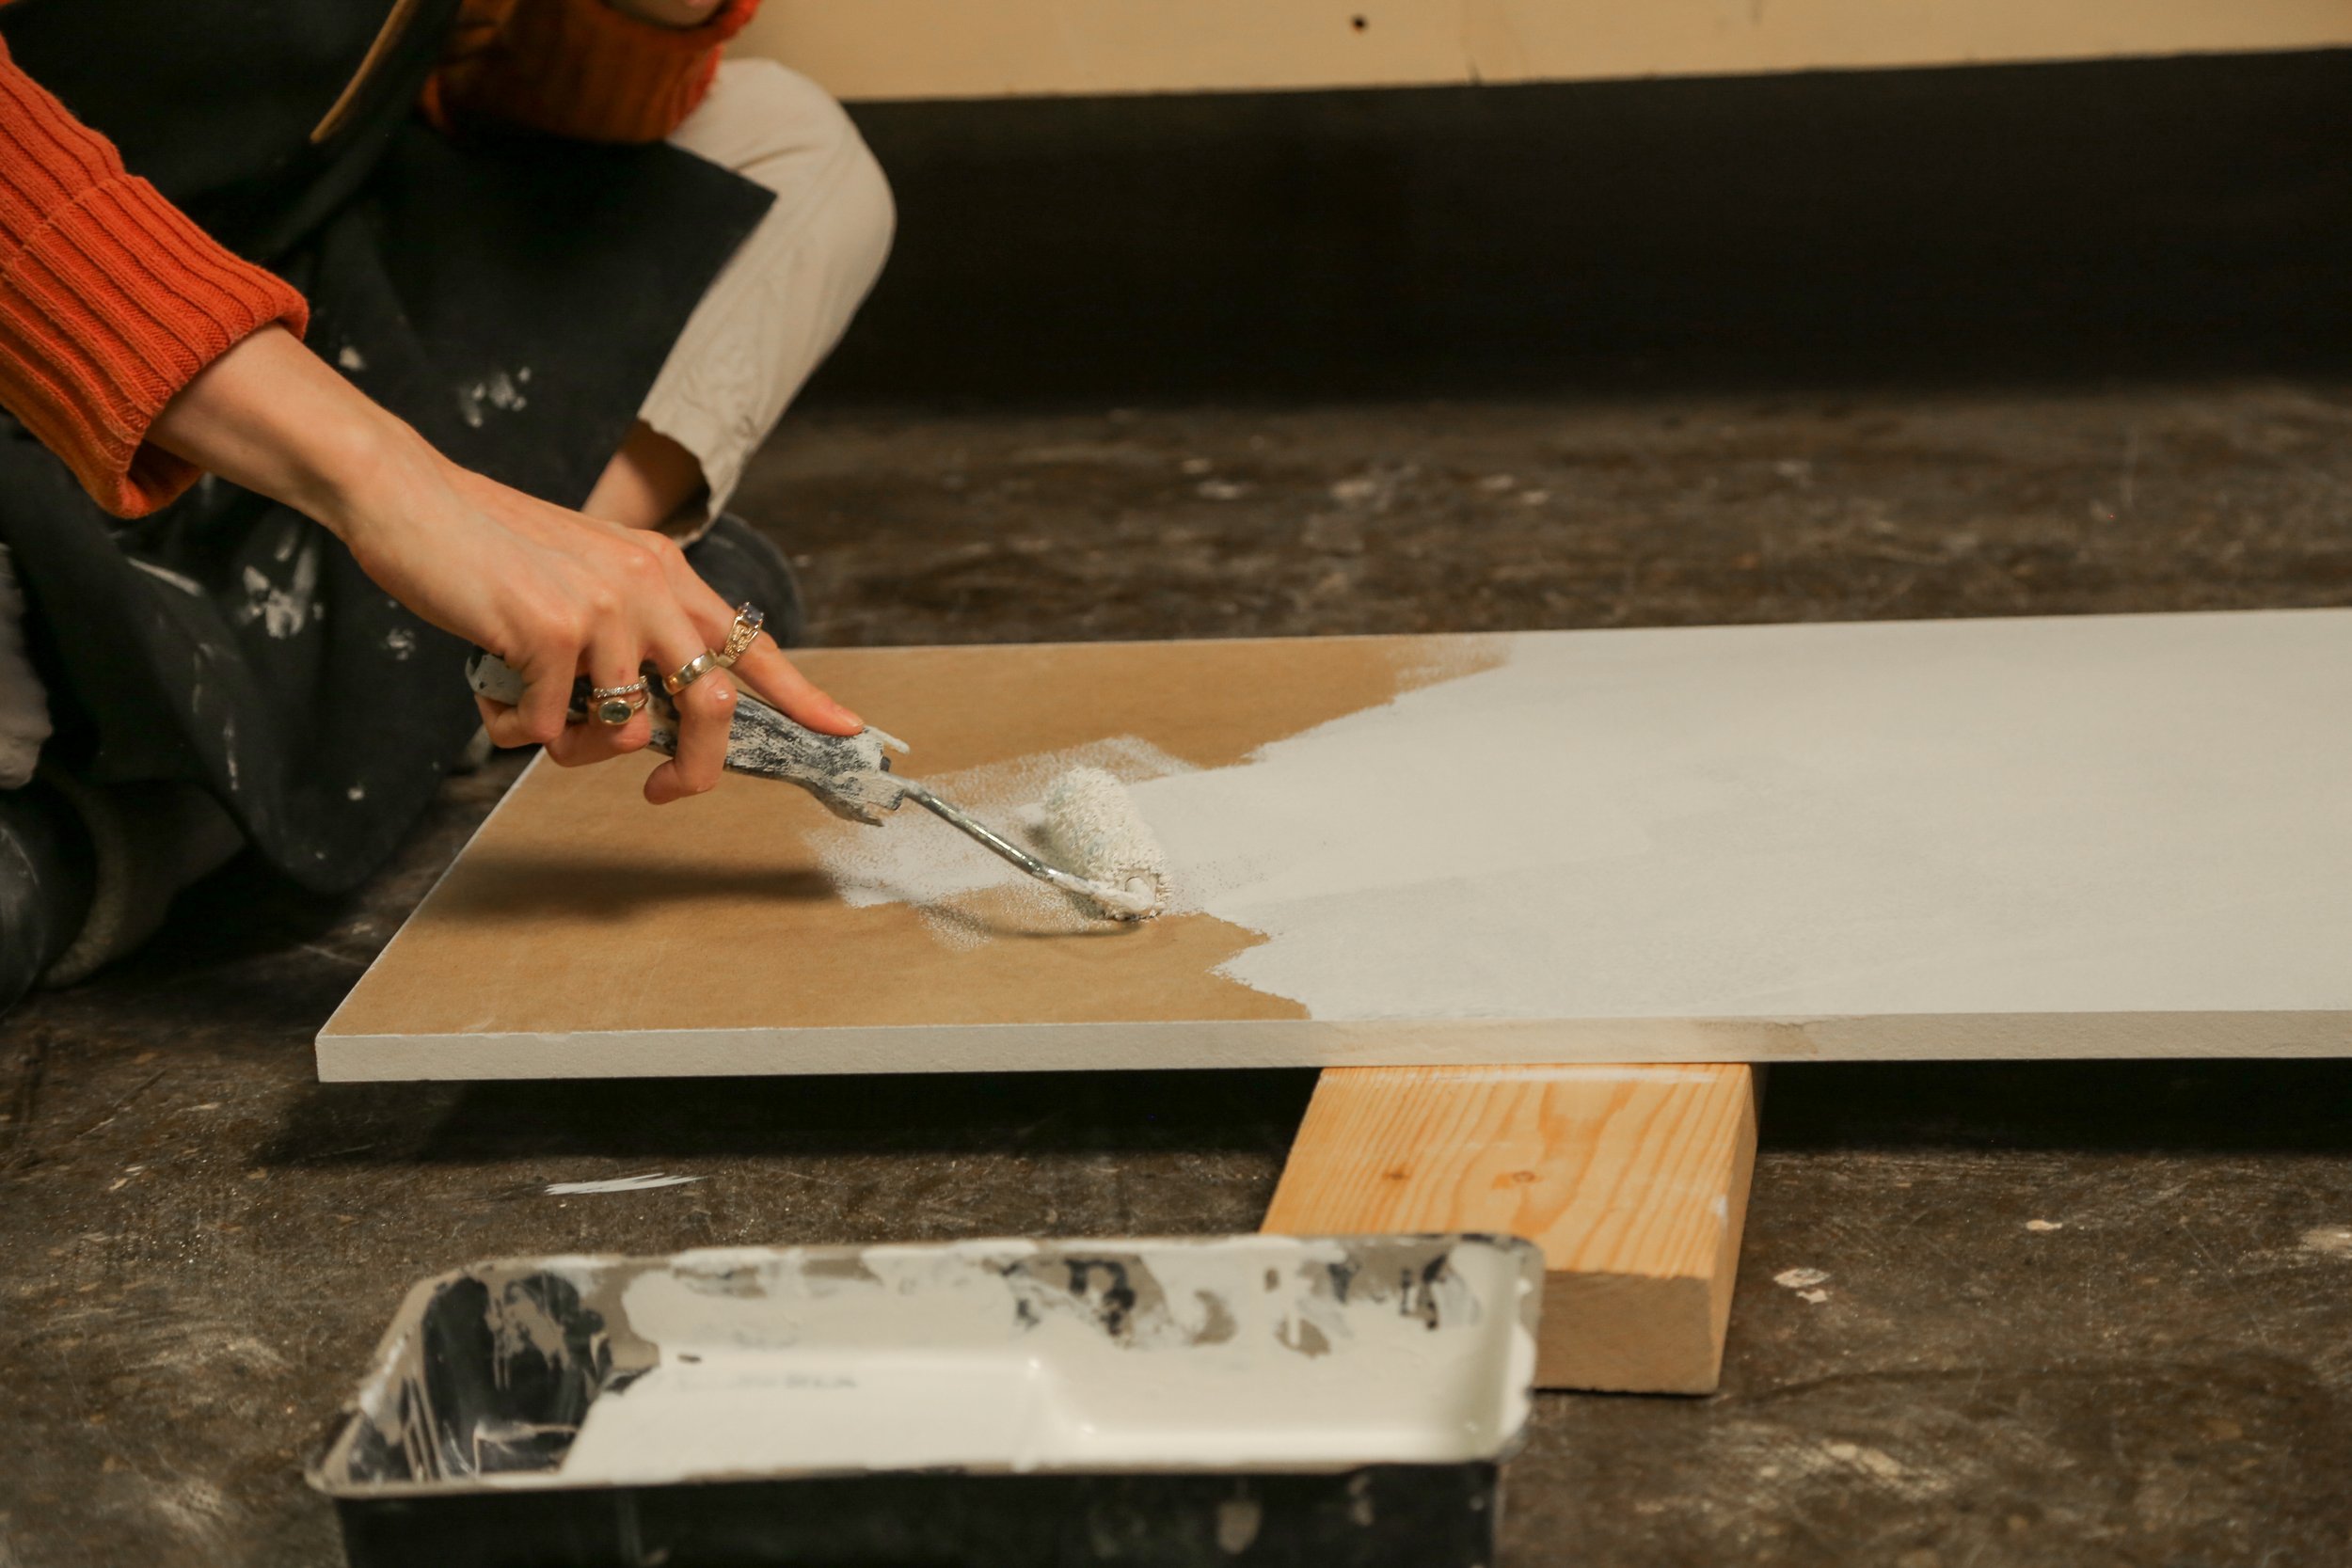
Step 7: priming & painting
When priming MDF, it’s crucial that you use an oil or shellac based primer. I prefer shellac because of its quick dry time but either will do! MDF loves to absorb water and warp so these primers will ensure that your material is sealed properly before paint. Once you’ve given your unit a coat of primer and let it dry thoroughly, time to add paint in whatever color you desire. I chose to go with a semi-gloss, high scuff paint which ensures maximum durability in a high traffic area (like the entryway i picture this unit going in)


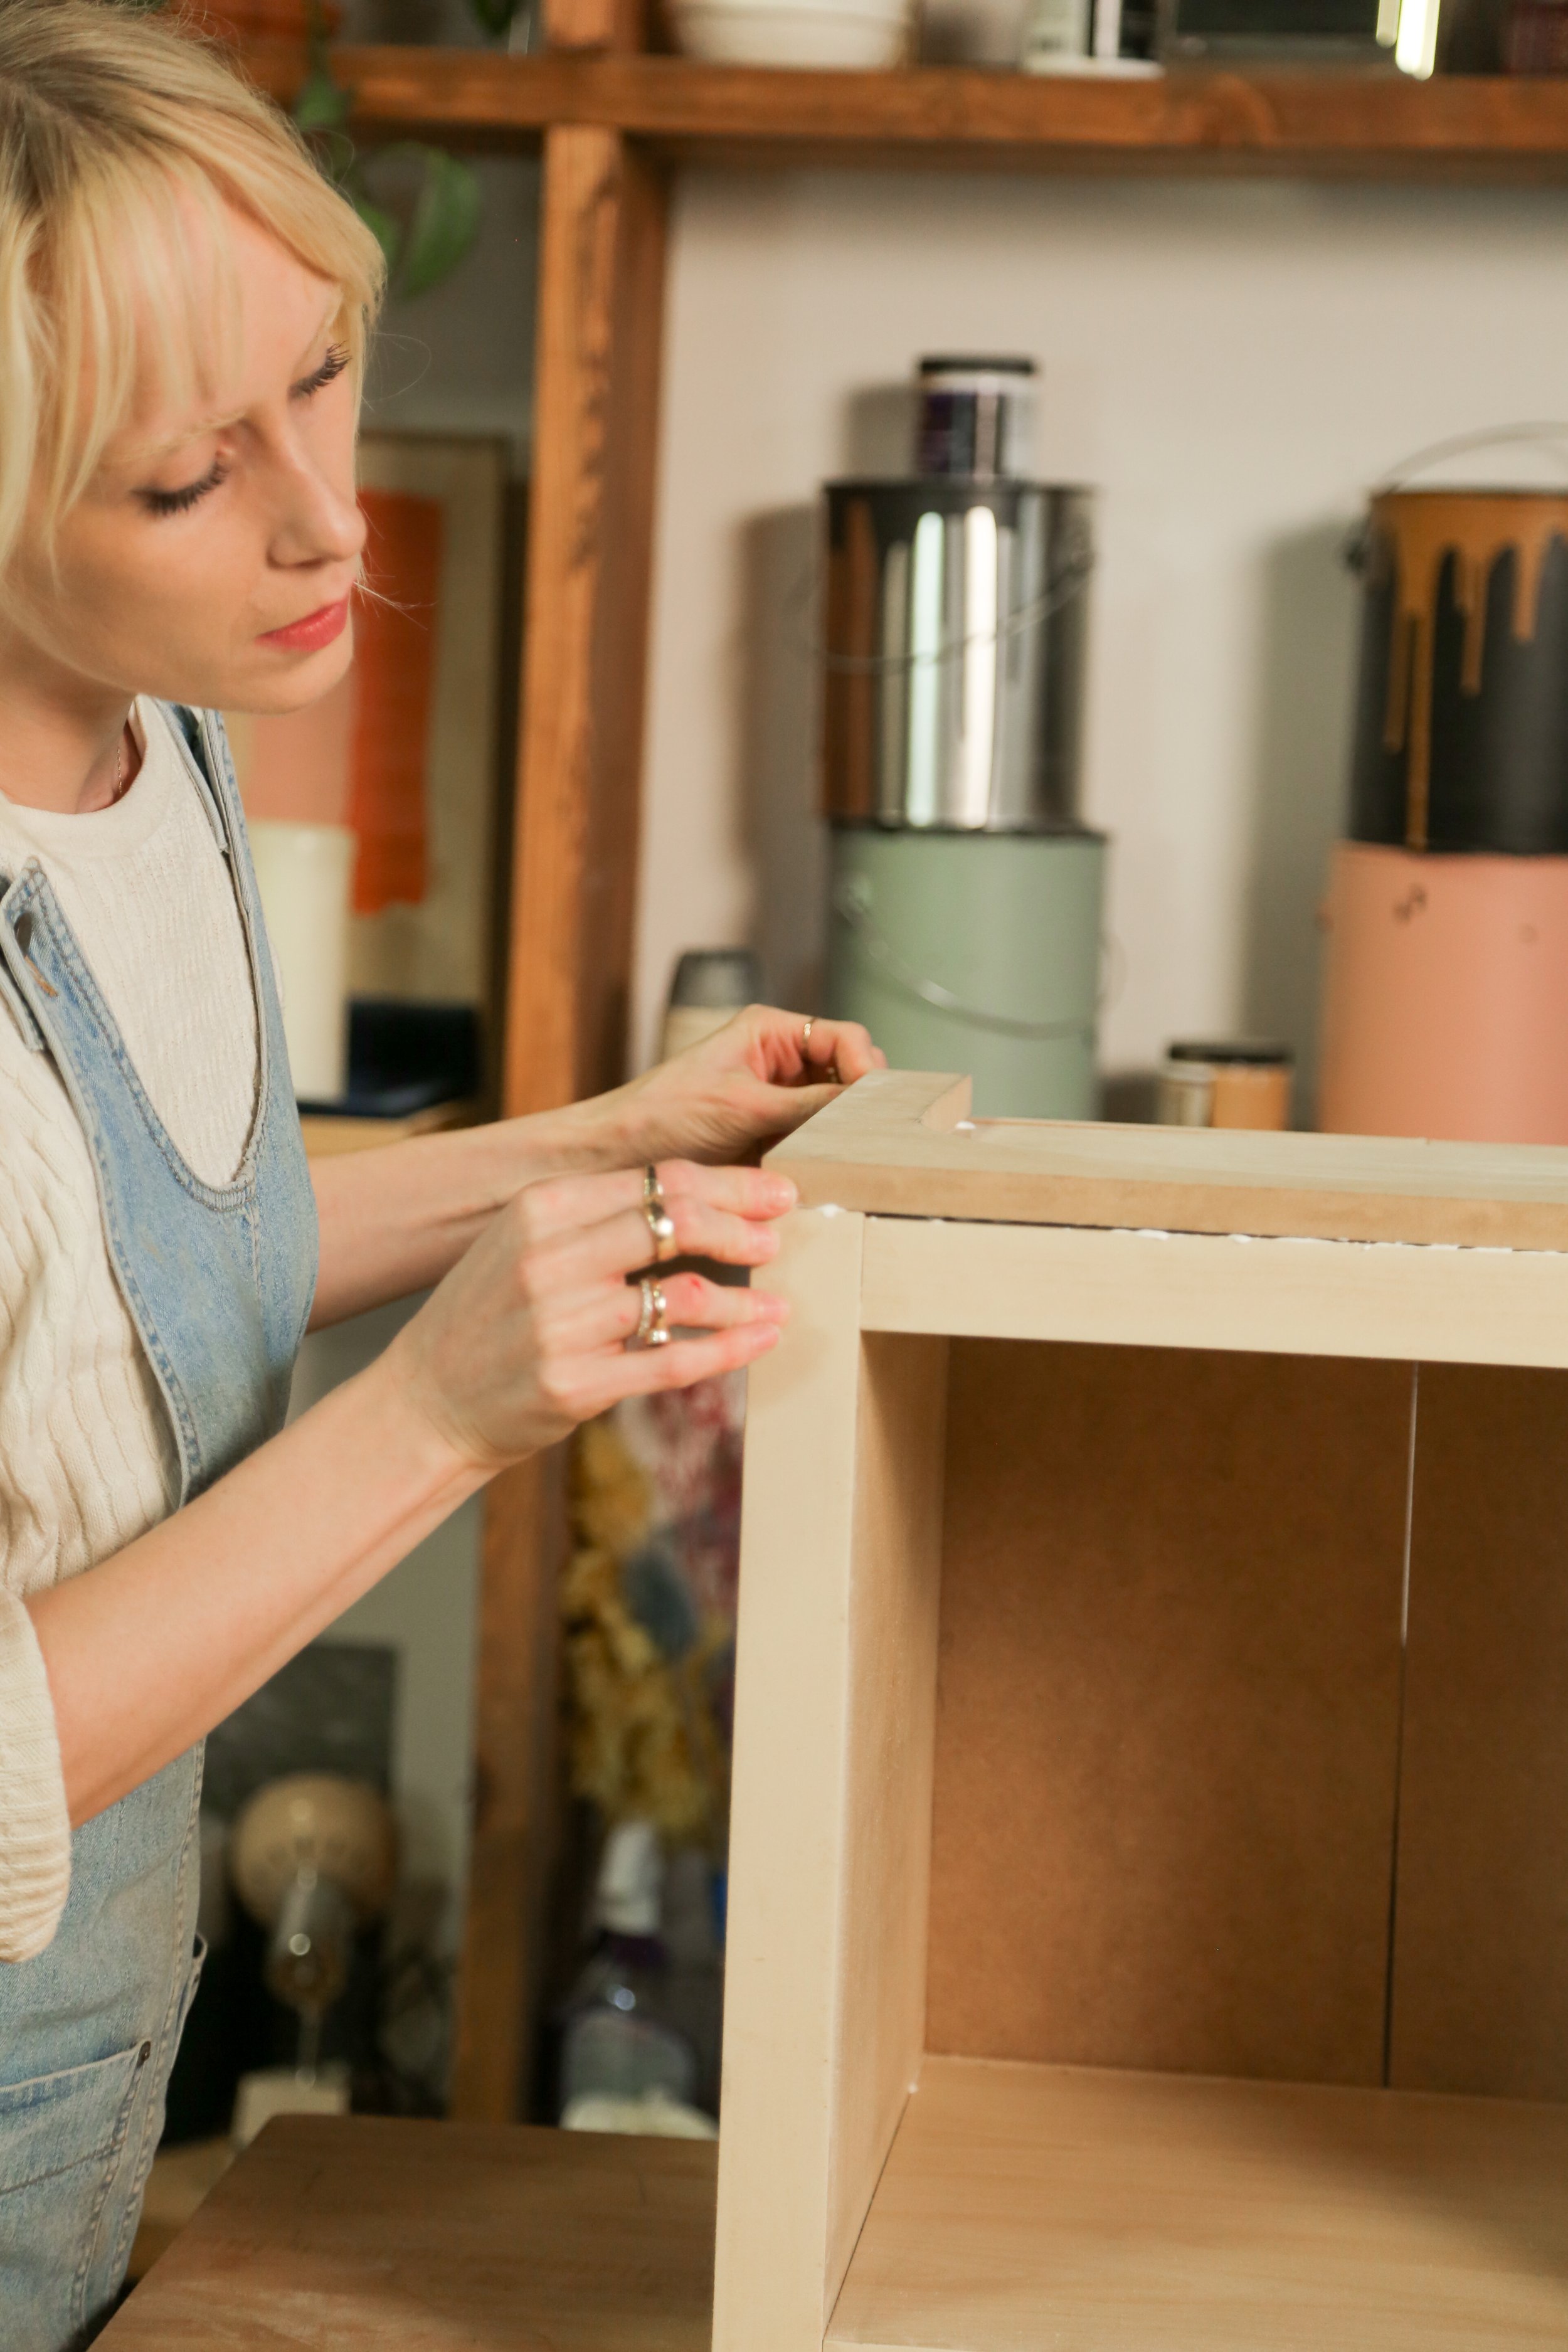
Step 9: Add your top piece & legs
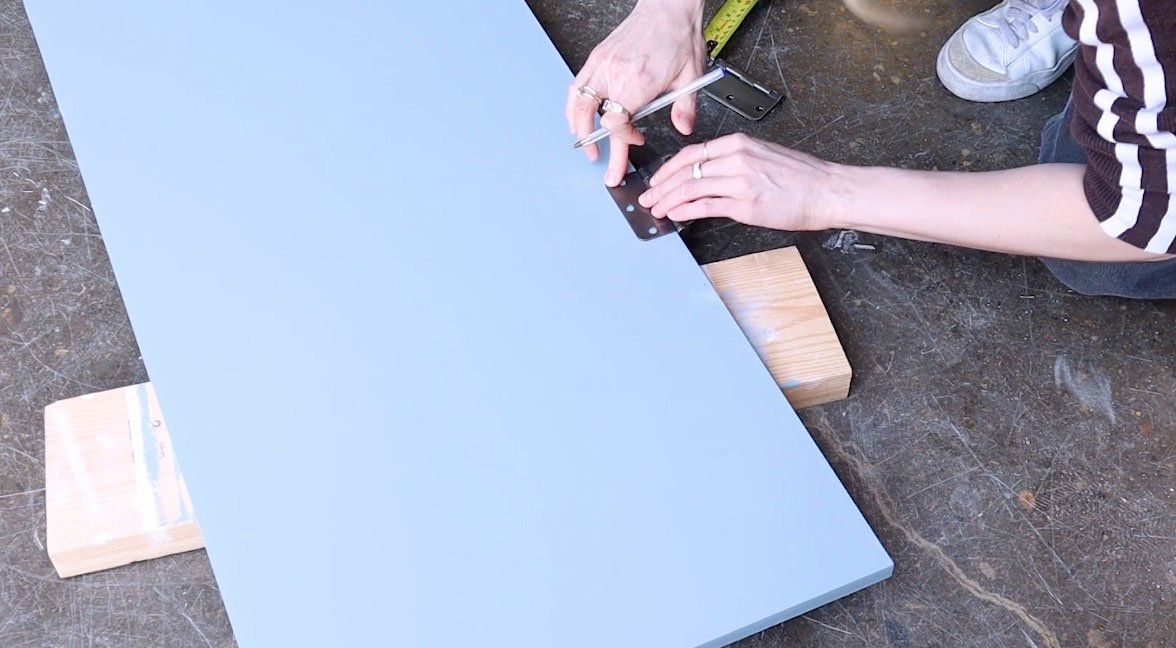
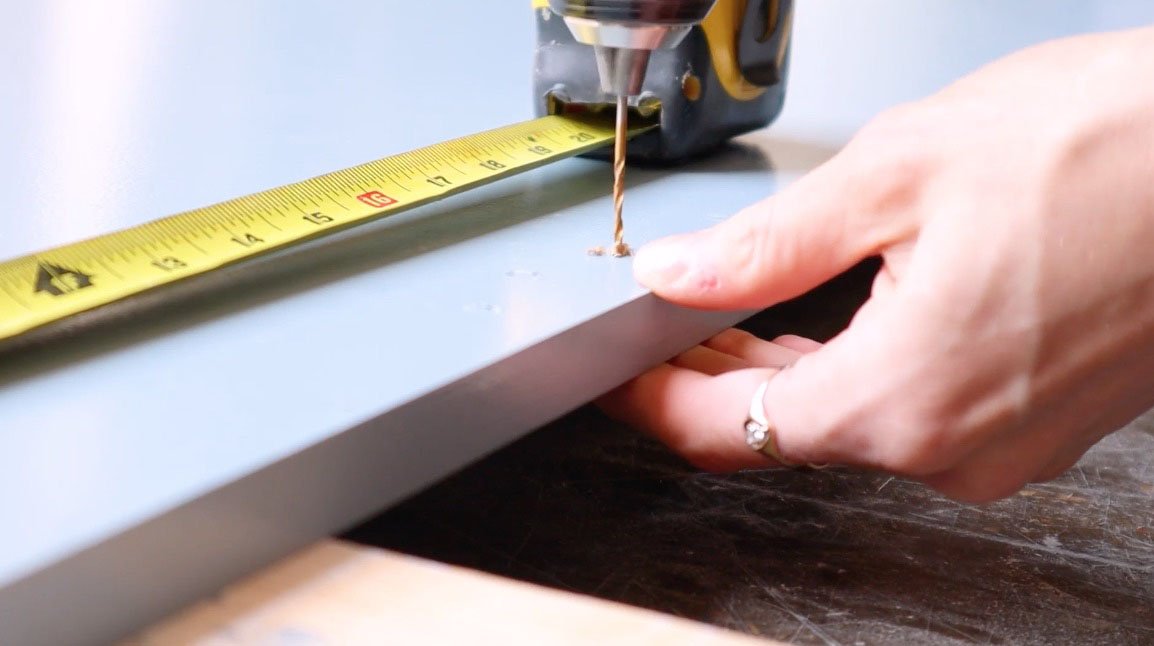
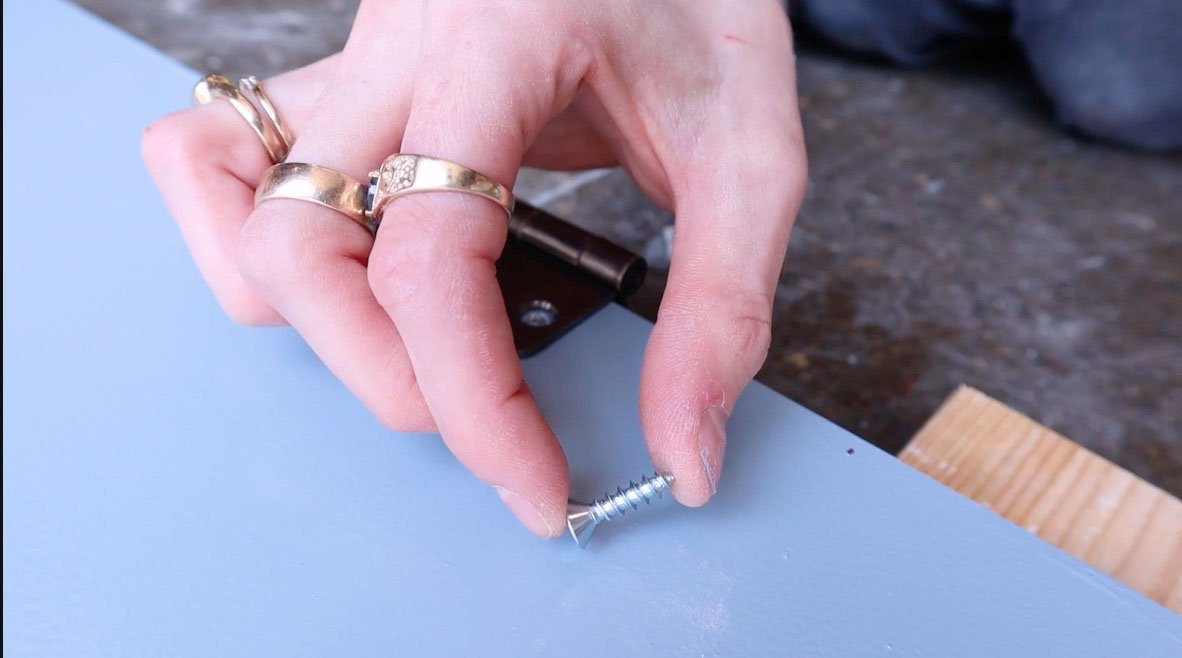
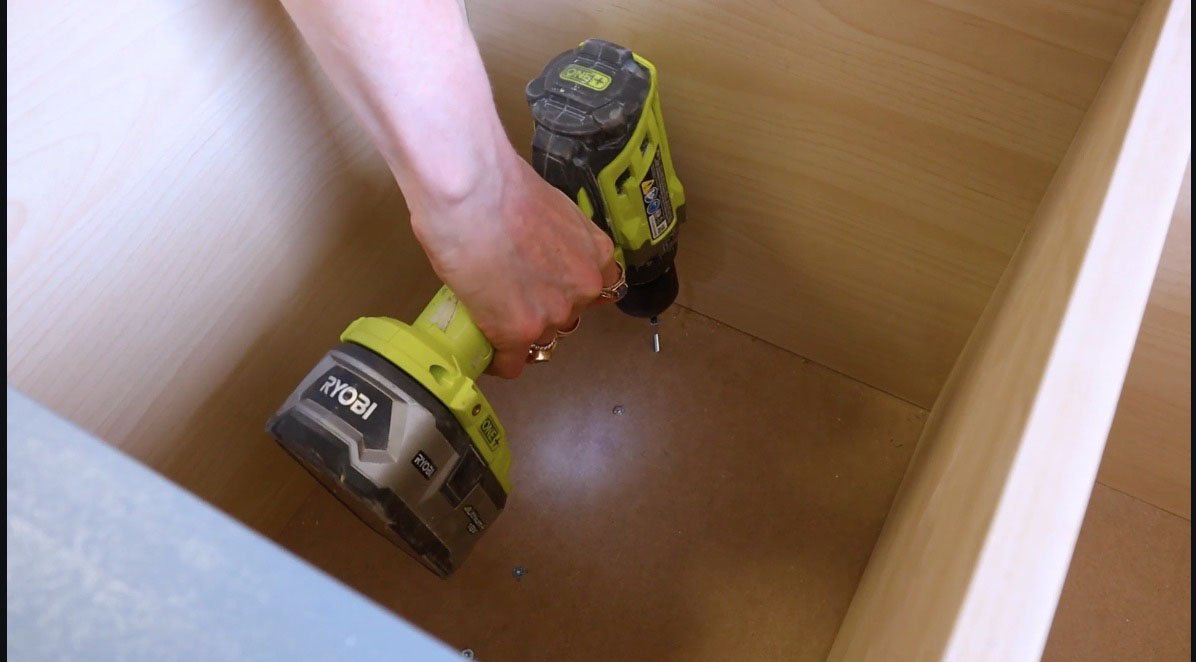
Once the paint had dried down fully, I marked out where my hinges would go and attached them by drilling a few pilot holes and then screwing them down securely. I did the same for the legs and used two inch screws to attach them through the bottom of the unit.
Final Results:


Watch the DIY video below!