
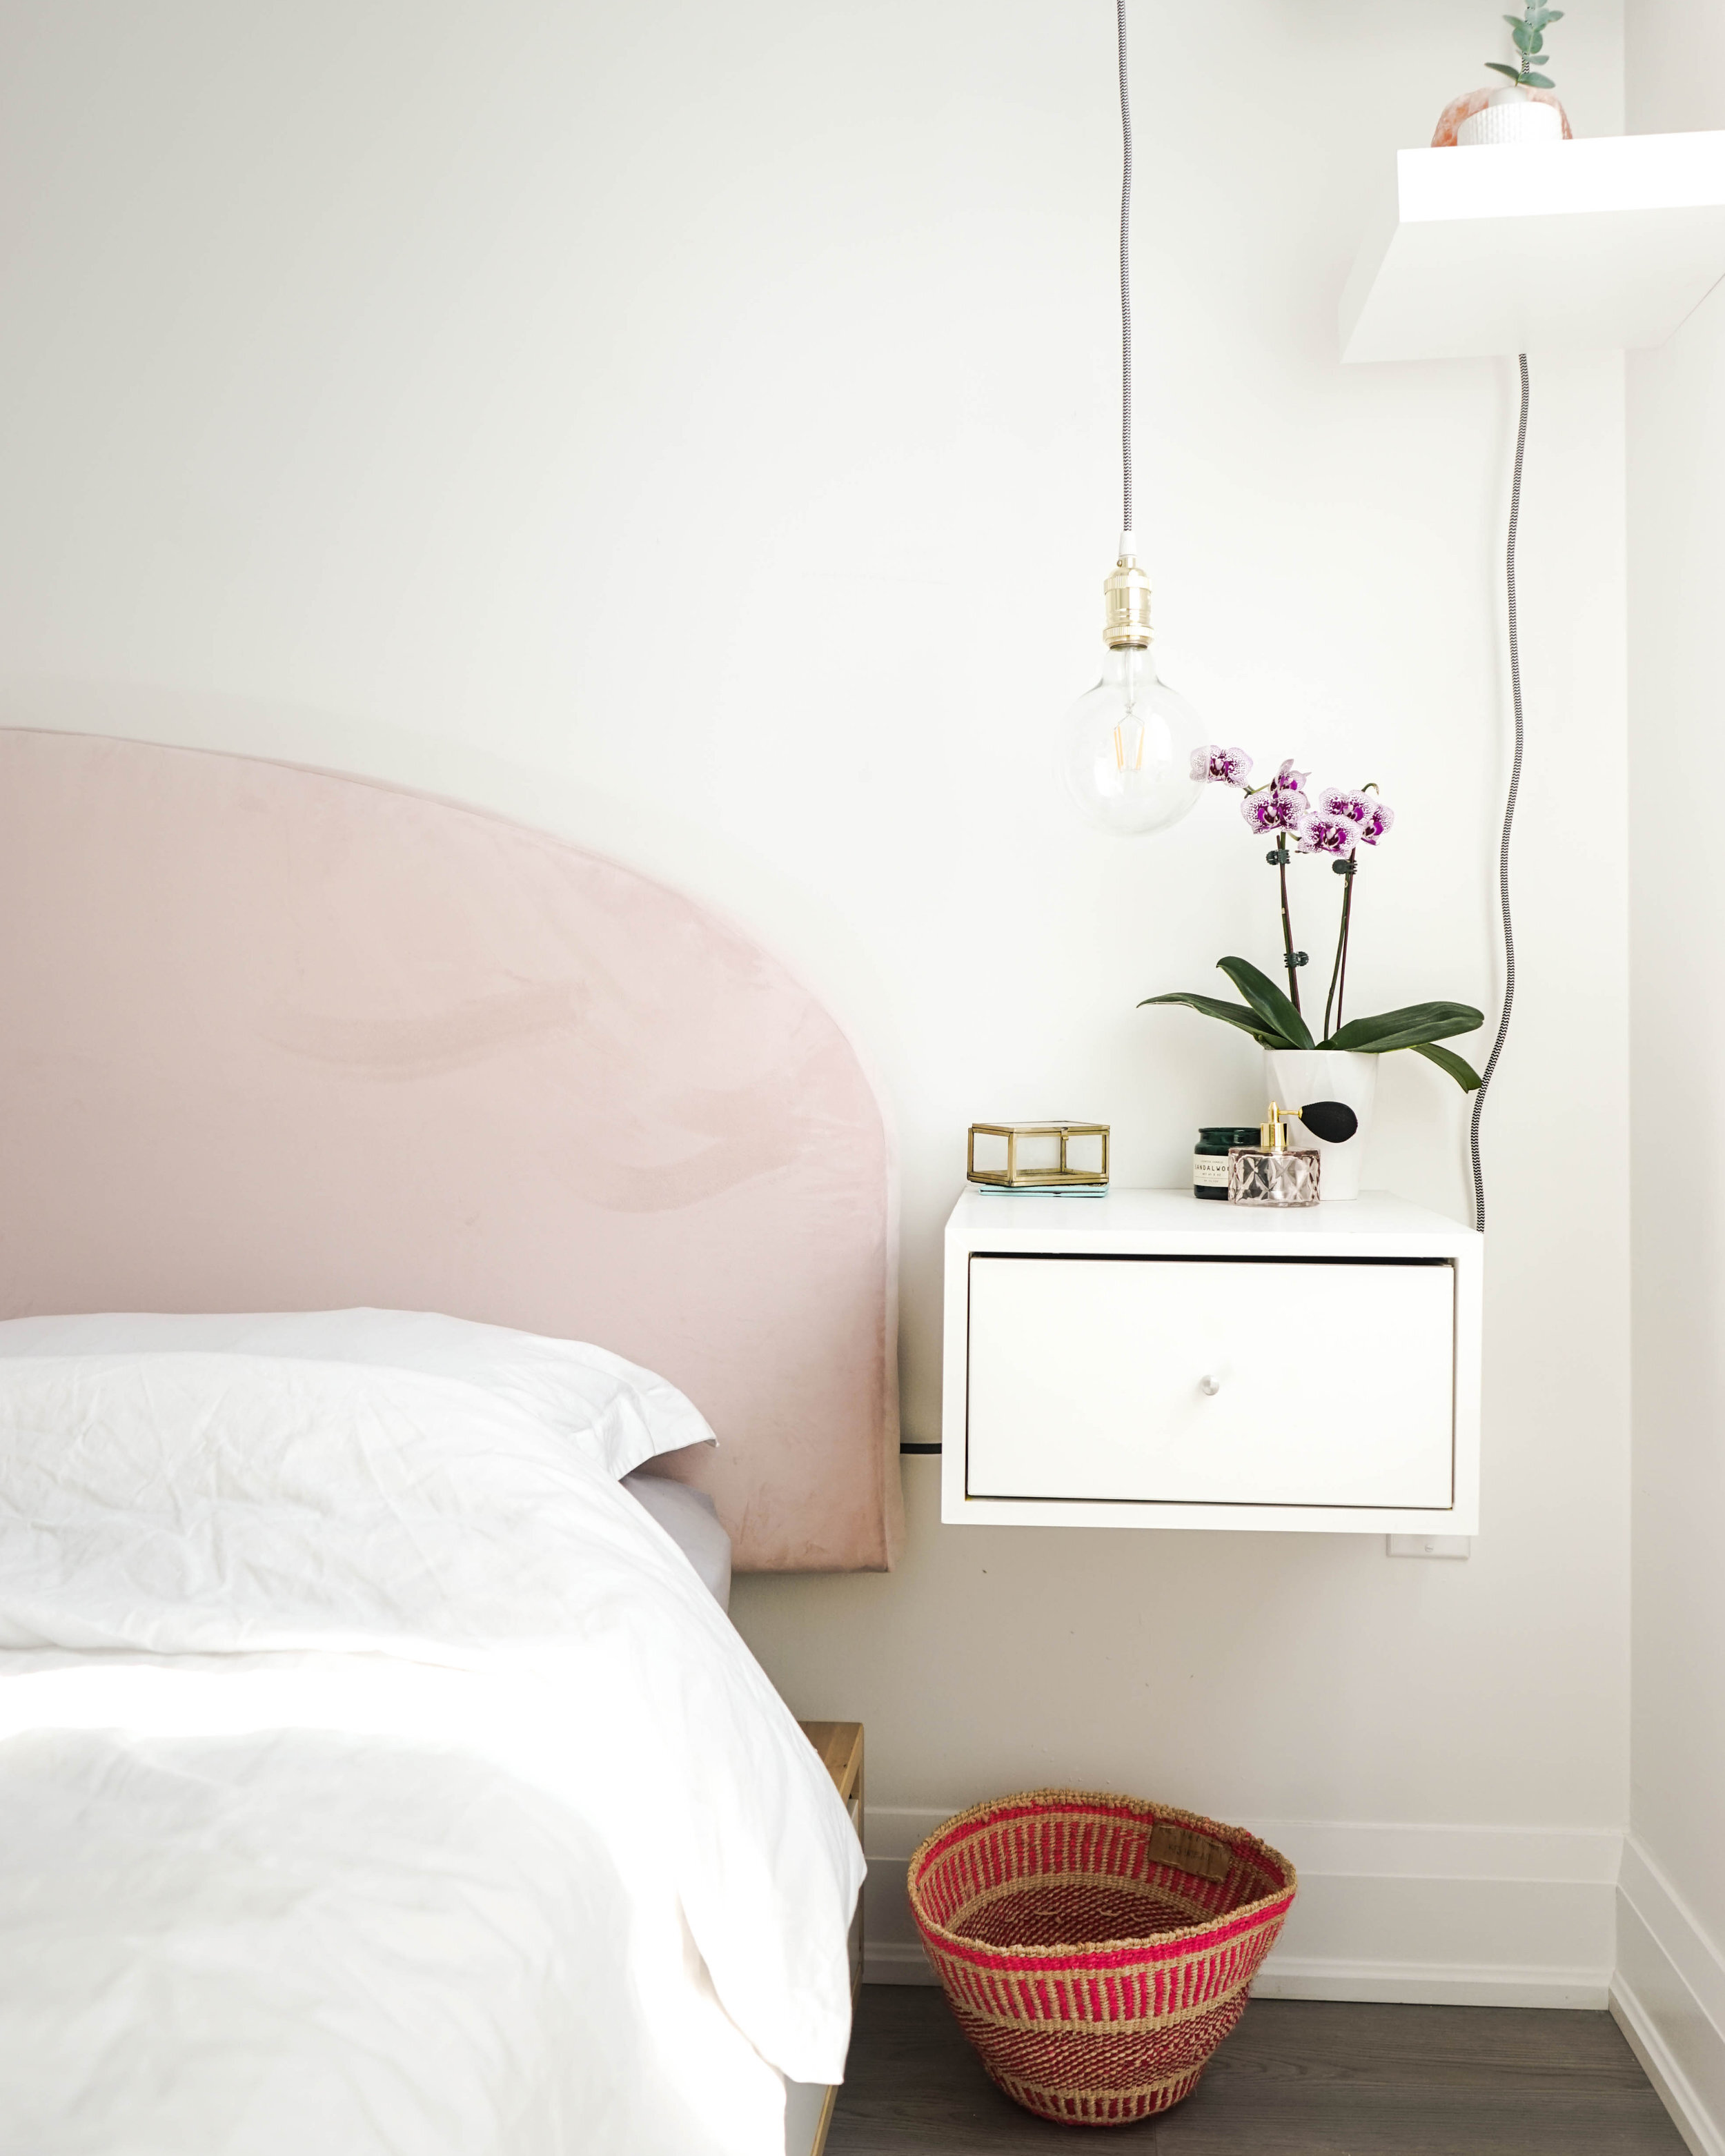
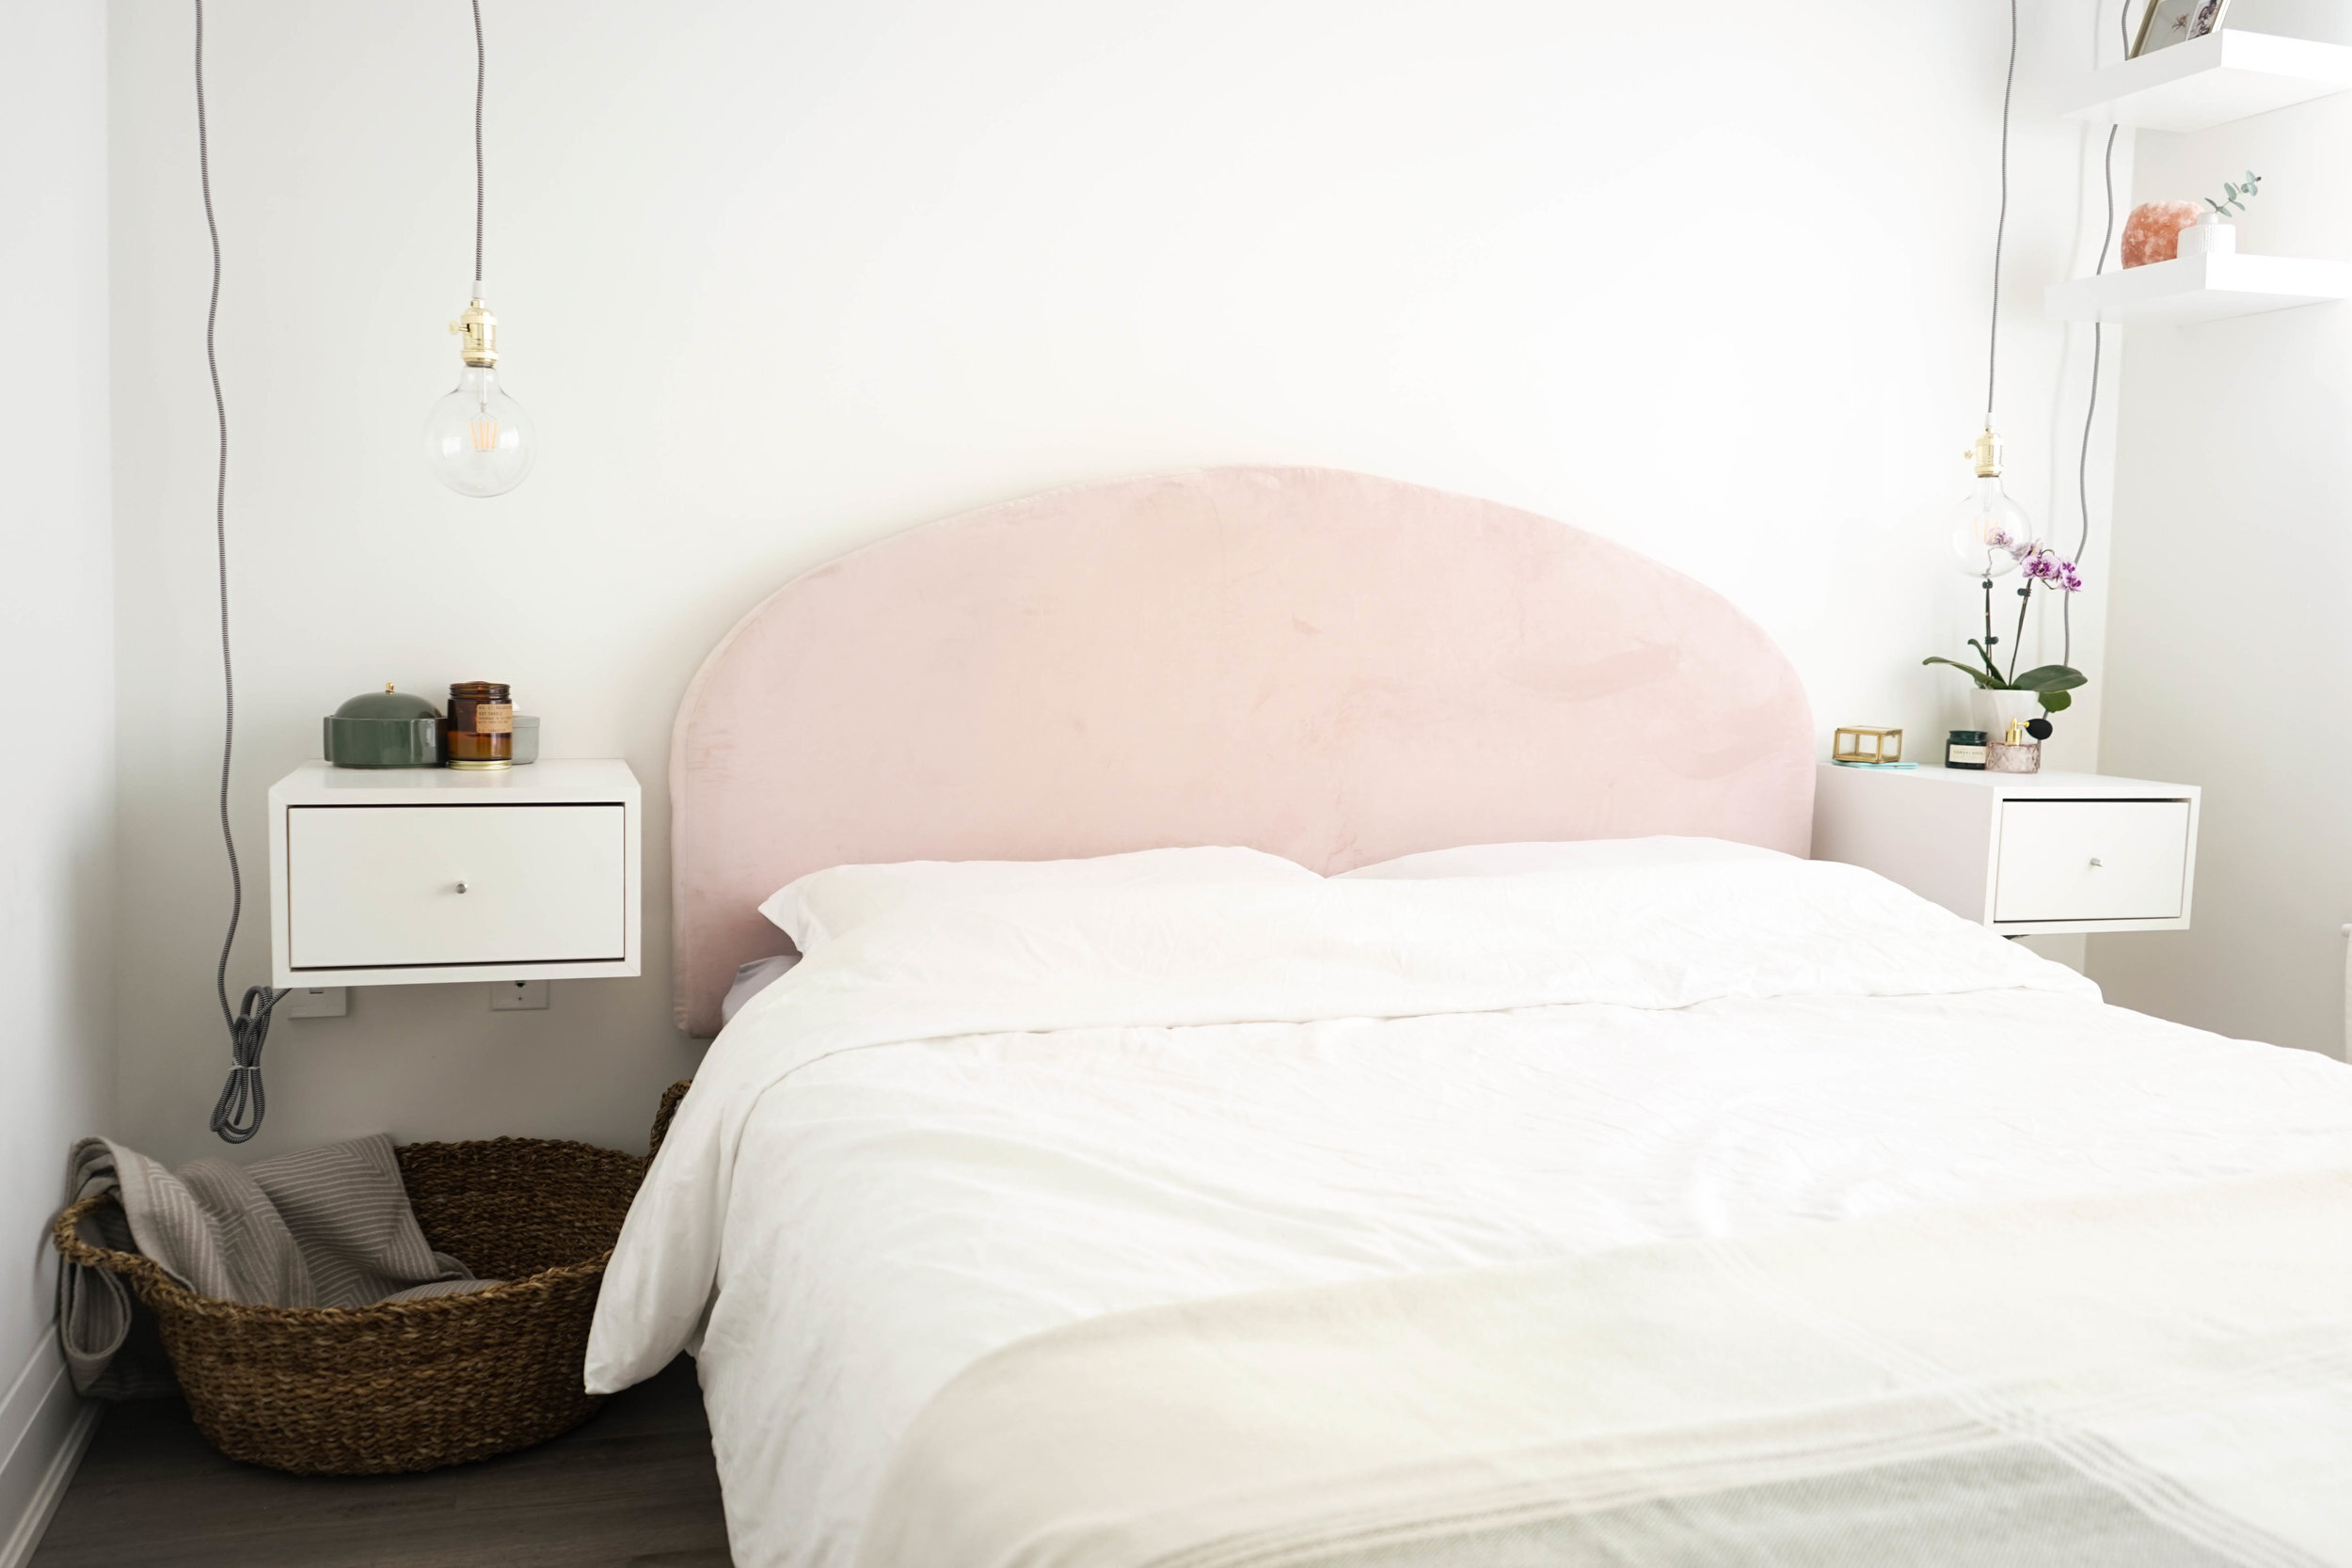
IKEA Hacked Floating Nightstands!
Today it’s Kelsey here to teach you how to hack a IKEA KALLAX insert into two floating shelves! This drawer insert comes with some hardware to attach it to a KALLAX shelf, so we’re going to use that hardware to build our shelves!
MATERIALS:
IKEA KALLAX shelf insert
Laminate shelving (5/8ths of an inch thick, 15 ¾ of an inch wide, and 72 inches long)
L mounting brackets
Two furniture braces
Heavy duty screws
Wall plugs
TOOLS:
Circular saw
Pencil
Exacto knife
Ruler
Wood glue
White wood filler
Drill
The first step is to build the IKEA insert. Once it was built, I removed the shelves and laid the cardboard backing flat to make it easier to cut in half!
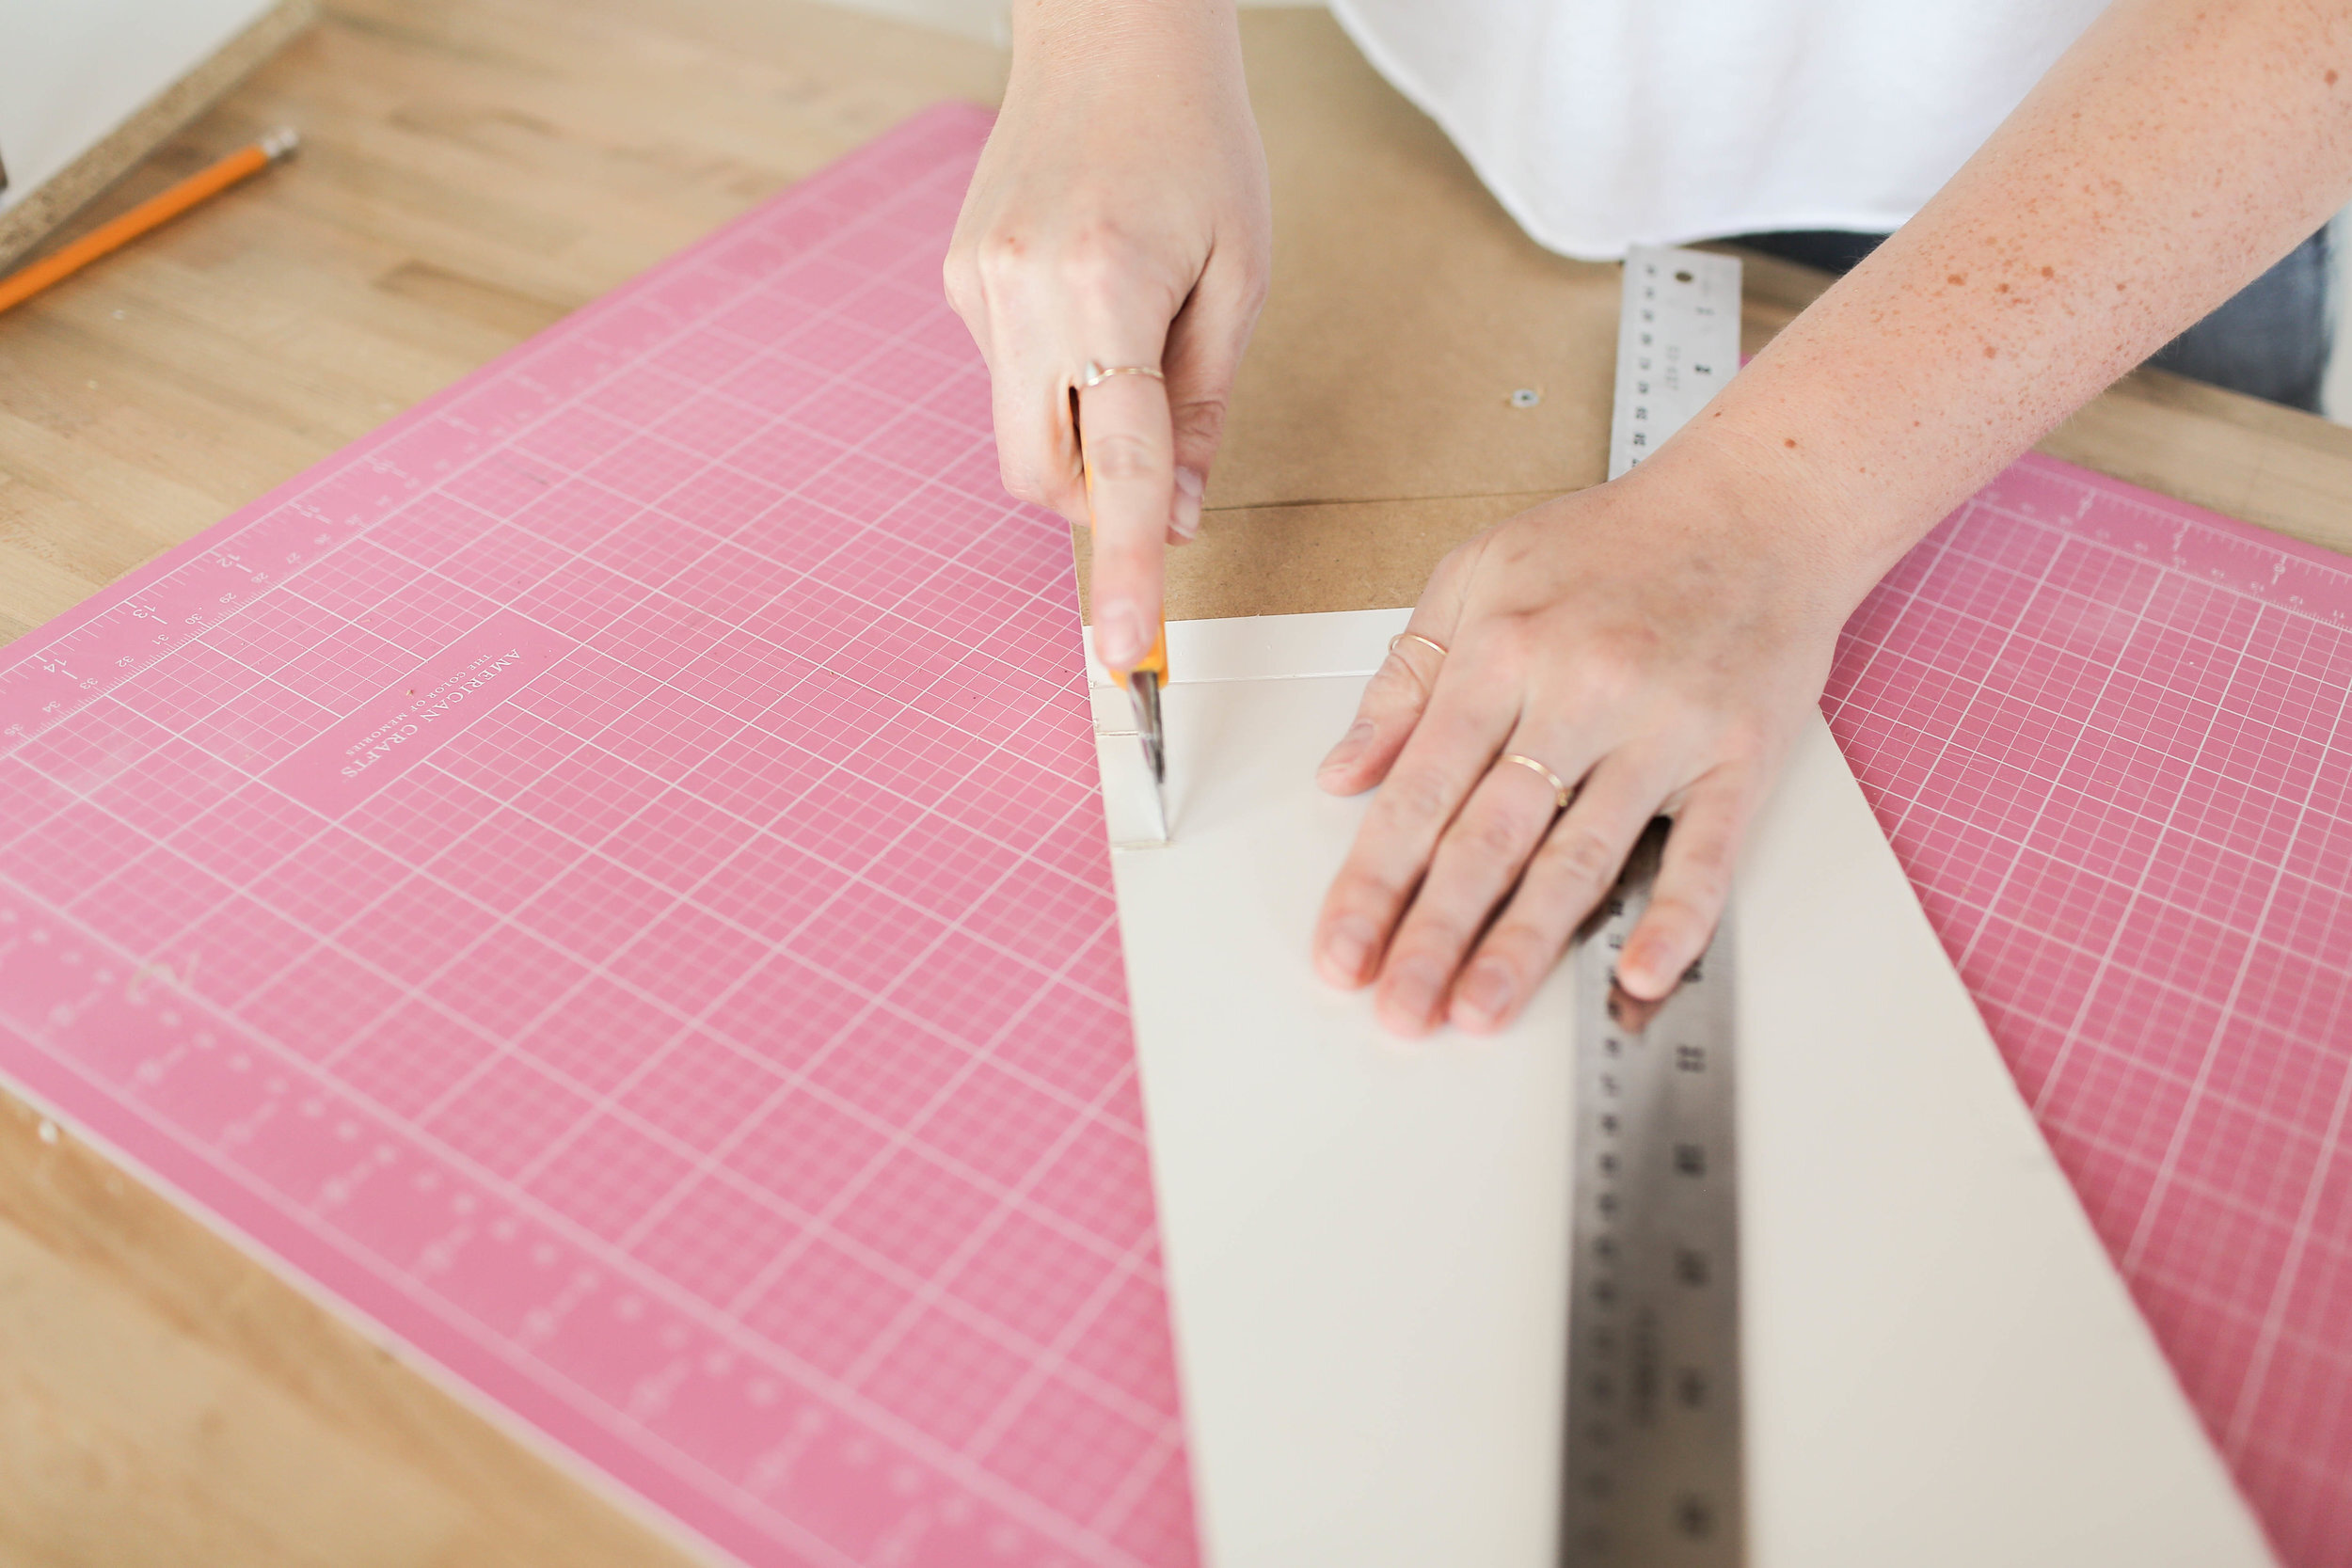
Use a ruler to measure and mark the horizontal center line of the cardboard backing, and score with an exacto knife until the two pieces come apart. Now that our inner drawers are prepped, time to build a box that is going to go around the shelf!


To build the box, I started by picking up some white laminate shelving (which matches the drawers perfectly!). This laminate is 5/8ths of an inch thick (15.8mm), 15 ¾ of an inch wide (39cm), and 72 inches (183cm) long!
Time to measure and cut this laminate. Cut two 13 and 1/8th inch pieces (33cm), and two 6 and 6/8th inch (17cm) pieces. When cutting these pieces, I made sure to cut them with our circular saw at a 45 degree angle so that the pieces fit together nicely!


On the back of one of my 13 and 1/8th inch (33cm) pieces, I attached two of these heavy duty mounting brackets. On the second 13 and 1/8th (33cm) inch piece, I attached one of the brackets in the centre of the piece.

Time to put the box together! I added wood glue to all of the edges of the wood, formed it into the box, held it together with some tape, and let it dry fully! I also lined the inside seam with wood glue as well. Once the food glue was dry, I added two furniture braces to the front inside edge (about one inch from the front) of the box to add some extra support. Next, I went along the outside edges of the box with some white wood glue to patch any slight gaps in the wood.


Time to add the cardboard piece back into the shelf! Since we’ve added our braces to the back of the box, we need to cut some notches into the cardboard piece so that it fits nicely! I went ahead and measured where these needed to go, and cut them out. I also added holes where the holes in the bracket are in the back, to make it easier to mount to the wall! Finally, I went ahead and screwed the cardboard into the box to secure it in place, using the hardware that came with the IKEA drawer. We did this 5/8th of an inch in from the front of our box.

To install, use wall plugs and some super sturdy screws to screw the drawer into the wall using the L brackets! And that’s it!

Check out the video below if you’re more of a visual learner, and we’ll see you next time!