DIY Hamster Cage
Today we are super excited to be making a new home for our friend Timbit! Timbit is Daniella’s hamster, and he’s totally been needing some new digs.
before
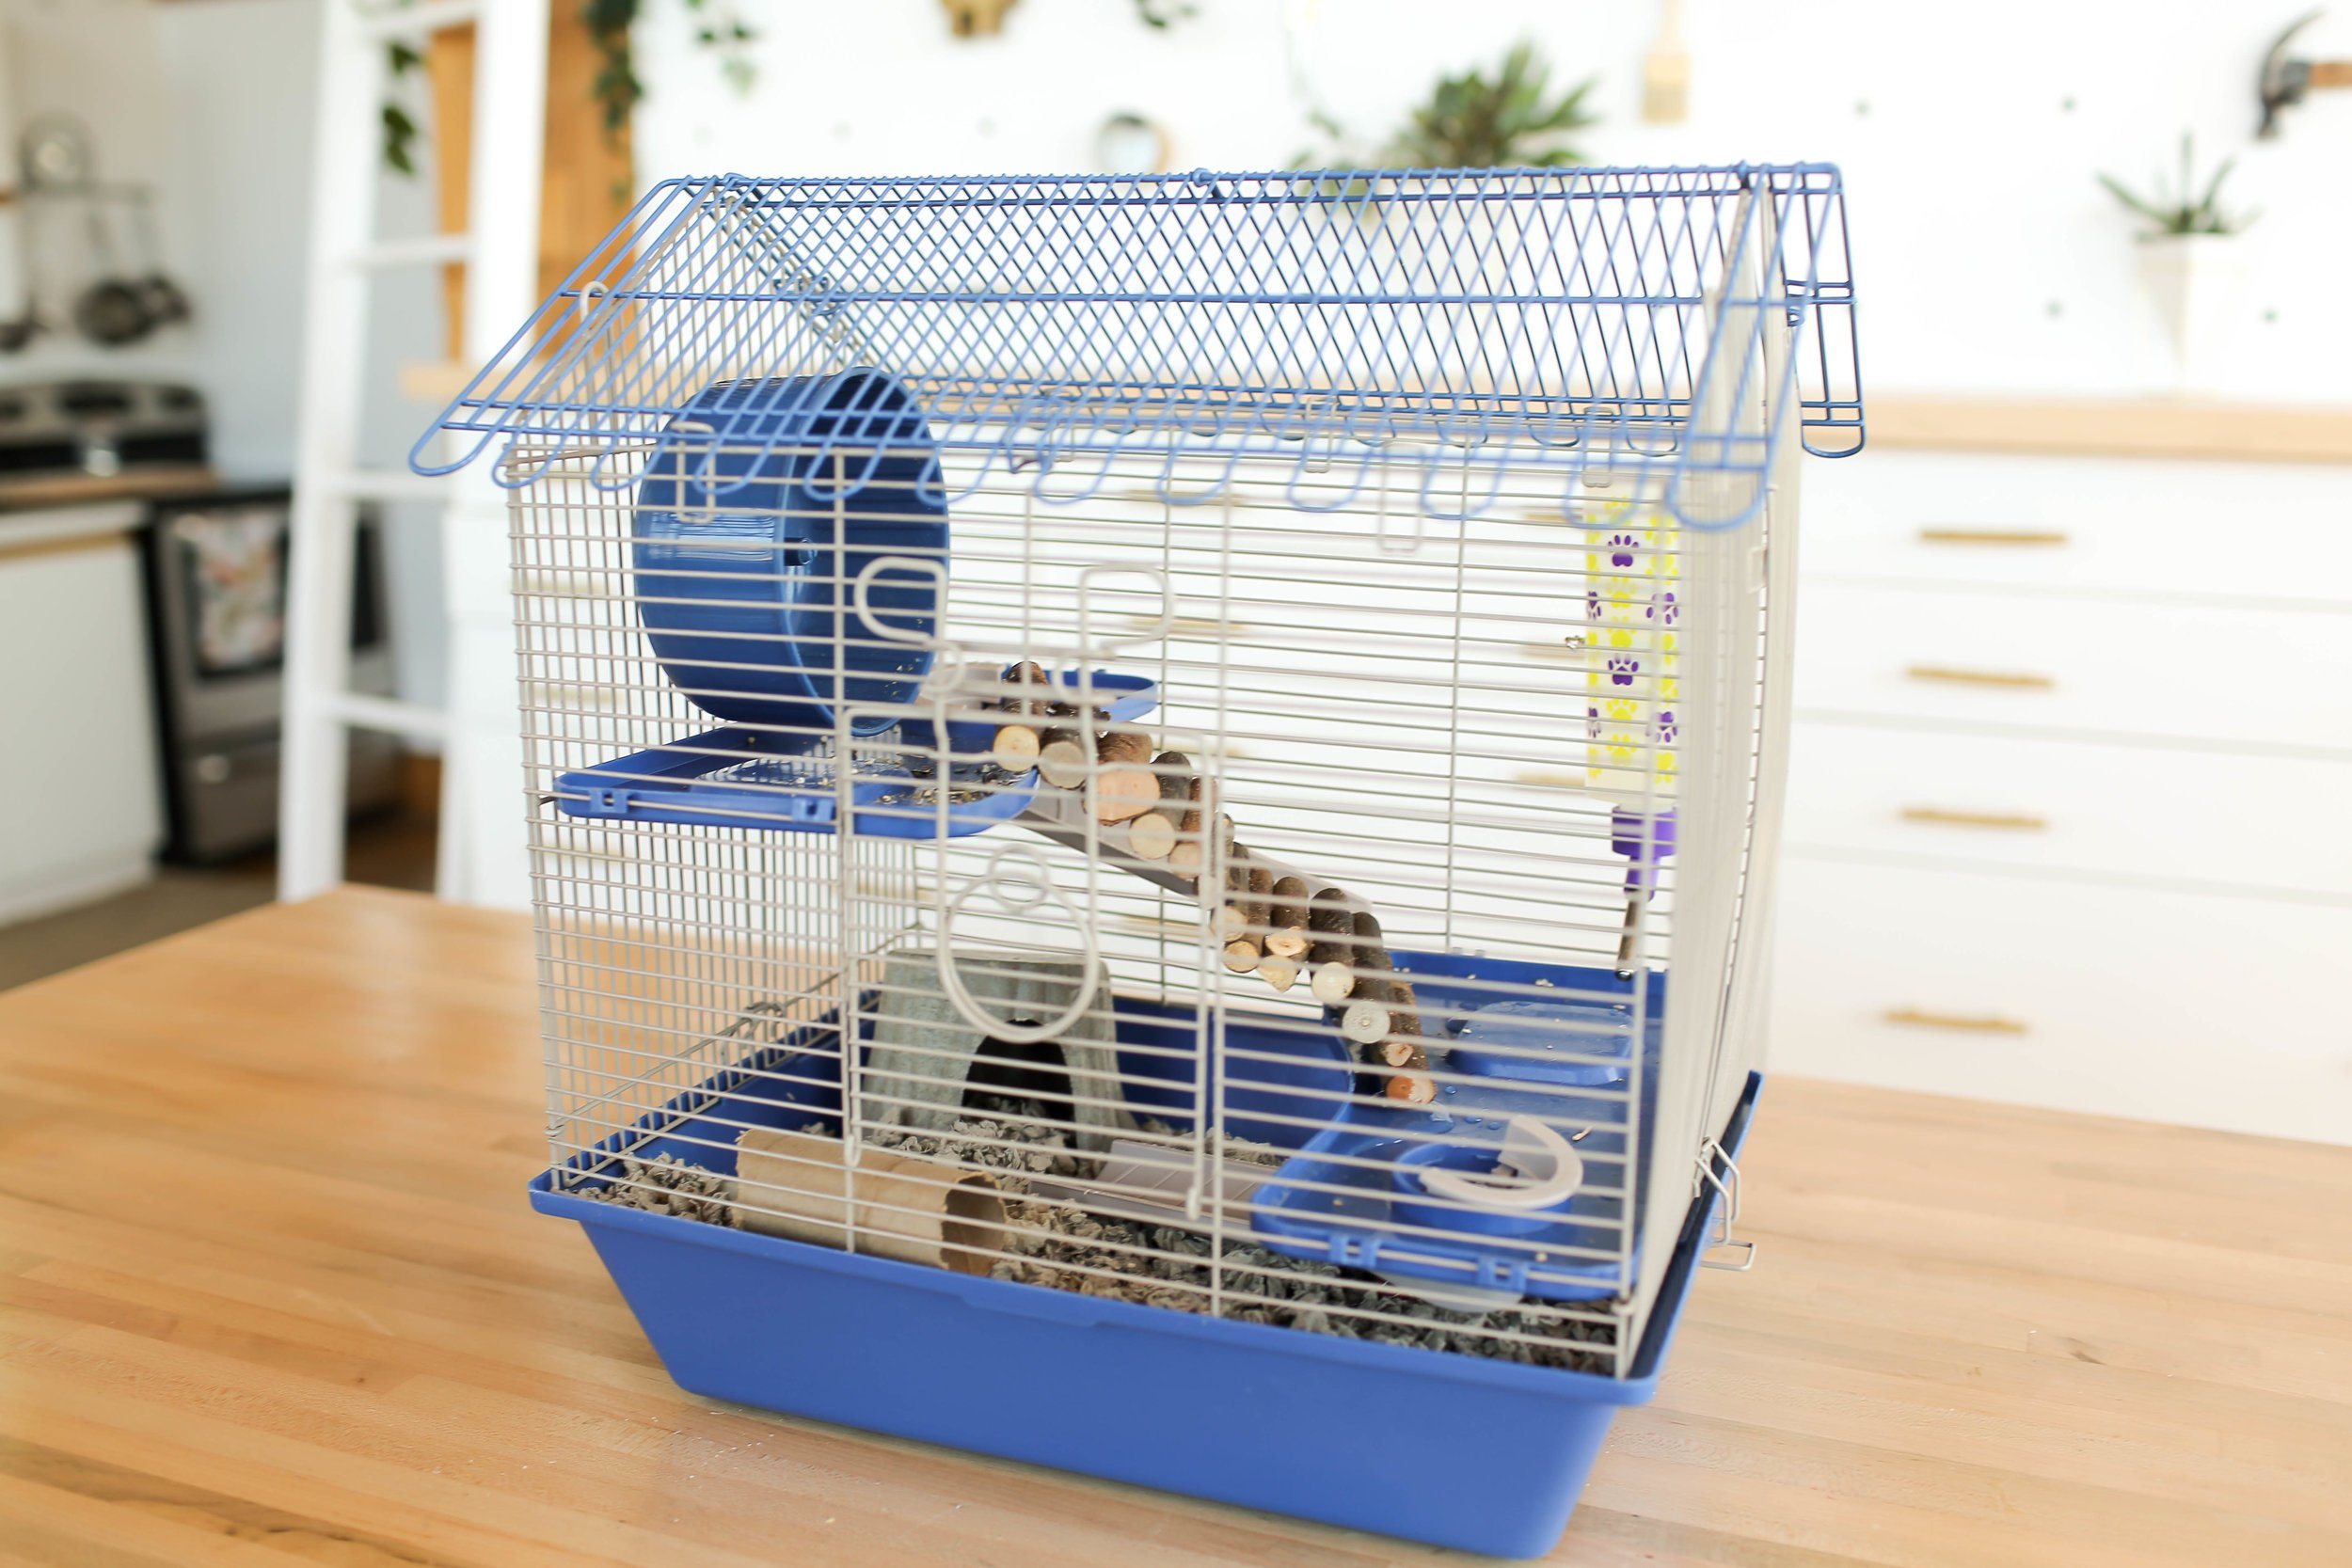


We started out by picking up the following items.
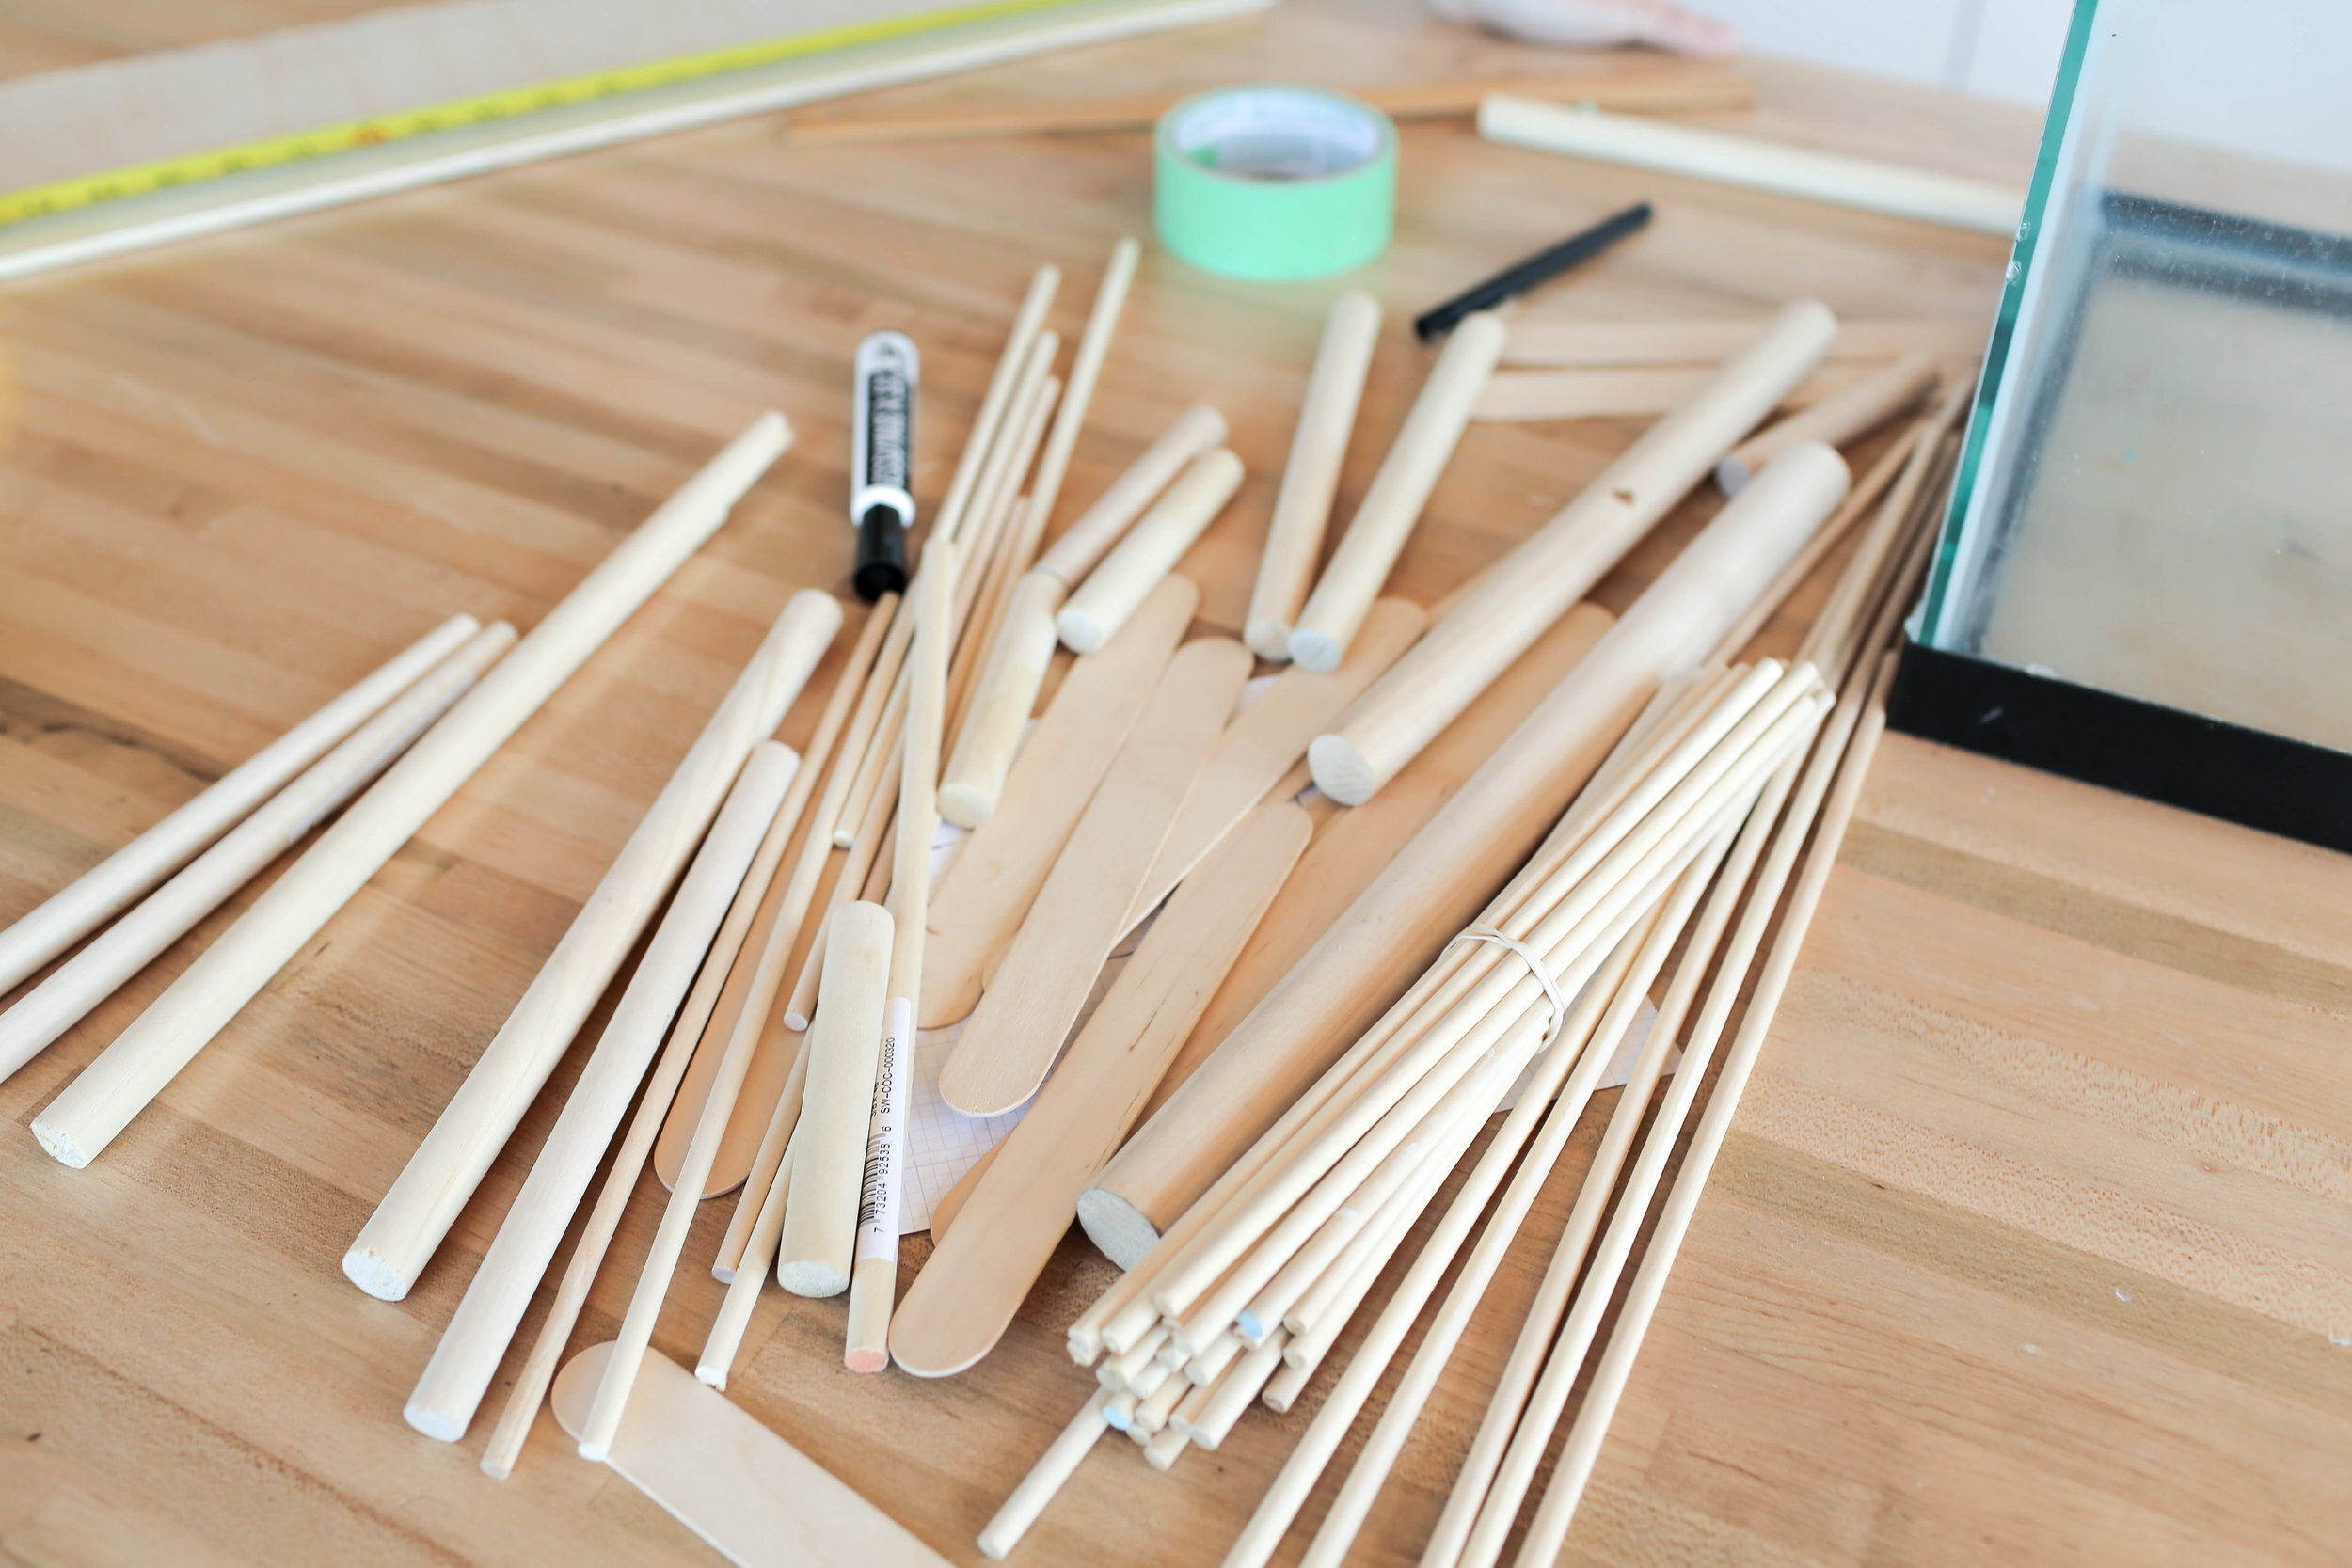
What you’ll need:
Hamster bedding (we used Carefresh)
Popsicle sticks
Plywood
Wood glue
Hot glue
Small nails
Suction cups
Small cups
Hamster-safe plants
Any other toys/accessories
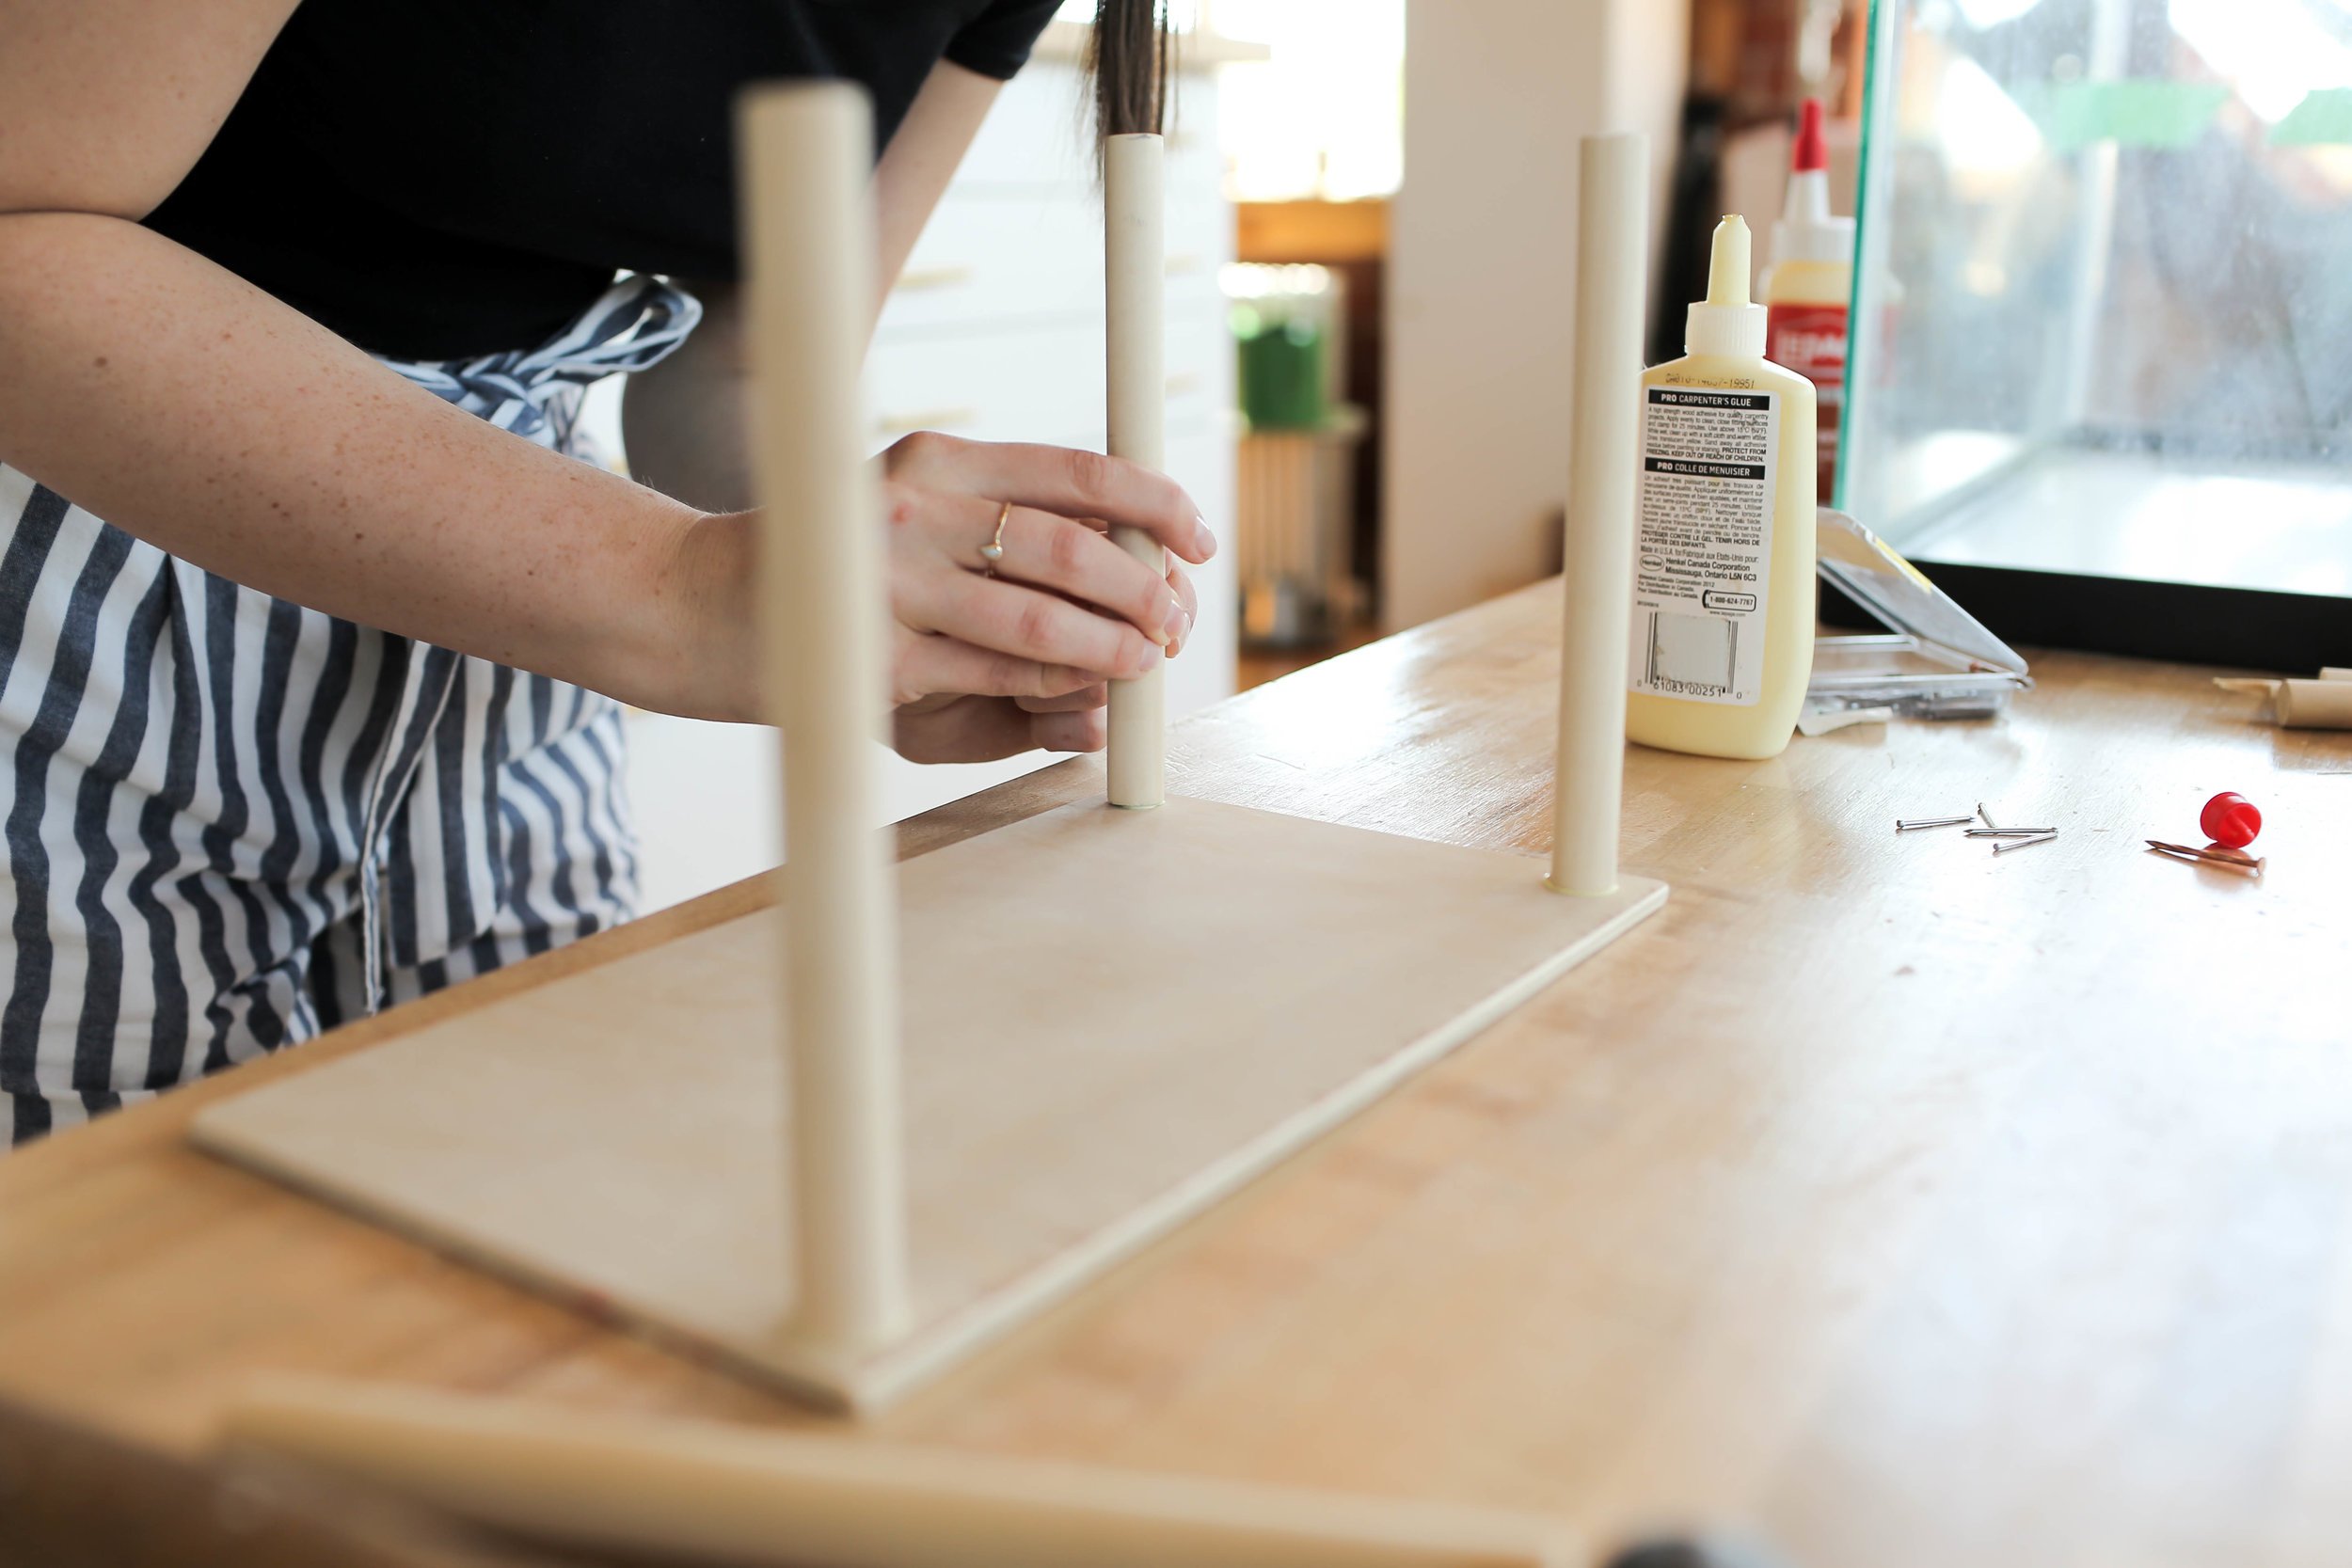
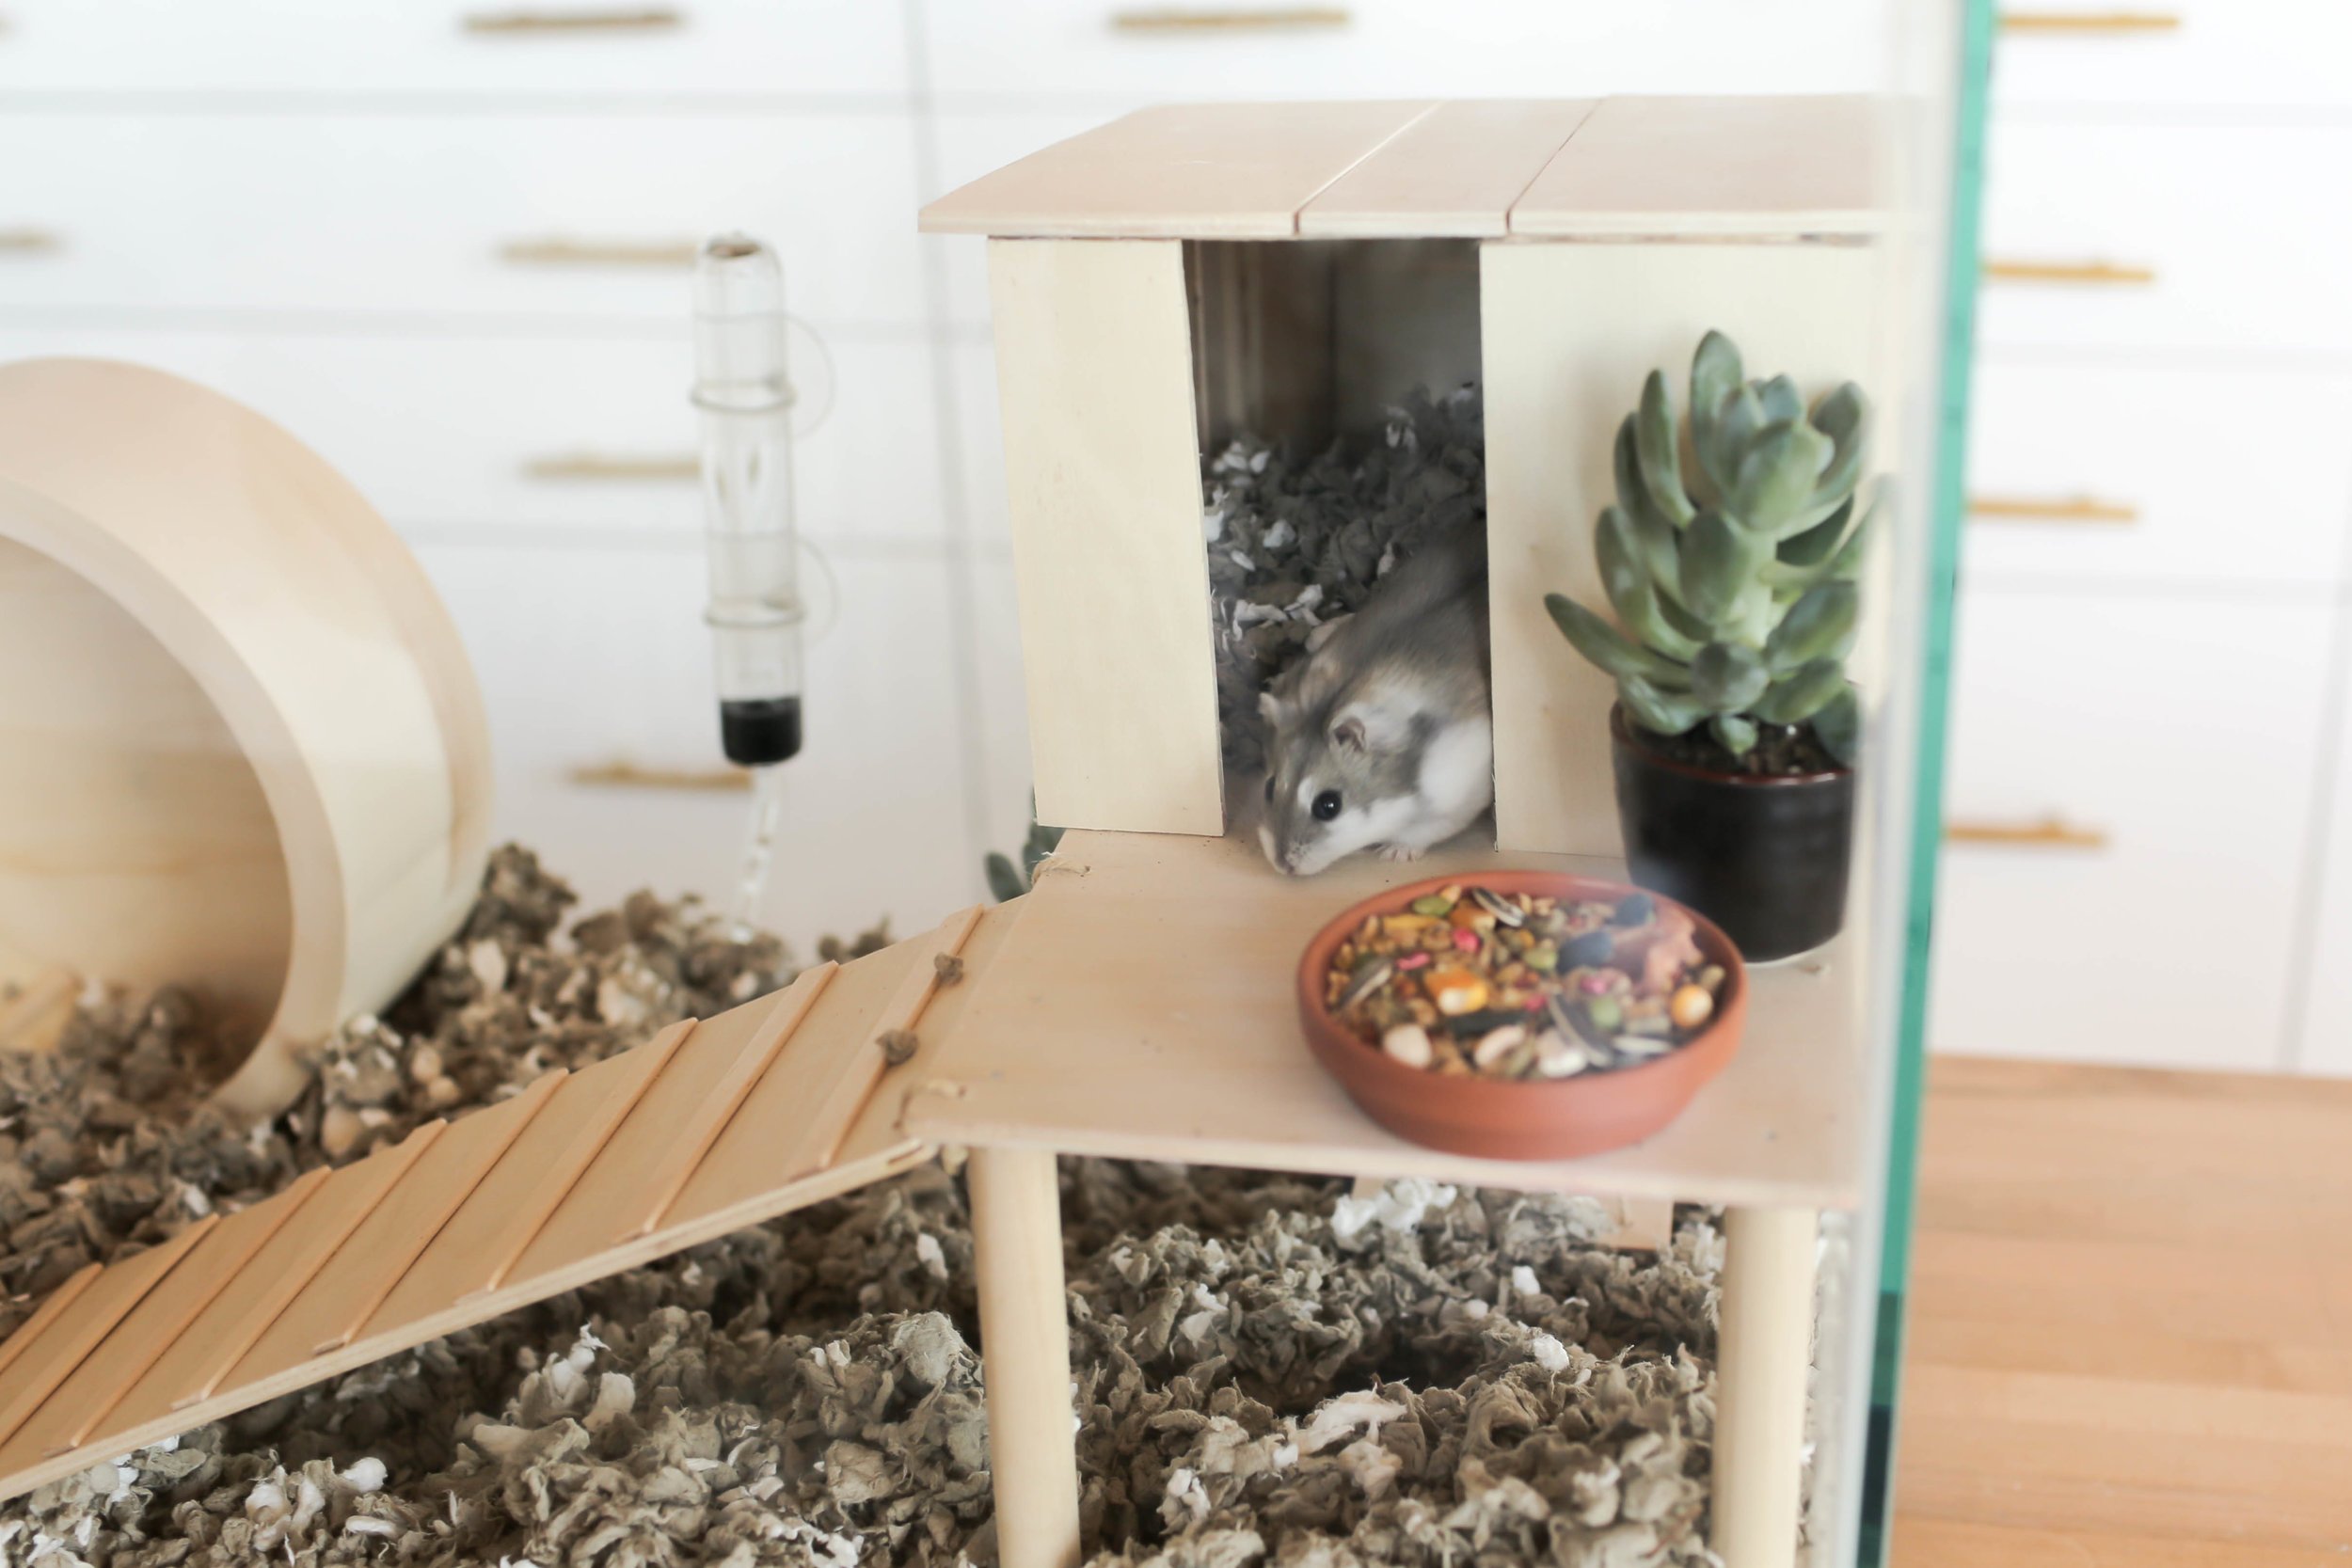
We started by cleaning out our aquarium! We decided we wanted to build a platform to add some dimension to the cage. We measured and marked off how tall and big our platform would be, and marked this off on our tank with some tape. We then grabbed a piece of ¼ inch plywood, cut it to size, and sanded it down. Next, we took some thick dowels, cut them to size as well, to act as the legs! We attached them by first adding some wood glue, then adding a nail from the top for extra security.


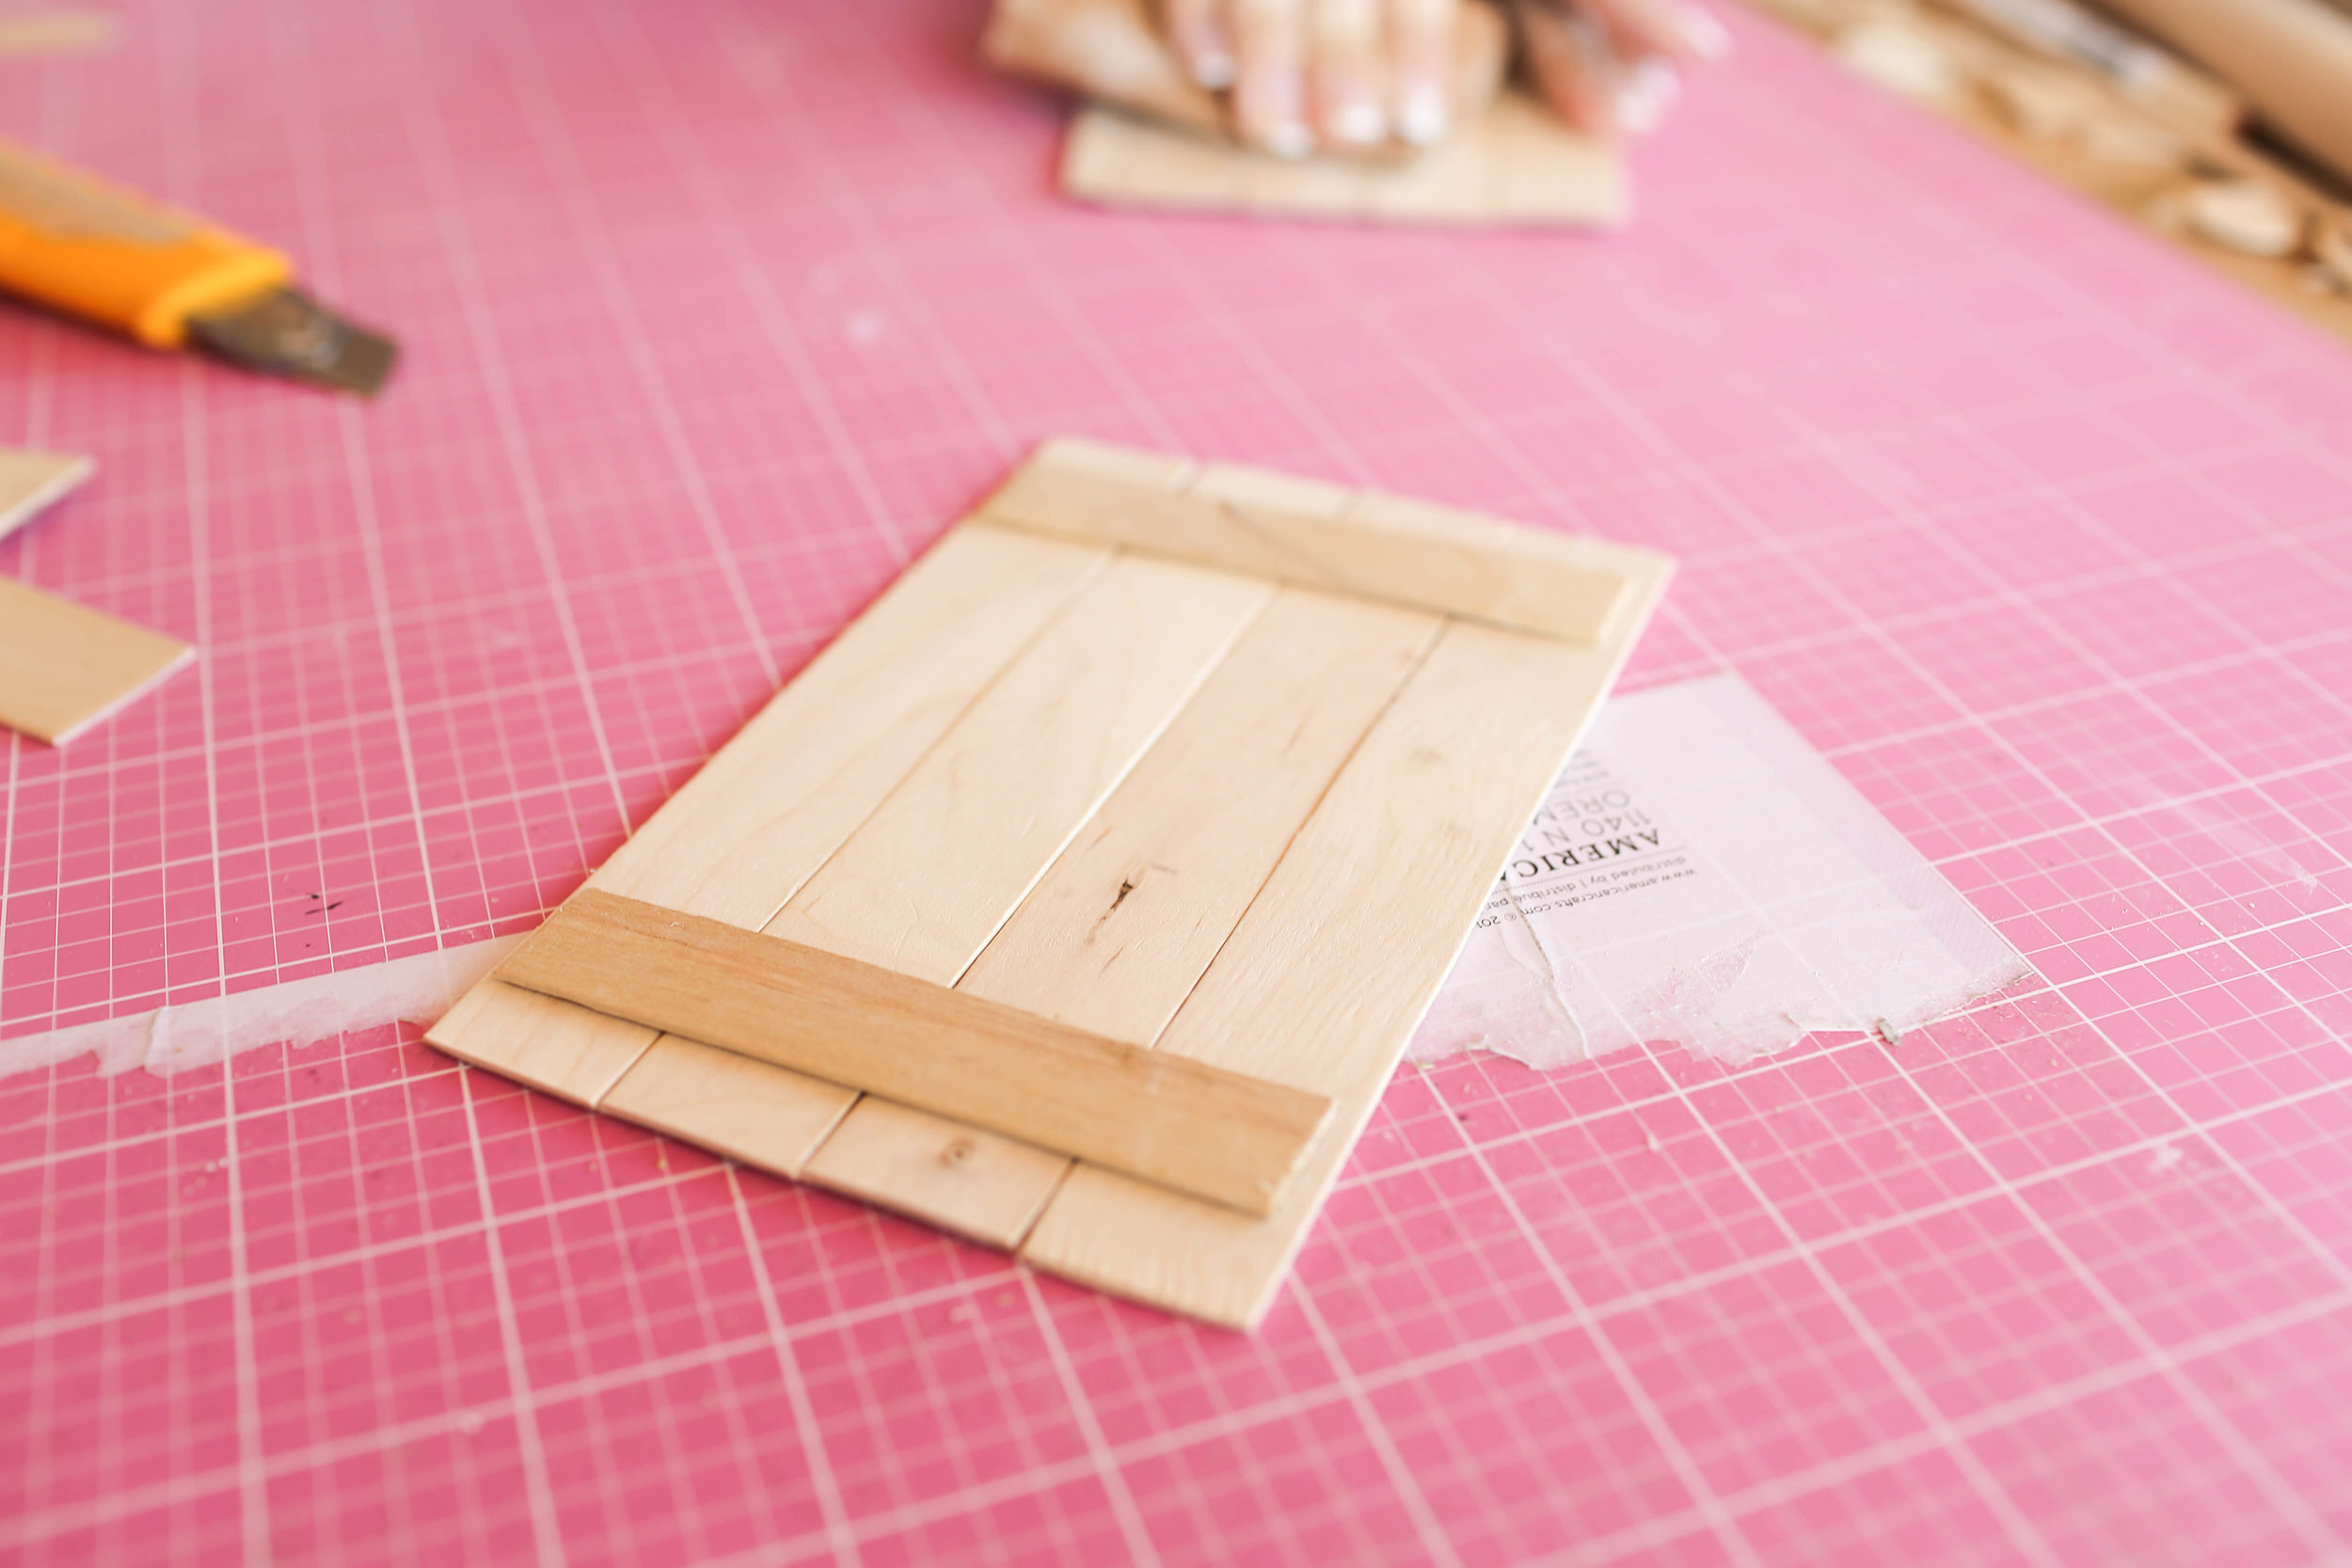
Next to add a ramp! We cut another piece of plywood to size, and added popsicle sticks for grip all along the ramp. We attached those using wood glue. Next to attach the ramp, we drilled two holes in the ramp, and two holes on the platform, and attached the two together using some thin rope or twine.
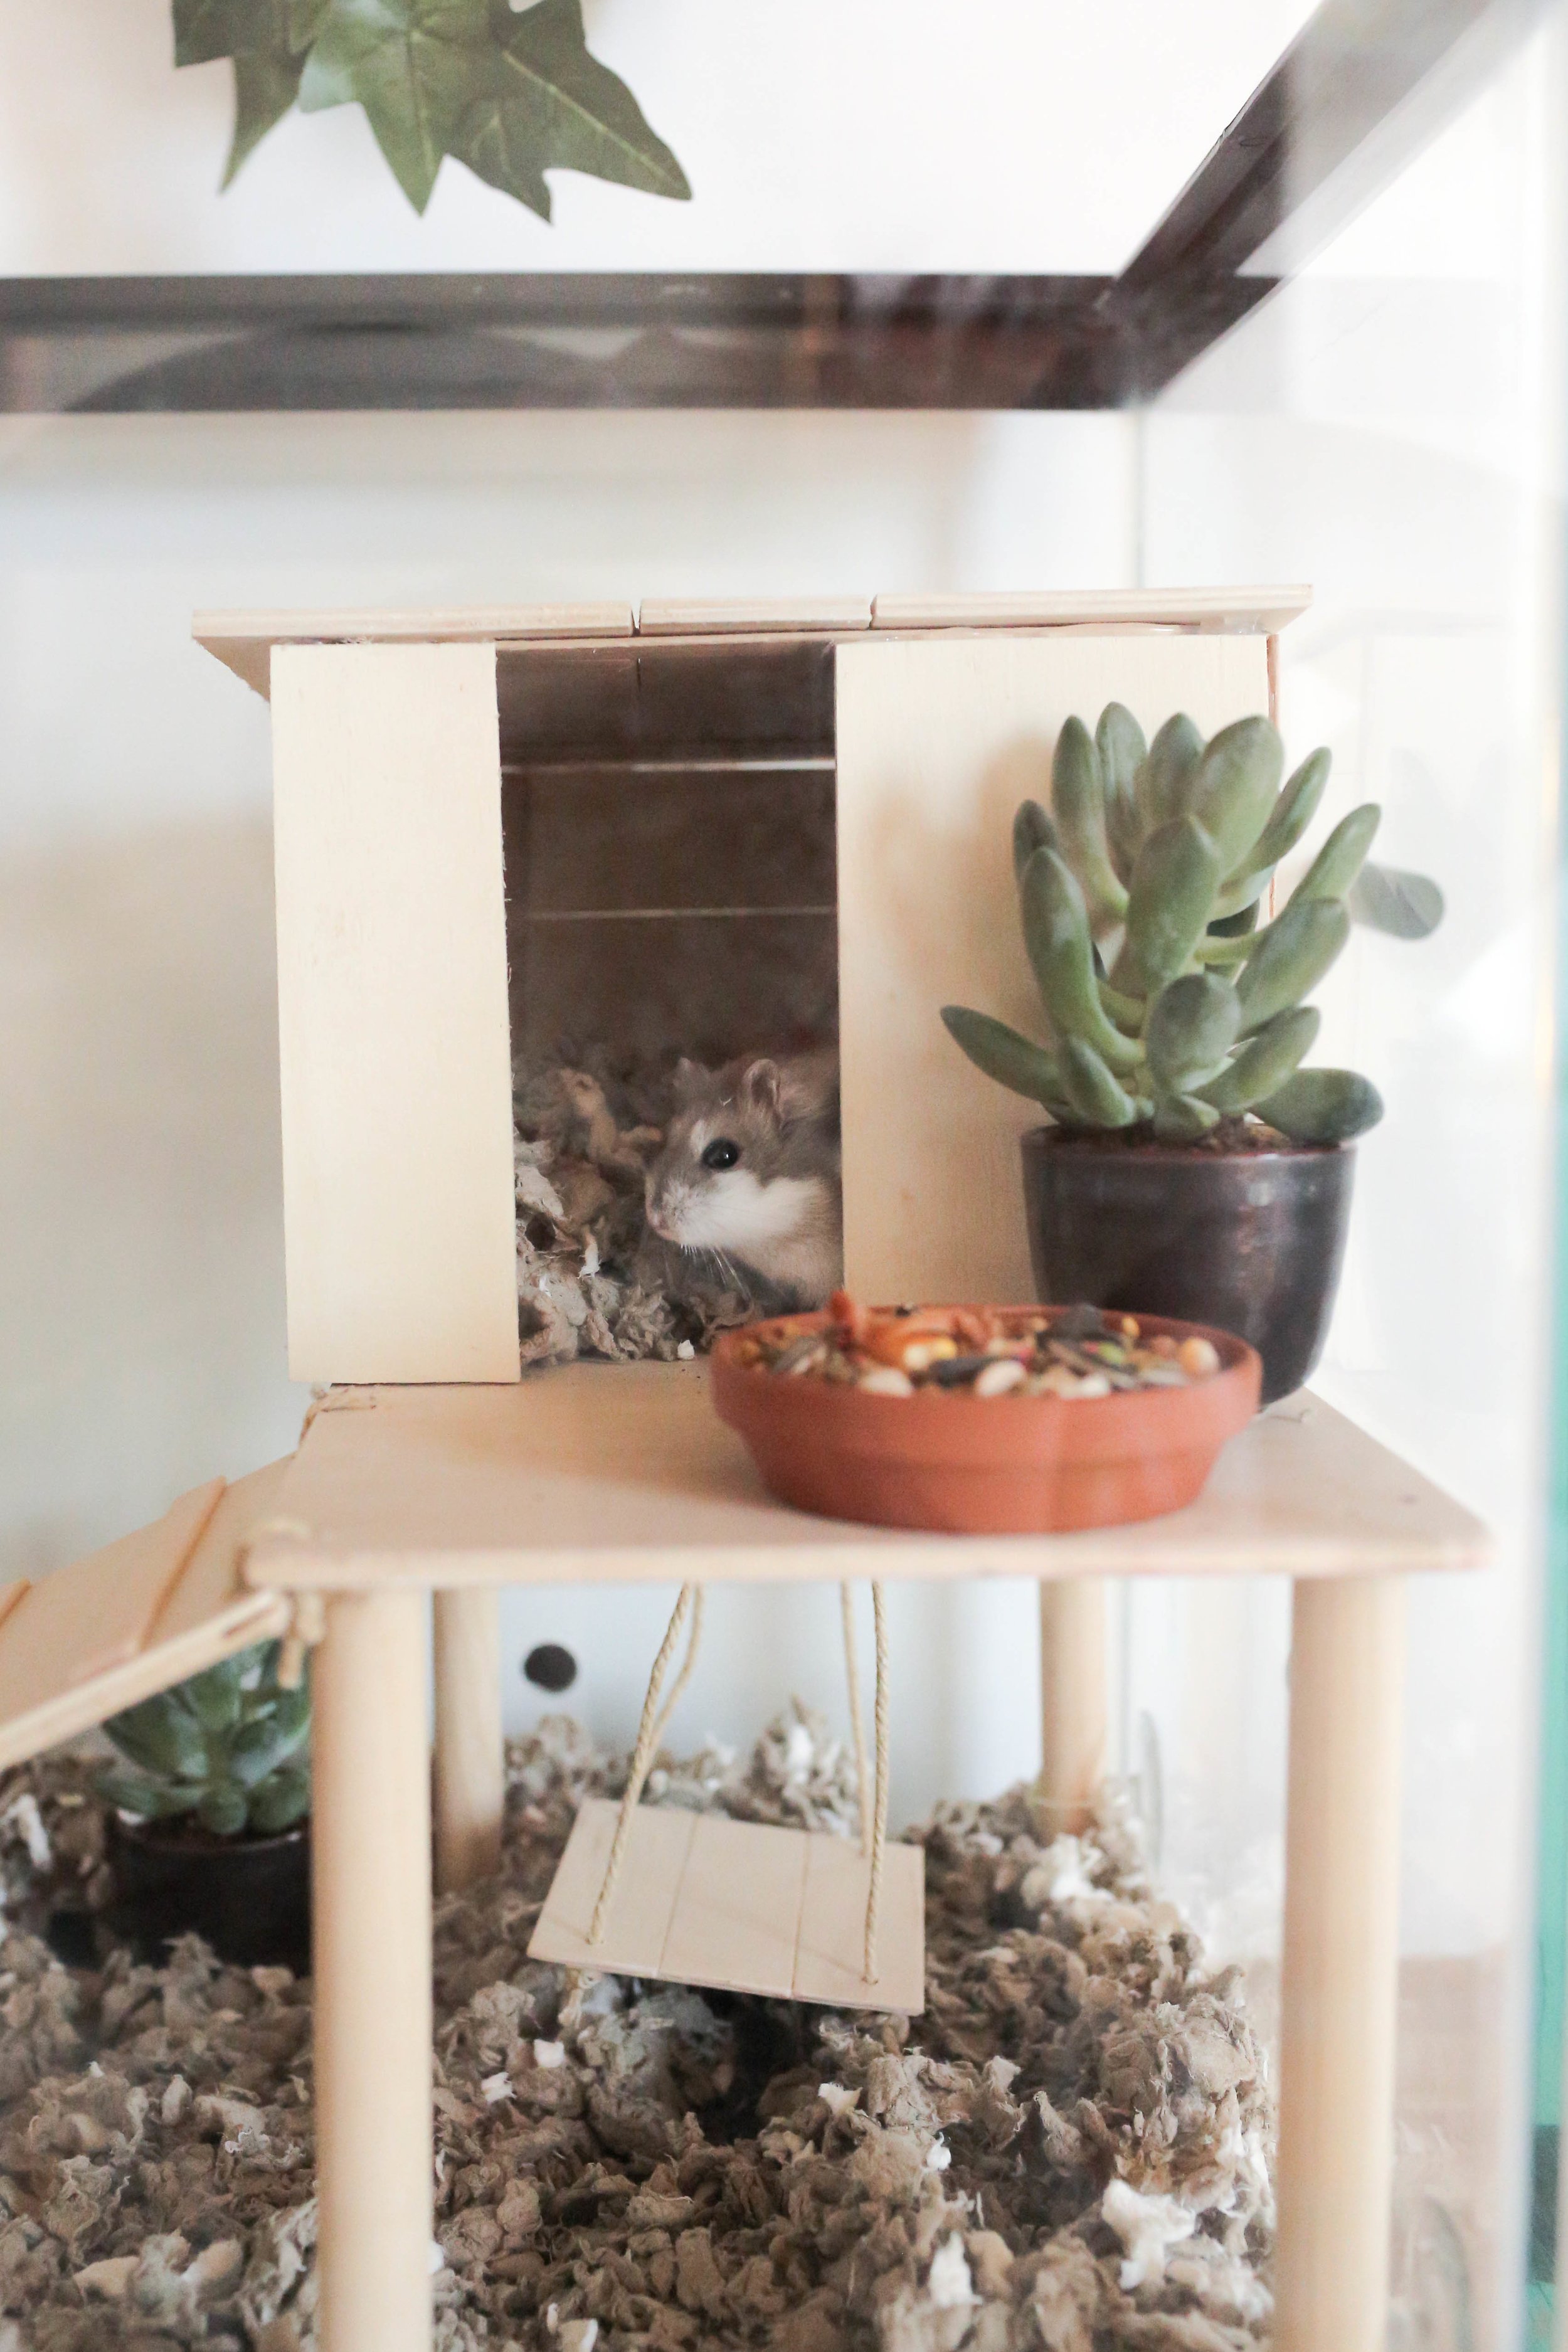
Next, we’re going to add some extra fun by adding a swing under the platform. Kelsey went ahead and cut some thick popsicle sticks to size, glued them together, and attached them using the same thin rope and hole drilling technique. To secure the whole platform to the side of the cage, we attached some suction cups to the platform using some rope, and secured the suction cups to the wall! Next, Becky started working on the house. She used the thick popsicle sticks again to create the walls of the house. She cut the top popsicle stick at an angle so that the roof would sit angled as well!

This house can now sit on the platform! To finish up the transformation, we added bedding, a wheel and water tube, food dish, and plants! Feel free to add your pet’s fave toys and other treats!
after
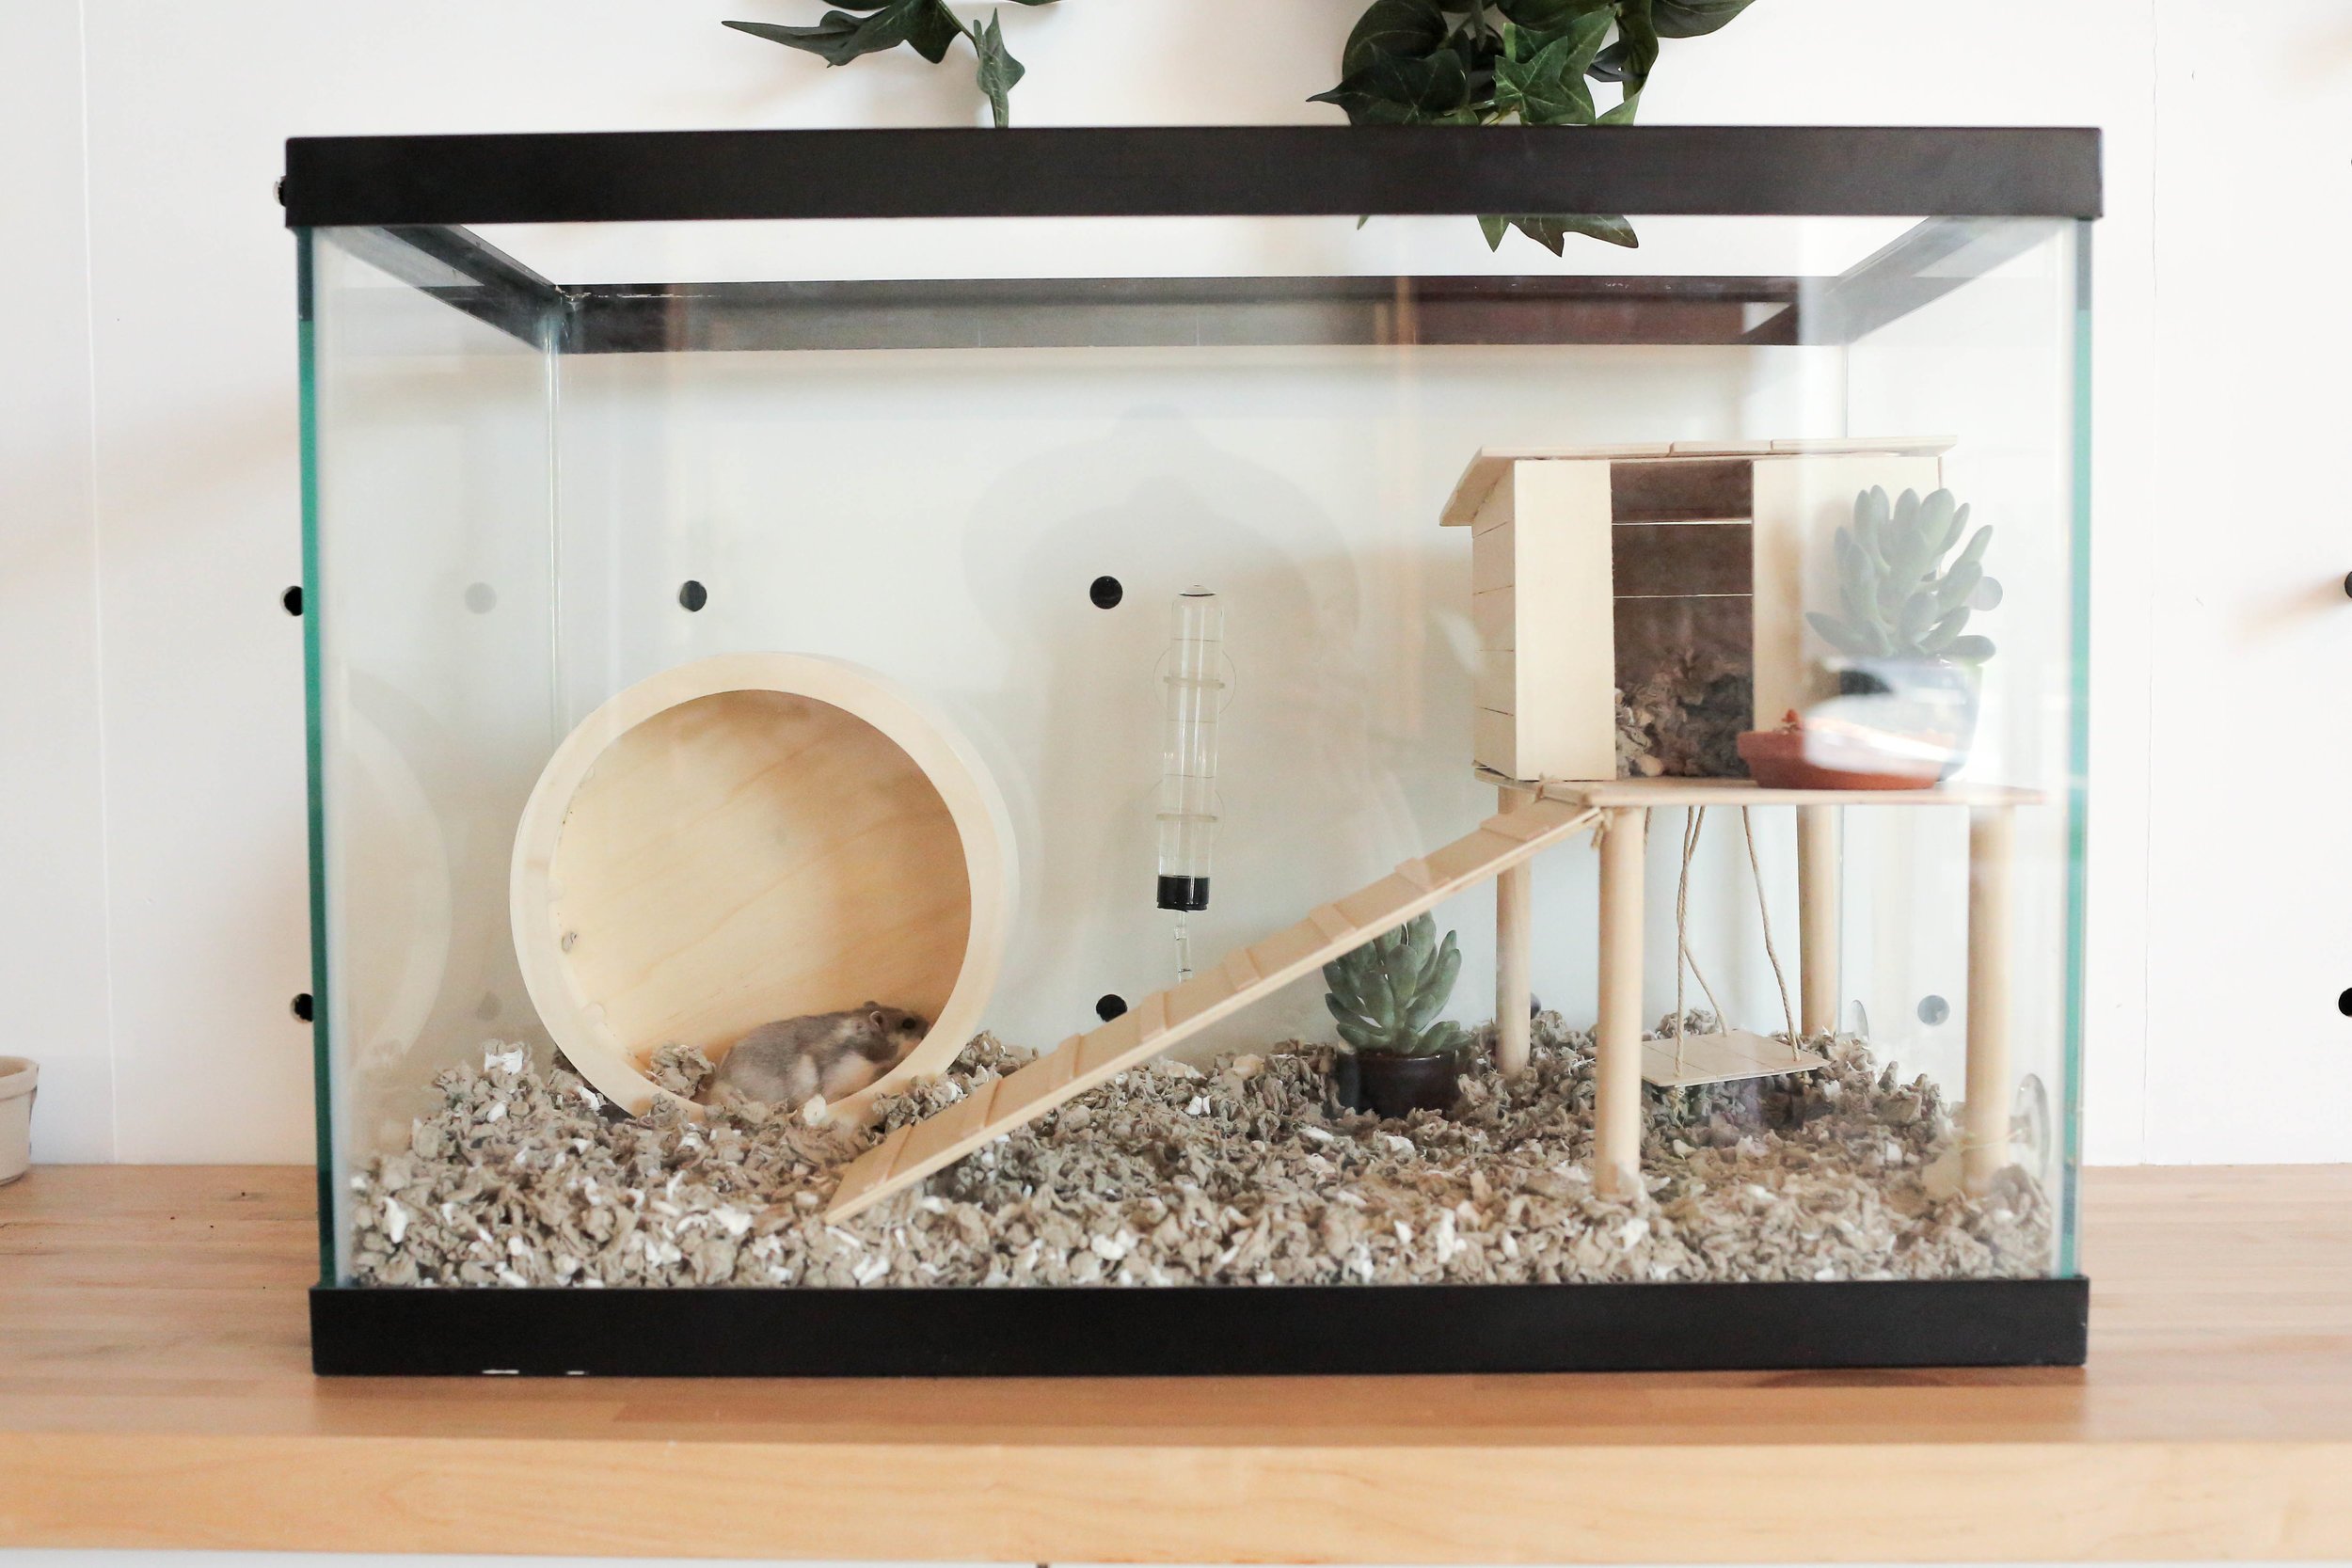


And that’s it! Timbit loves how this turned out (and we do too)! If you loved this, be sure to check out the video below!