How To Make Your Own Lime Wash Paint
In my recent kitchen reno project, I was on the hunt for a ready made can of limewash to apply to my range hood. I found it difficult to source a can in my area and took to the internet for advice. Many suggest that limewash is a fairly simple recipe that can actually be made from scratch from easy to source materials! Say no more, I had to try this out for myself. After many sample batches and different formulas tested, i’ve come up with my very own recipe that worked beautifully on a large wall in our office. Read on to see how it’s done.
Bonus facts! Limewash paint when made with this recipe is non toxic and contains zero voc’s which are the harmful chemicals found in traditional wall paints, meaning its a very eco friendly product.
This recipe is also quite cost effective, I bought a large bag of hydrated lime from the hardware store for only $13 and that is going to produce a ton of lime wash paint.
Materials
Acrylic mineral based primer + tools associated with typical paint application
Hydrated lime (found at most hardware stores)
Natural Rare Earth pigment in the colour of your choice
Alum salt (also referred to as alum powder - found at Bulk Barn)
Extra Wide Stain Brush

Instructions
Step 1- prepare your wall
Limewash needs to be applied onto a porous surface for it to adhere properly. Traditional limewash was done on brick or stone walls. If you’re not working with that, and instead working with an interior drywall wall with a layer of wall paint already on top, you’ll need to prime your wall. Prime the wall with an acrylic mineral based primer. Our favourite primer is linked above in the supply list.

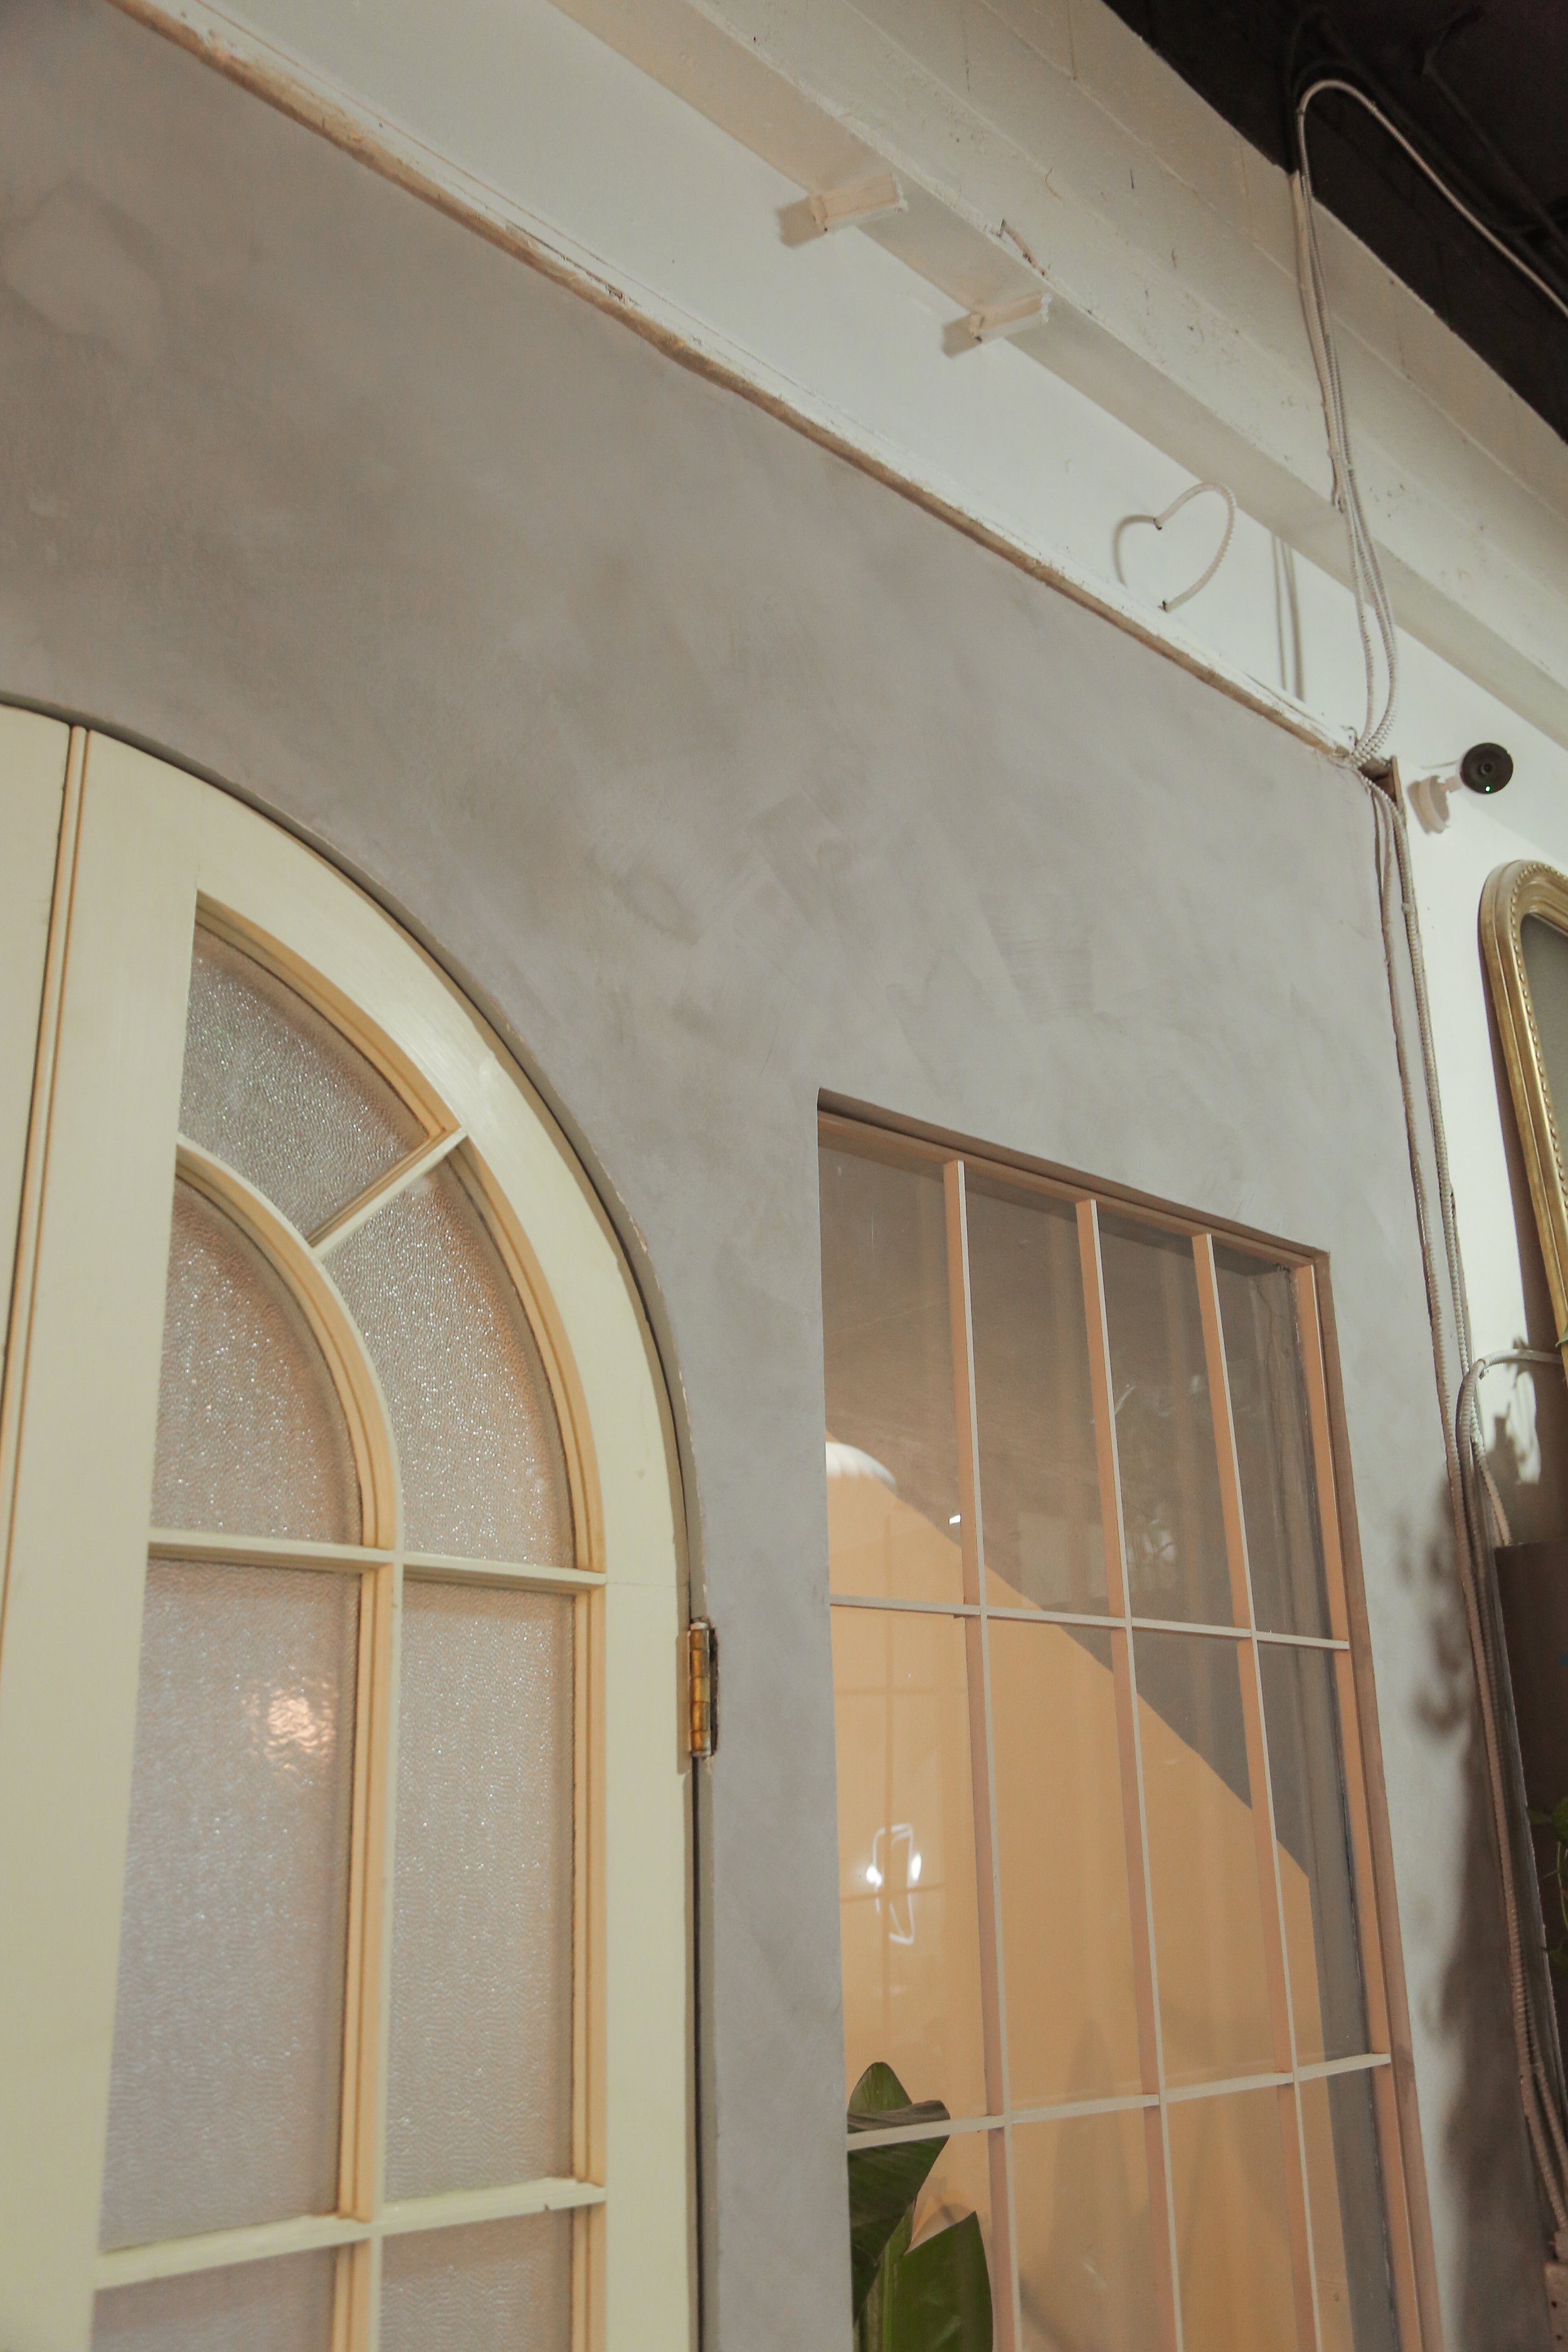
Wall before prime coat

Wall after taped and primed
Step 2- lime putty (optional)
Through my various test batches (there were many), I found that starting with a base of lime putty instead of plain Hydrated Lime powder produced slightly better results. Here’s how to make a batch:
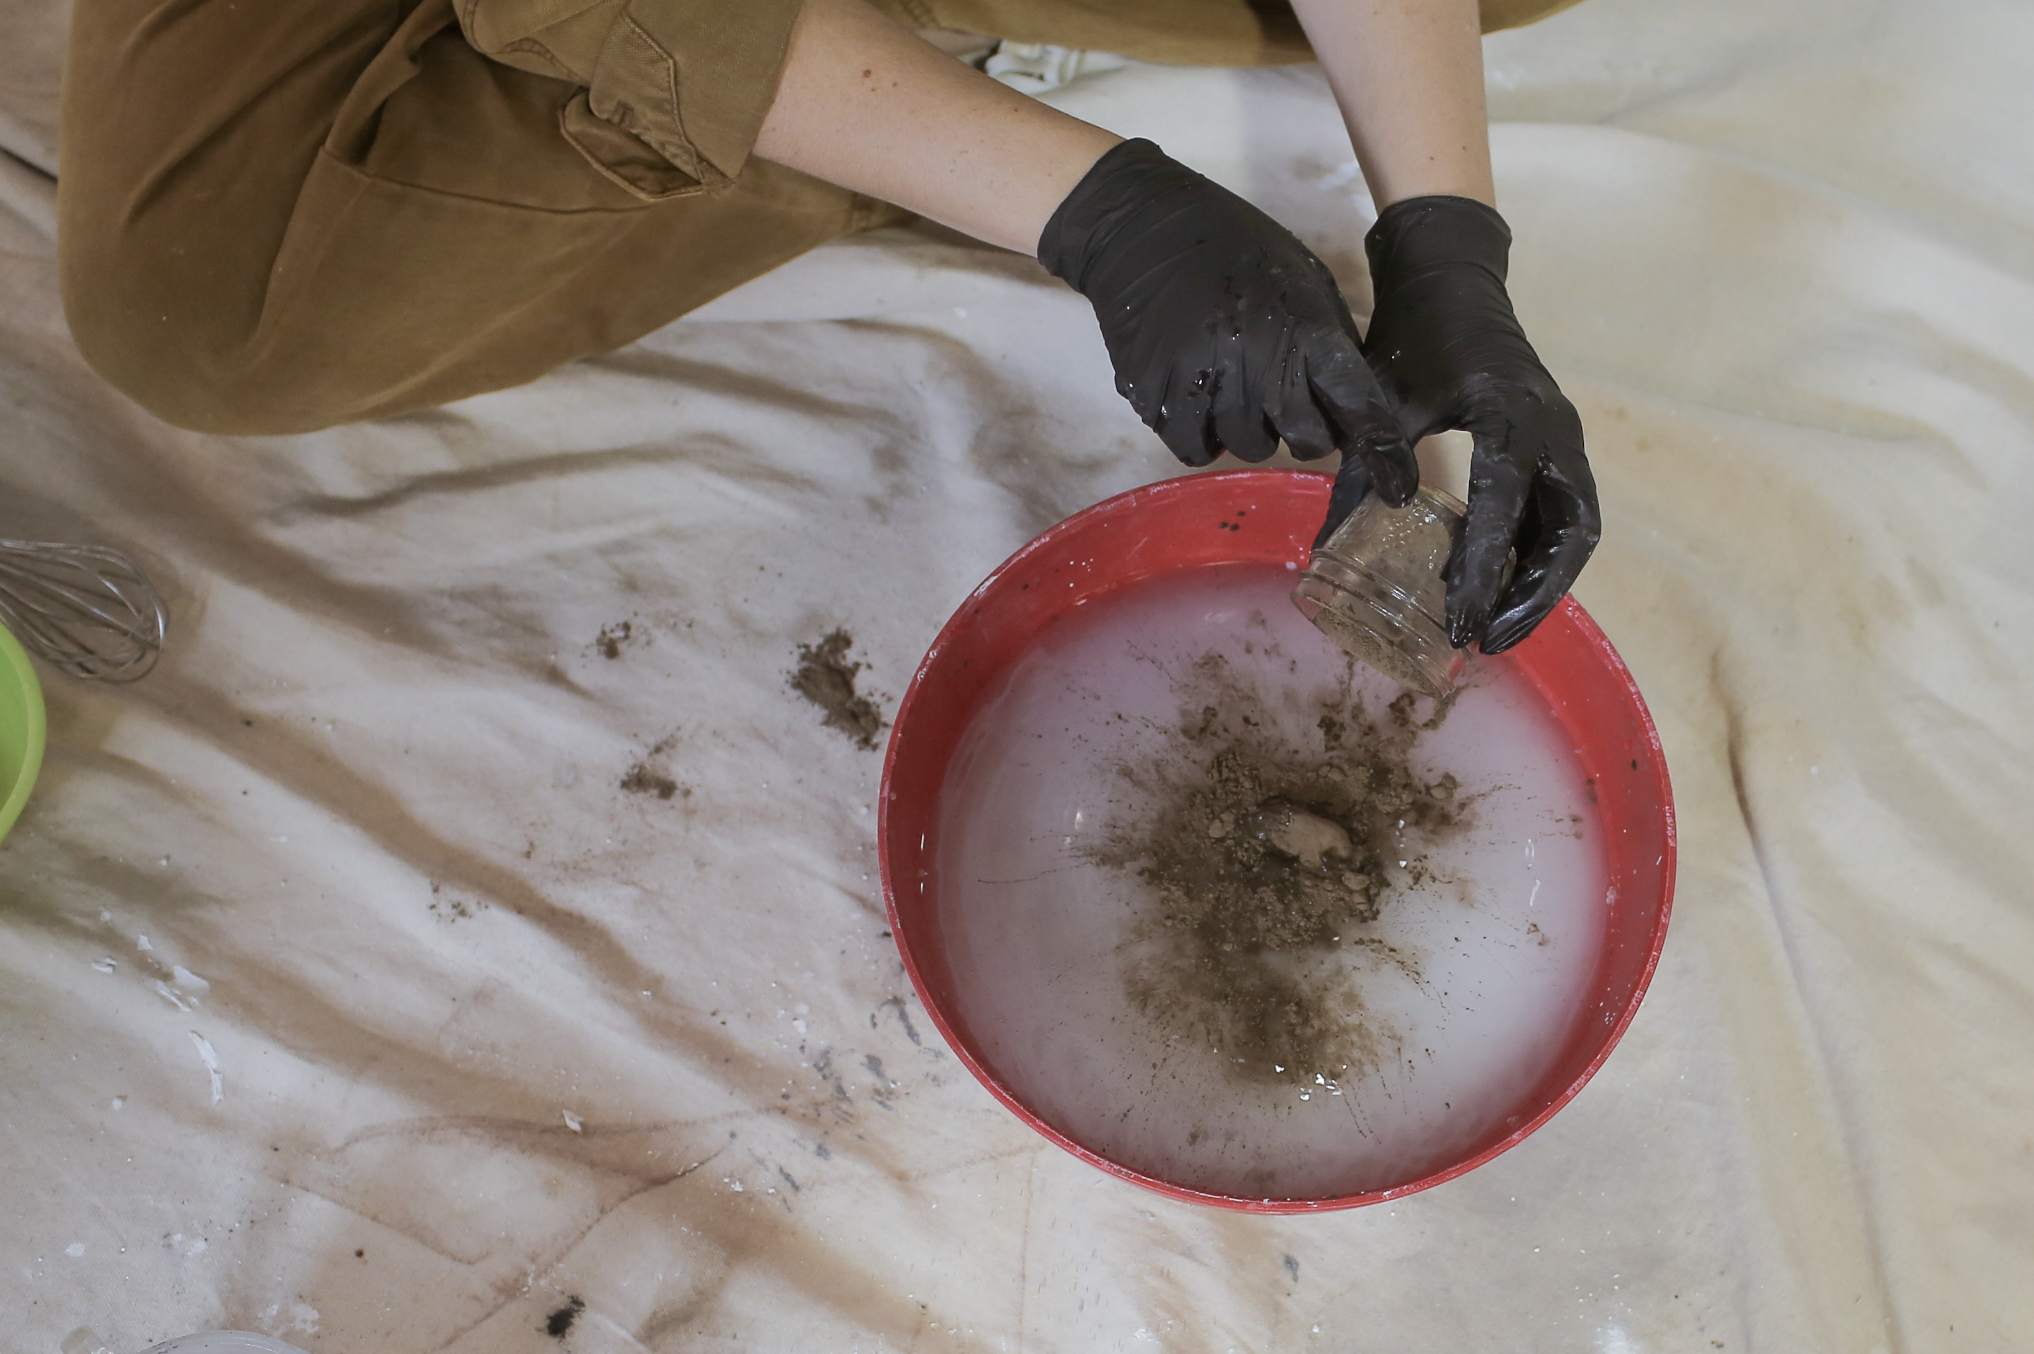
Fill a bucket about a third of the way with water and then carefully scoop in the hydrated lime powder. Using a hand whisk or a drill powdered mixing bit, mix the powder with the water until you reach a wet putty-like consistency, almost like cream cheese
Wear proper PPE when working with the hydrated lime (i.e. mask, gloves, safety goggles)
If your bucket is sealed properly so no air can get in, this mix can keep almost indefinitely. (Some of my research even suggested the results are better the longer you allow the putty to sit)
If you’d like to forgo pre-making the lime putty mix, you can still use straight hydrated lime powder in it’s place and produce fairly similar limewash paint results.


Step 3 - the primer & patina coat
Limewash drying and limewash curing are two different things. Limewash needs a lot of water to cure properly and without it, your final product can end up being very powdery.
To ensure your wall cures properly, limewash needs to be applied in 3 different layers or coats: the primer, wash, and patina coat. The first and last coat being a very watery diluted version of your main mix
Here’s the recipe for the primer and patina coat:
(note: this recipe is broken down into “parts”. Your part can be as little or as big as you’d like depending on how much limewash you intend to make. The important thing to note is that the ratios of the ingredients stay the same)
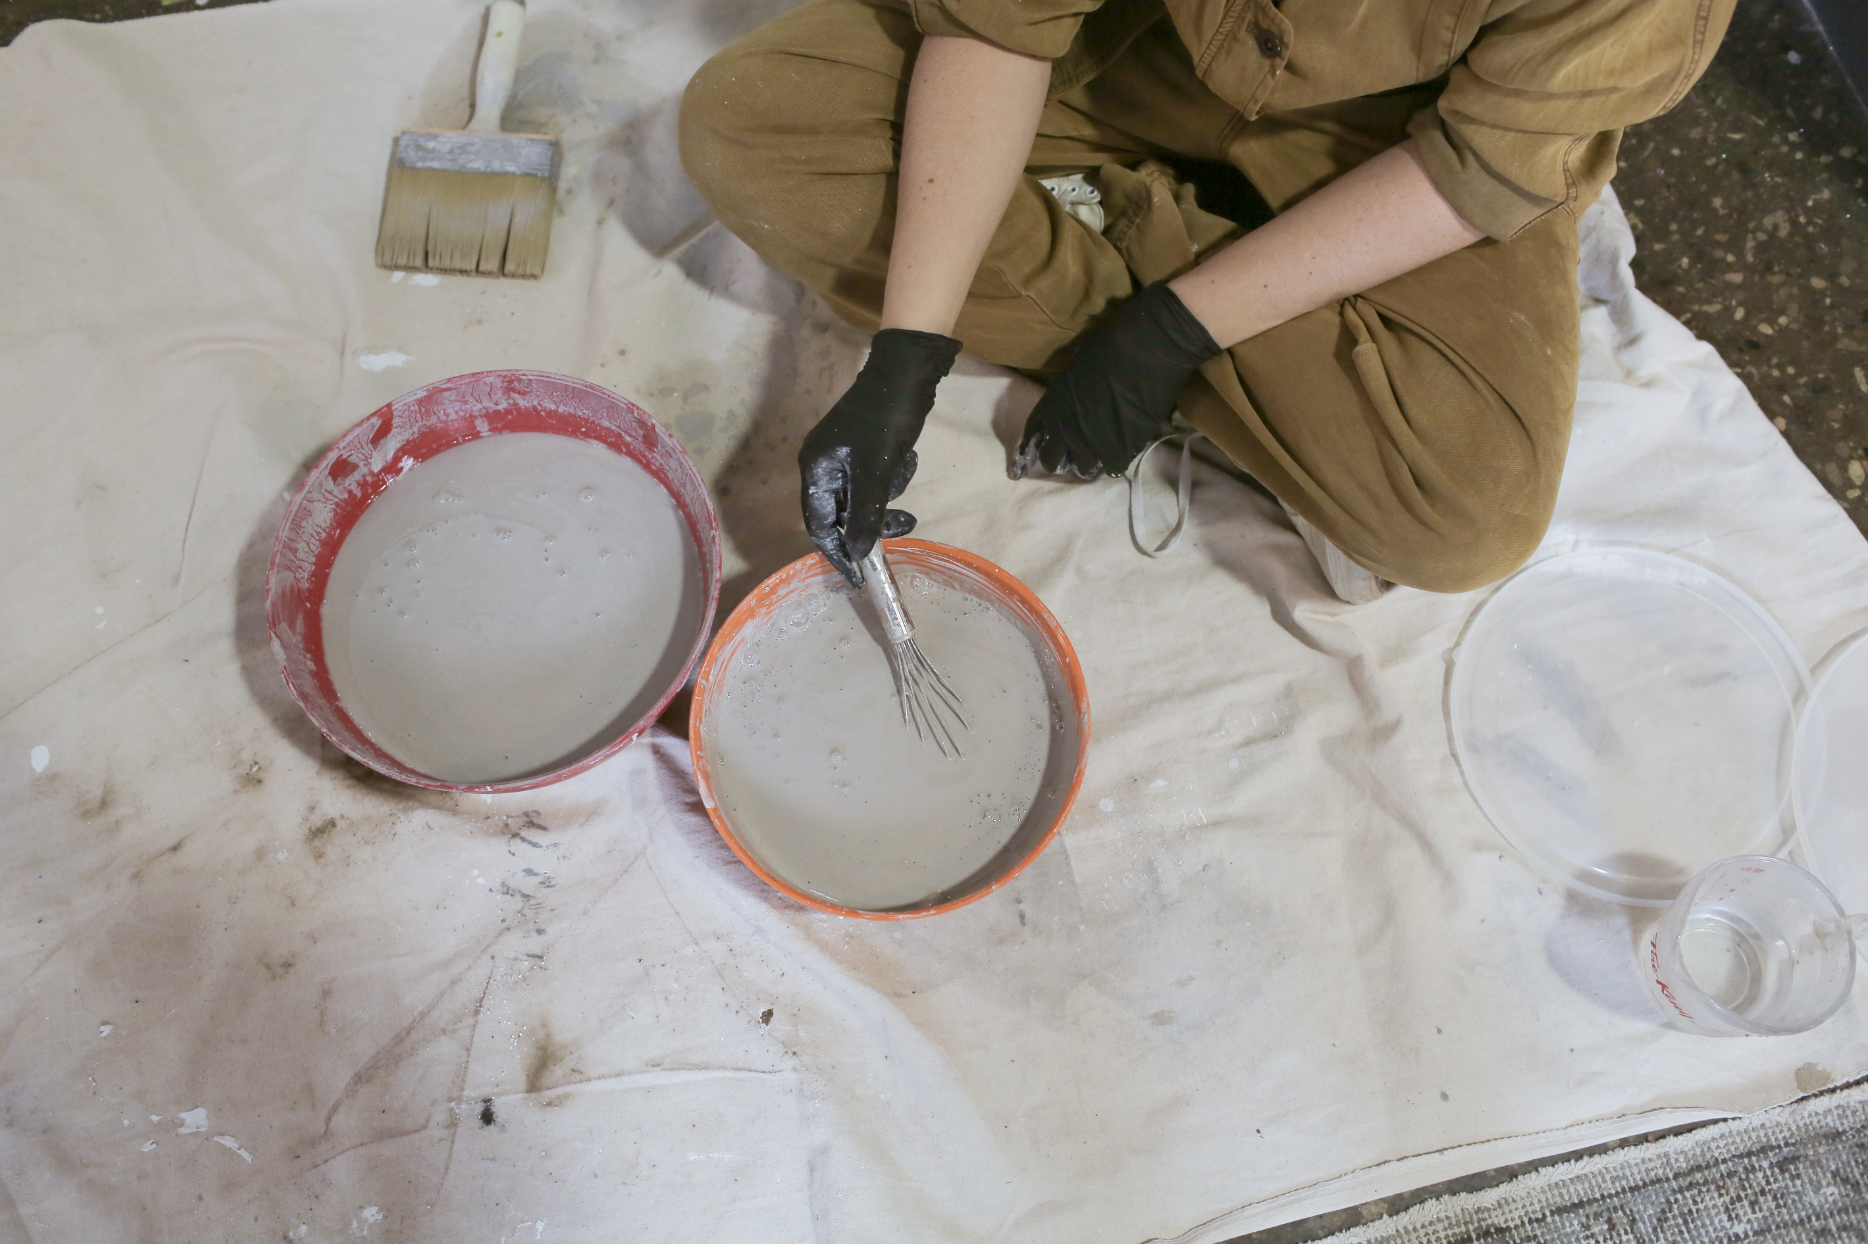
Ratio = 1 part alum salt : 1 part natural pigment : 10 parts lime putty or hydrated lime powder : 40 parts water
Make sure to wear proper protection (gloves and a mask) when mixing your ingredients
Mix one part alum salt with a little boiling water until dissolved. If you skip this step, the salt can cause your final mix to have a gritty texture.
Your mix should resemble the consistency of skim milk

Step 4 - Apply the primer coat
Apply the primer coat with cross-hatched strokes to achieve a textured look (this is the same application for the rest of the coats as well)
This first coat will be very light due to the heavily diluted nature of the primer mix. Don’t worry, the colour will strengthen as more coats are applied
The mix will begin to separate over time, it’s important to keep whisking the mixture occasionally as you go


Step 5 - the wash coat
Mix up the wash coat limewash, this is the main middle coat which will produce most of your colour. This mix is similar to first but with much less water.
Ratio = 1 part alum salt : 1 part natural colorant : 10 parts lime putty or hydrated lime powder : 20 parts water
Mix one part alum salt with a little boiling water until dissolved. If you skip this step, the salt can cause your final mix to have a gritty texture.
This mix should resemble the consistency of a milkshake


Step 6 - apply the wash coat
Apply the wash coat to the wall using the same “x” pattern strokes
These stokes will be a visible part of the finished wall so take care to make stroke patterns that you’re happy to look at once the wall is done
As soon as the first was coat has dried, you can apply as many wash coats as you’d like to build up the colour
Note: the colour of limewash will dry up to 60% lighter than the colour it appears when first applied on the wall. If after the limewash has dried you feel the colour is too light, you can add more natural pigment to your mix


Step 7 - apply the patina coat
Once you’re satisfied with the colour and texture development, you can apply a final patina coat using the same ratio mixed for the primer coat (I used the same batch, but mixed in more black pigment because I wasn’t happy with the pink hues showing through with my original mix)
*Note : Lime wash is water soluble so your finished wall cannot be washed with water. Instead, a fresh coat of limewash can be applied overtop of tired looking walls to bring them back to life.

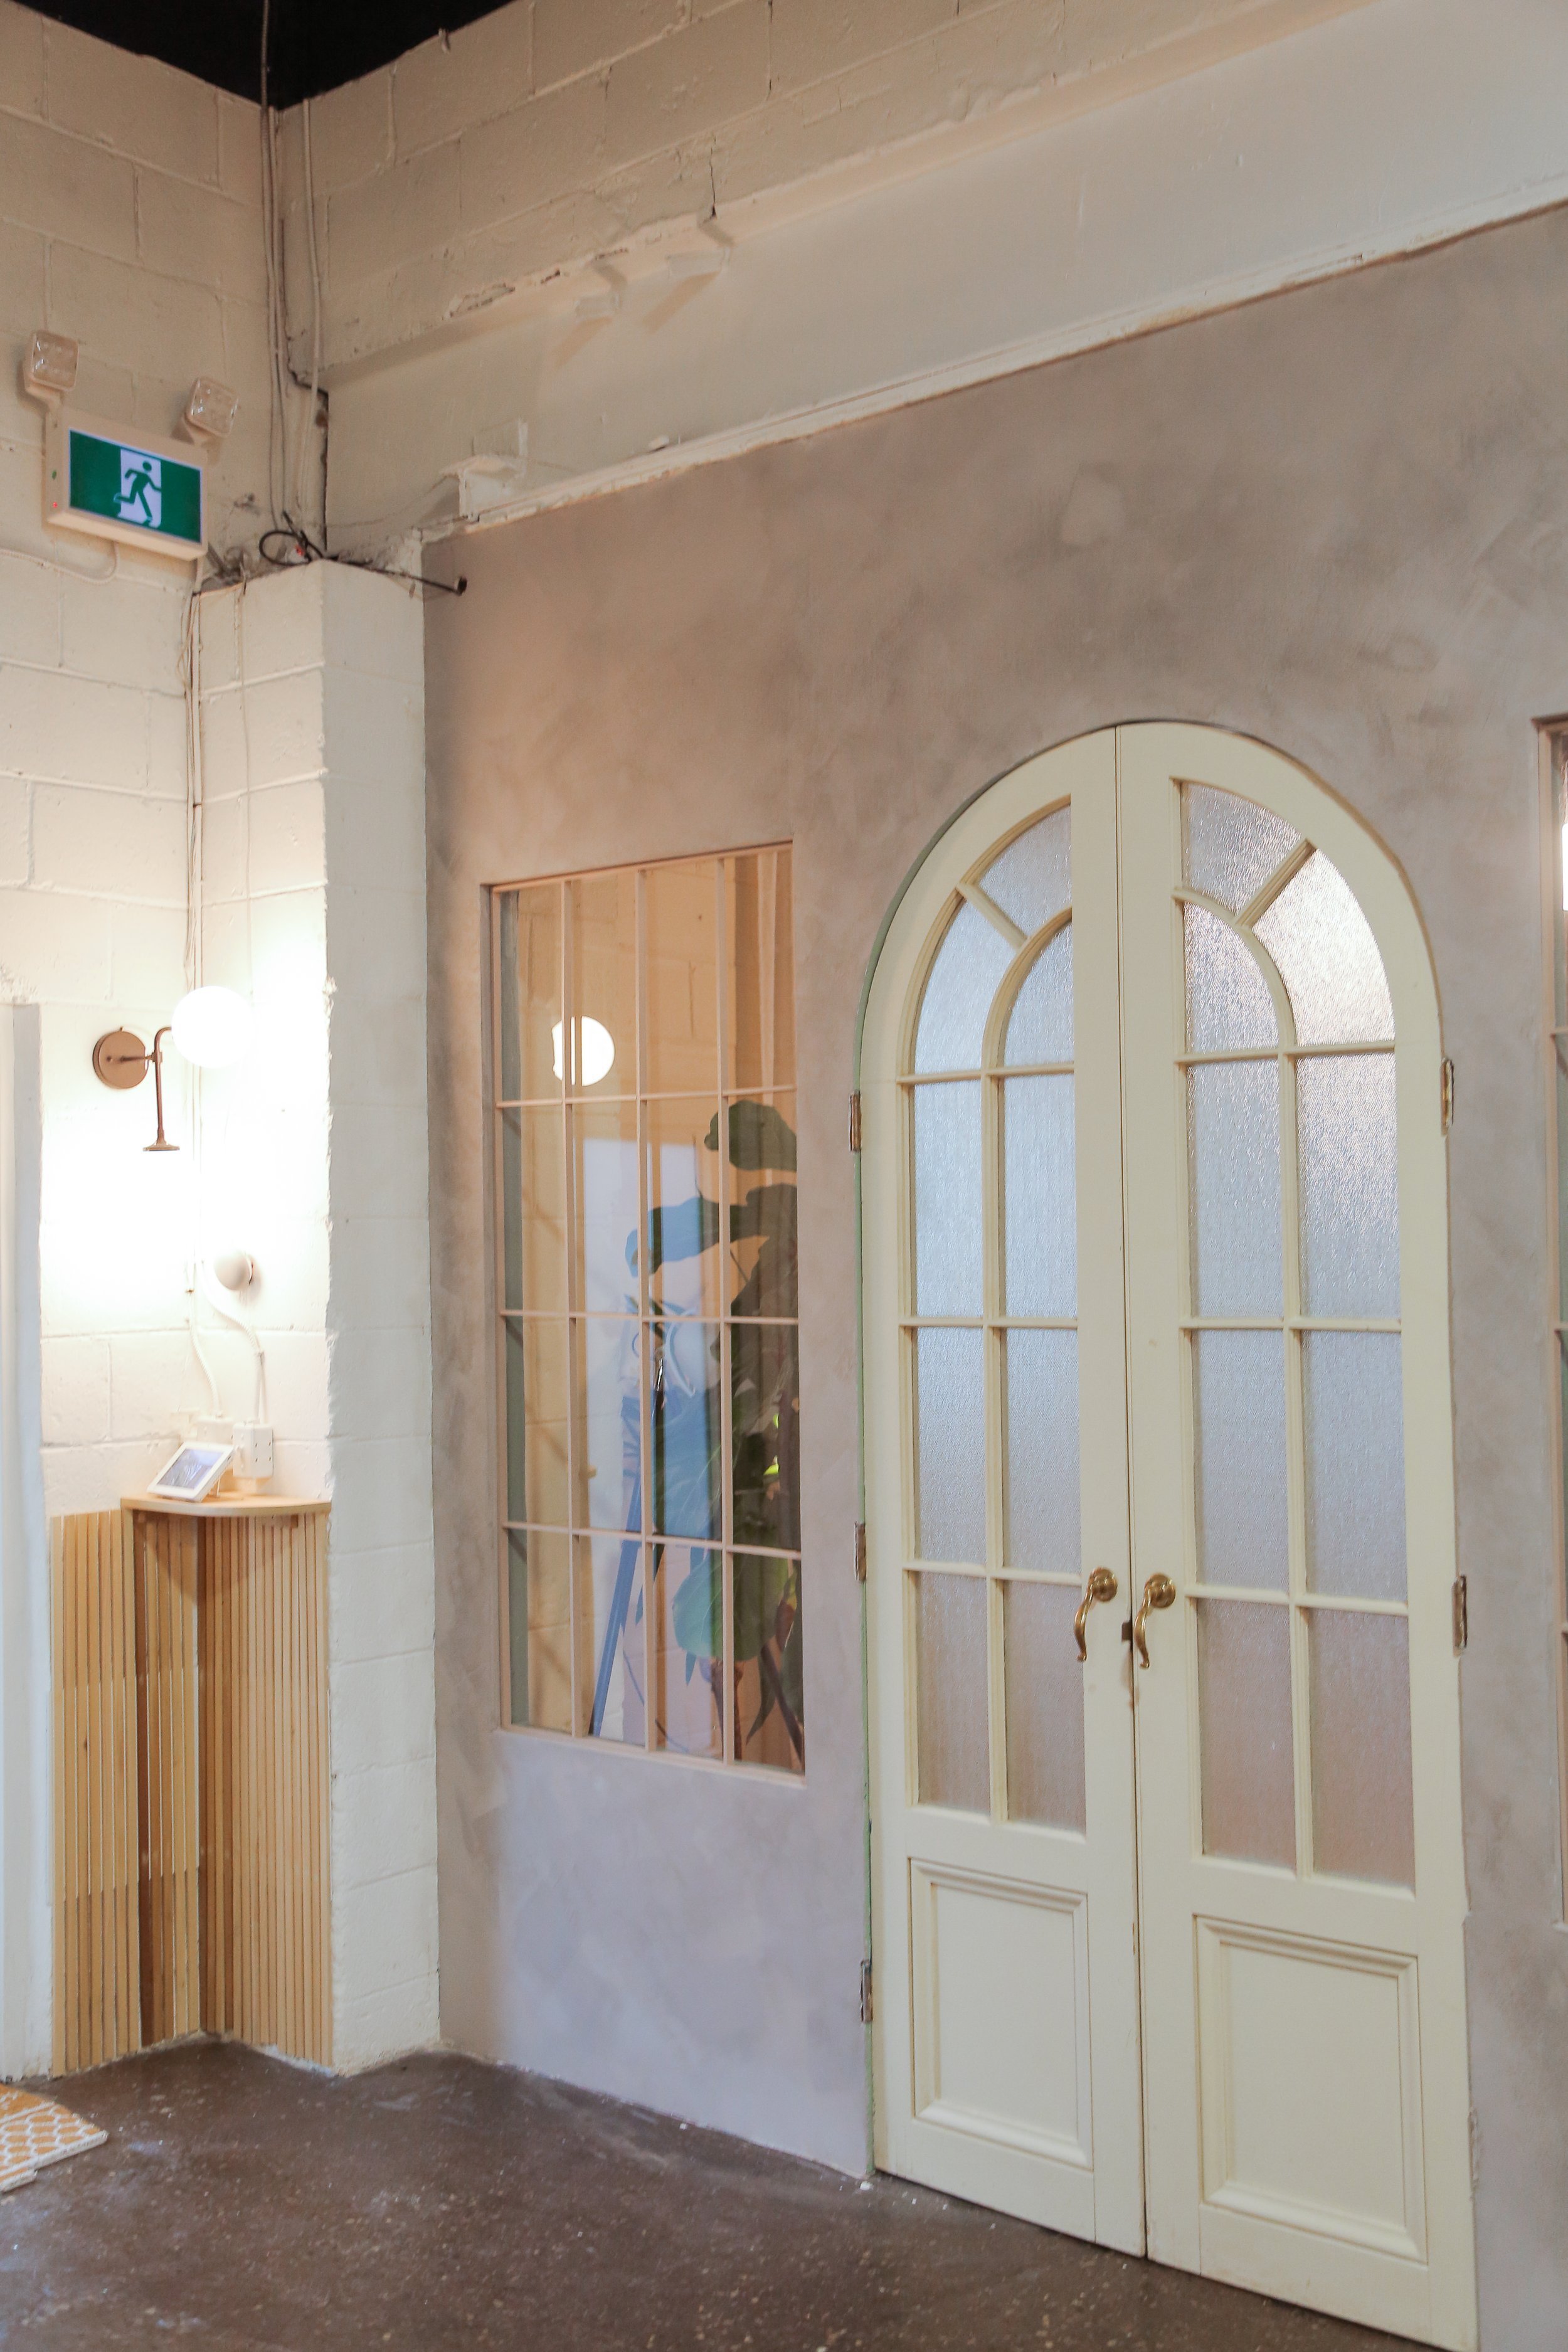
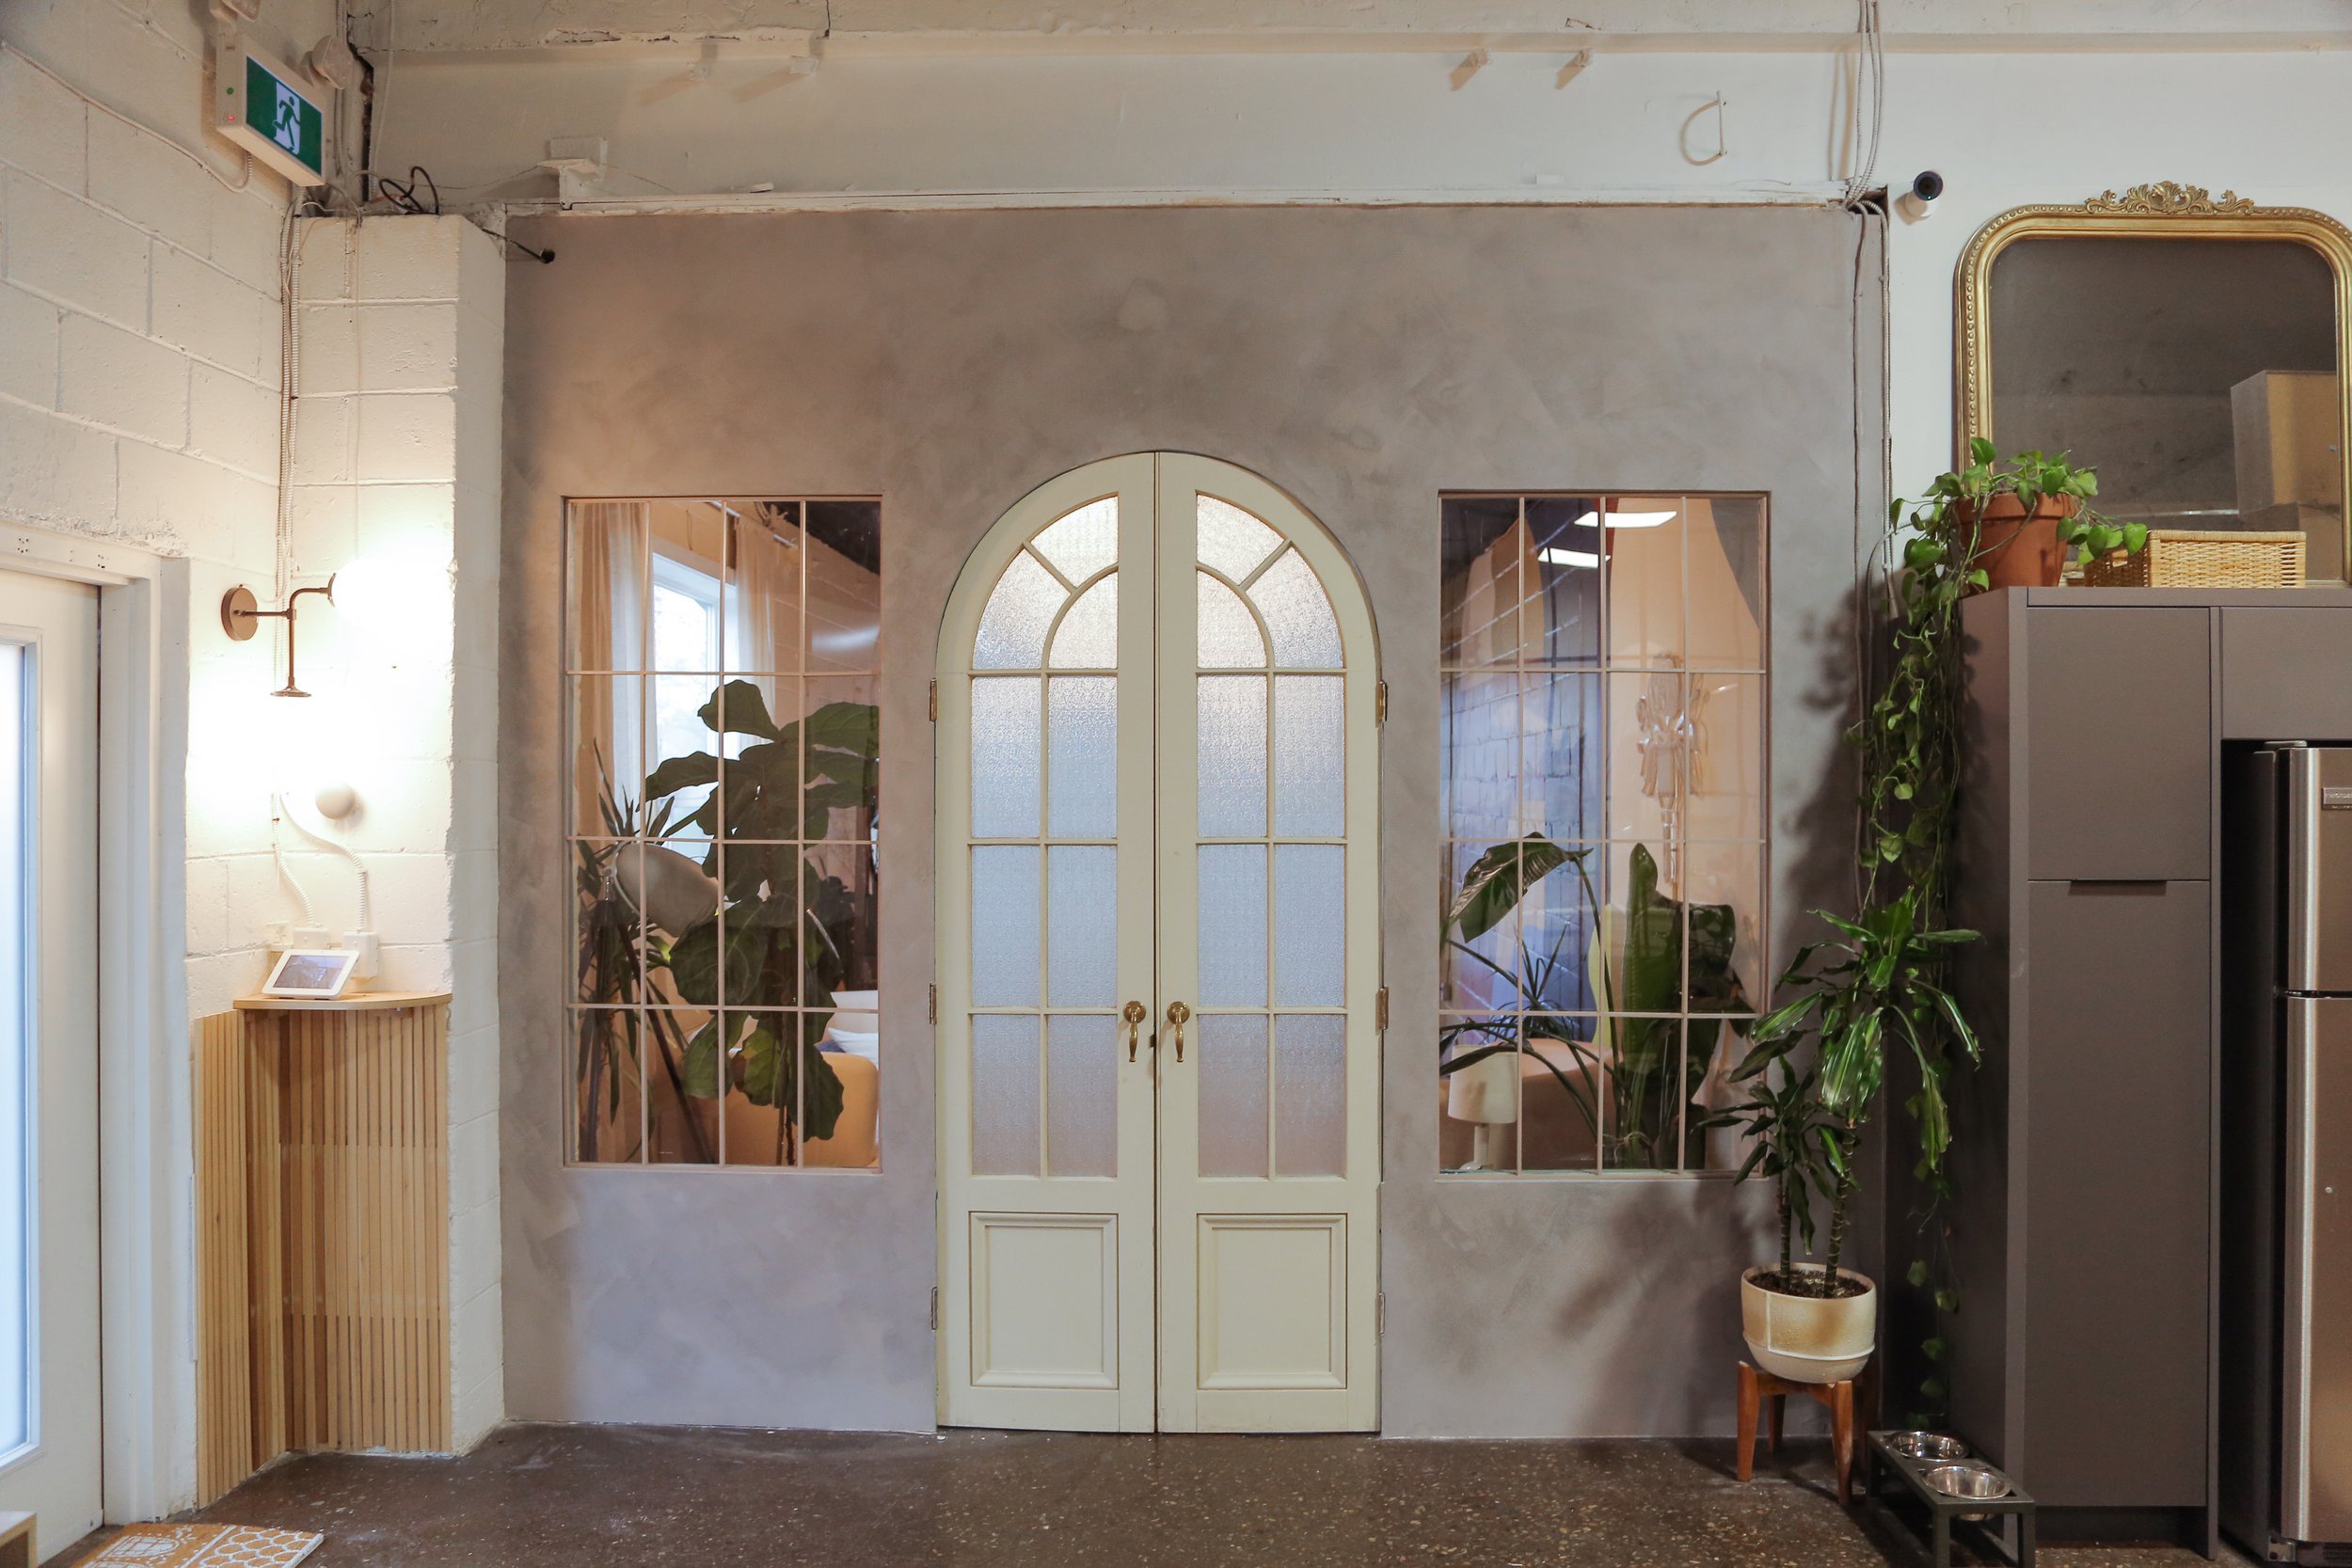
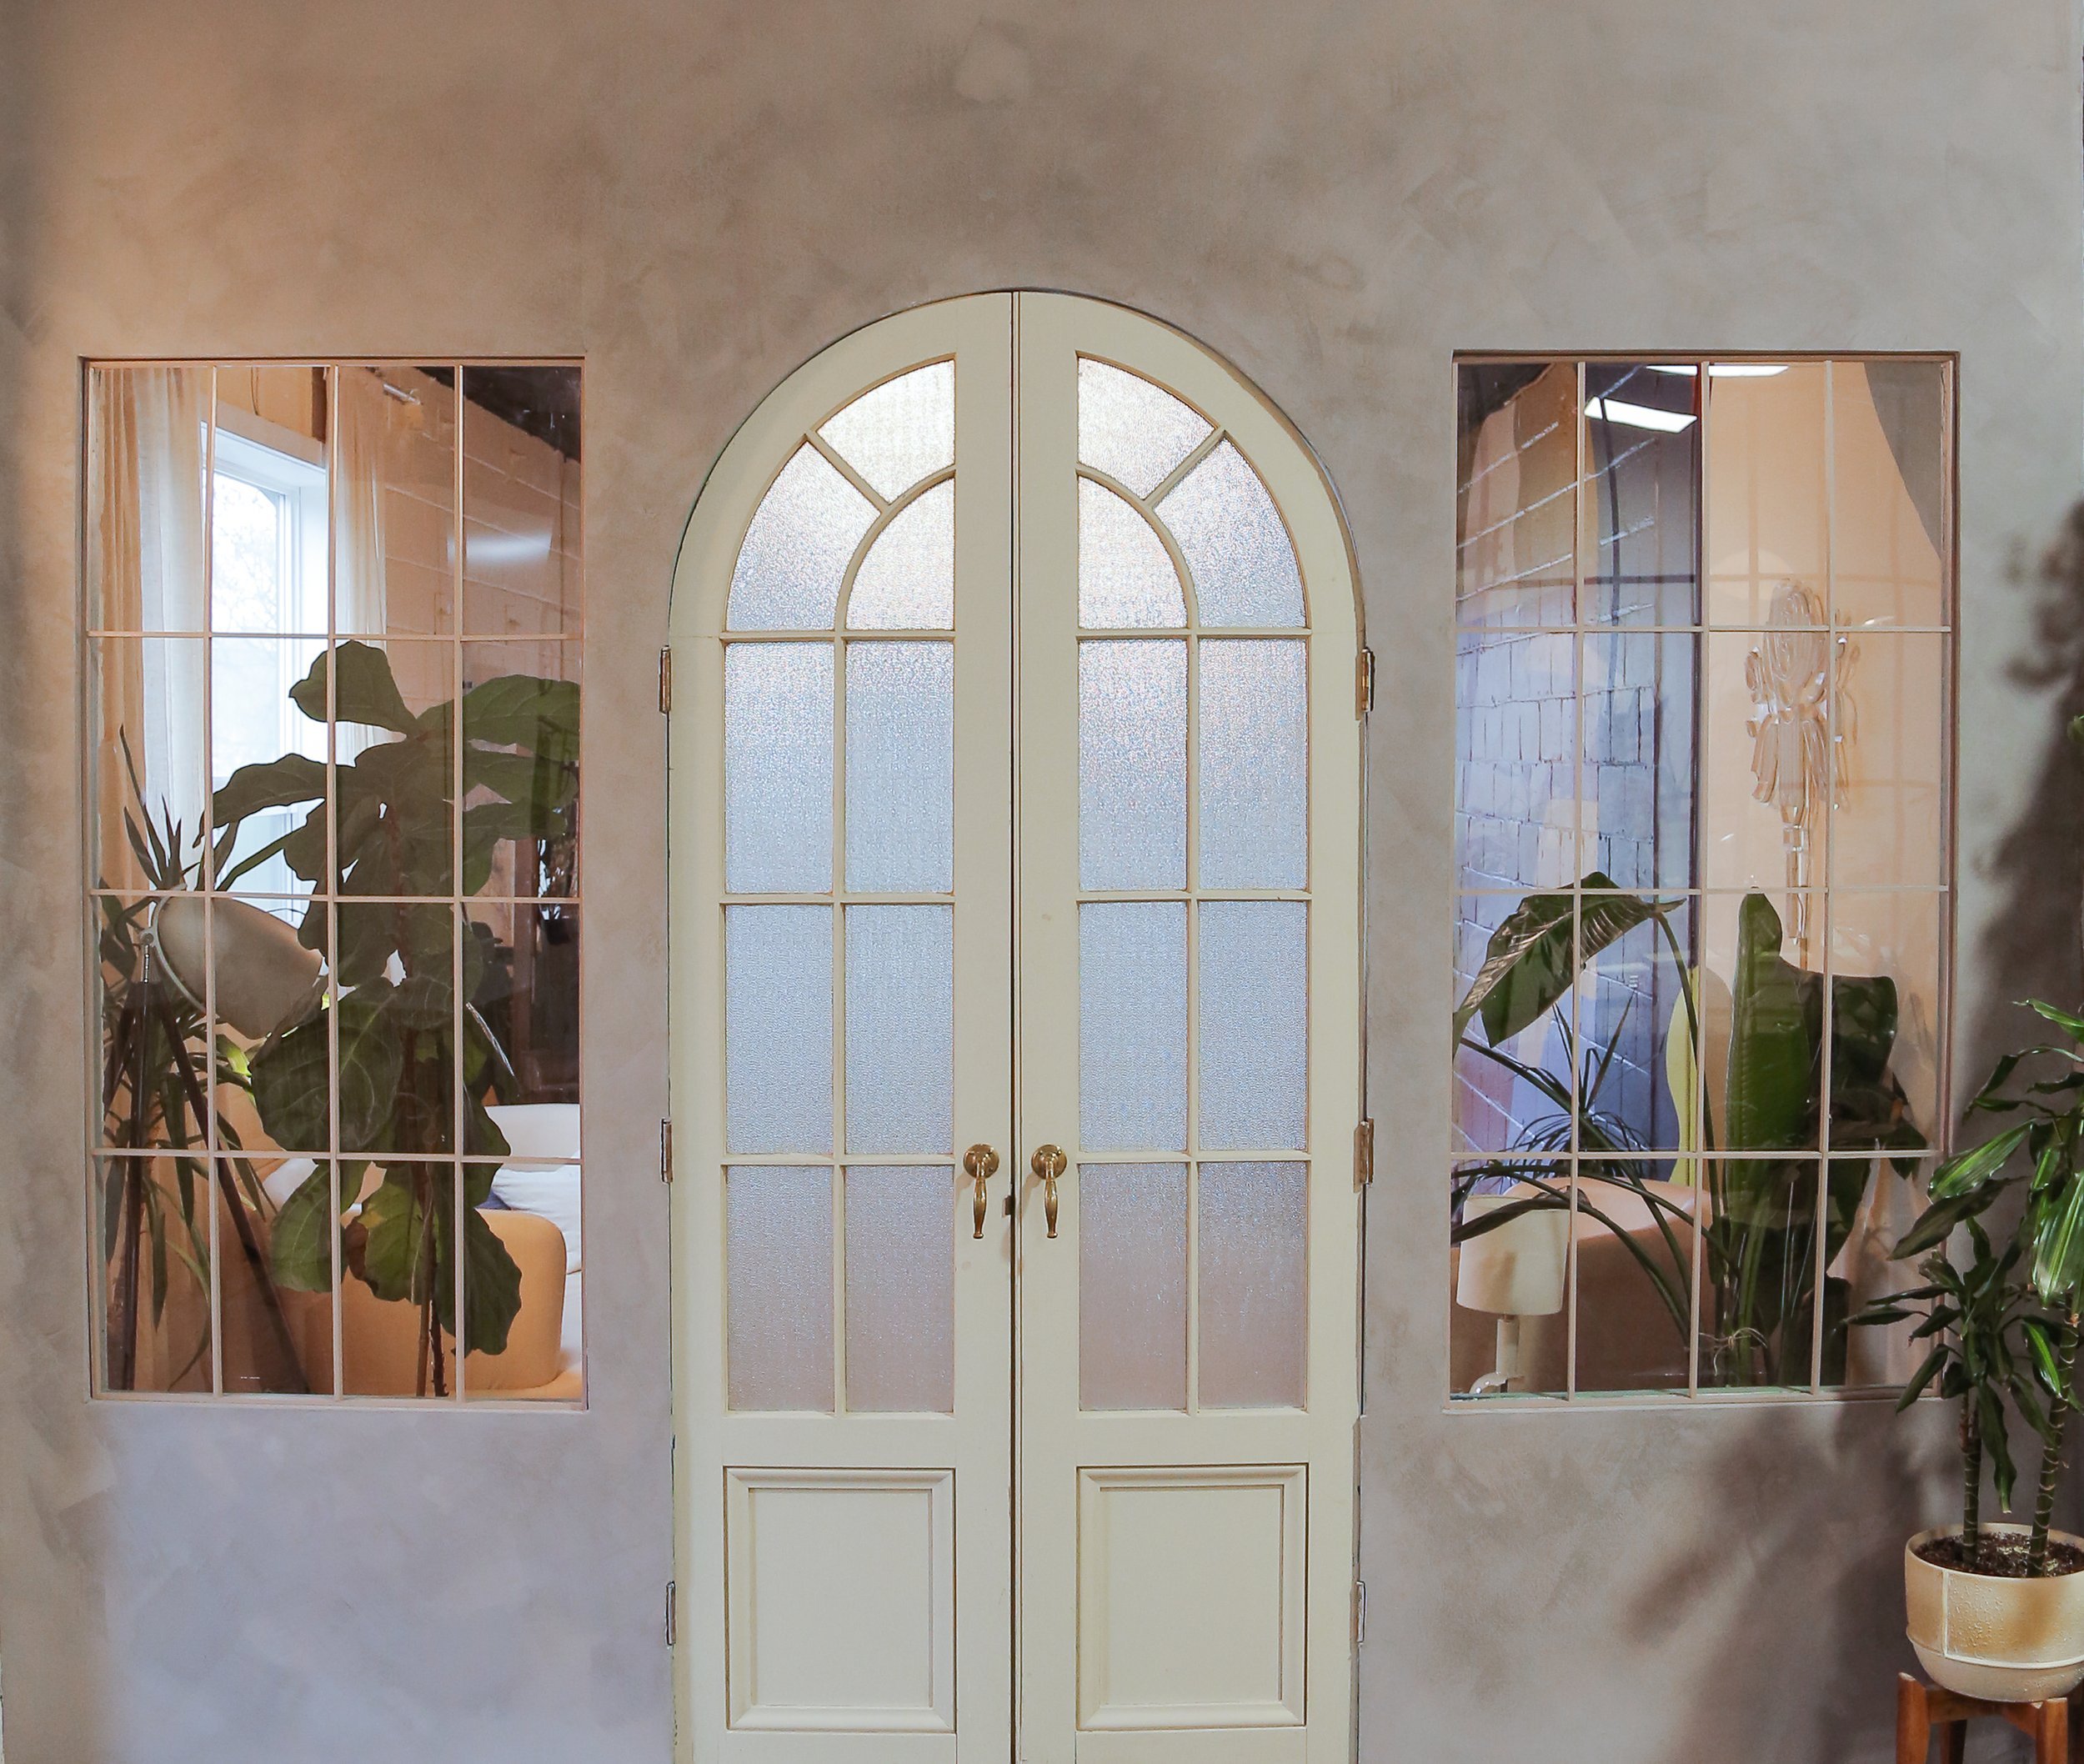
Final Results