MINIMALIST DORM MAKEOVER

We are SO excited to be back at you with another dorm room series! Instead of decorating an empty dorm like previous years, we’ve decided to come in and decorate real students dorms! The idea was to let the students live in the dorm for about a month and kind of realize what problems they had, and now we’re here to help!
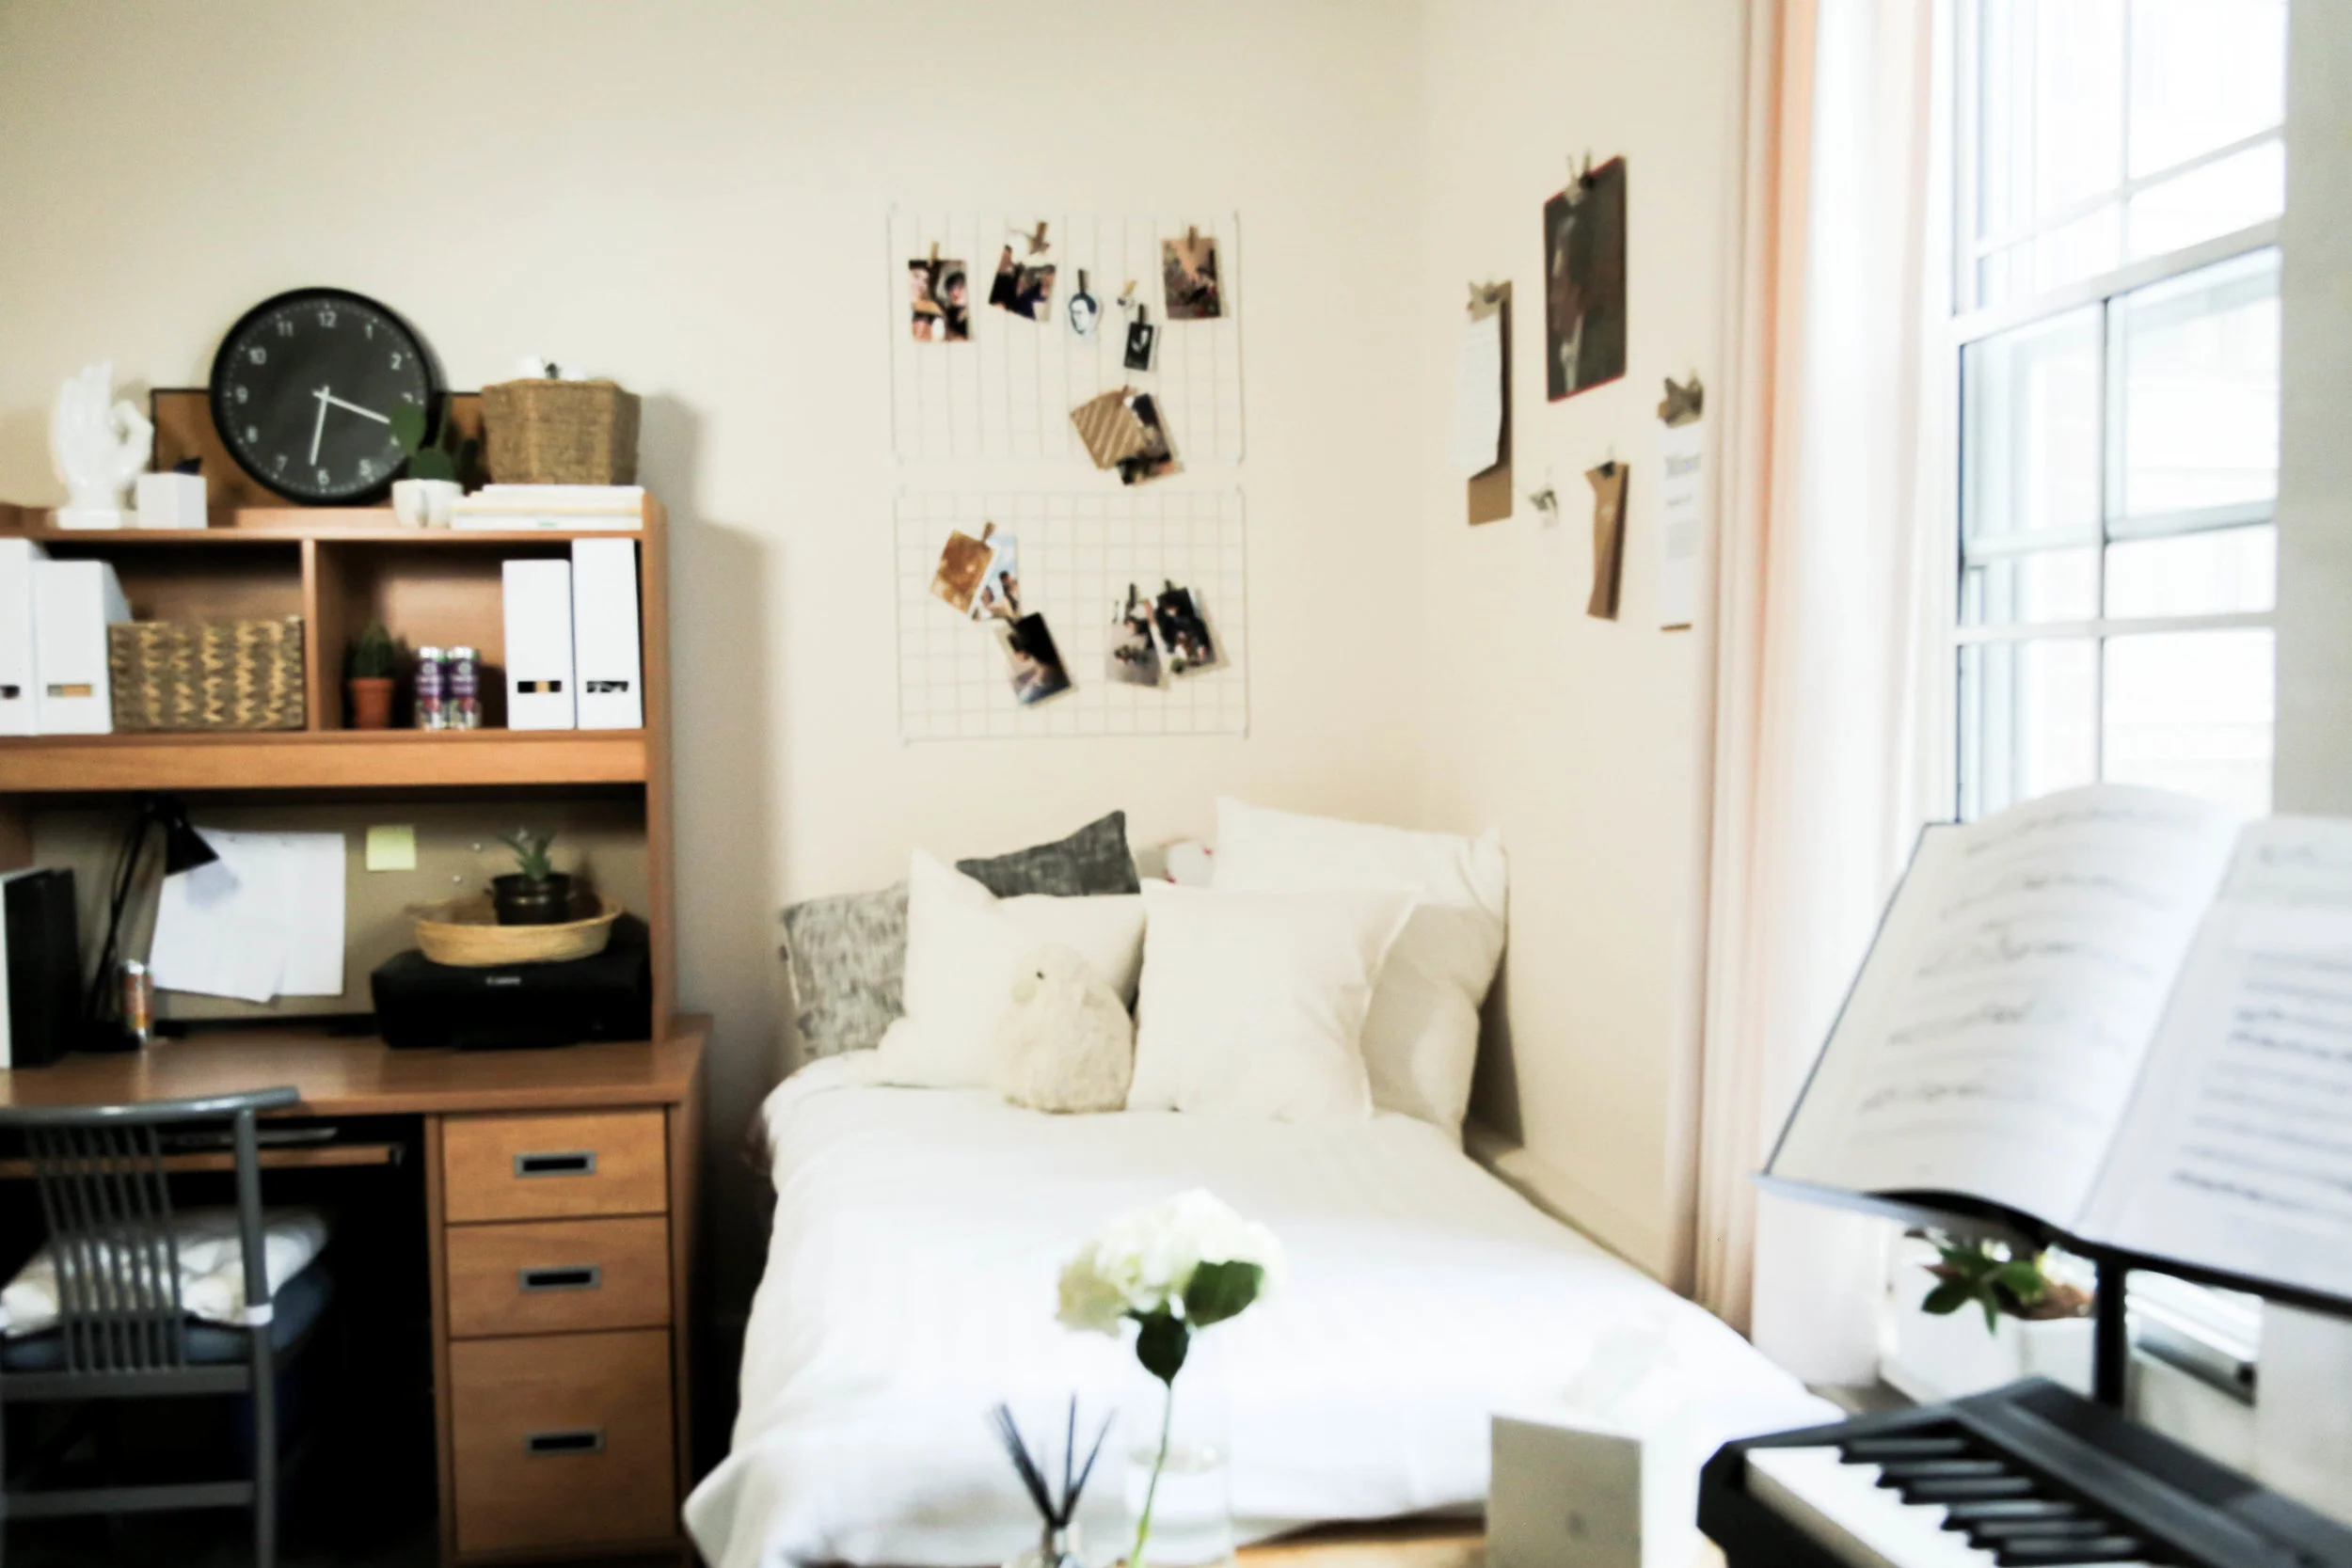
Today we are here making over Matt and Olivia’s room! They are music students in their first year of university, they’re new friends, and we need to make the space work for the both of them! We’ve previously met with them and know the sorts of things they want and need out of their dorm space.


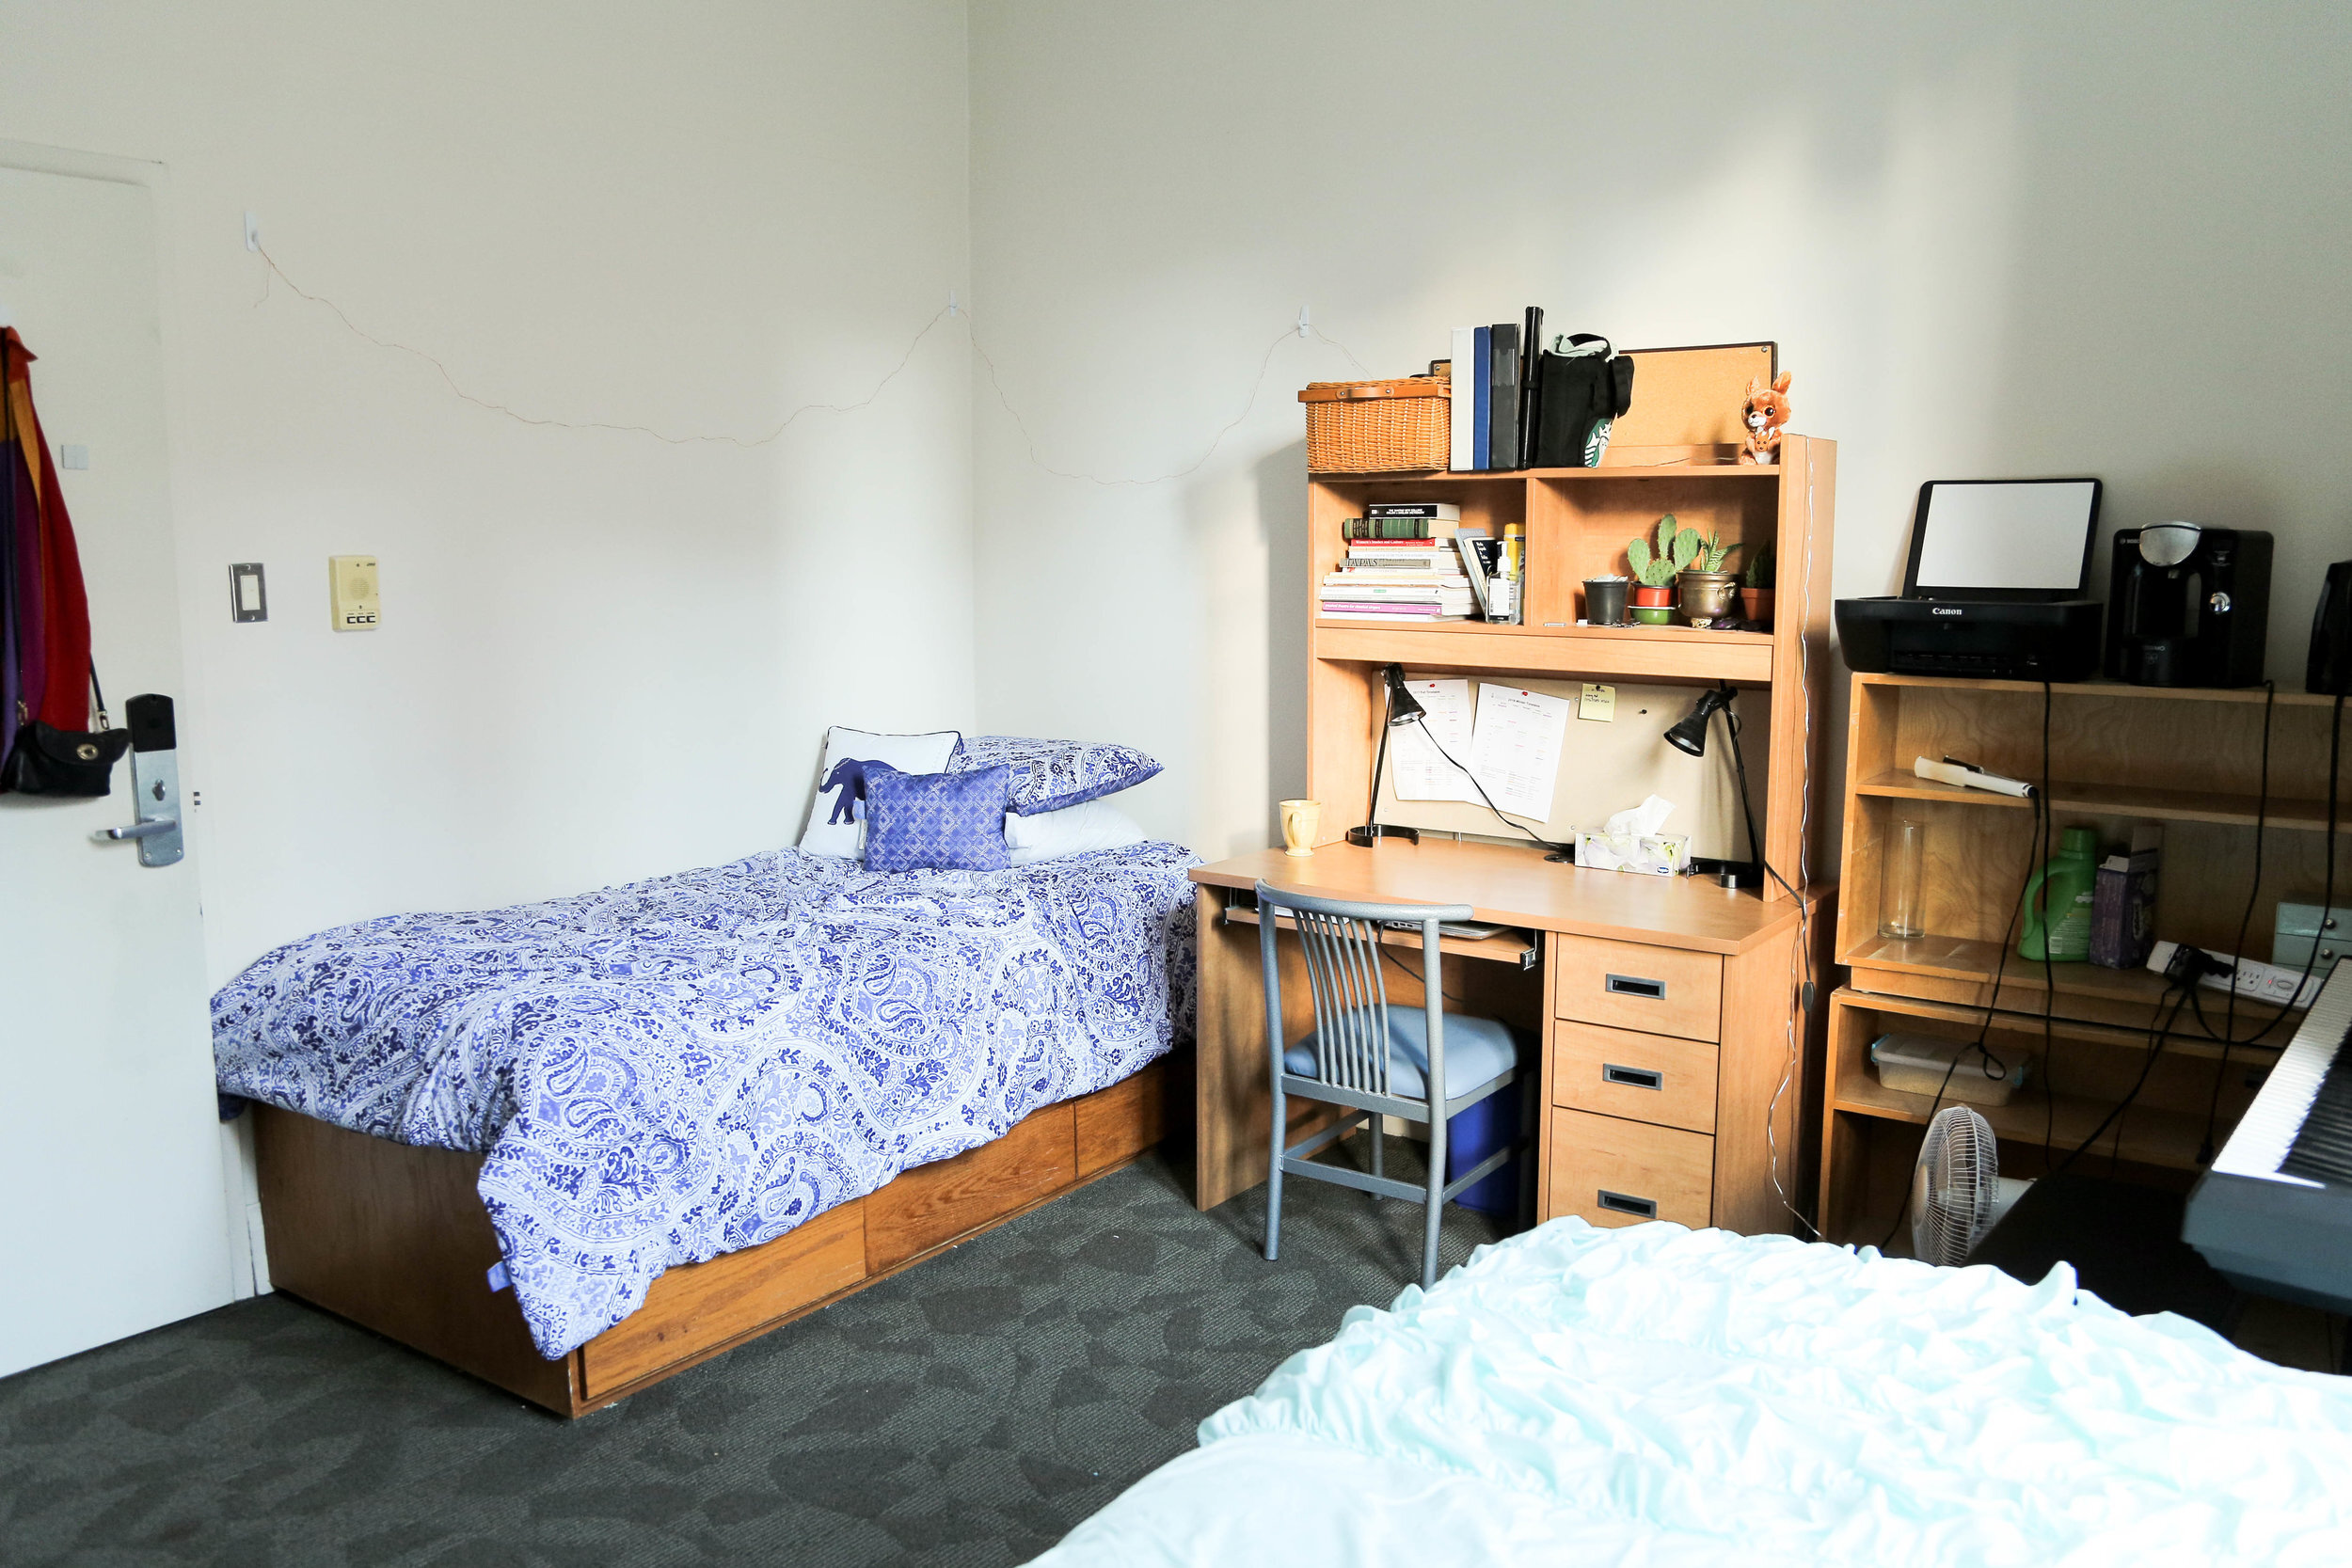
The goal is to create a very clean and minimalist look that brings their two styles together into a more cohesive look! They’ve gone to class, so let’s get started on this room!
Matt and olivia - dorm room tips!
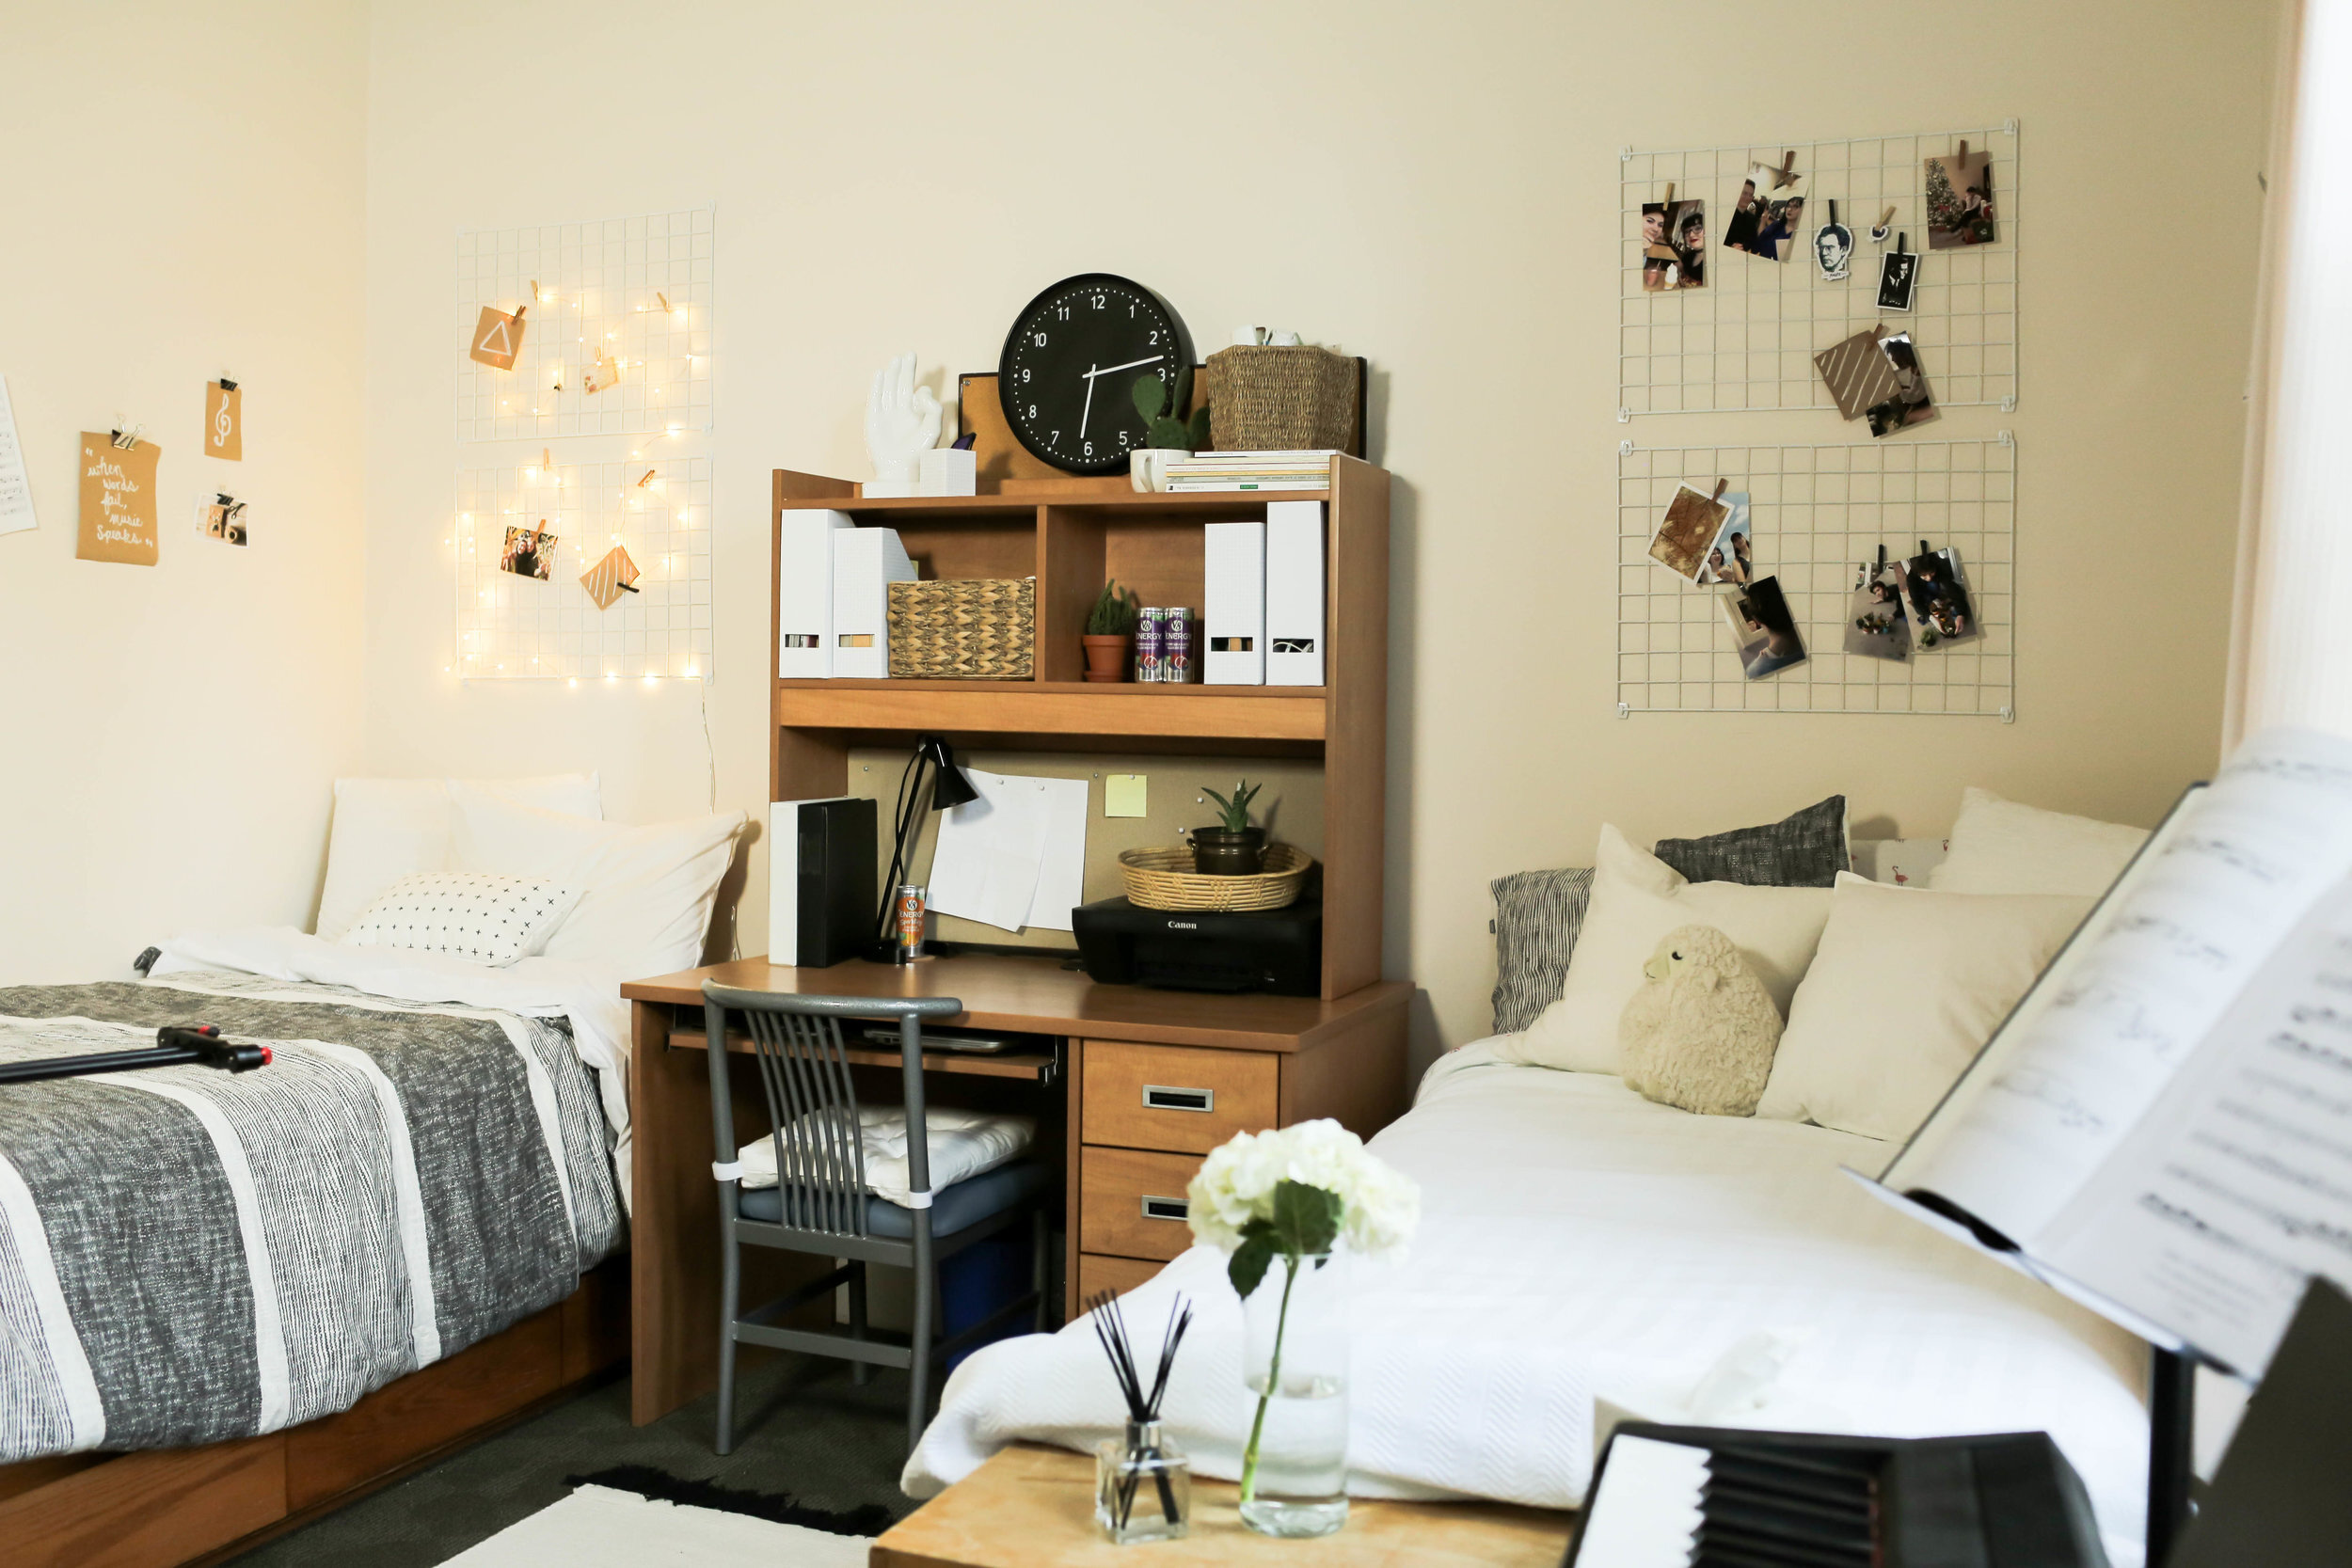
1. rearrange the room
If the dorm has the room laid out in a way that you don’t like it, feel free to change it up! It could really make the room feel unique to you.
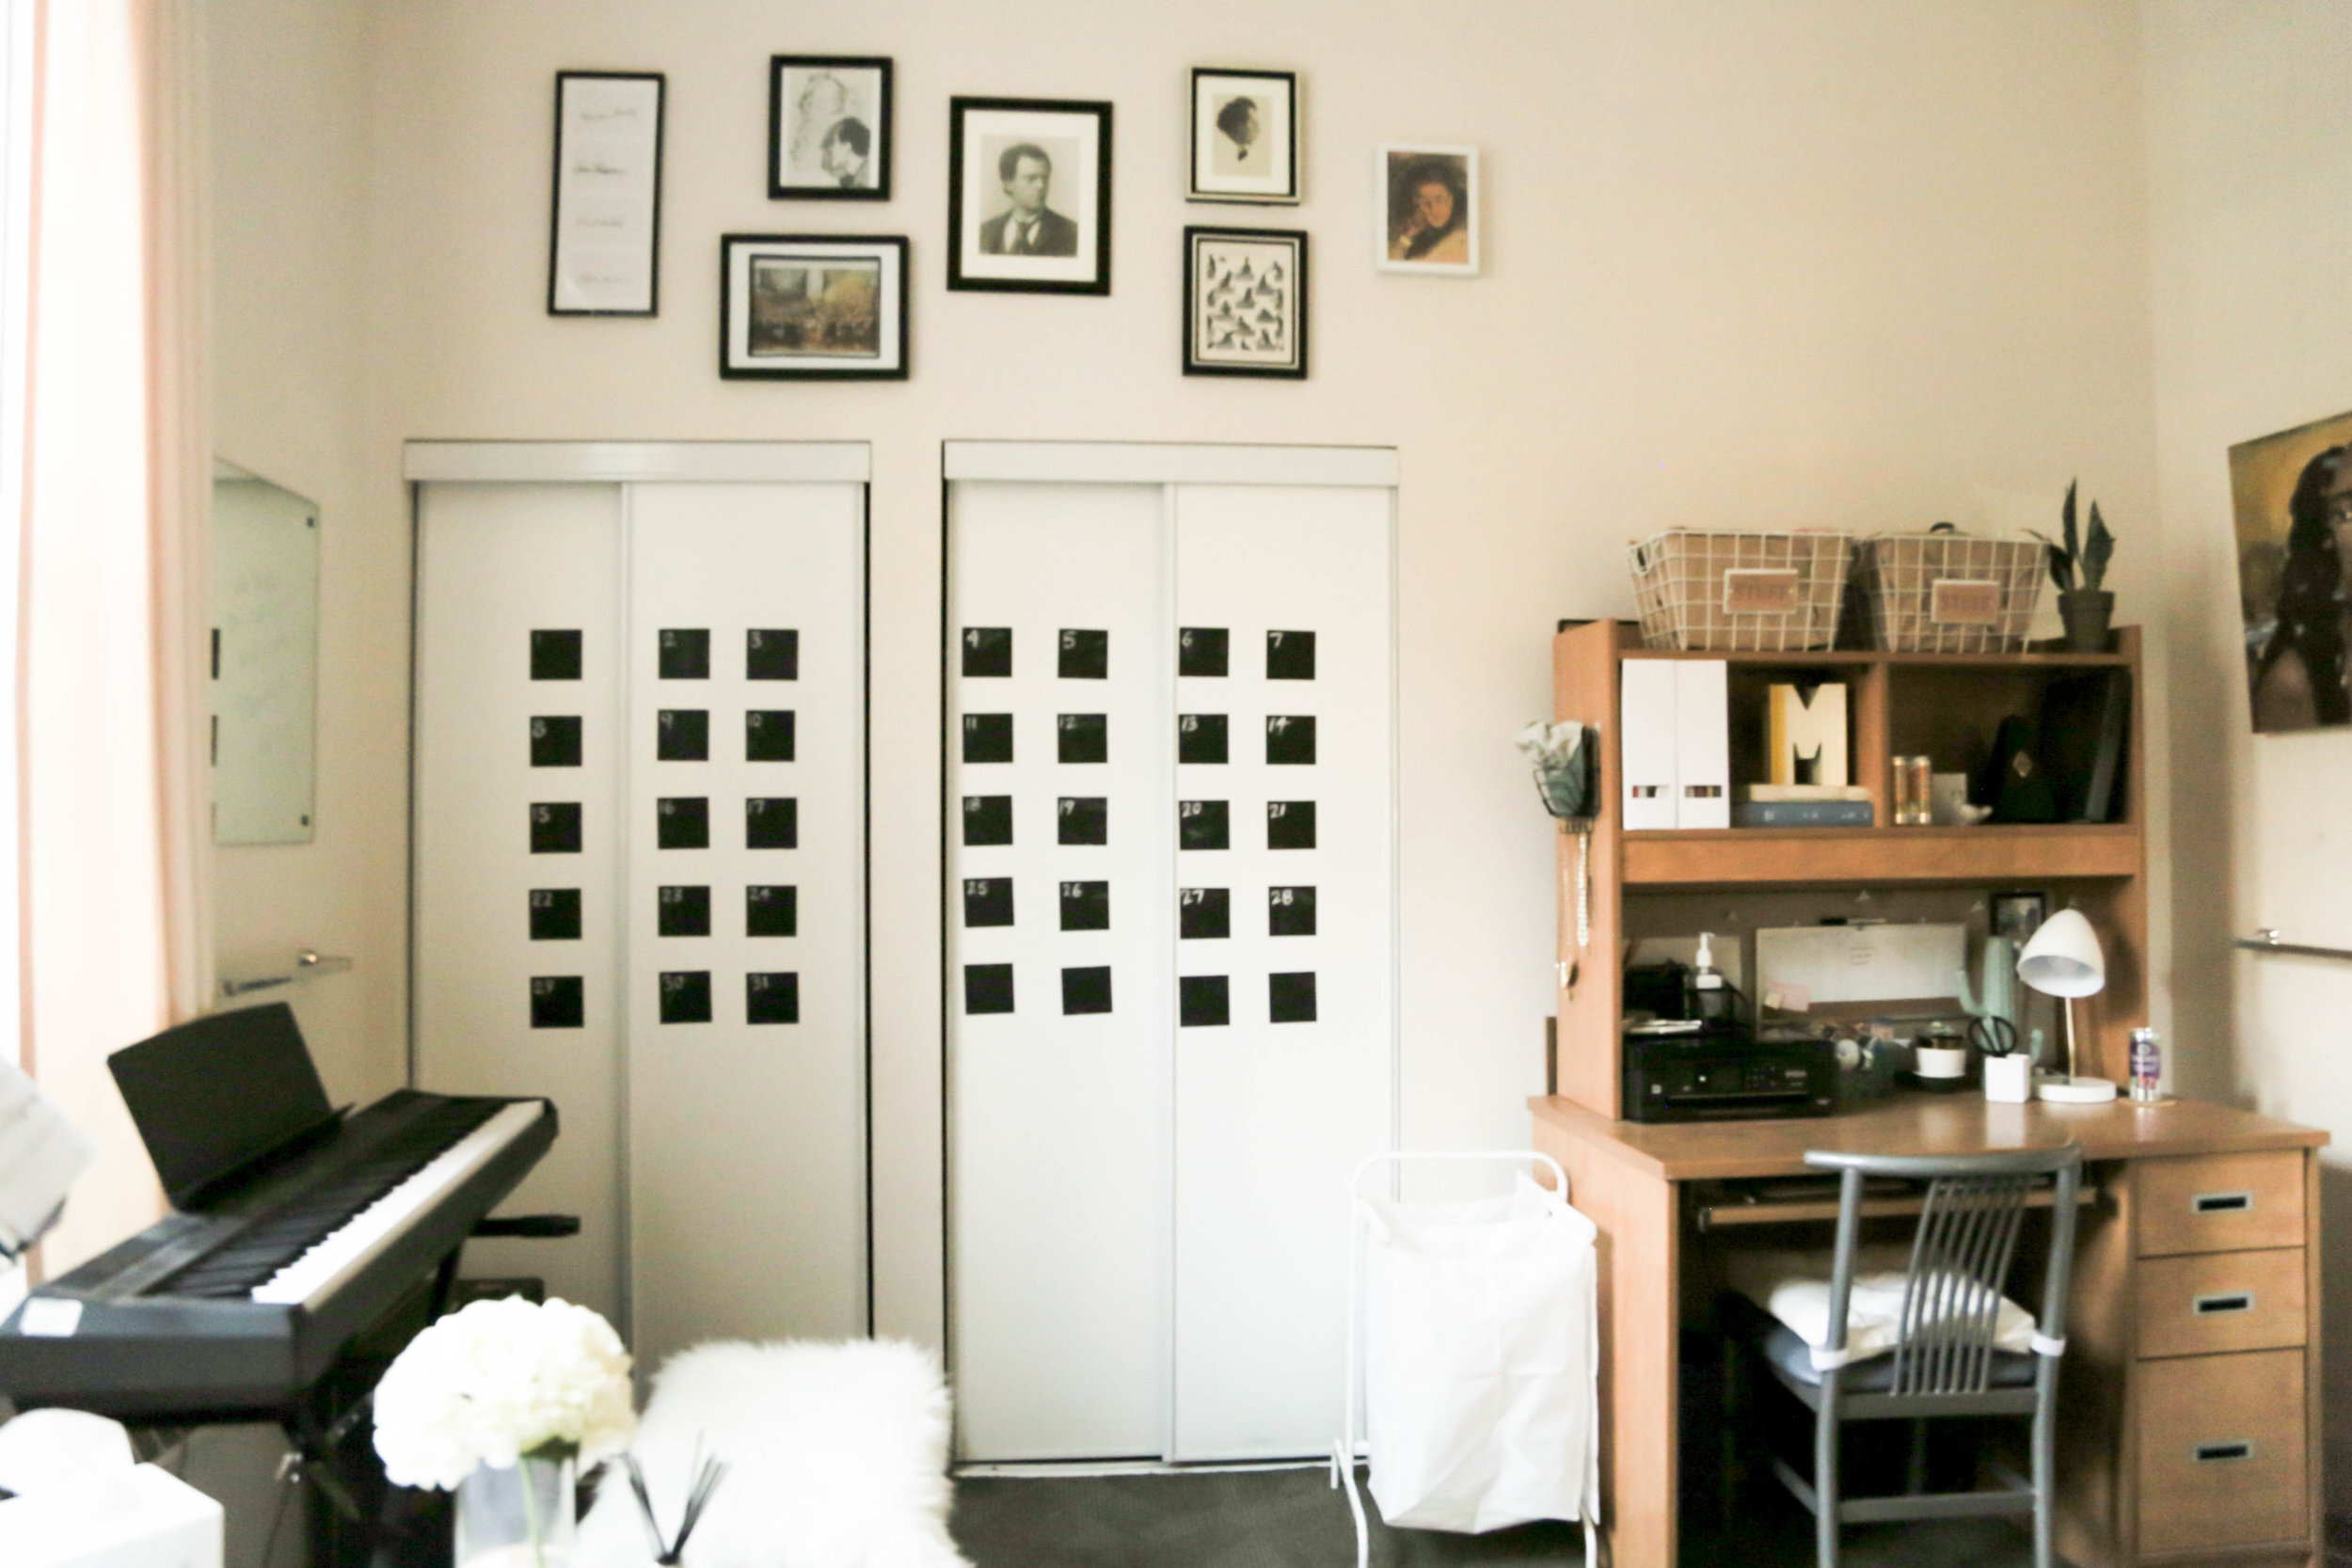
2. Utilize unused vertical space
Dorm rooms are small. To create more space for your stuff, try utilizing vertical space in your closet (like we did with Matt and Olivia), or try raising your bed to create space there!
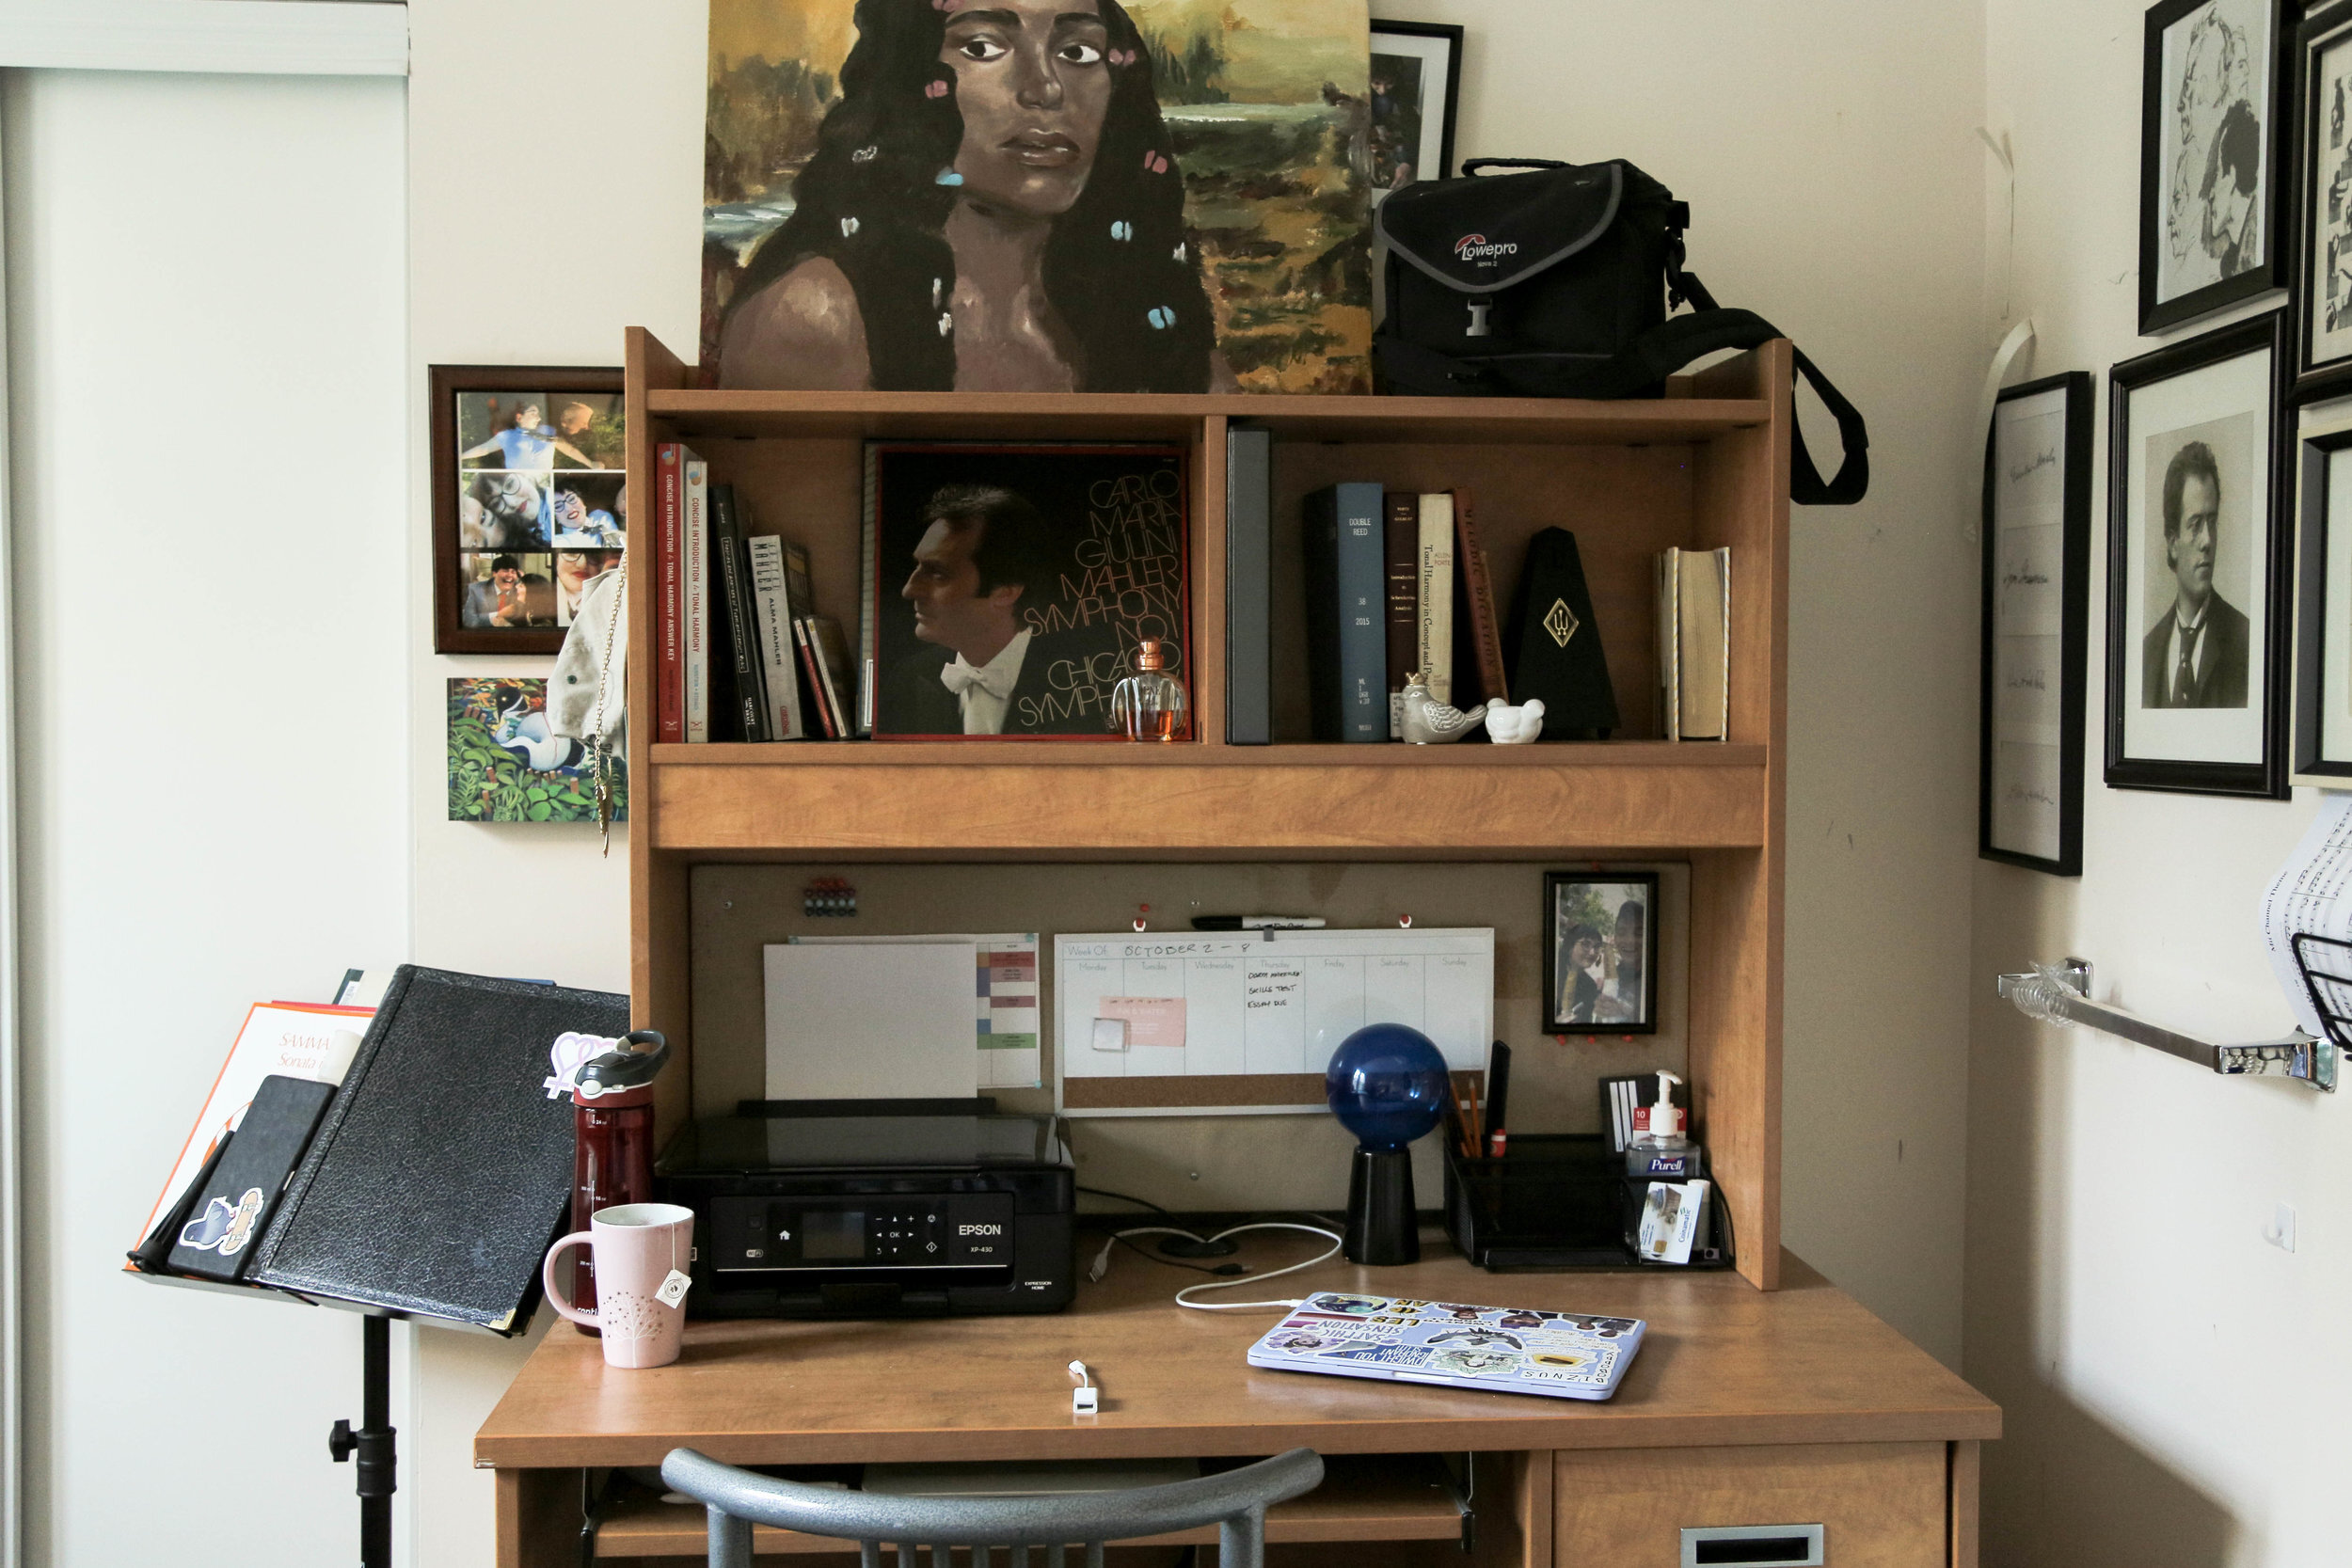
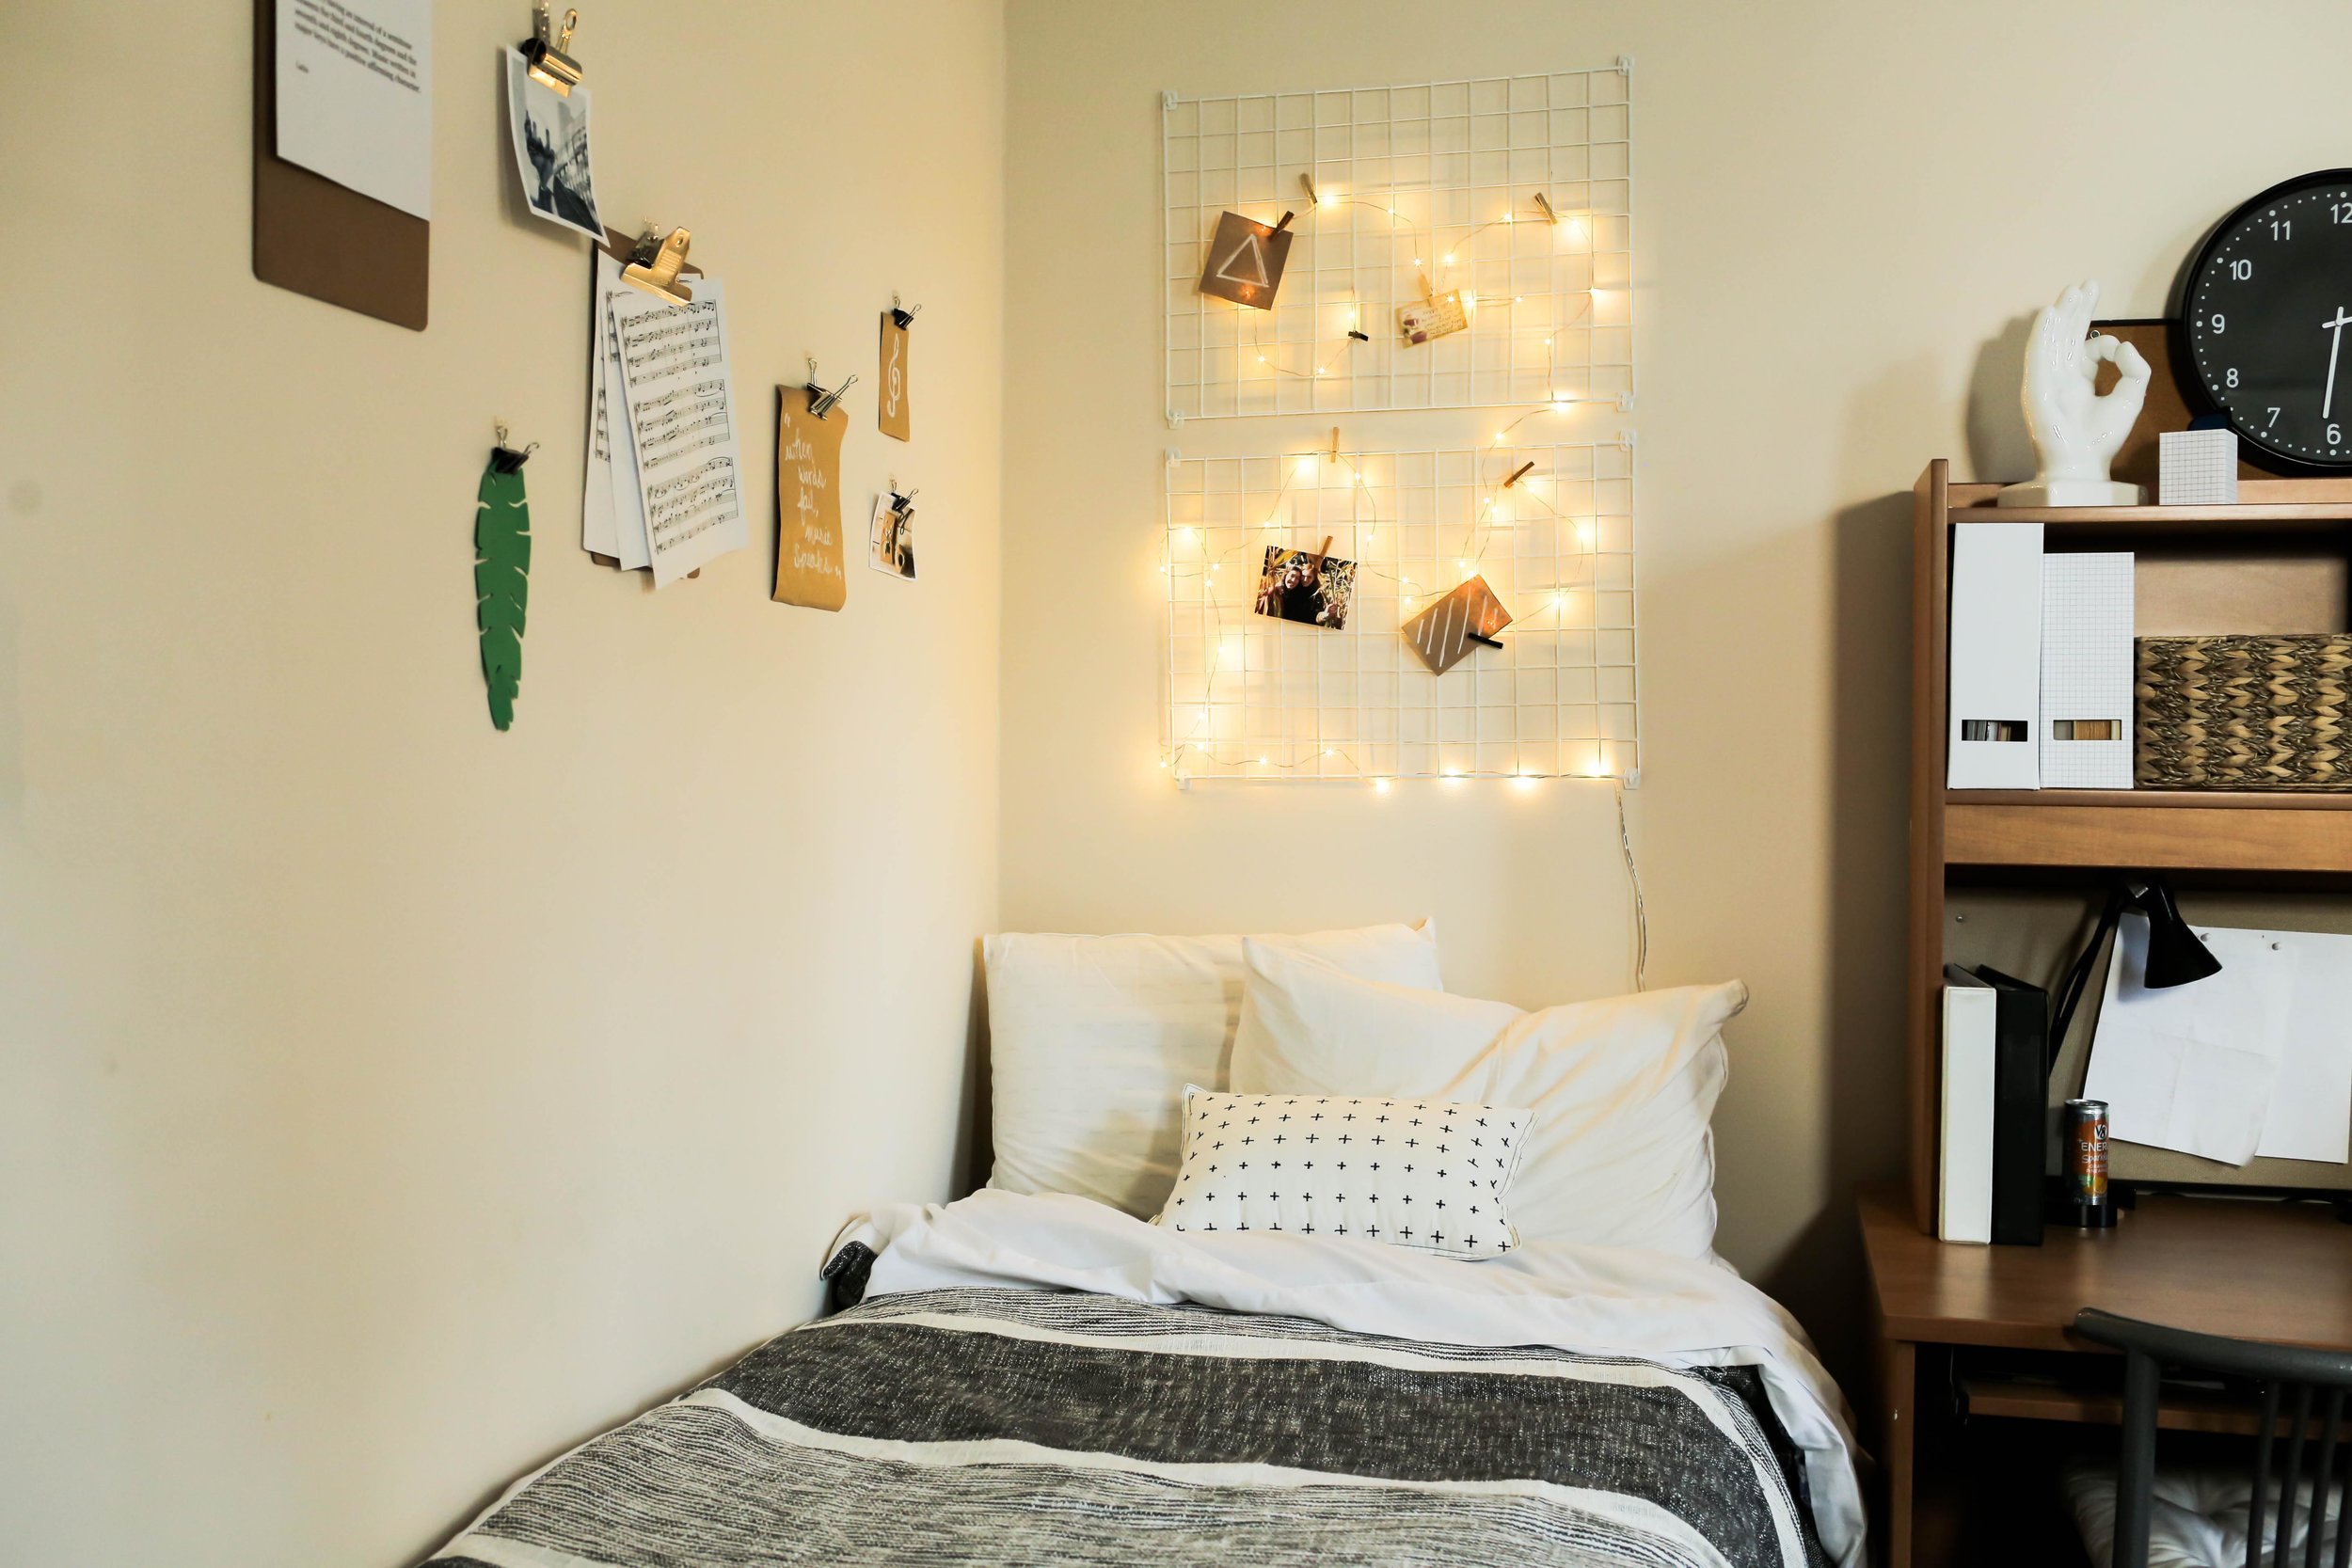
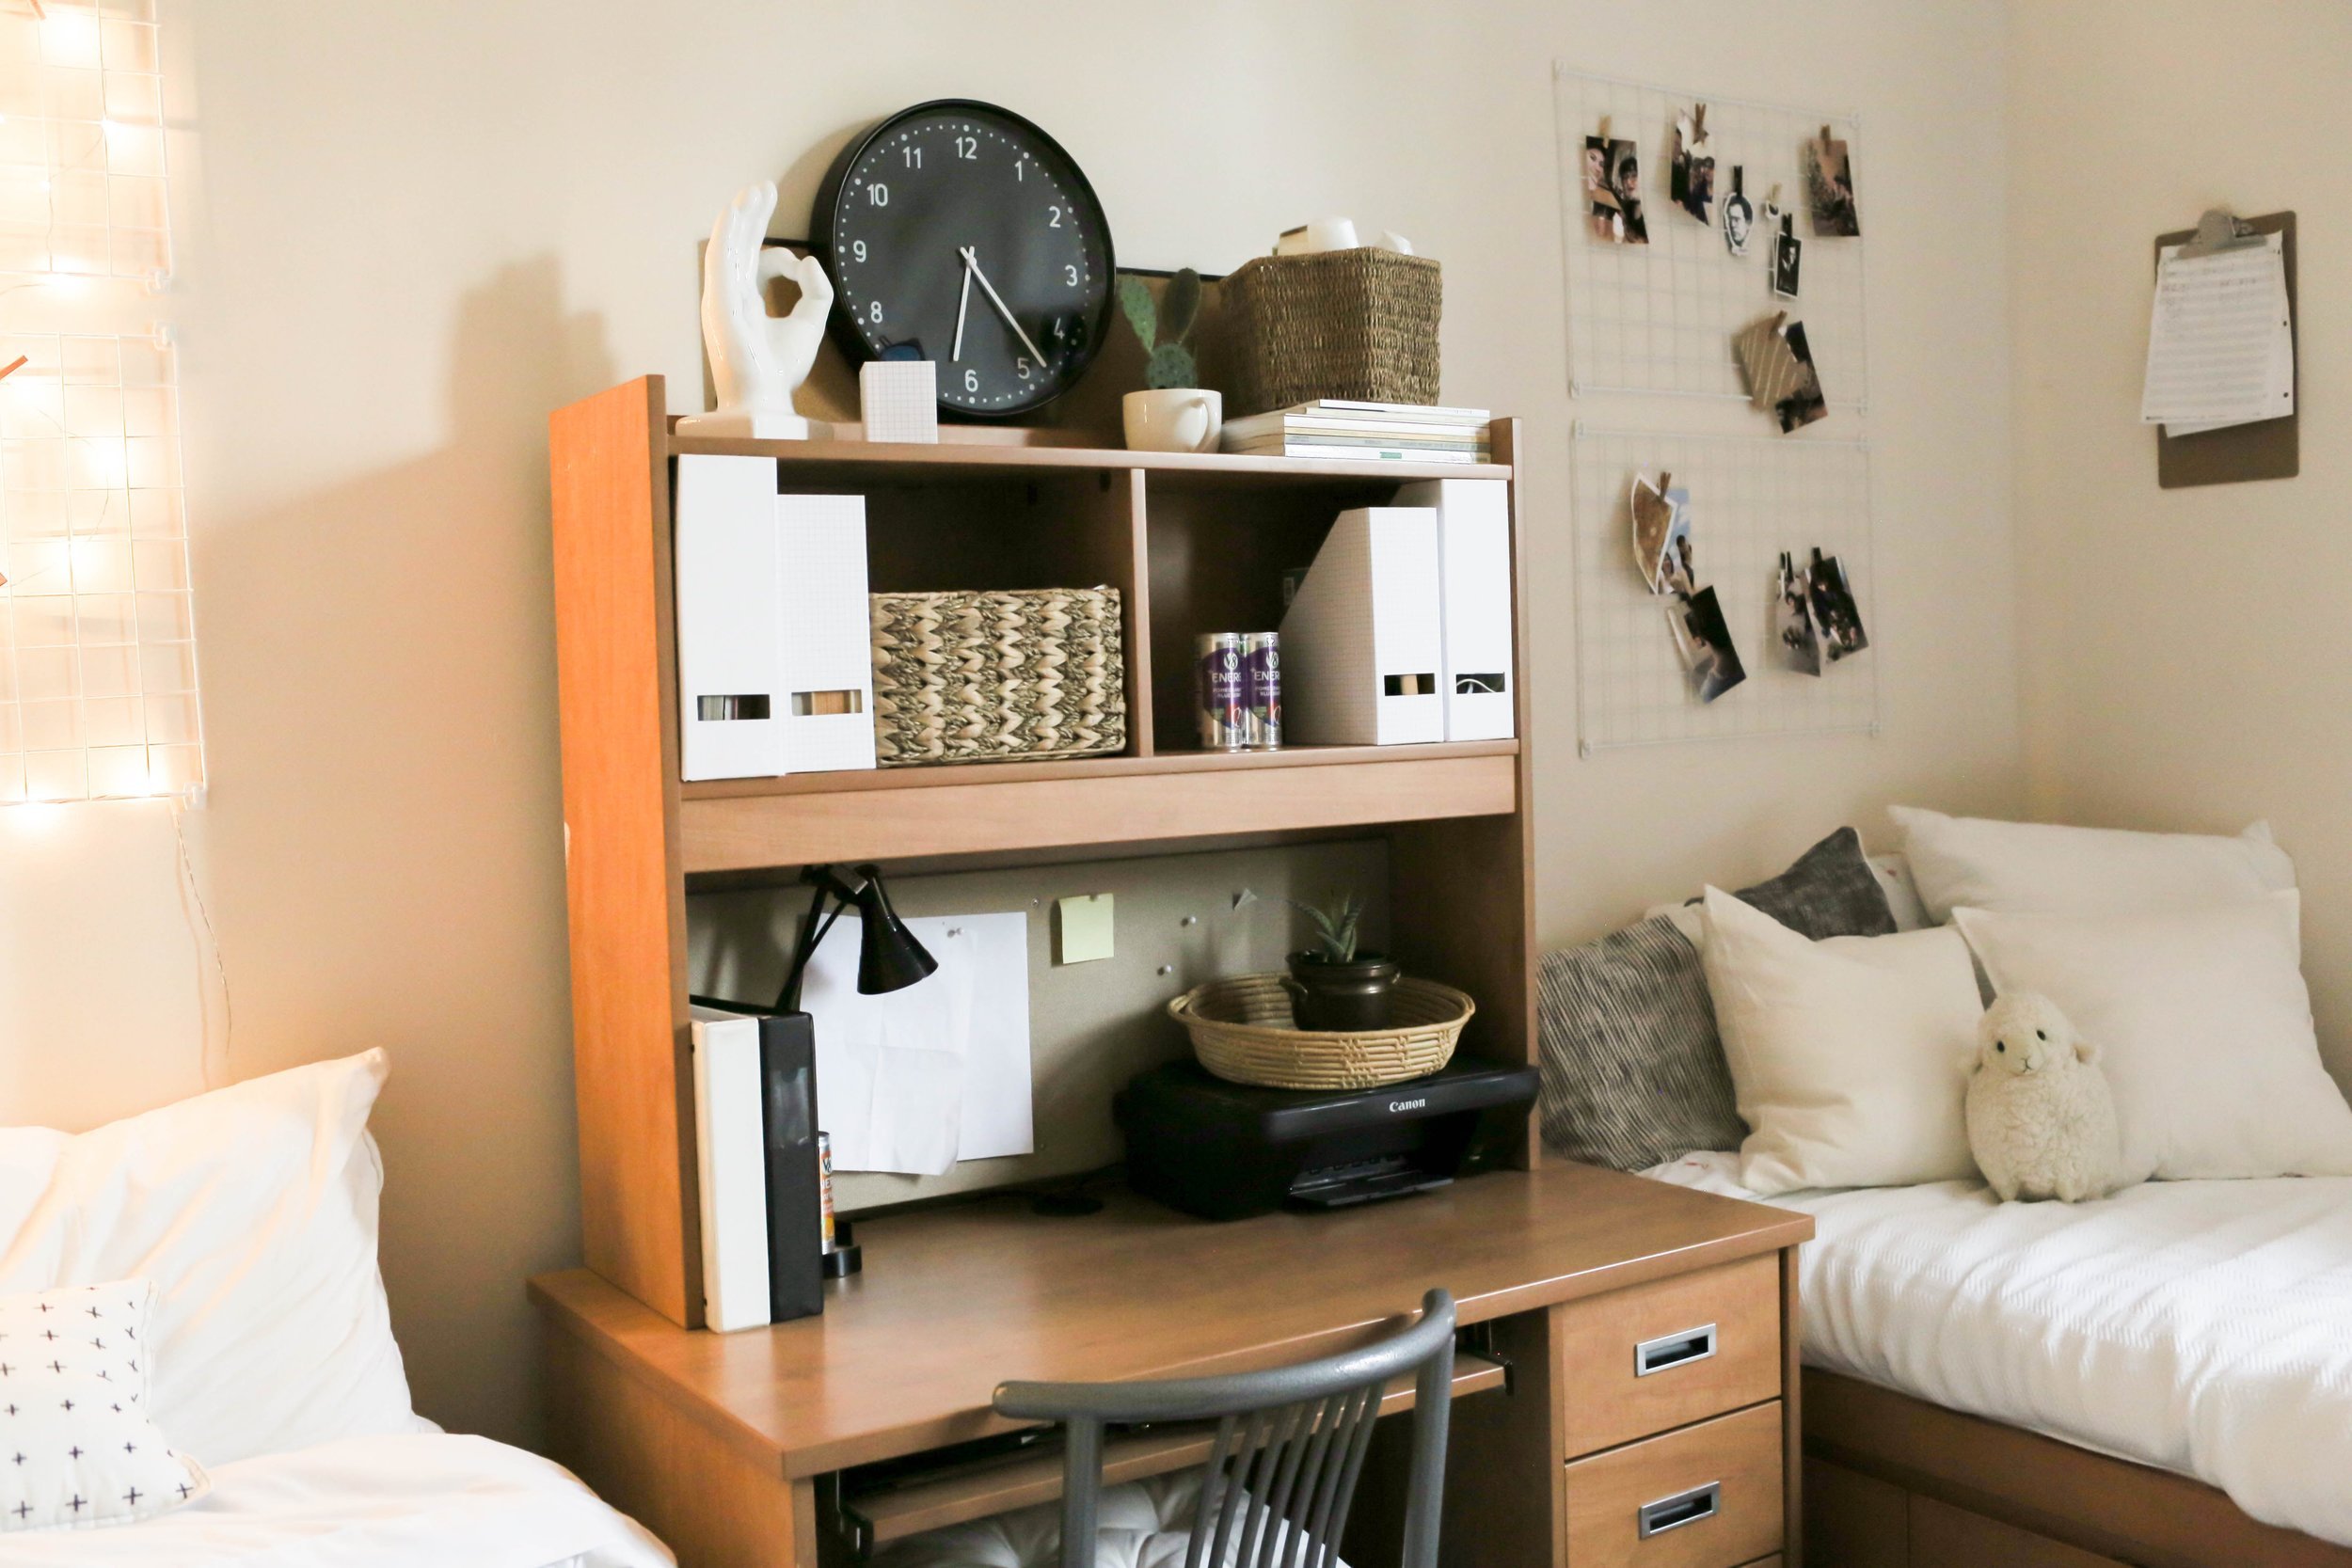
3. wall-safe wall art
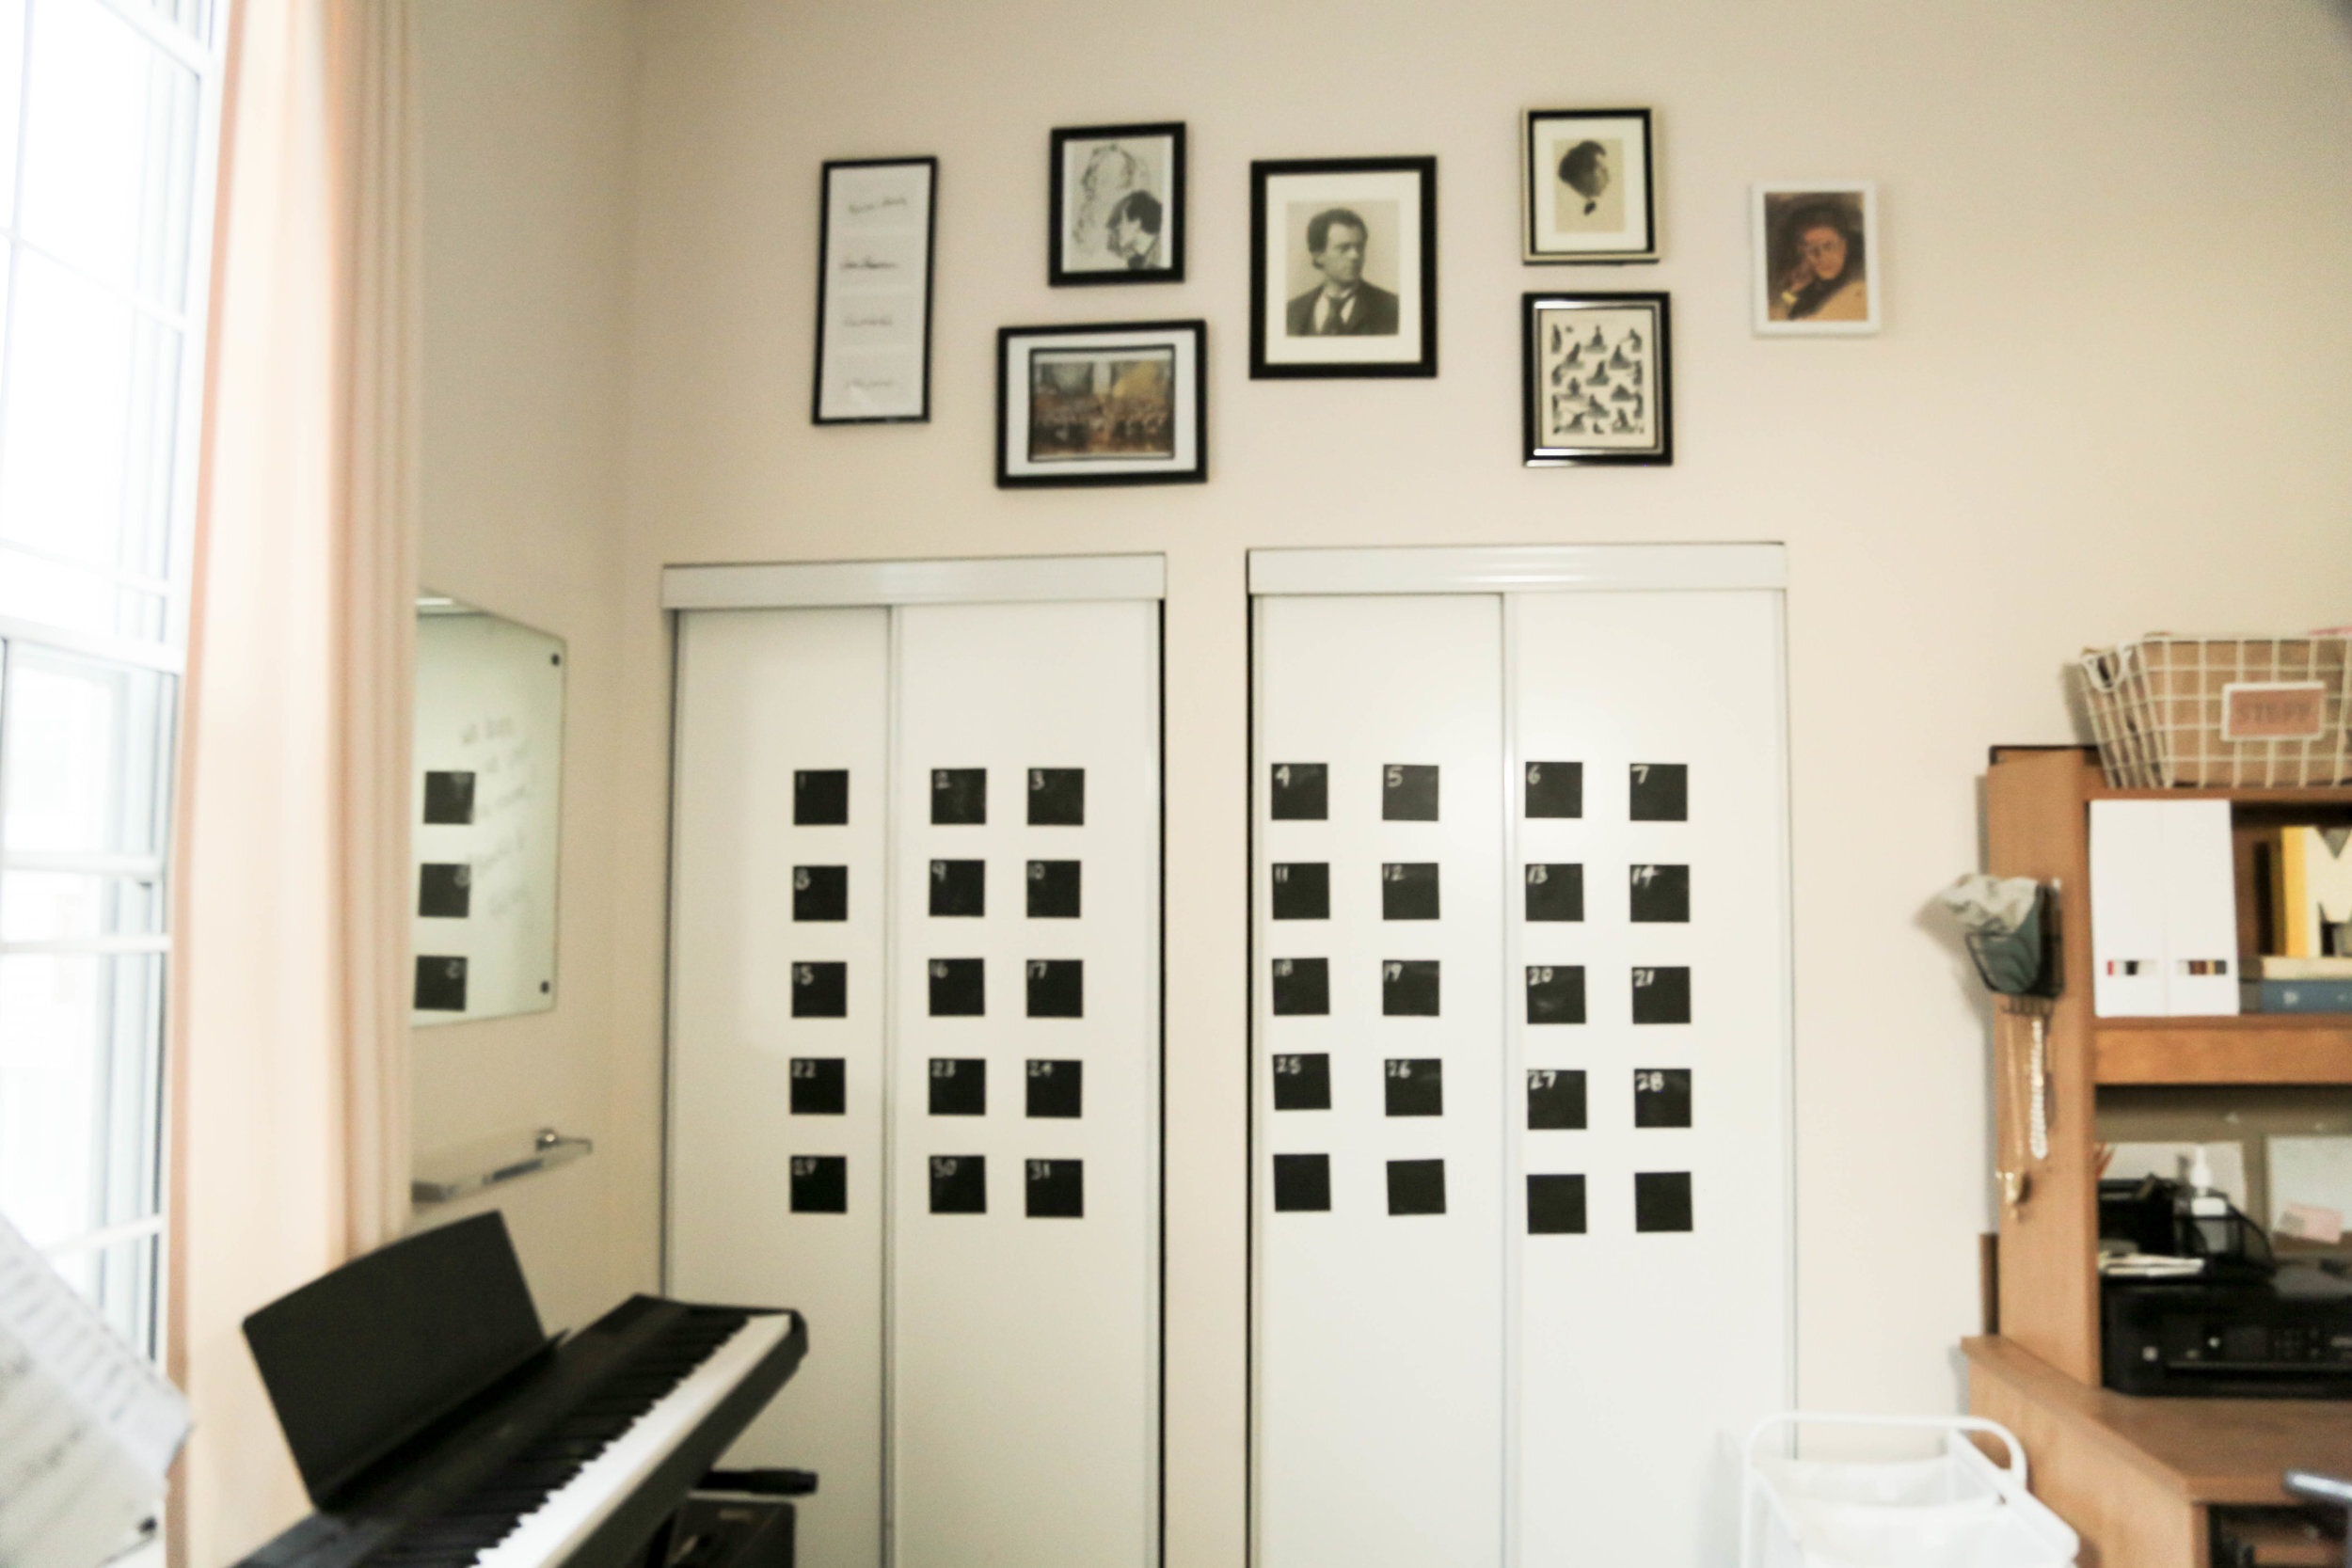
Use removable sticky hooks to create gallery walls and fill up wall space in your dorm! For Matt and Olivia, we used fun white metal grids, clipboards, bulldog clips, and binder clips to hang and display fun art and photos related to them. The girls also had a gallery wall of composers, and so we decided to move those photos up higher to display them.

4. coordinate the bedding
We know, this part may be tricky if you’ve never met your roomie before or you both aren’t willing to spend extra money on new bedding. But, coordinating the bedding (even simply with a similar colour scheme) can really help with the overall look of the room!
5. Baskets are your best friend
YES! Students have a lot of stuff and dorm rooms are TINY. Hide away all those books, supplies, and trinkets using these fun and fashionable baskets!
6. wall-safe chalk calendar
We removed the girls’ school-themed calendar from the wall, and so we needed to give them a new one! We got this wall-safe chalkboard contact paper, cut out 35 squares from it, and arranged it across their closet doors to create a giant calendar! To write on the squares, simply prime each square by rubbing chalk onto them, and you’re ready to be organized!
7. rugs, rugs, rugs!
We know the room is already carpeted, but a rug can REALLY bring light and colour into a room. Something we also did in all three rooms was layer two very different rugs together to create some interest down on the floor!
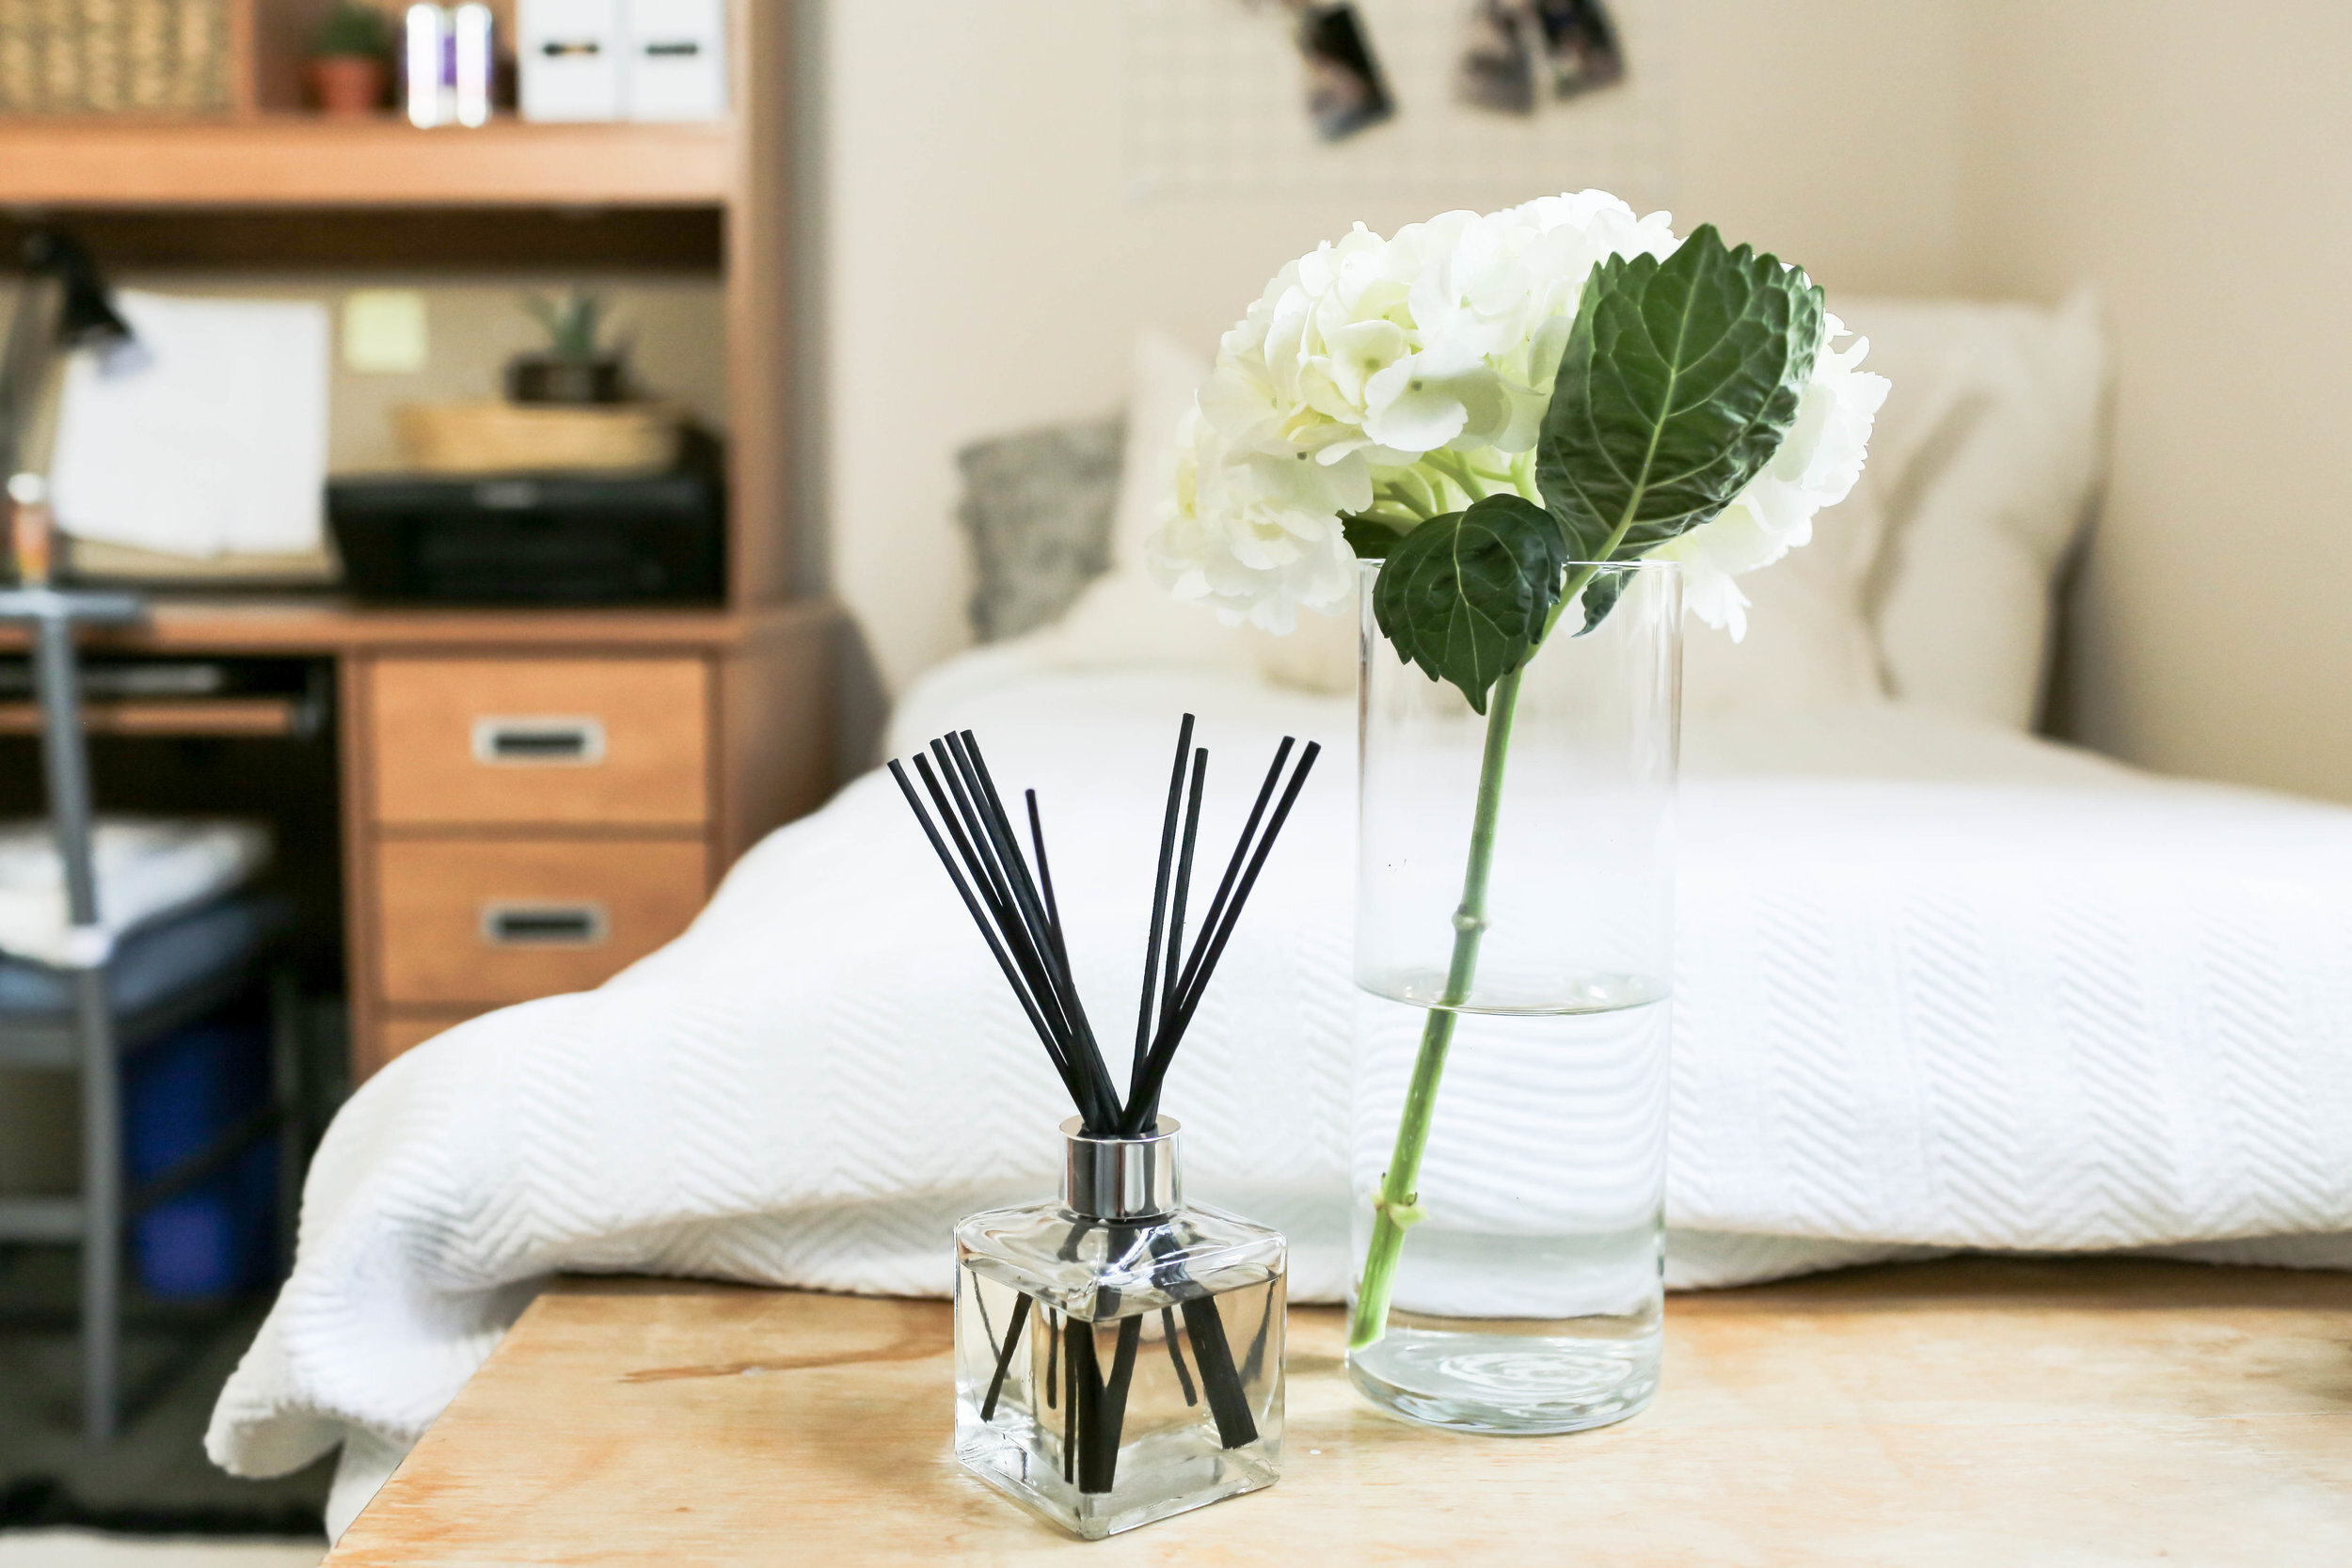
8. final touches
Our last tip is to add final touches. Things like plants, clocks, and interesting trinkets can cozy and liven up any room! A fun design tip is to always have one weird/odd item in a room to create interest.


And that’s it! We are so excited about how this makeover went and the girls seemed to LOVE what we did! Look out for two more dorm makeovers in the coming weeks!
Thank you so much for reading, and as always if you decide to try any of these tips, tag us using the hashtag #SorryGirlsSquad and please be sure to watch the video below!