
Mid-Century Modern Bedroom Refresh ft. Easy DIYs!
If you follow us then you’ll know that I recently redid my bedroom from a cool-toned room, to a vibey mid century modern terracotta-coloured paradise. I was so certain that it would be the final makeover in my bedroom for a while since it was exactly what I pictured!
Unfortunately my back had other plans, like being sore enough from my old mattress to warrant buying a new one. And why be an adult with adult money if not to spend it on a new king sized bed?! My purchase meant heaven for my back, but also meant that I have to give my bedroom a mini refresh! This is how the room looked pre-massive bed:
BEFORE


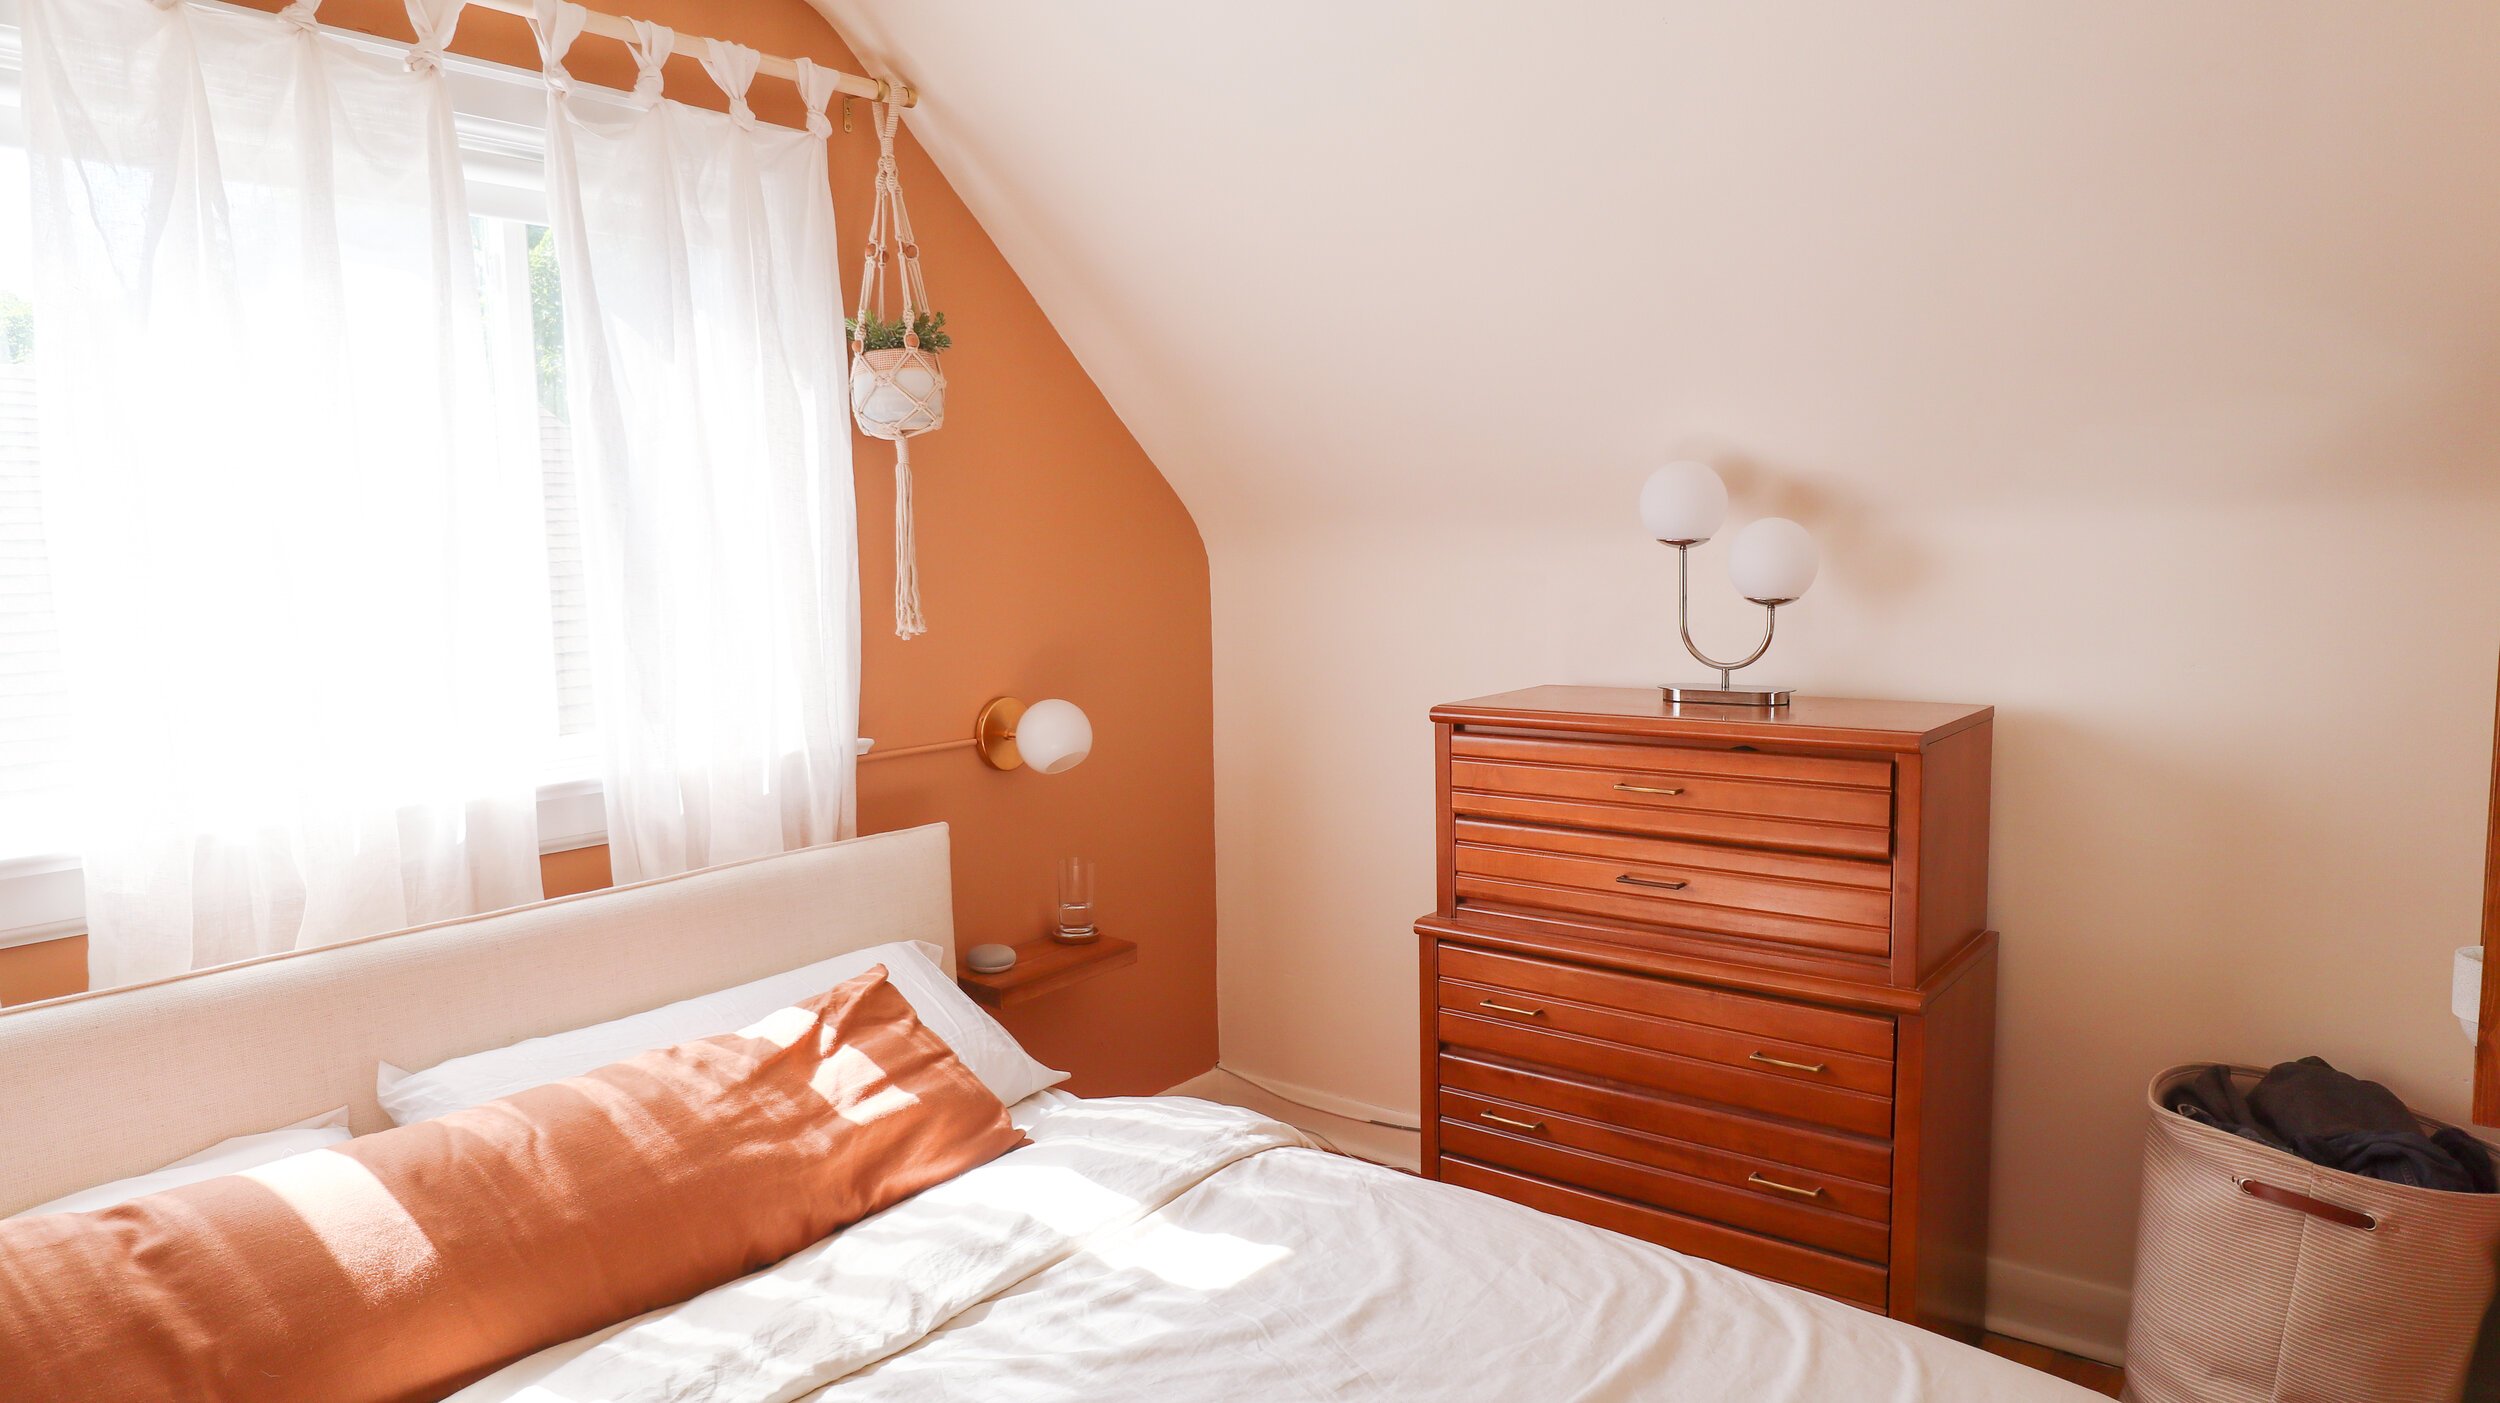
To start this makeover, I realized my new bed wouldn’t fit in the space where my previous bed sat, so I had to reevaluate the entire layout of the room. At first I was set on the bed going on the opposite wall from the original, but then my husband came in and ruined (or maybe saved?) my original plan: “why don’t we just put it under the window?” We flipped it around to the wall under the window, and after living with it for a night I was convinced that he was right. Under the window it stays!
Next, I saw some curtains that I fell in love with from Urban Outfitters that were a little too pricey for me and thought why not DIY this from the curtains I already have? To do this, I cut off the top strip that I’ll use to make the new loops, and then folded and cut it into four even strips. Then, I flipped around the curtains so that the bottom is now the top, folded the four separate strips in half and hand sewed each one evenly spaced to the edge of the curtain with the raw edges on the backside. All that’s left to do is take the loop, tie it into a loose chunky knot to hide the stitch, and now you have DIY Urban Outfitters-inspired curtains!

Inspo pic

My DIY version!
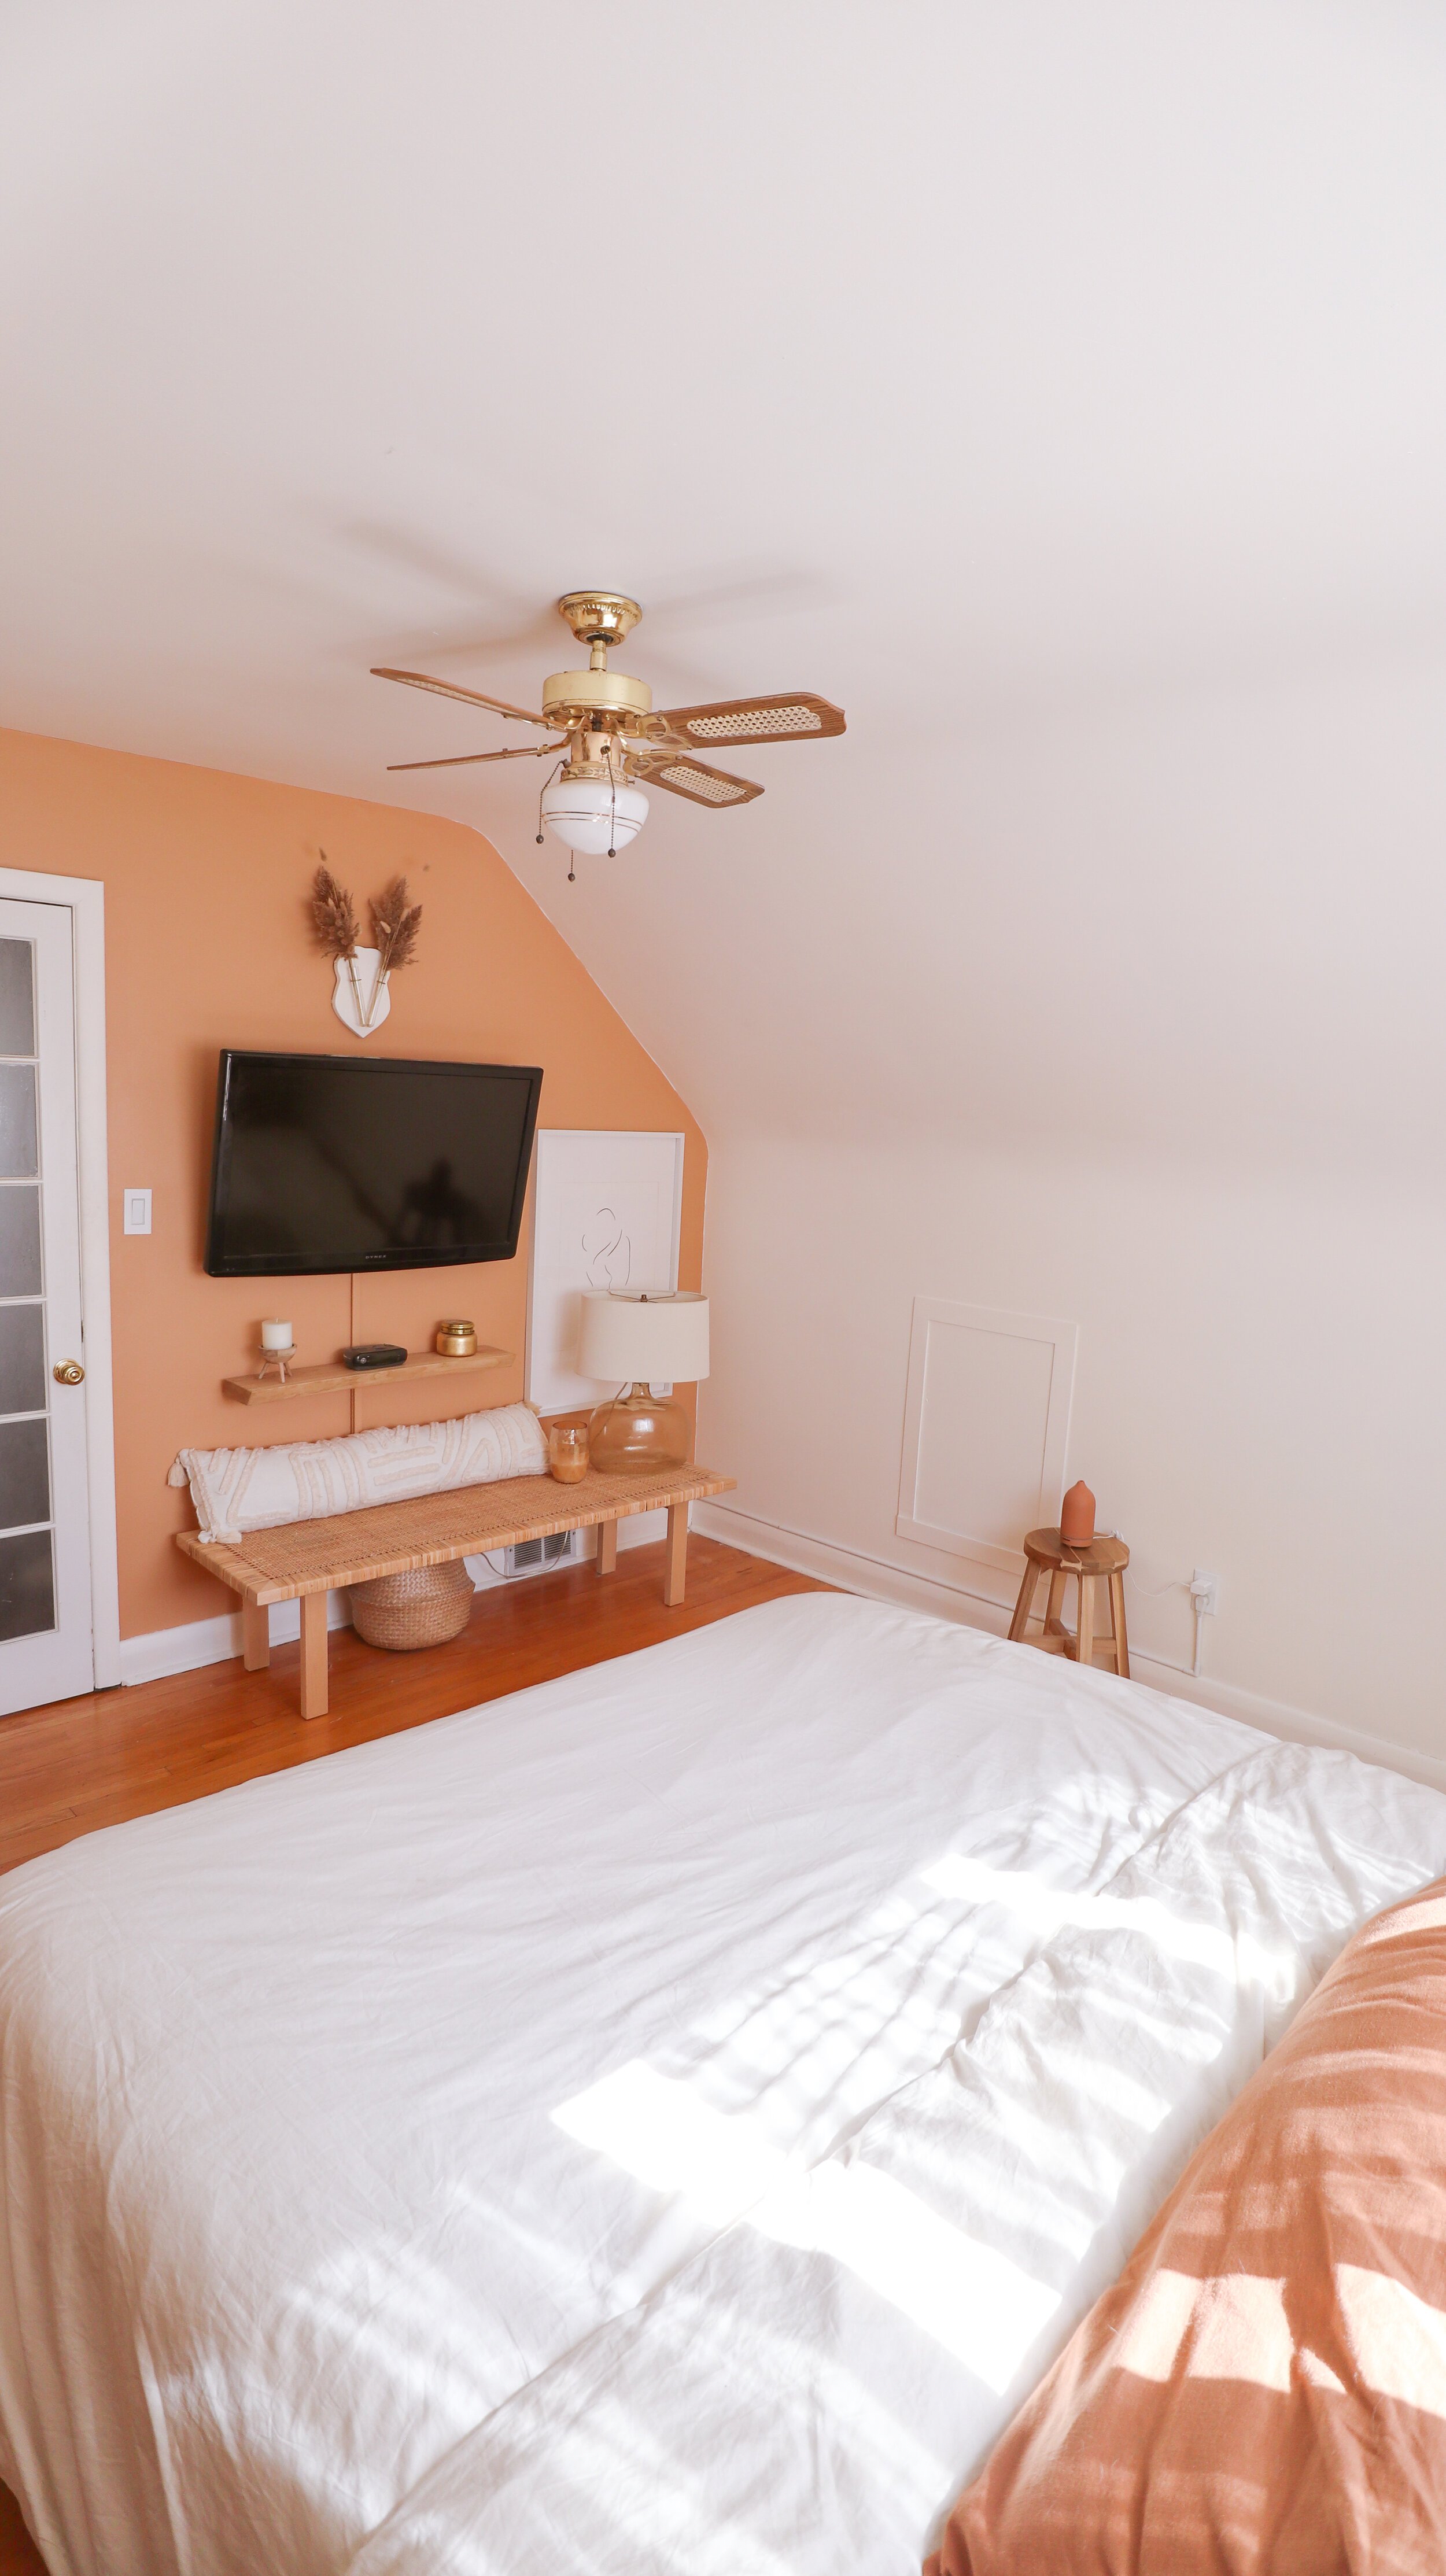
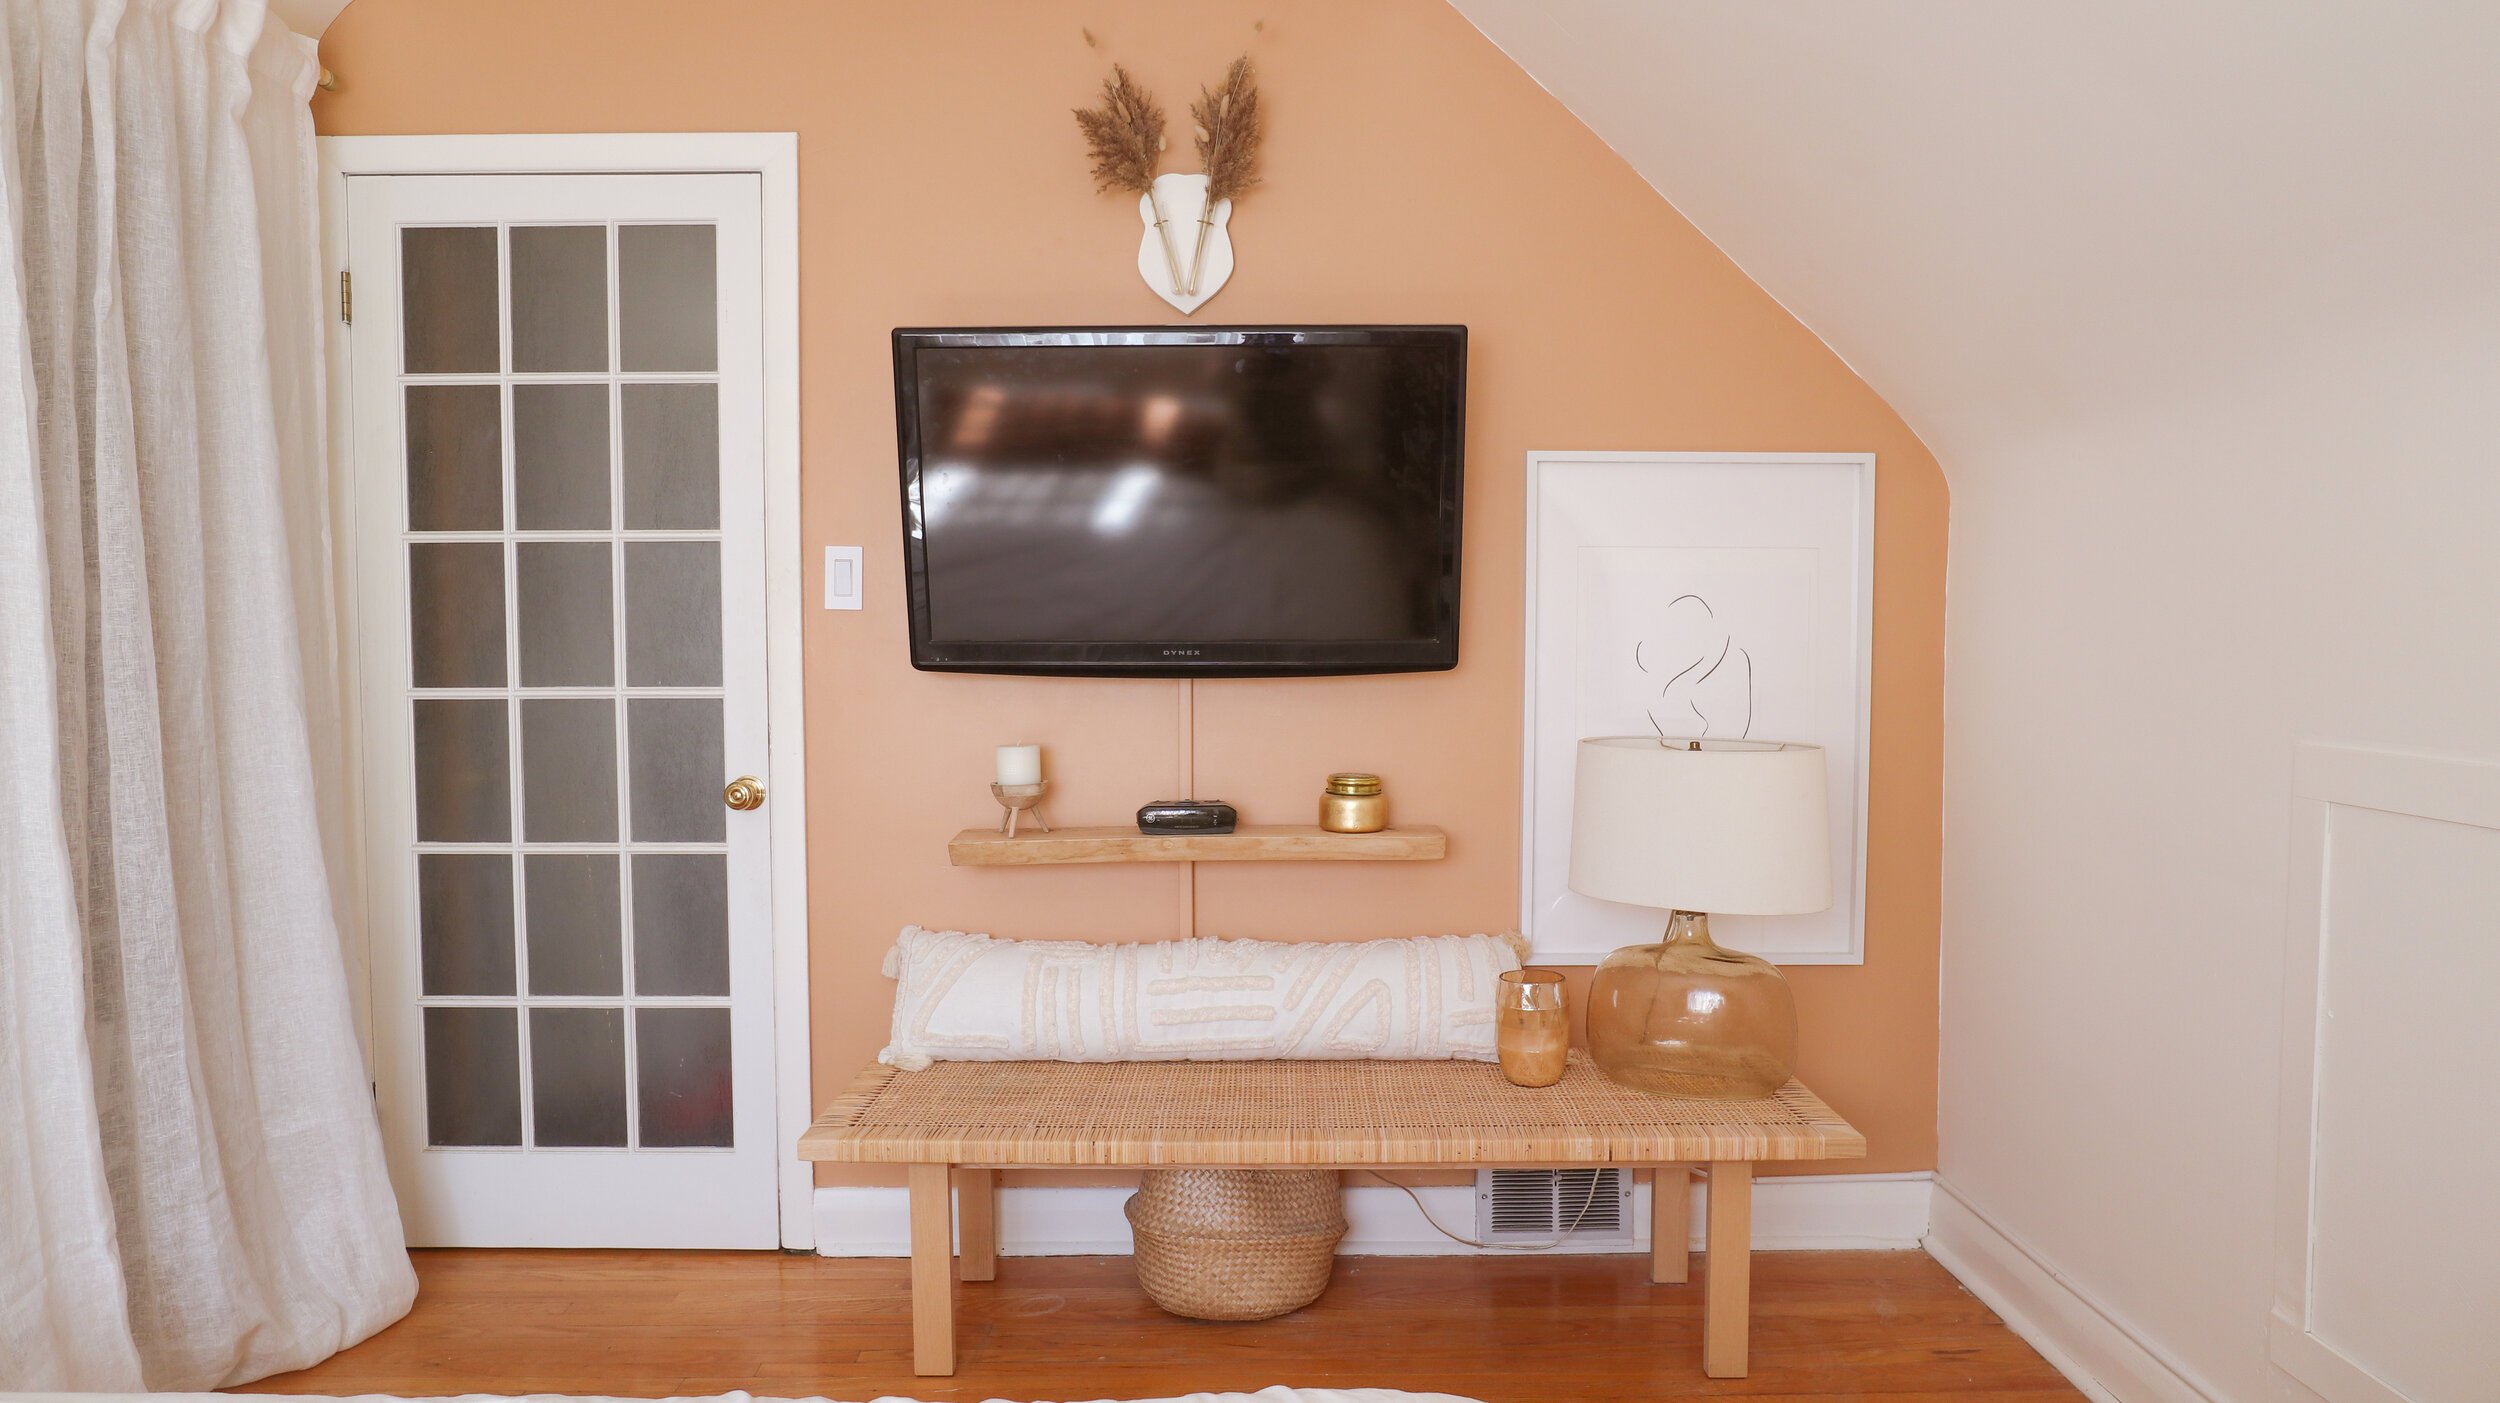
On the wall opposite the bed I hung our TV on the wall, making sure to hide the cords with cord covers which I painted the same colour as the room. I also added curtains in front of the closet to hide the clothes. Finally, to complete this makeover, I DIY’d a live edge shelf by sanding down a piece of live edge wood, adding some clear varnish on top and installing it with some floating shelf hardware. I also used this method on my DIY floating nightstands so make sure to check out how I made those here! Here is the reveal of my new and improved bedroom!
AFTER
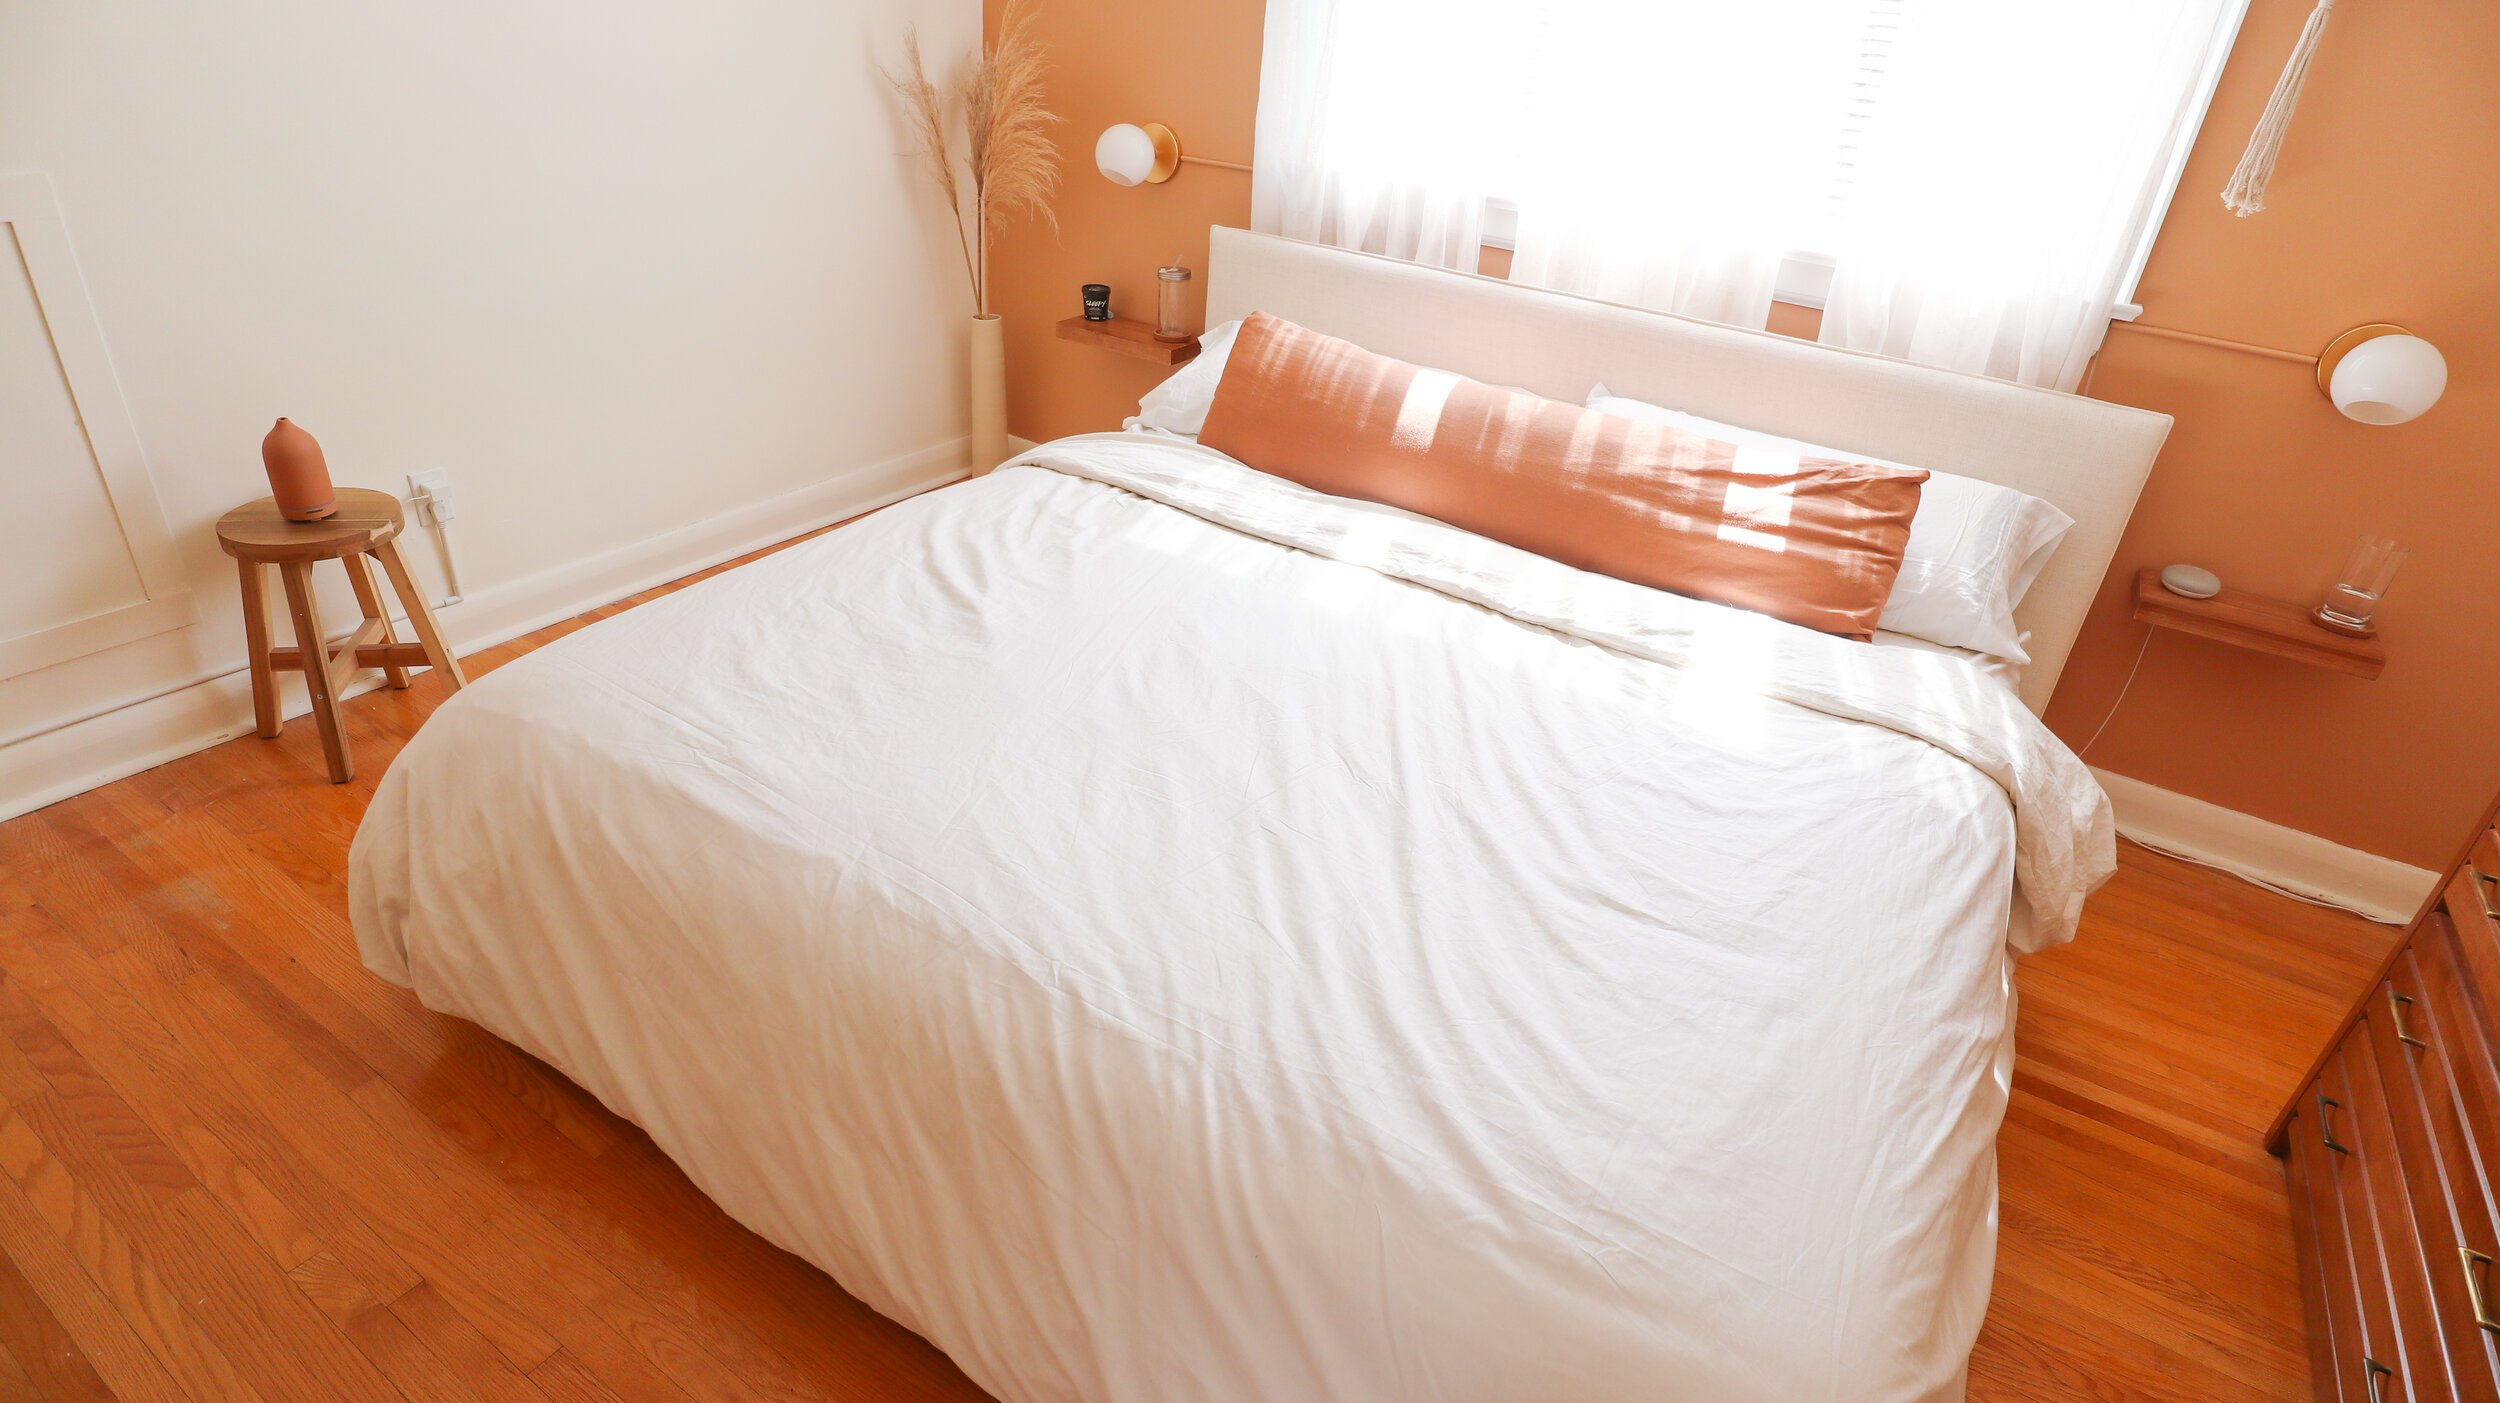


I absolutely LOVE how this turned out, it’s by far my favourite room in my house now and I can’t believe that I one-upped myself from my previous room makeover. If you want to see all of the struggles and all of the drama of making over this room then make sure to check out the full video below!
SHOP MY STYLE
Floating shelf supports: https://www.leevalley.com/en-ca/shop/hardware/storage-and-organization/shelf-supports/51933-blind-shelf-supports
IKEA faux fur rug: https://fave.co/2UNbp9N
IKEA table lamp: https://fave.co/3fz24dD
Cord covers: https://bit.ly/2UMmfwM
Globe sconce: https://bit.ly/3hInO8O
Curtain inspo: https://bit.ly/30OGDB4