Japandi style bathroom renovation / makeover
Hey there DIY enthusiasts and retro lovers, Becky here! I’m so excited to (finally) show you the results of my extreme bathroom reno / makeover. If you've been following along, you know we've been on a wild ride transforming our space into a '70s inspired haven, one room at a time. And today, my friends, we're finally at the finish line of the (long, long… long) journey that was the primary bathroom.
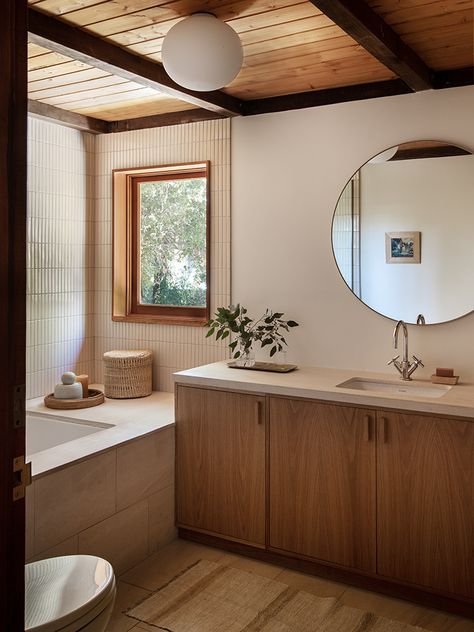
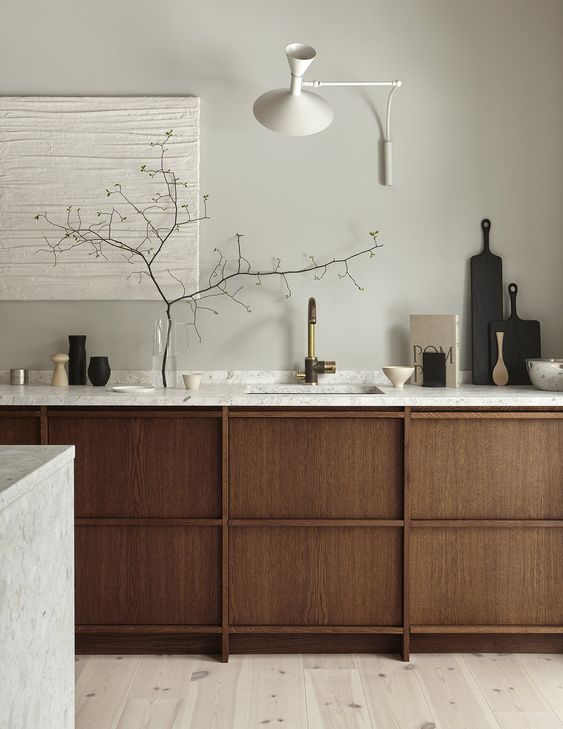
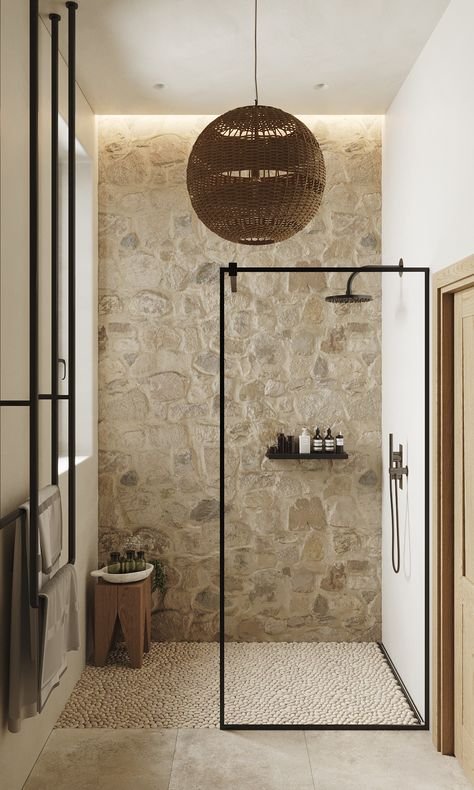
The inspo:

Just in case you missed it, here’s a brief recap of how the first chunk of this bathroom reno went.
Imagine a bathroom resembling a scene from a horror film: falling-apart windows, showers covered in suspicious caulk, and moldy walls. With a ton of determination and countless YouTube tutorials, my husband and I were ready to tackle this challenge.
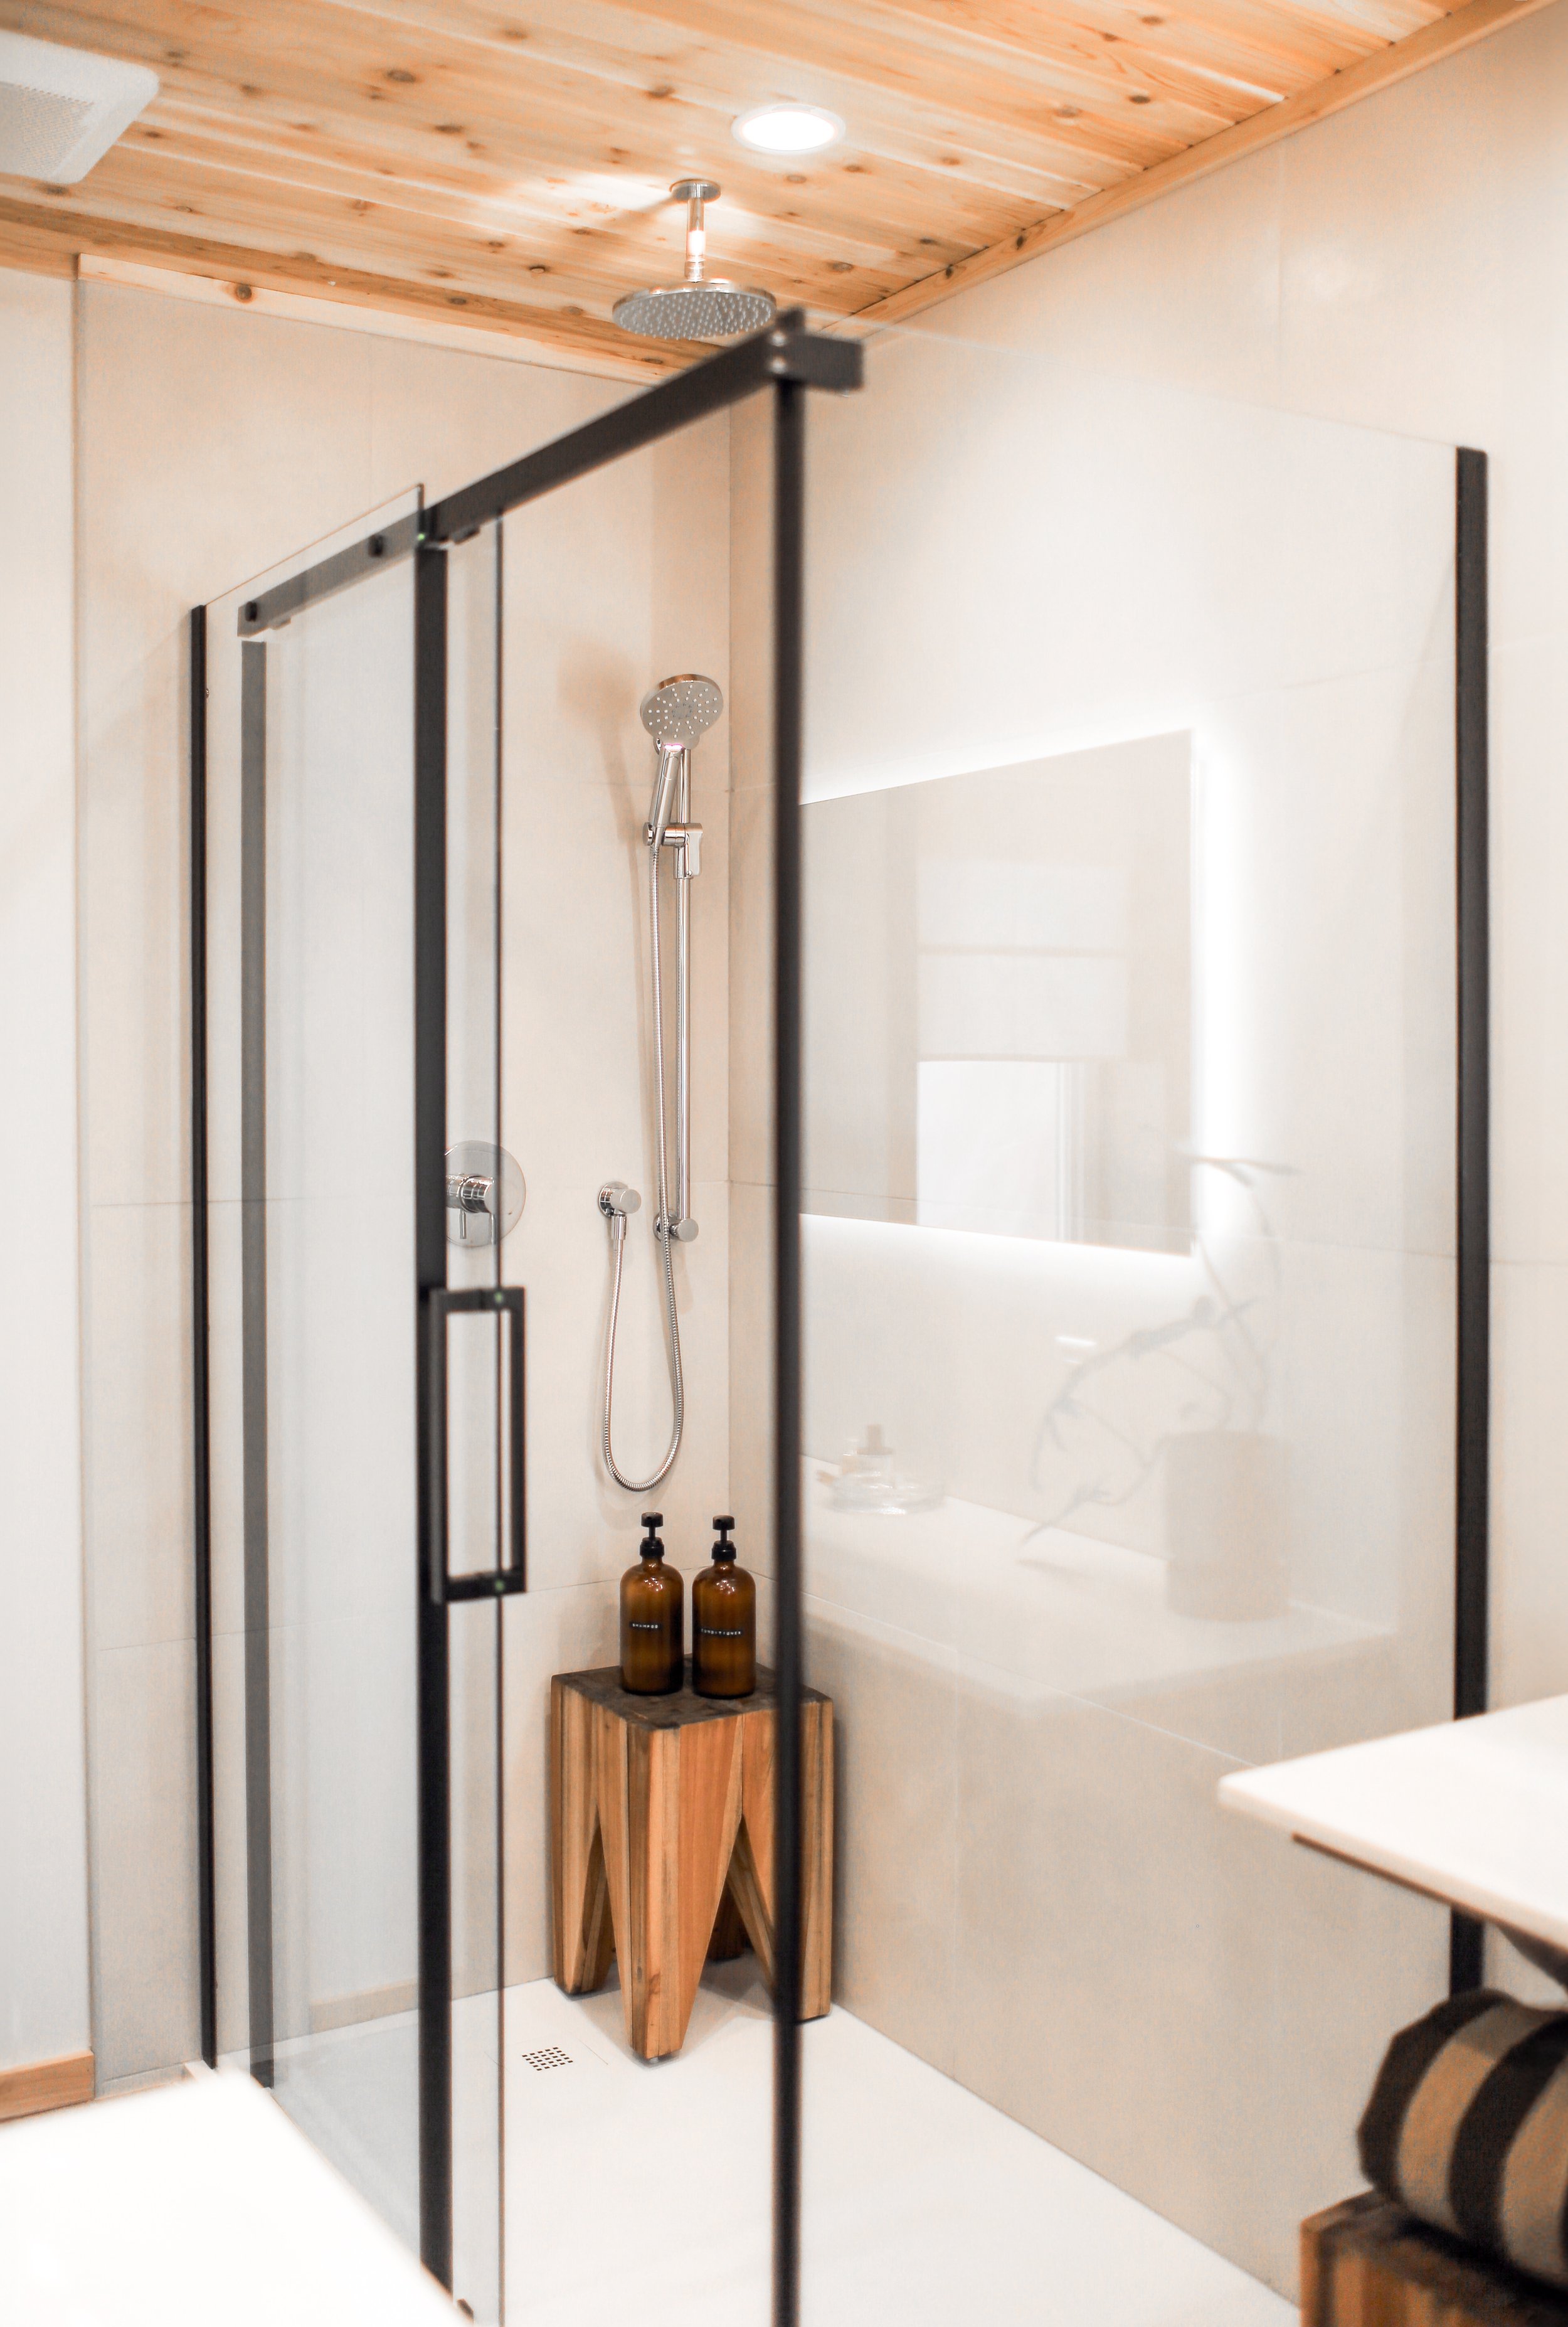
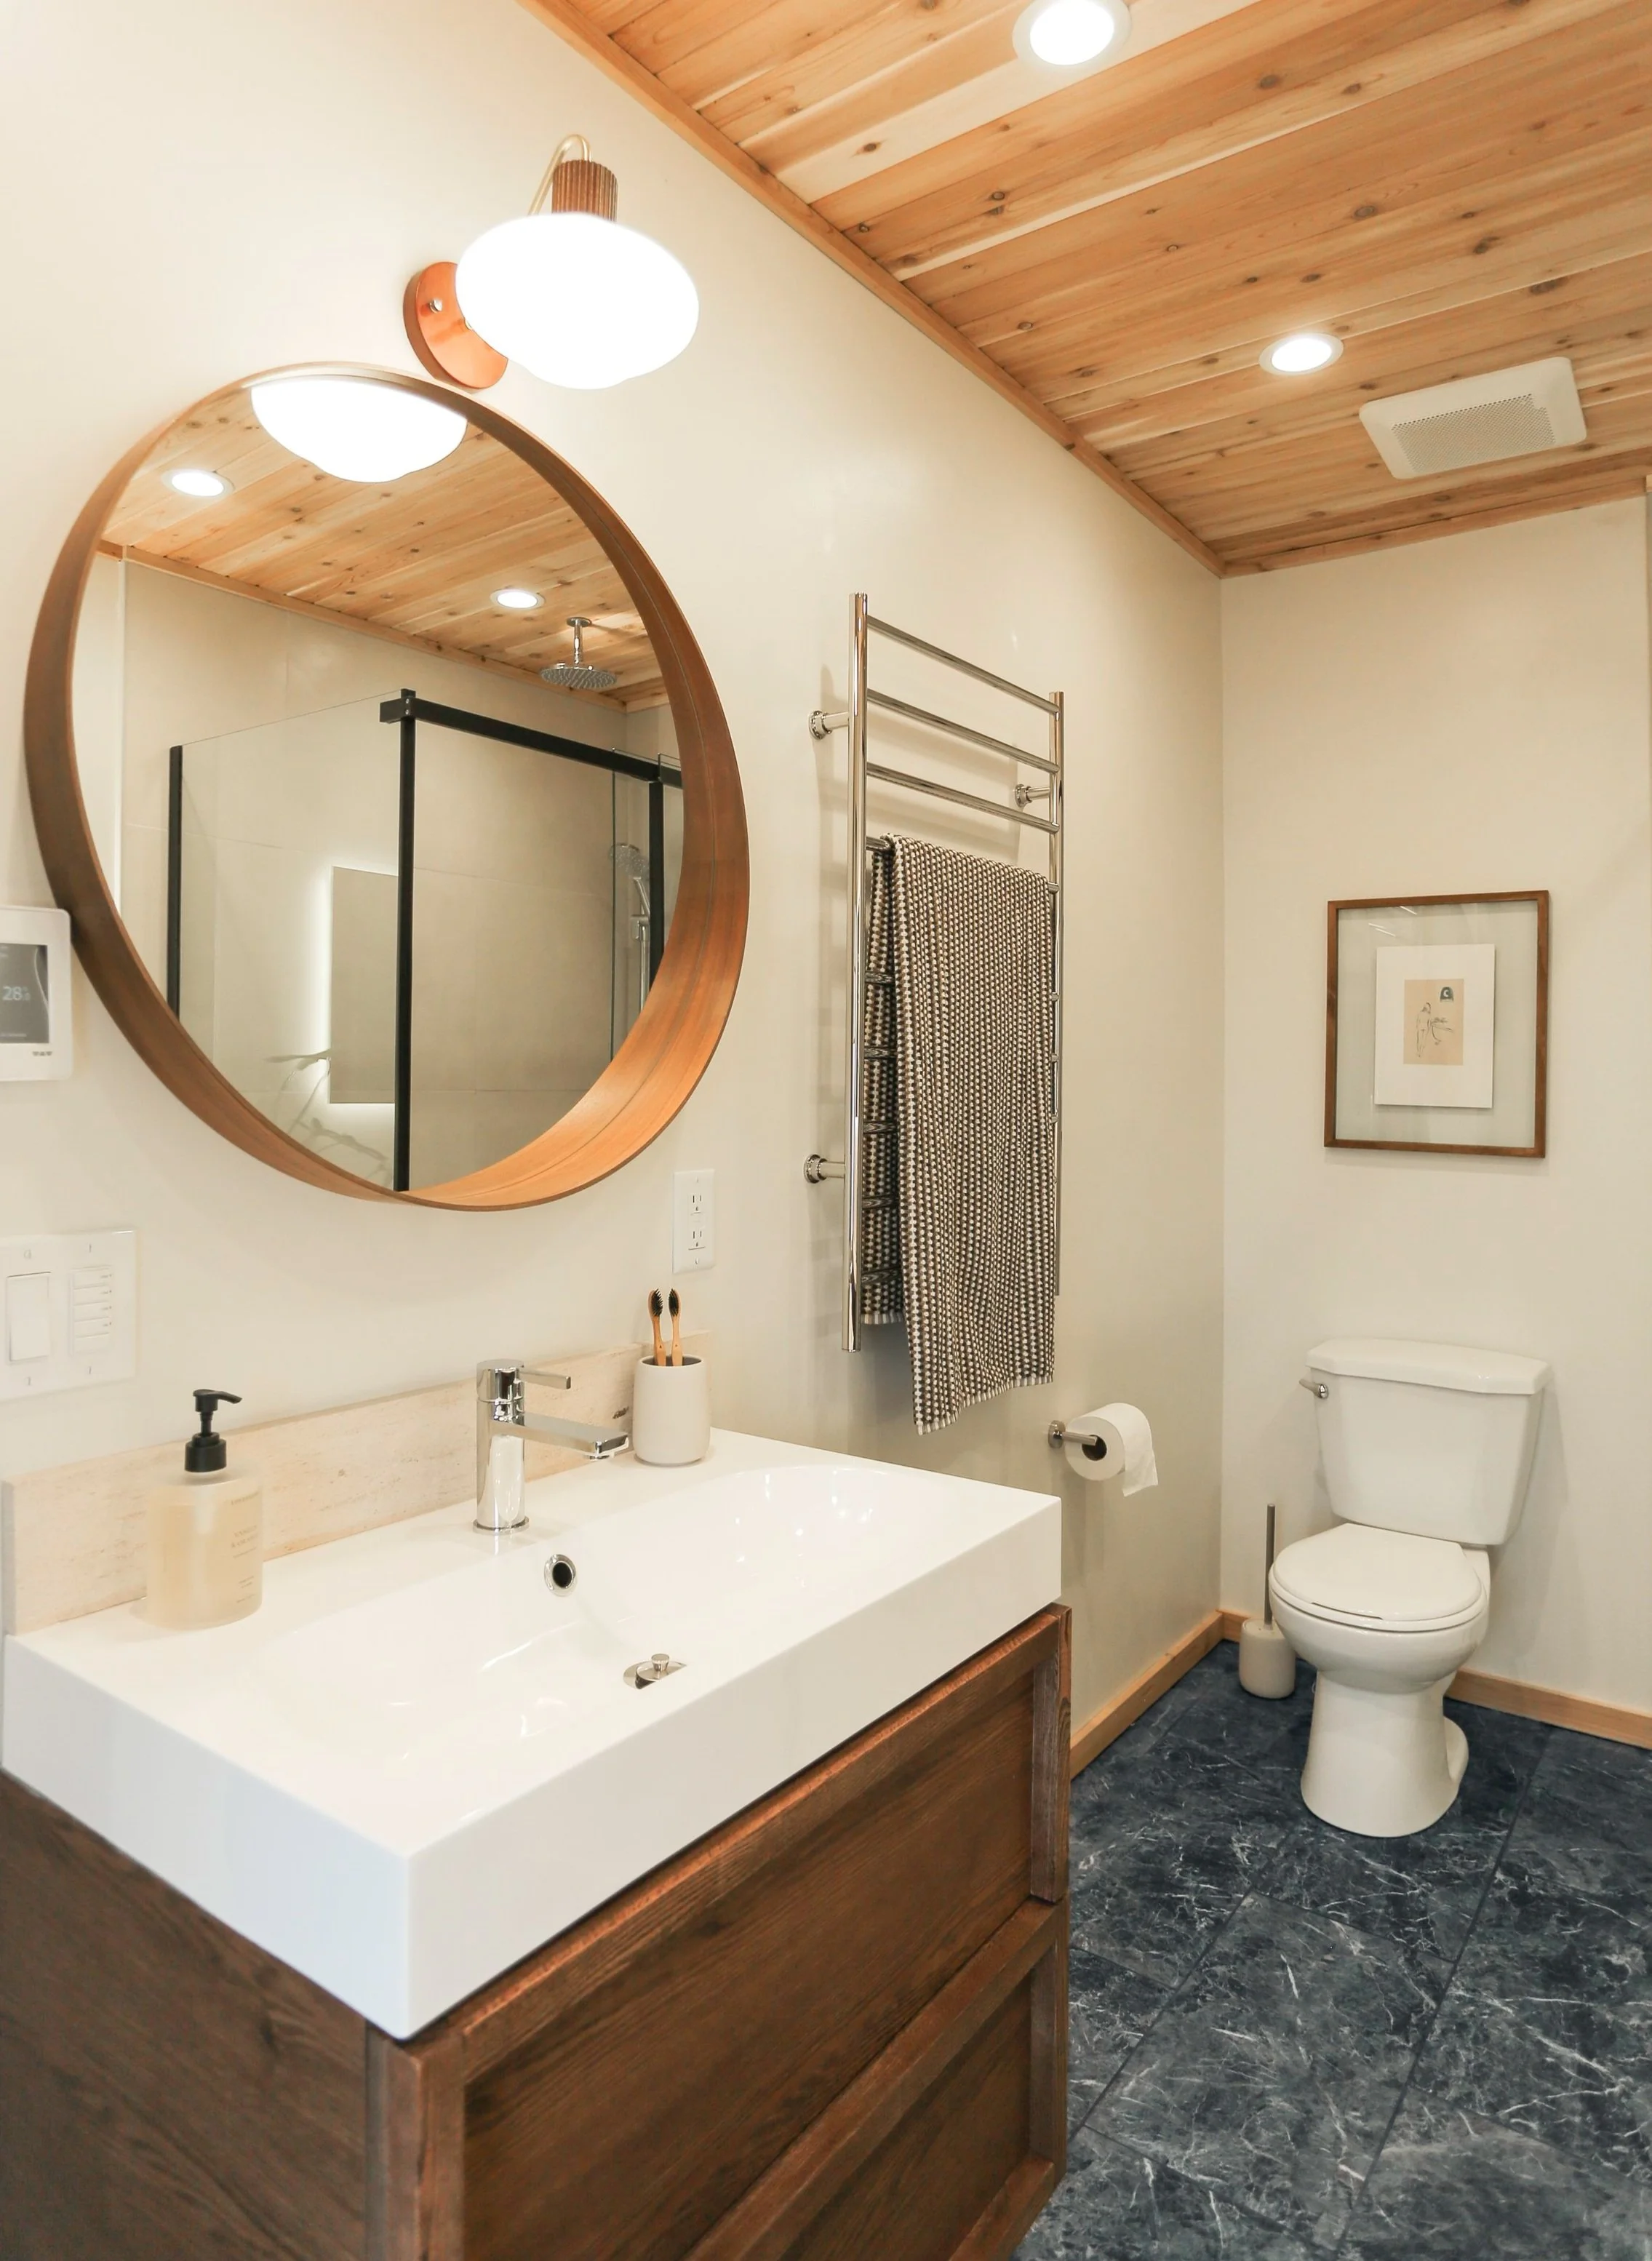
Demo day kicked off our DIY adventure, revealing the hidden mold and rot (a super fun surprise). But we tackled it head-on, added heated flooring (a luxury that I didn't know I needed but now can’t live without) and vibrant teal marble slate tiles for a pop of colour. A cedar wood ceiling and trim brought warmth and Scandinavian charm, turning our bathroom into a space that feels like a spa.
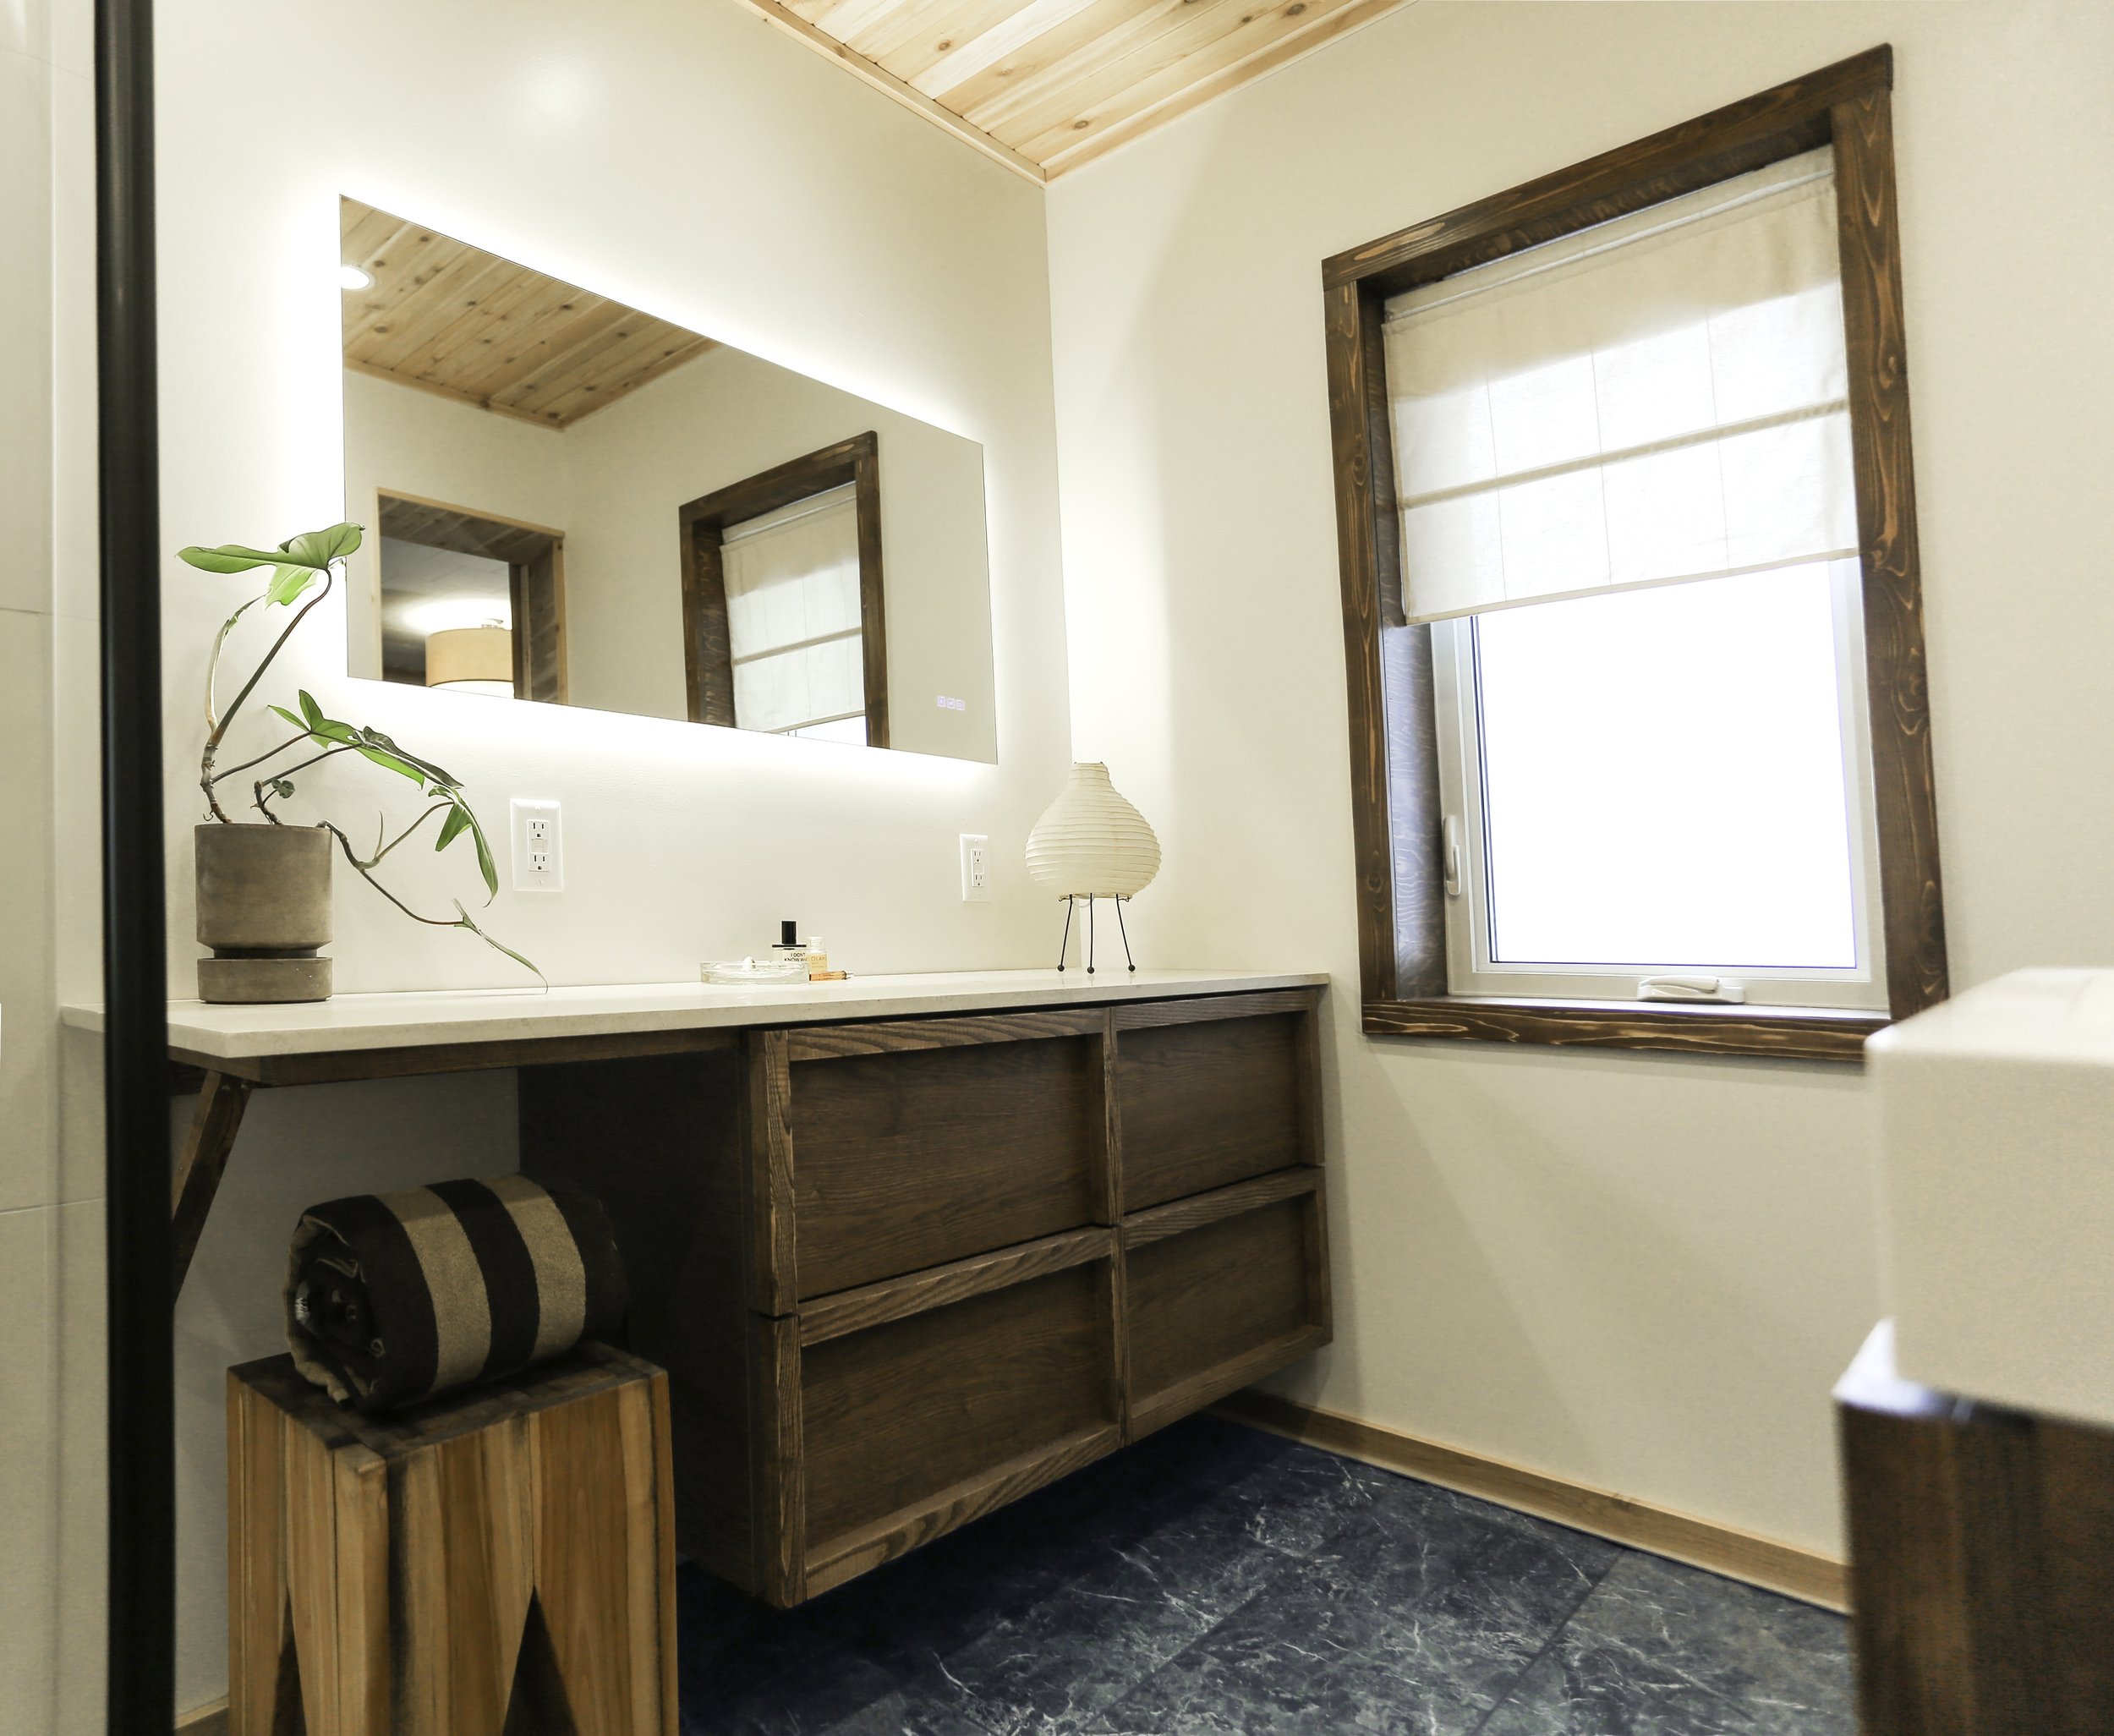
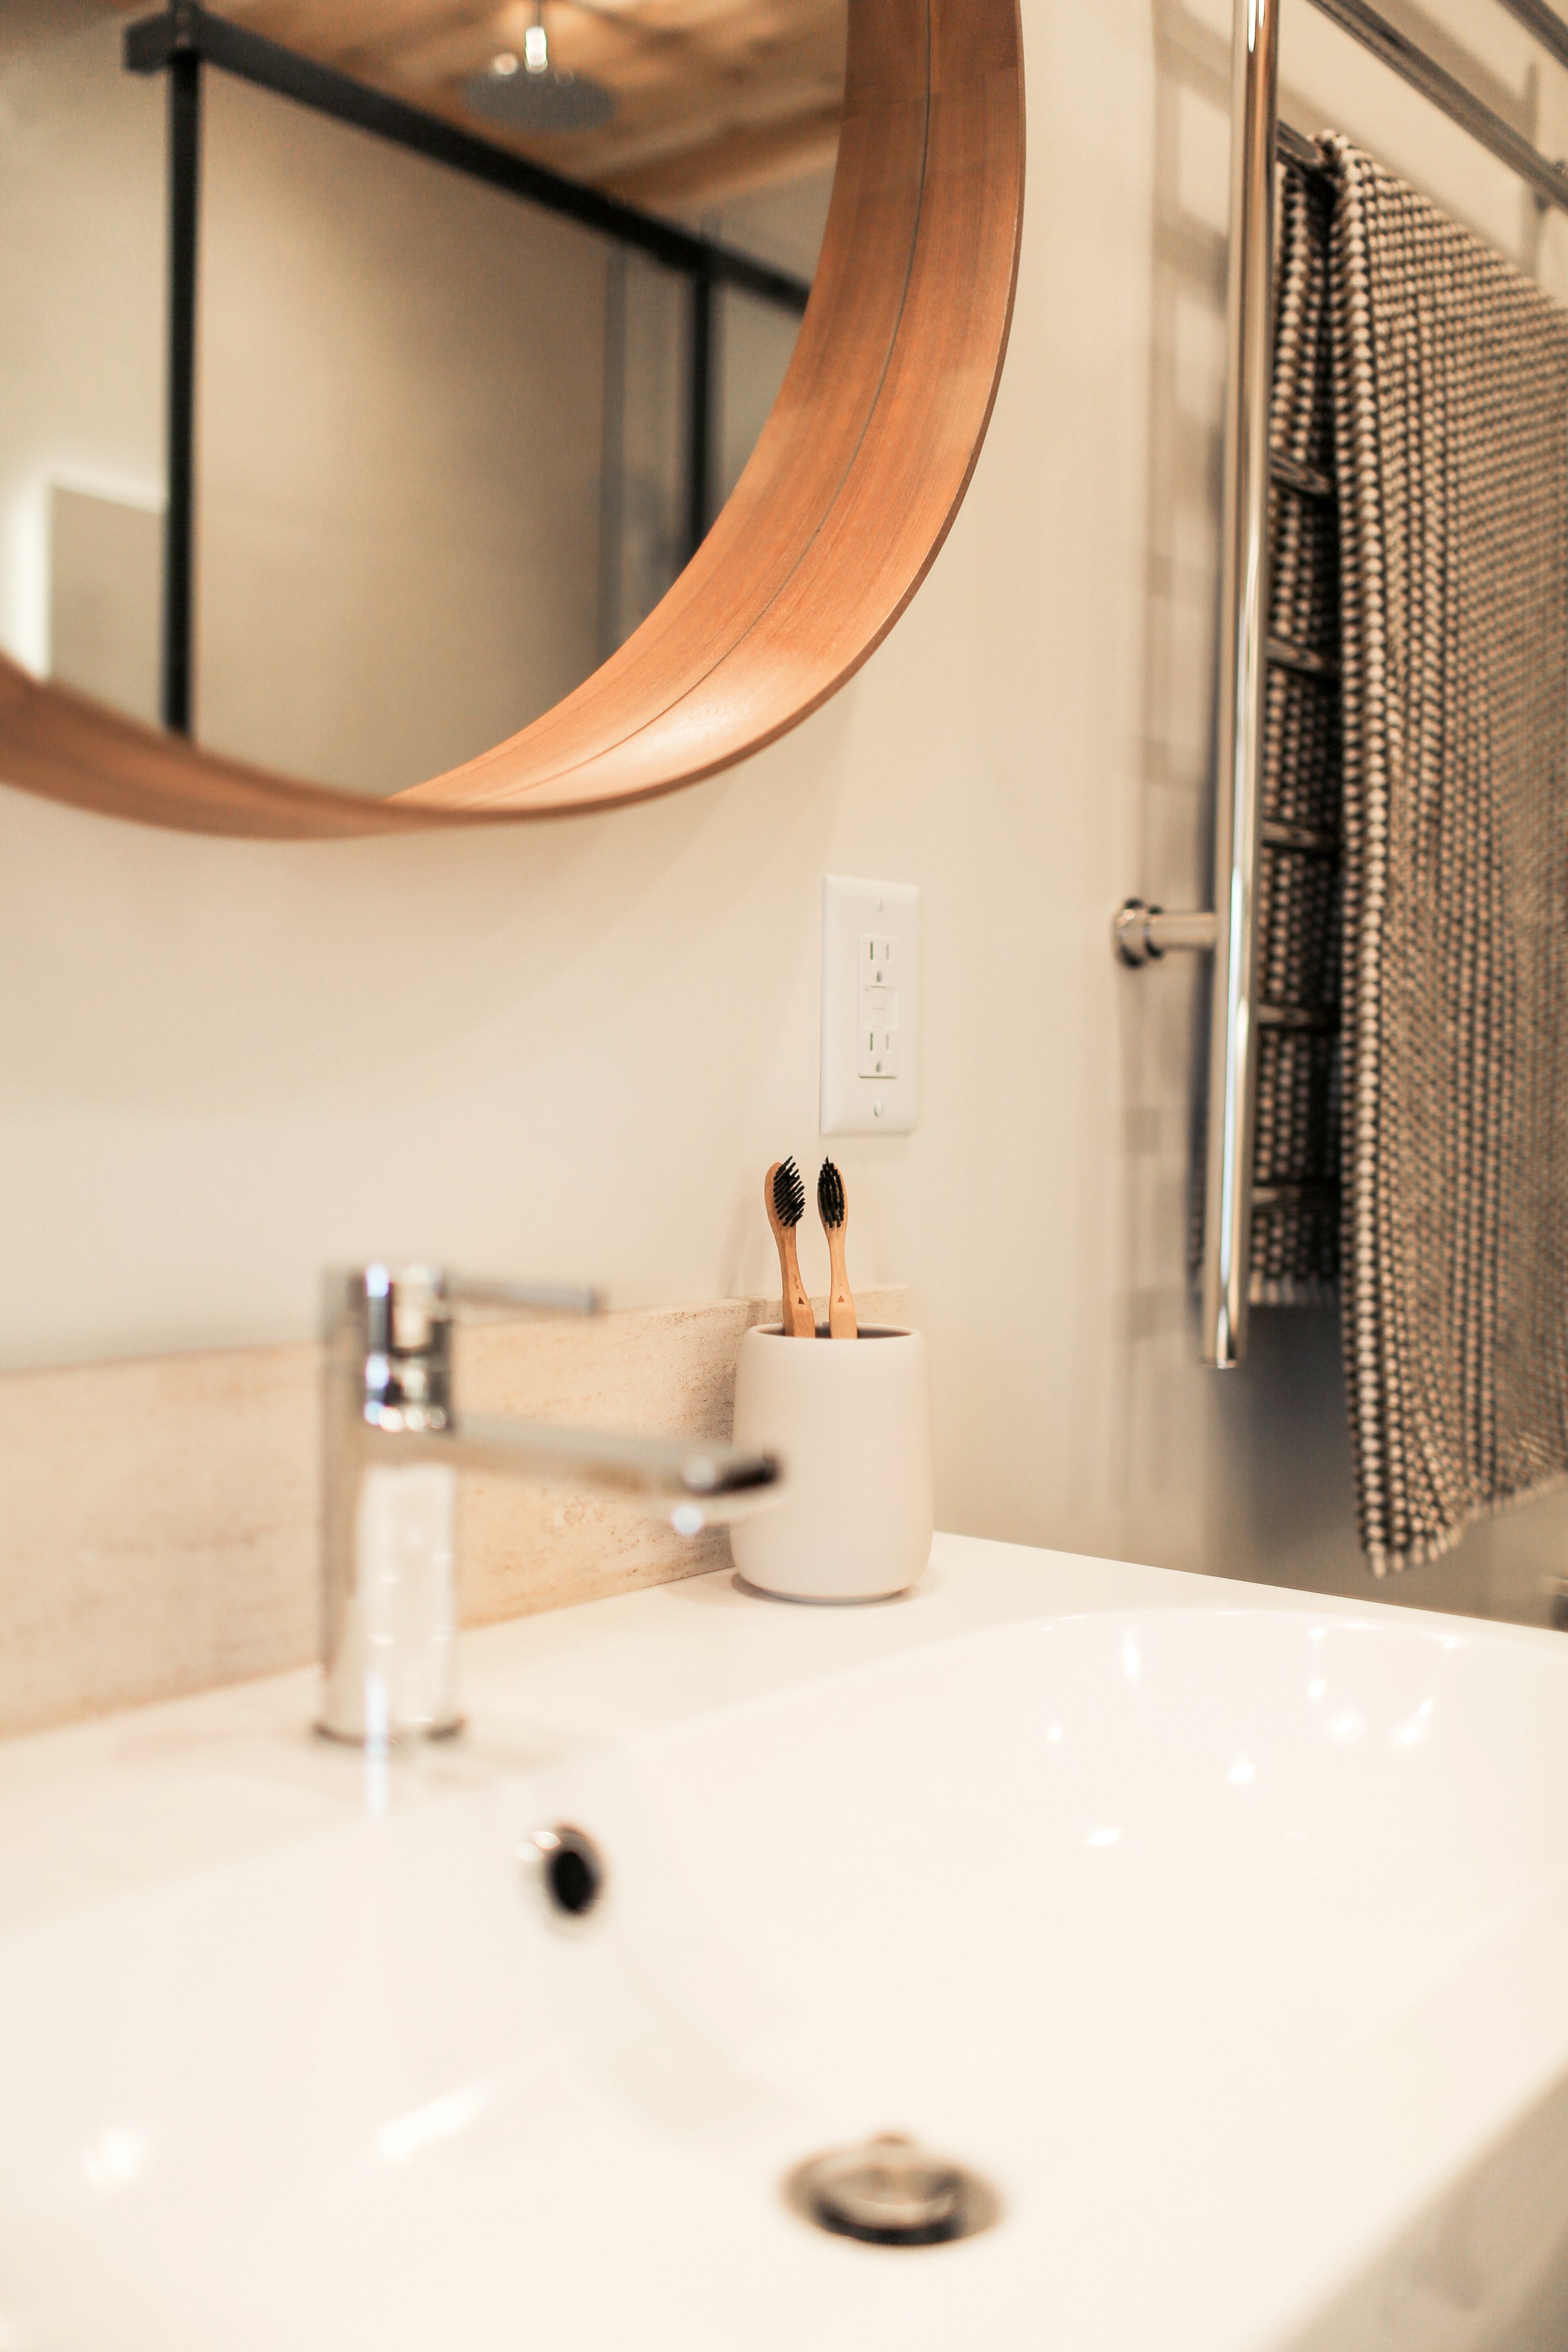
(cue dramatics) I wasn’t sure we would make it here, but I am so happy we kept pushing through the tough times. We've installed glass walls, heated towel bars, and even a DIY customized Ikea vanity. We stained the wooden window trim and two wooden stools and also created a custom roman shade for the window.
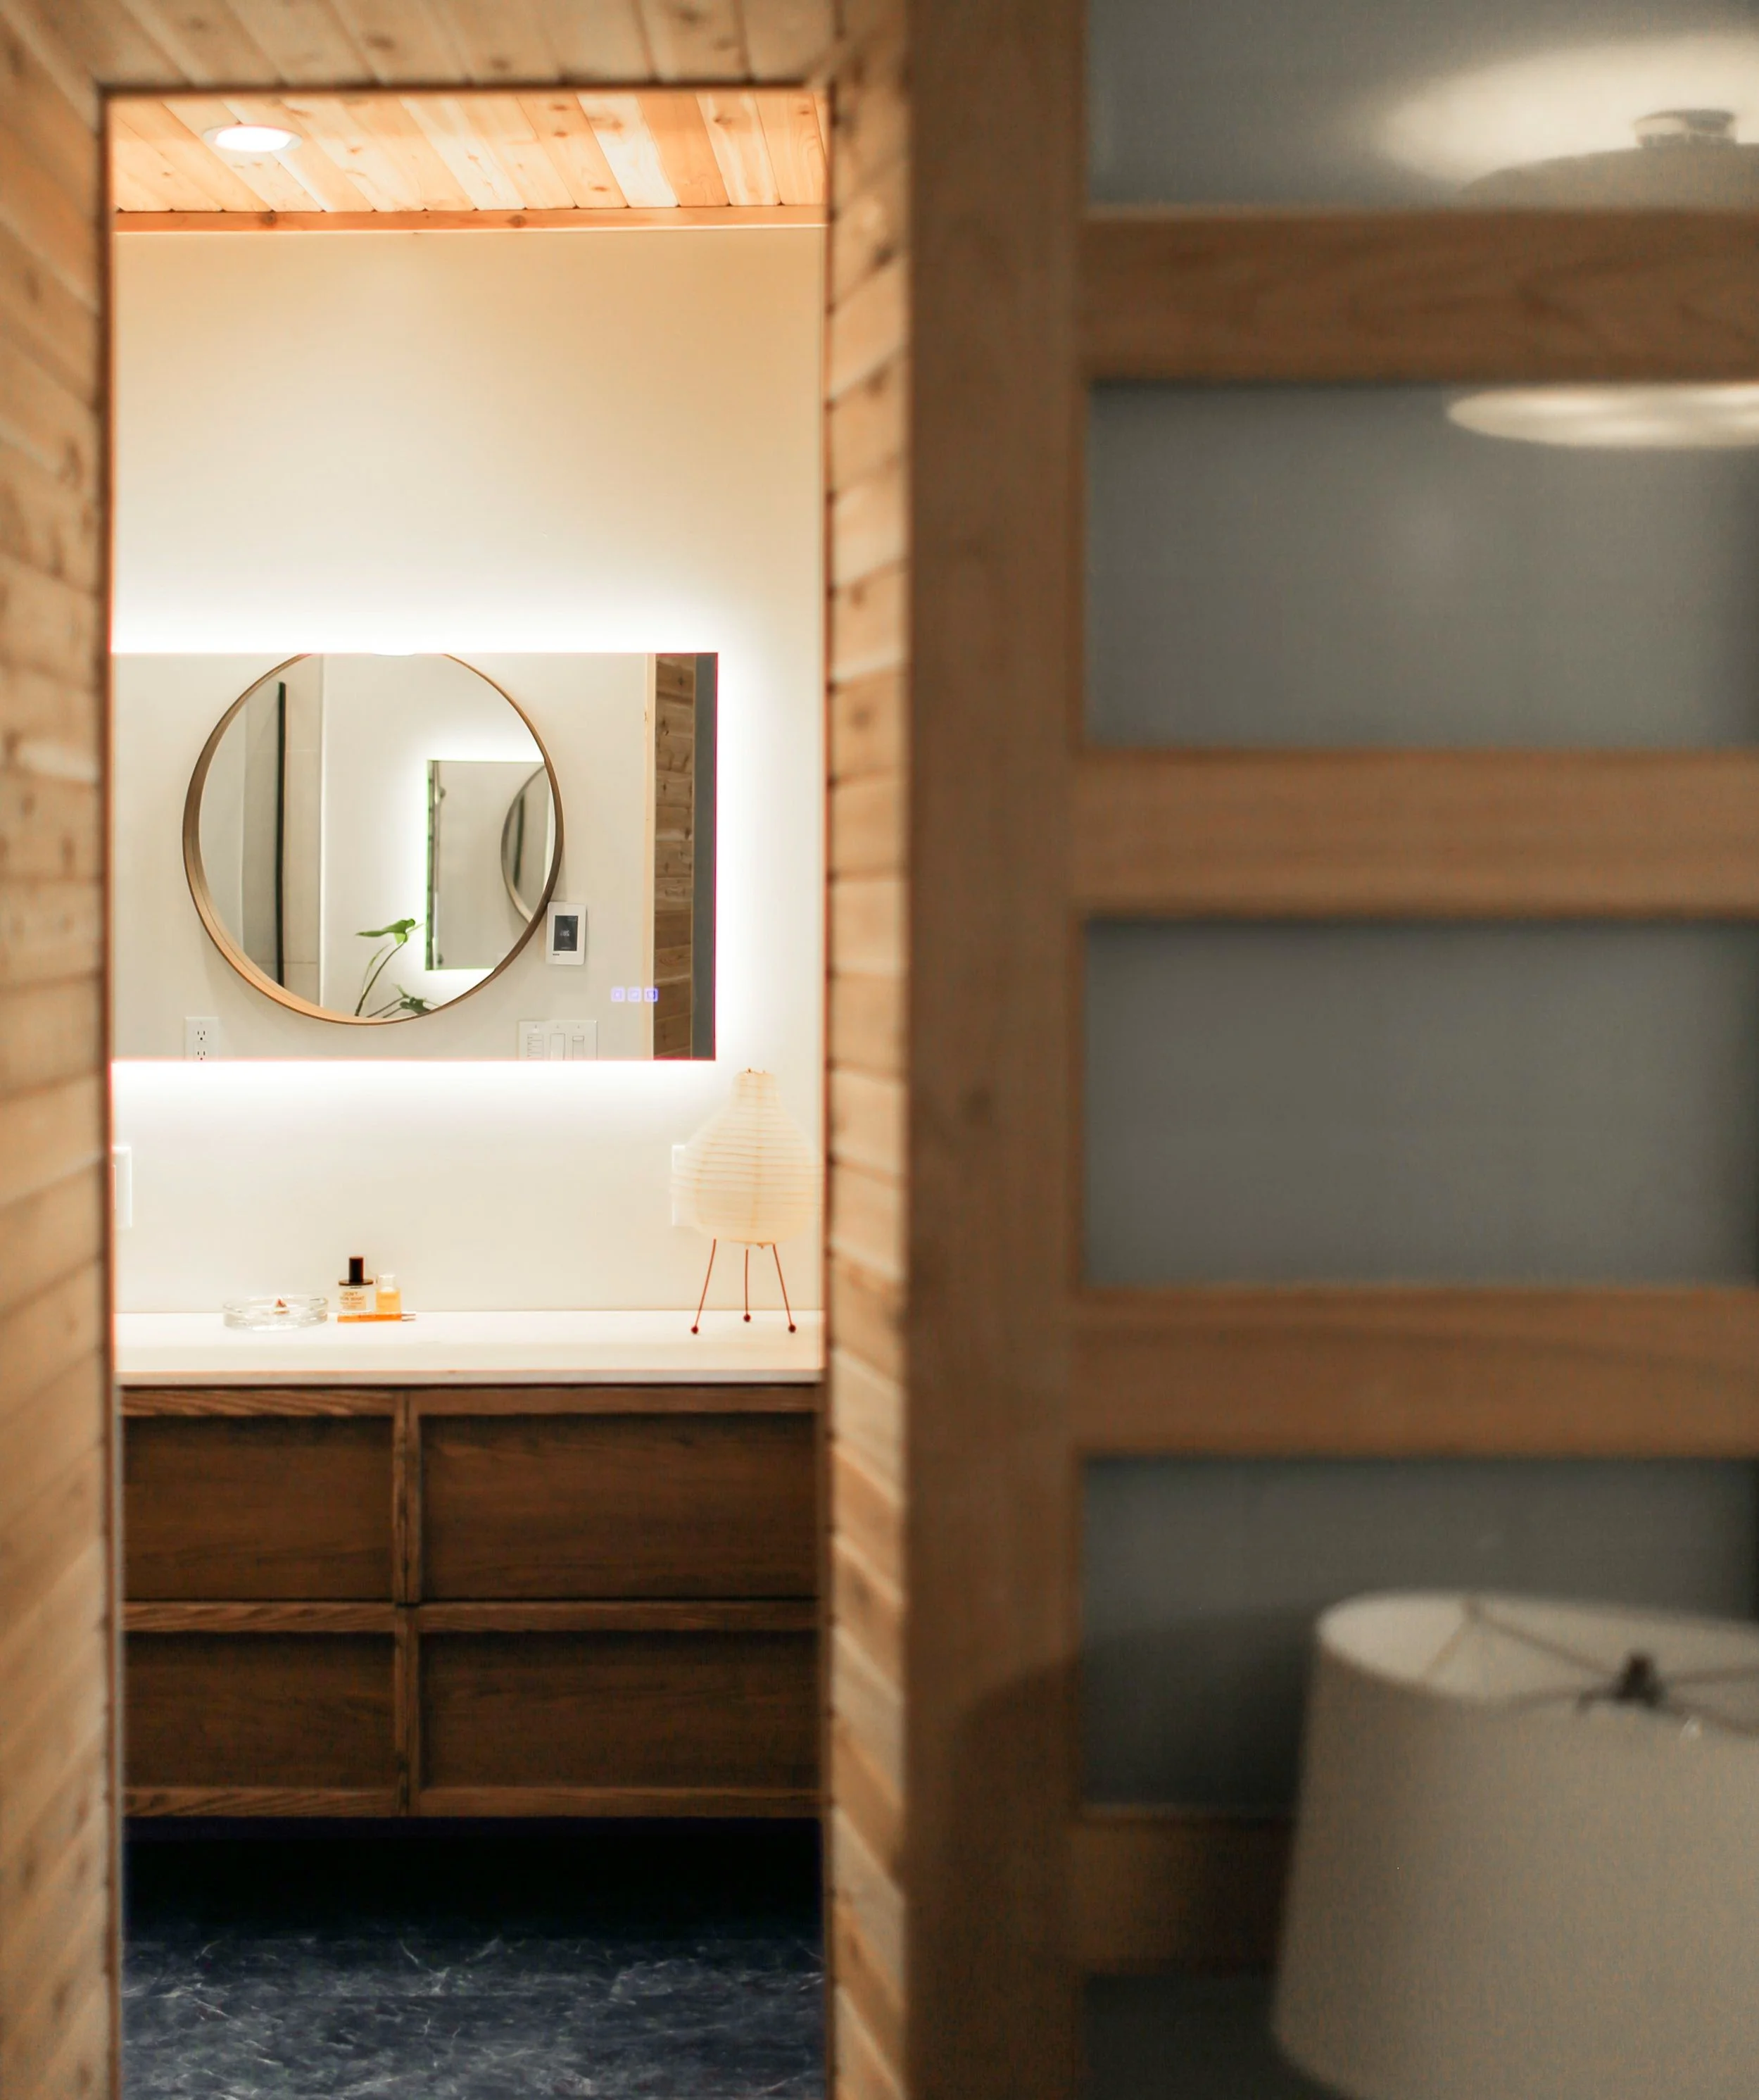
In our final touches era
Now, for the fun part; The final final touches. I added a Japanese lantern style table lamp to the vanity, really amping up the zen warmth, alongside a glass tray for my jewelry and our favourite scents beside. Add in a plant to tie it all together and we have the final product!


Watch the final part of my extreme bathroom reno/makeover below!