DIYing YOUR DMs
Today we are starting ANOTHER brand new series! We are super excited to announce DIYing your DMs, the show where we receive DMs from you guys and choose a few DIY suggestions to make! Today we got three really awesome DIY suggestions and we’re super excited to make them for you!
DIANNA’S TIE UP SHIRT


Materials:
An old or thrifted top
Tools:
Scissors
Sewing machine
Pins
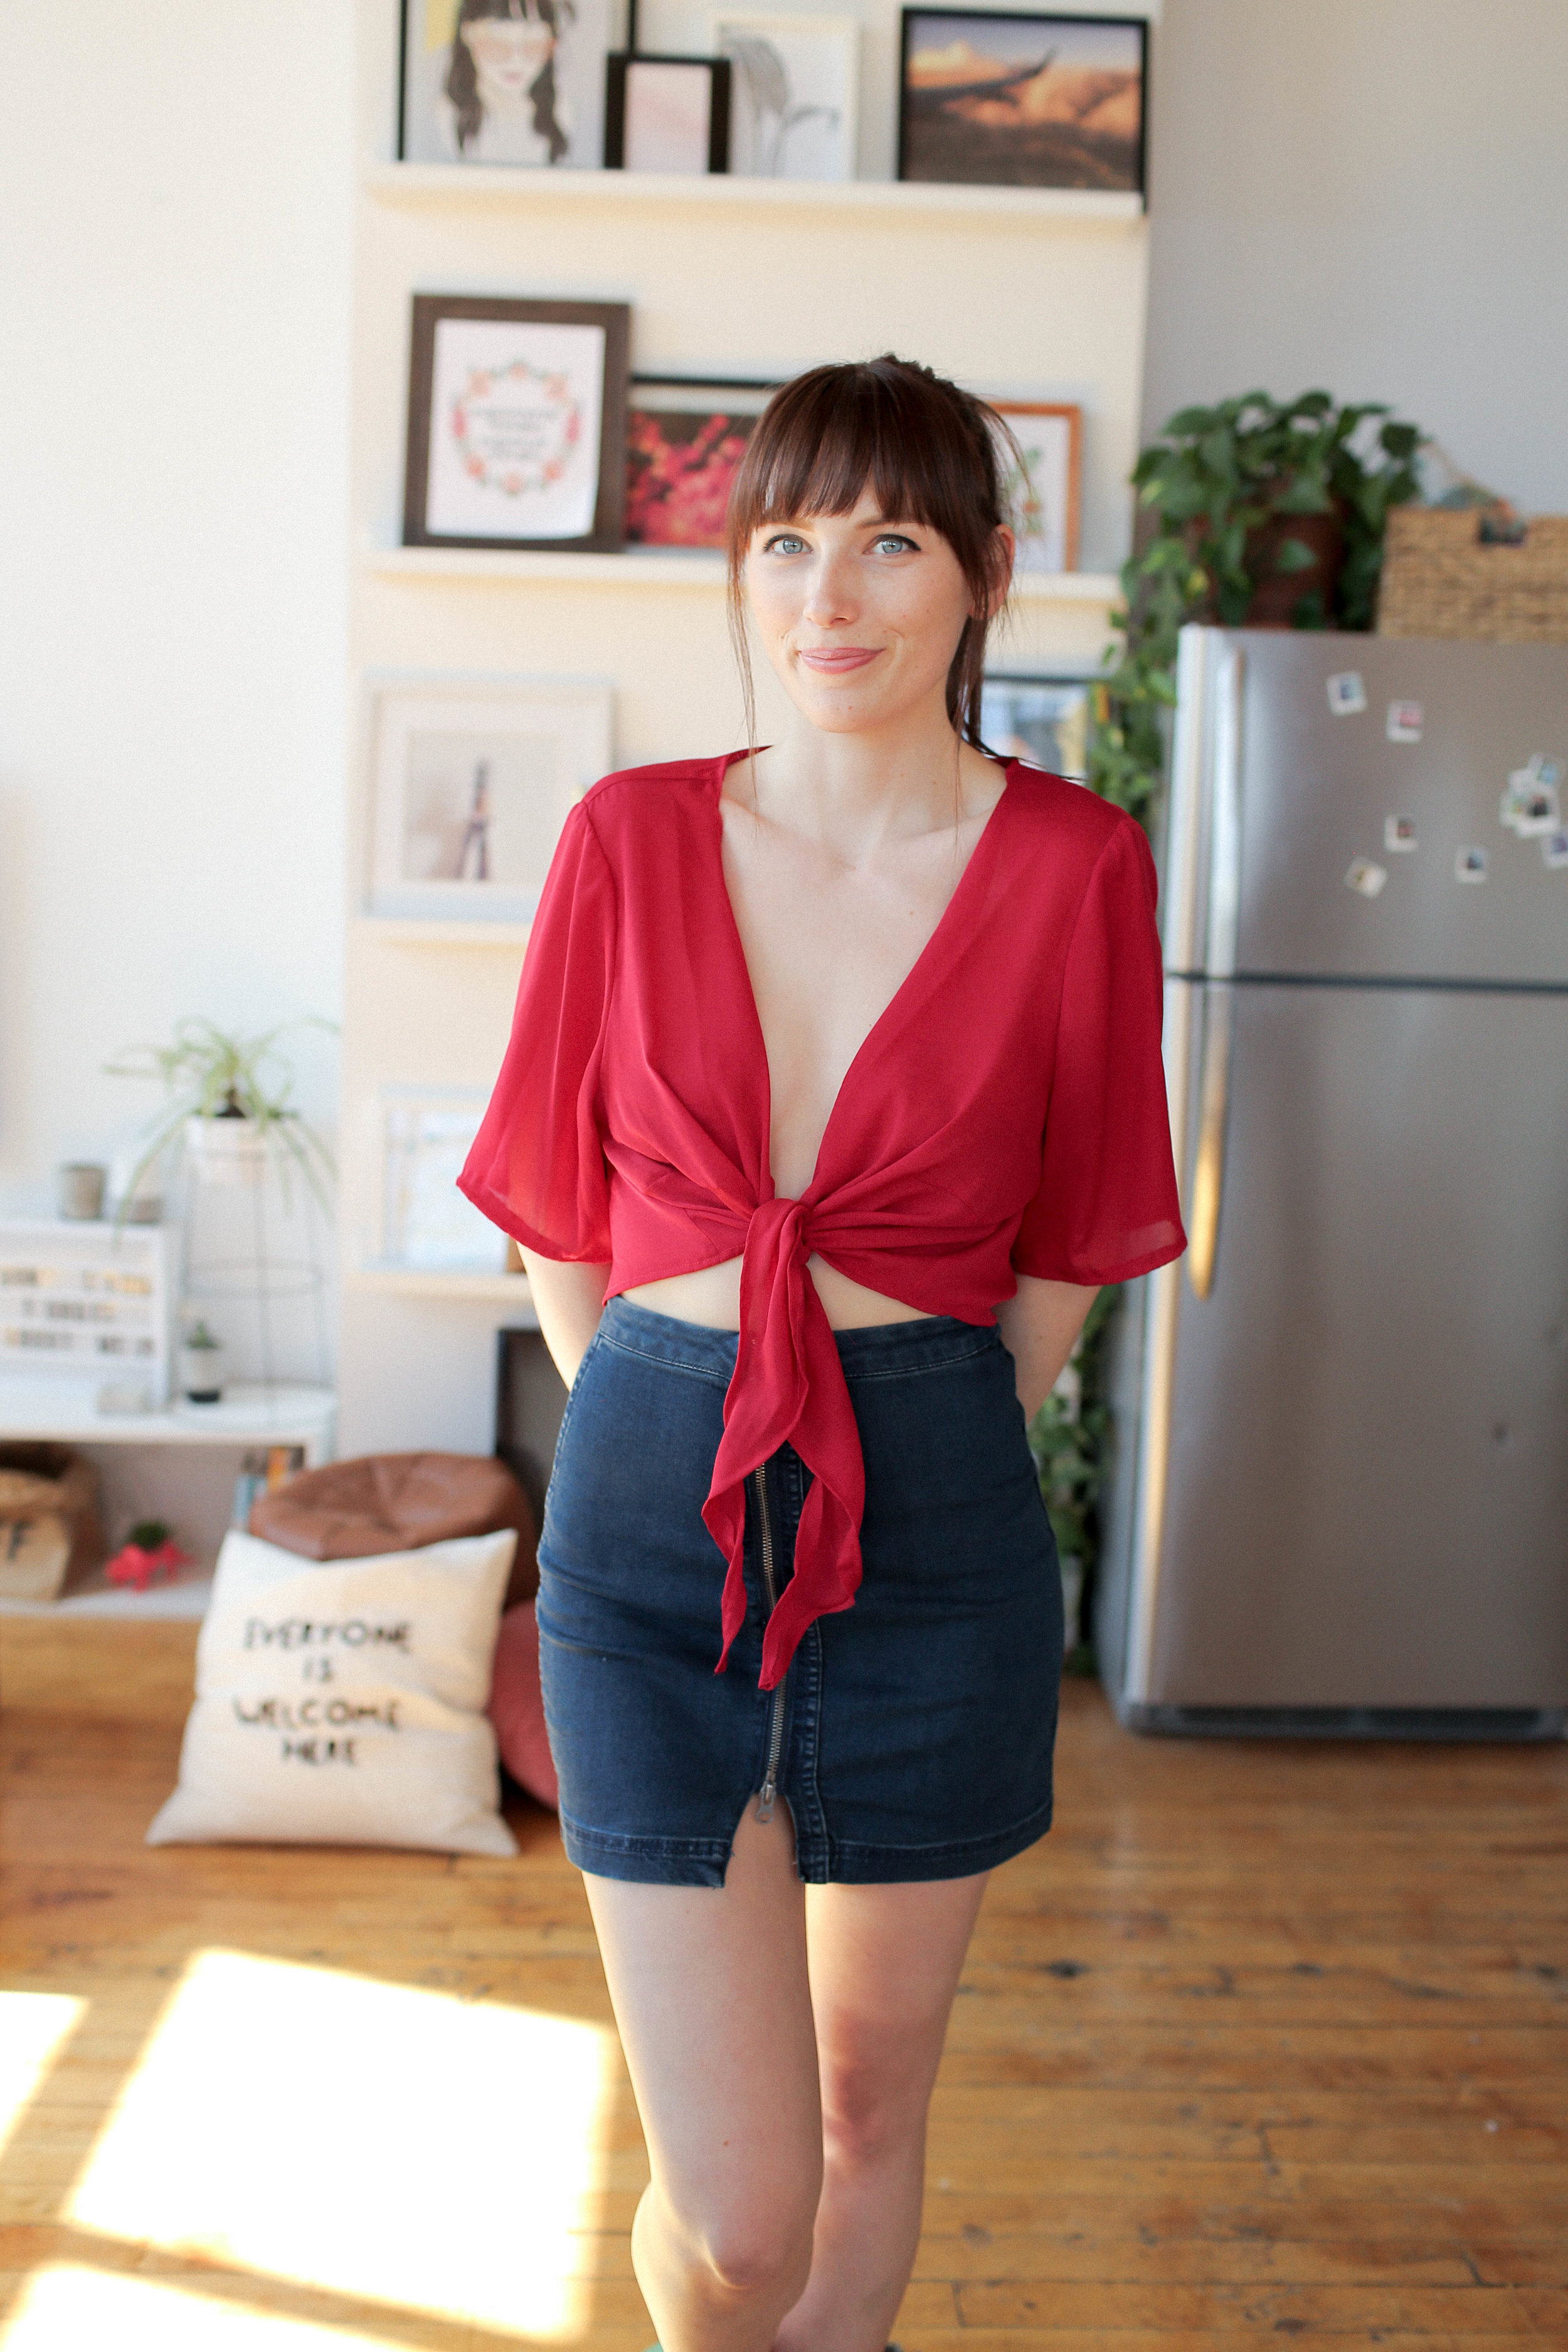
We saw this DM and firstly thought it was a gorgeous top, and second that it would be super easy to make out of a thrift store top! When going to the thrift store, try finding a top with no collar and that fits pretty loosely.
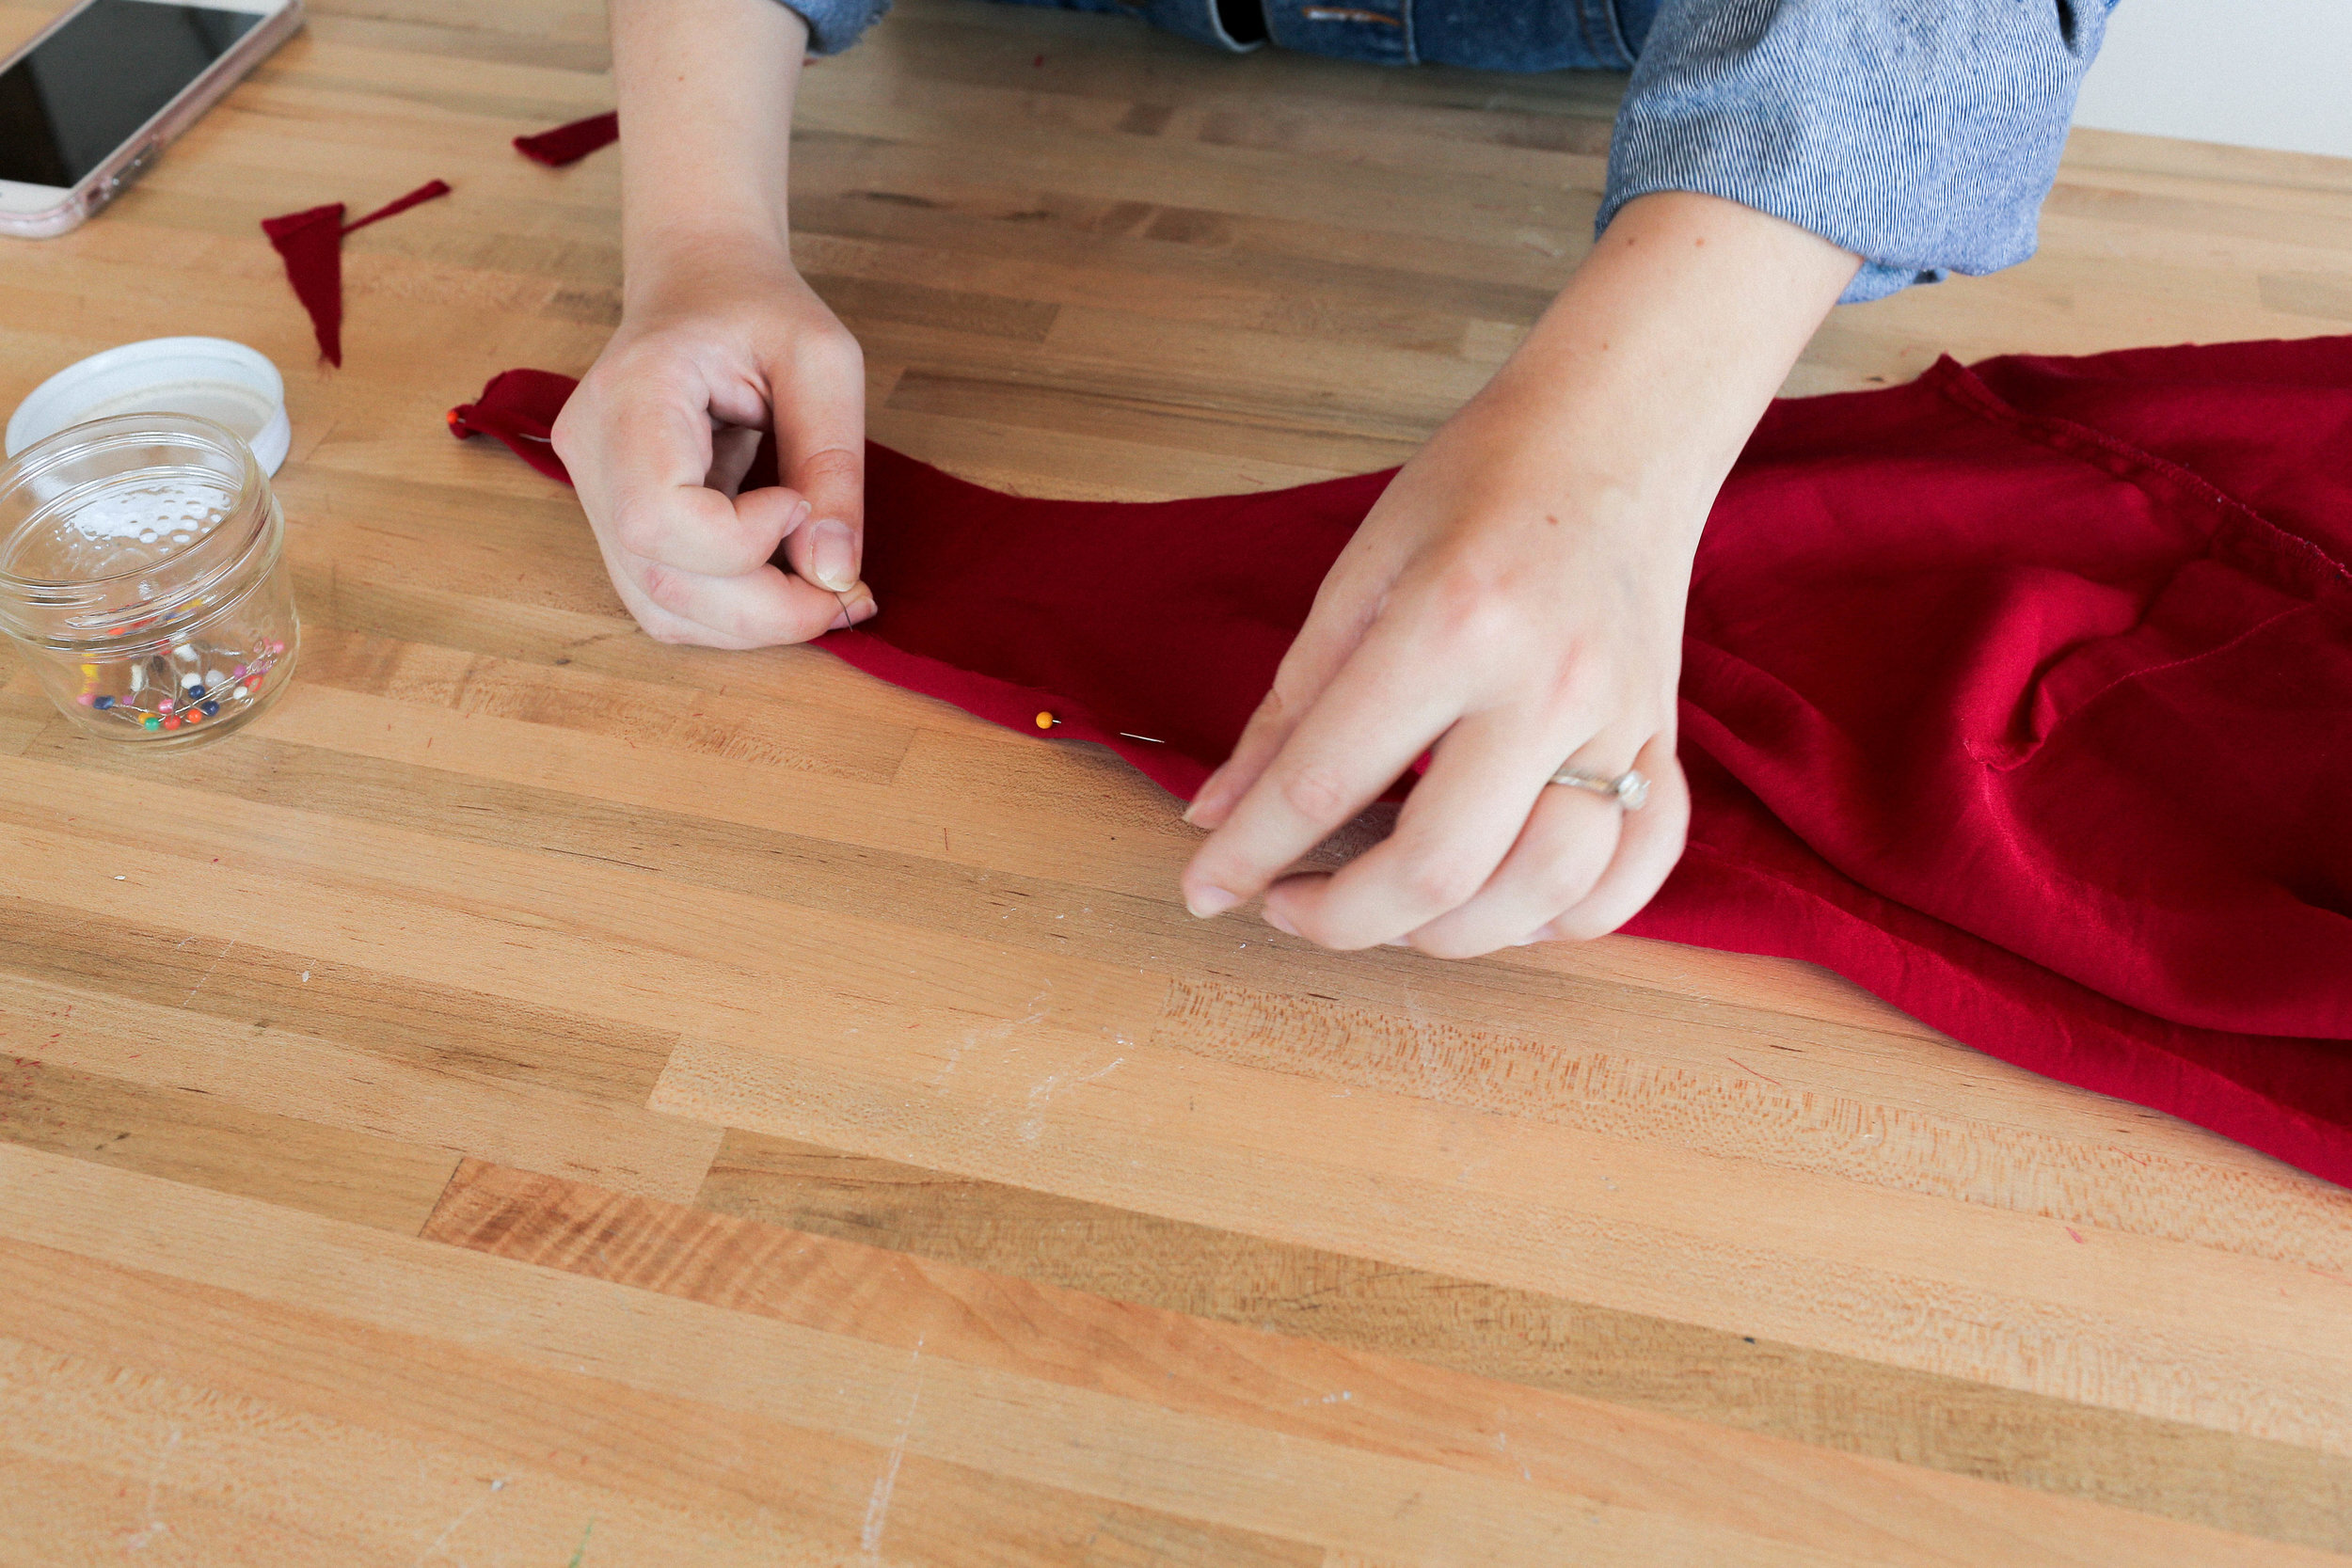
First, we started by cutting off everything that we didn’t need on the top. We cropped the sleeves, cut off the buttons, and cropped the shirt. When cropping the top, make sure to keep two long pieces of fabric in the front so that you are able to tie the top in the front.


Next, go ahead and pin all of the places that you’ve cut and hem them to prevent fraying.

And that’s it! This is the perfect way to take old tops that you may have lying around, and give them new life!

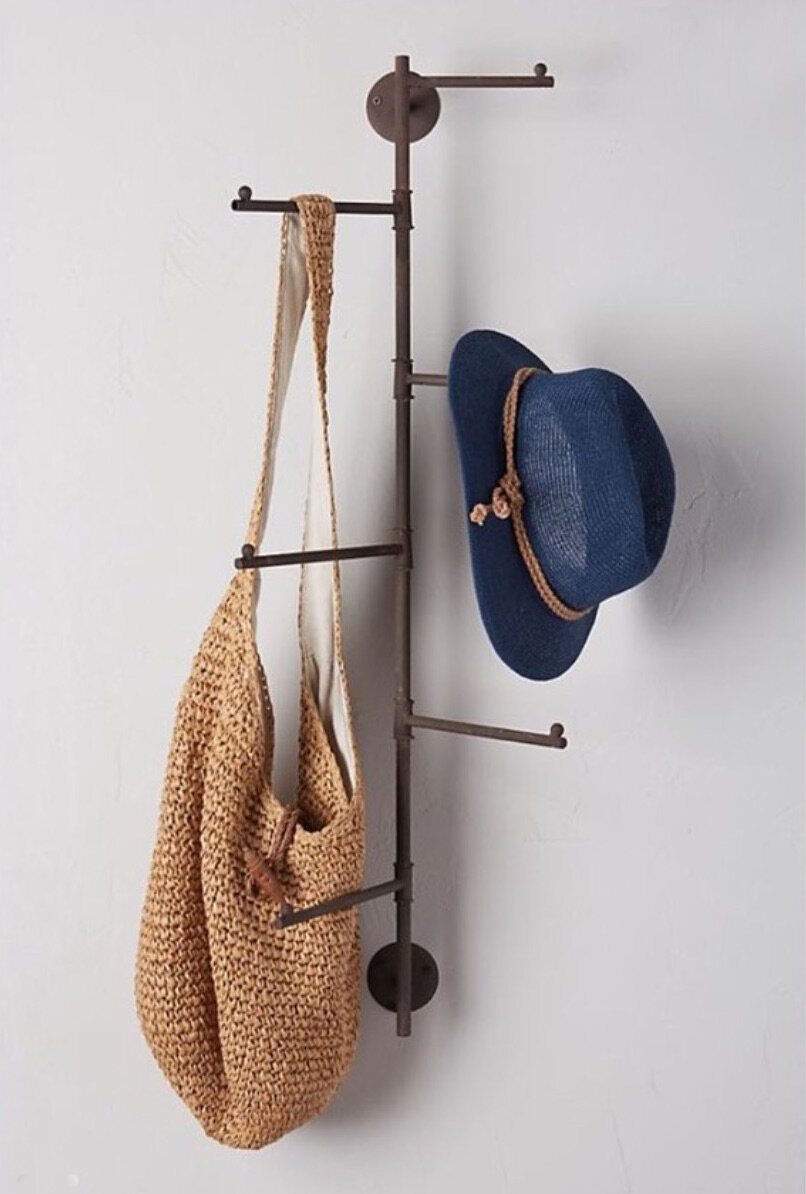
LORENNA’S COAT RACK

Materials:
One 1” dowel
Two ½ “ dowels
Primer spray paint
Grey/brown metallic spray paint
Wood glue
Construction adhesive
Tools:
Hand saw or circular saw
Drill + wood drill bit
Next up, we’re going to attempt to make this metal-looking coat/towel/anything rack?! We started out by cutting our dowels to size. Our 1” dowel ended up being 33 ½ “ long, and our ½” dowels ended up being cut into 5 6 ½ “ pieces and 2 at 3 ½ “.

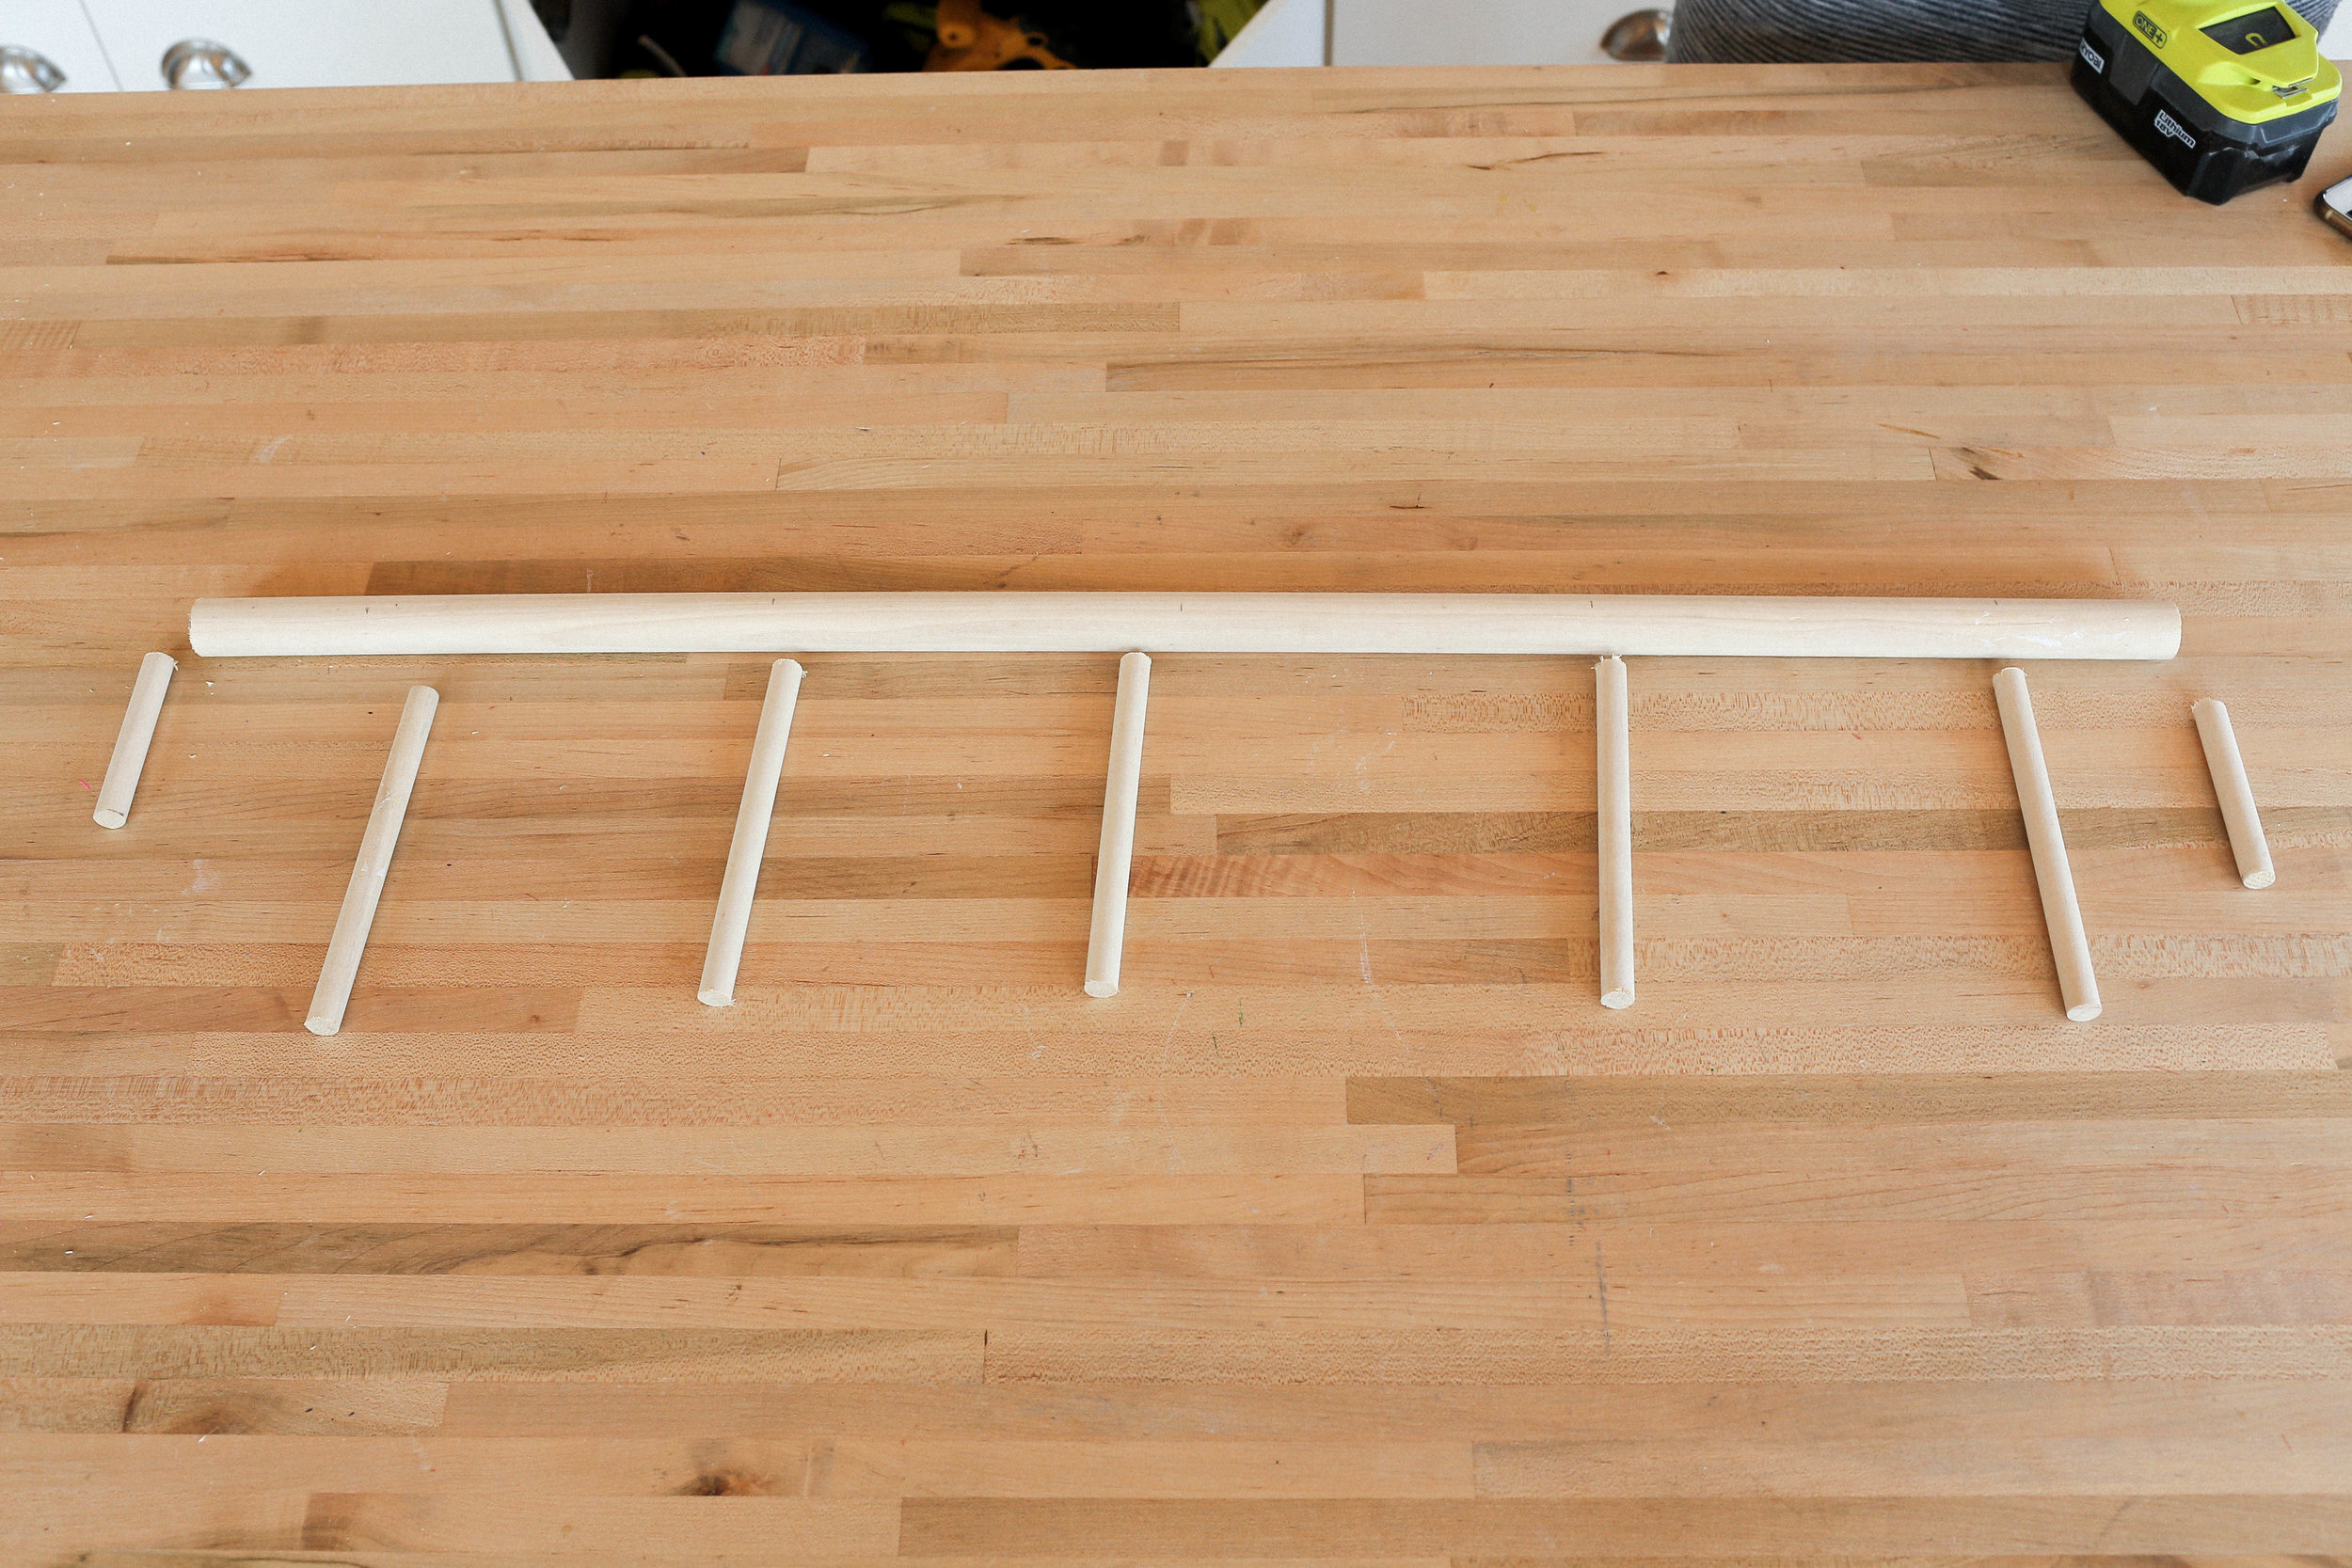
Next we are going to set our drill up with a ½” drill bit. We grabbed our 1” dowel and drilled two holes on one side and three holes on the other, drilling so that the ½” dowels will sit in the holes on an angle. On the two ends of the 1” dowel we are going to drill holes that are positioned straight towards where your rack would attach to the wall.


Once all of your holes are drilled, go ahead and fill them all with wood glue, insert your dowels, and let dry!
To attach our shelf to the wall, we are going to be using a ½” galvanized flange, and a copper male fitting adapter. We went ahead and added some construction adhesive to the two 3 ½ “ cut pieces at the ends and secured the adapter and flange combo in place!
Before painting, we just added some square wooden beads with some construction adhesive to the ends of the dowels for some extra style points!


Next, we primed using a primer spray paint, and painted it with a metallic brown/grey spray paint! And that’s it! Hand it on the wall and you’re ready to go!


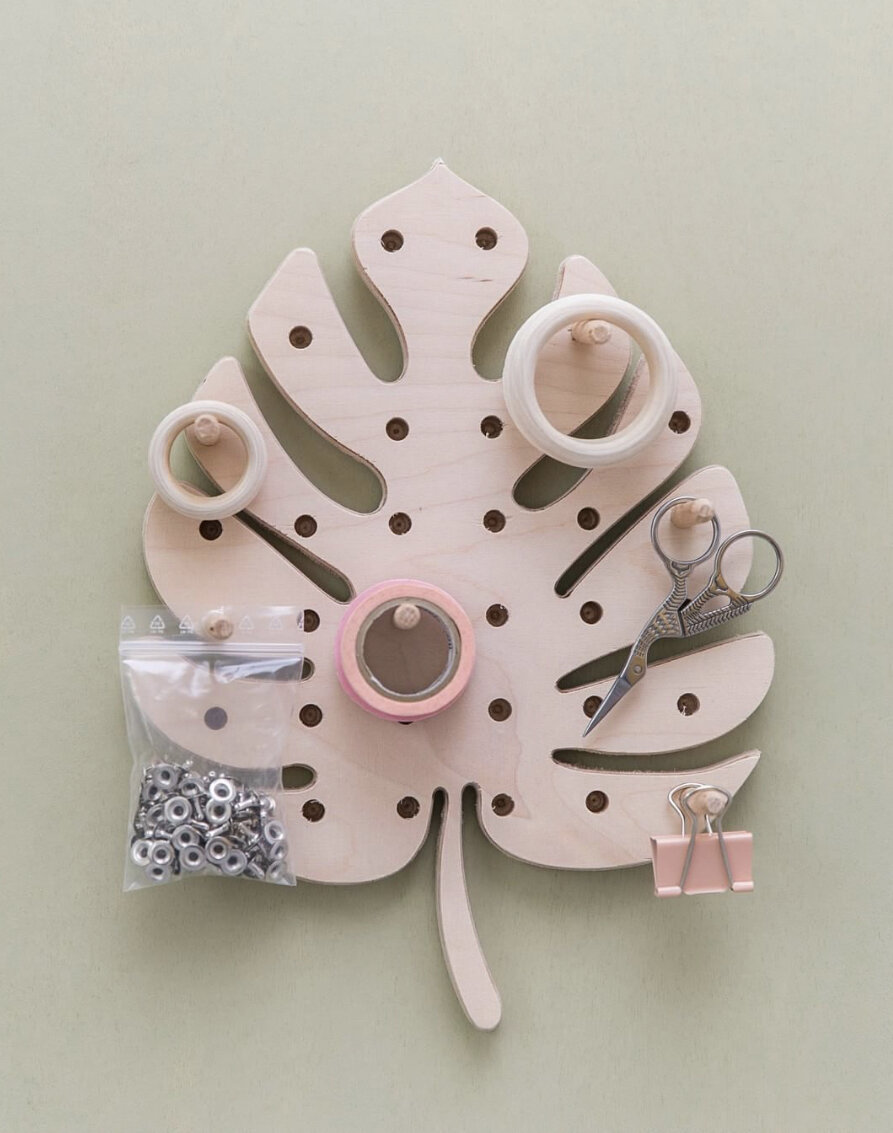
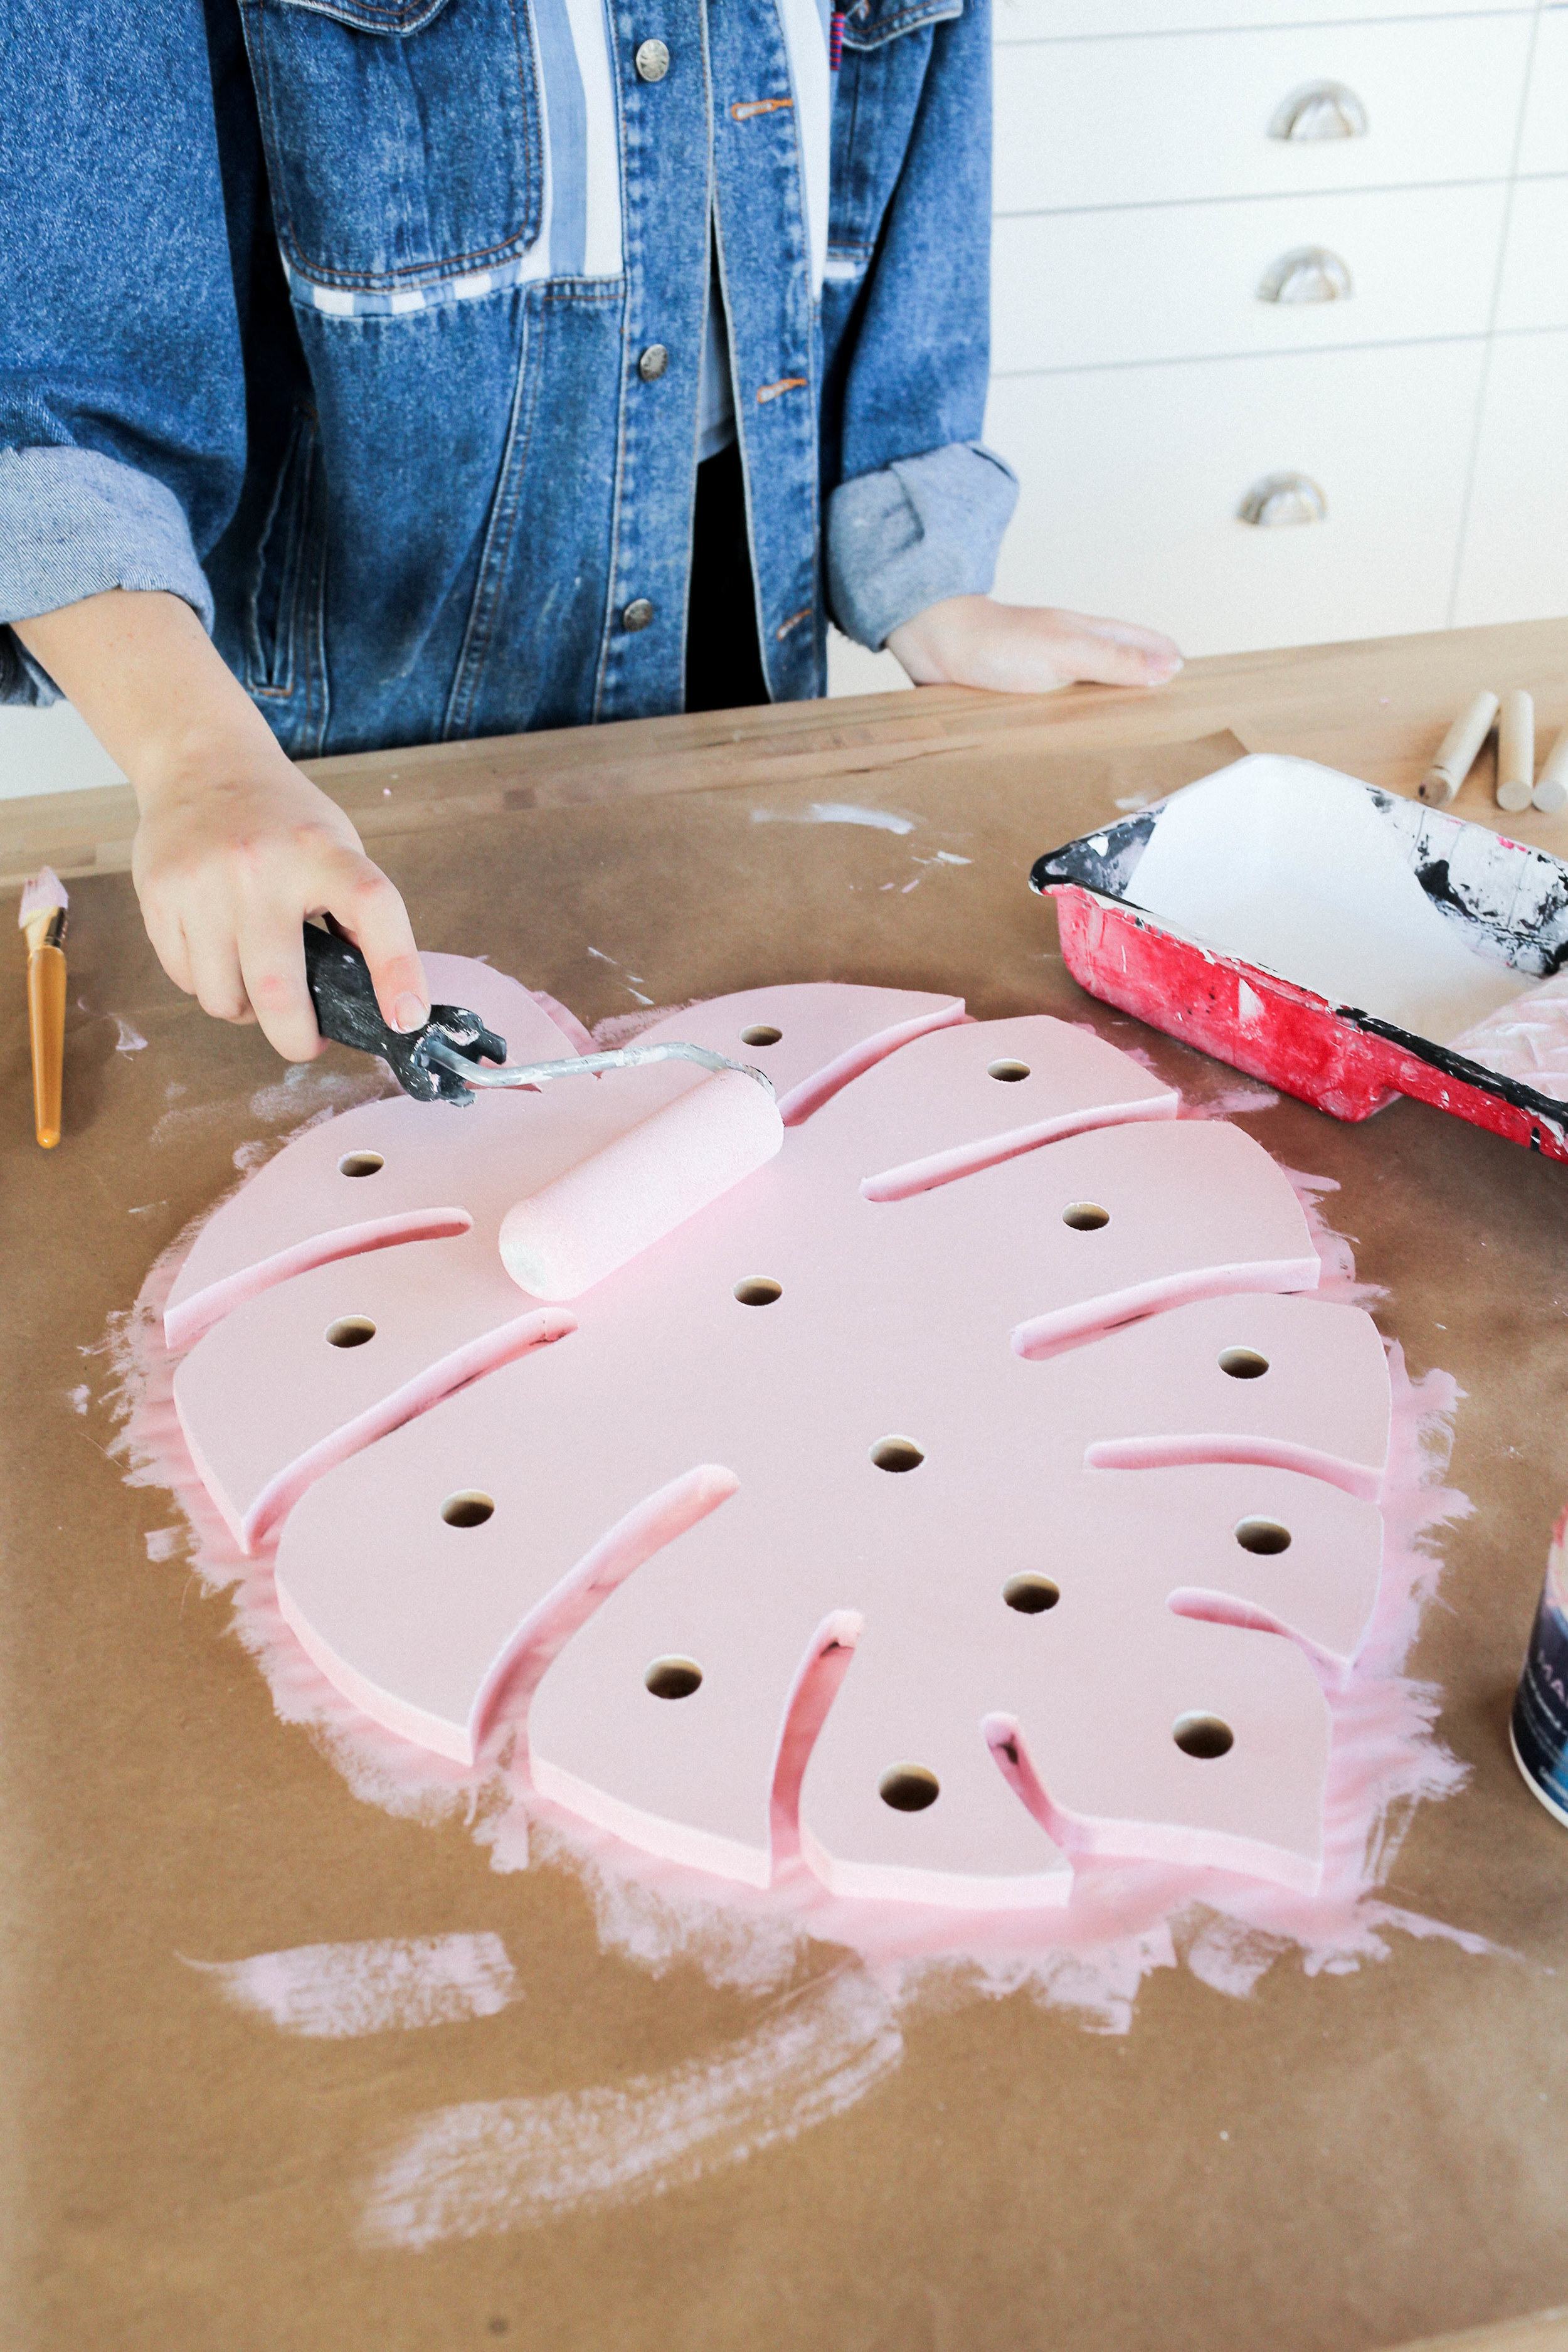
RAYNA’S MONSTERA PEGBOARD

Materials:
MDF
Primer
Pink paint
Tools:
Jigsaw
Drill
Wood drill bit
Sandpaper
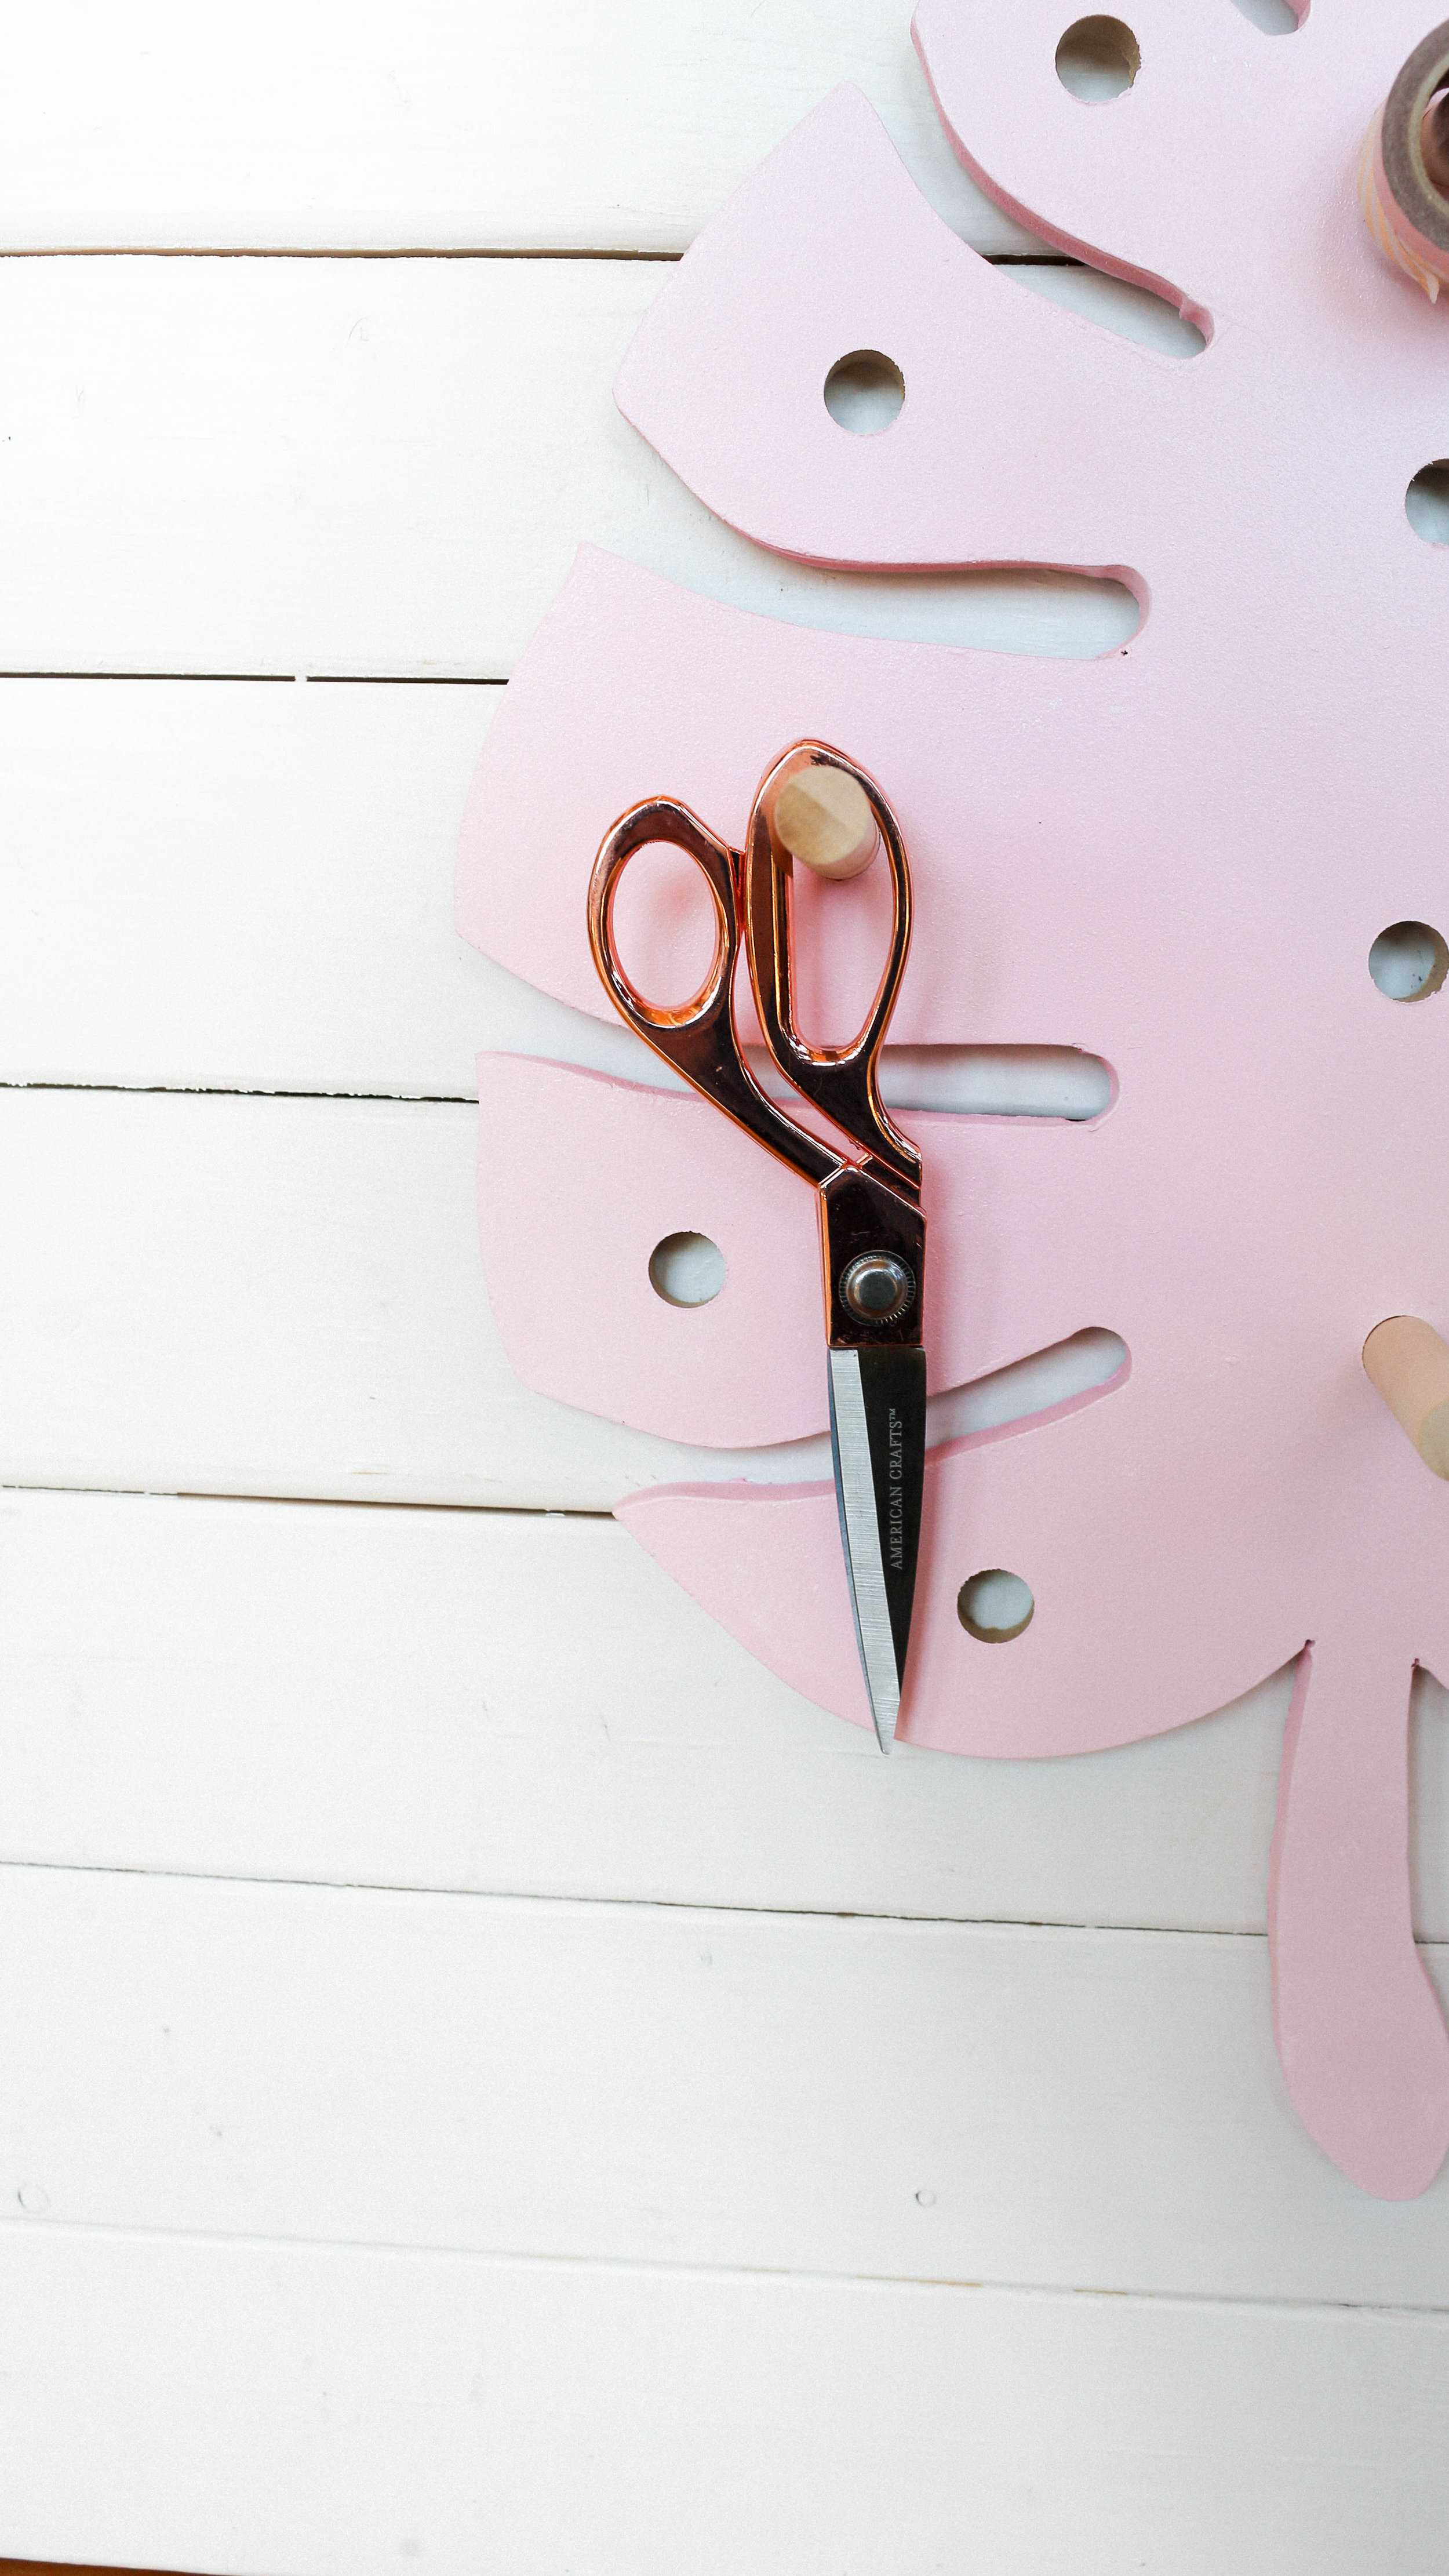
We started by printing our our monstera leaf template (you can find it here). We modified the template by adding a stem and ignoring the holes in the middle. We then cut out the template and traced it onto a piece of MDF.
To cut the shape out, we went ahead and used a jigsaw! A tip to making your life way easier is to drill holes where the leaf shape meets another leaf so that when you are cutting out the shape, the inside corners look perfect!

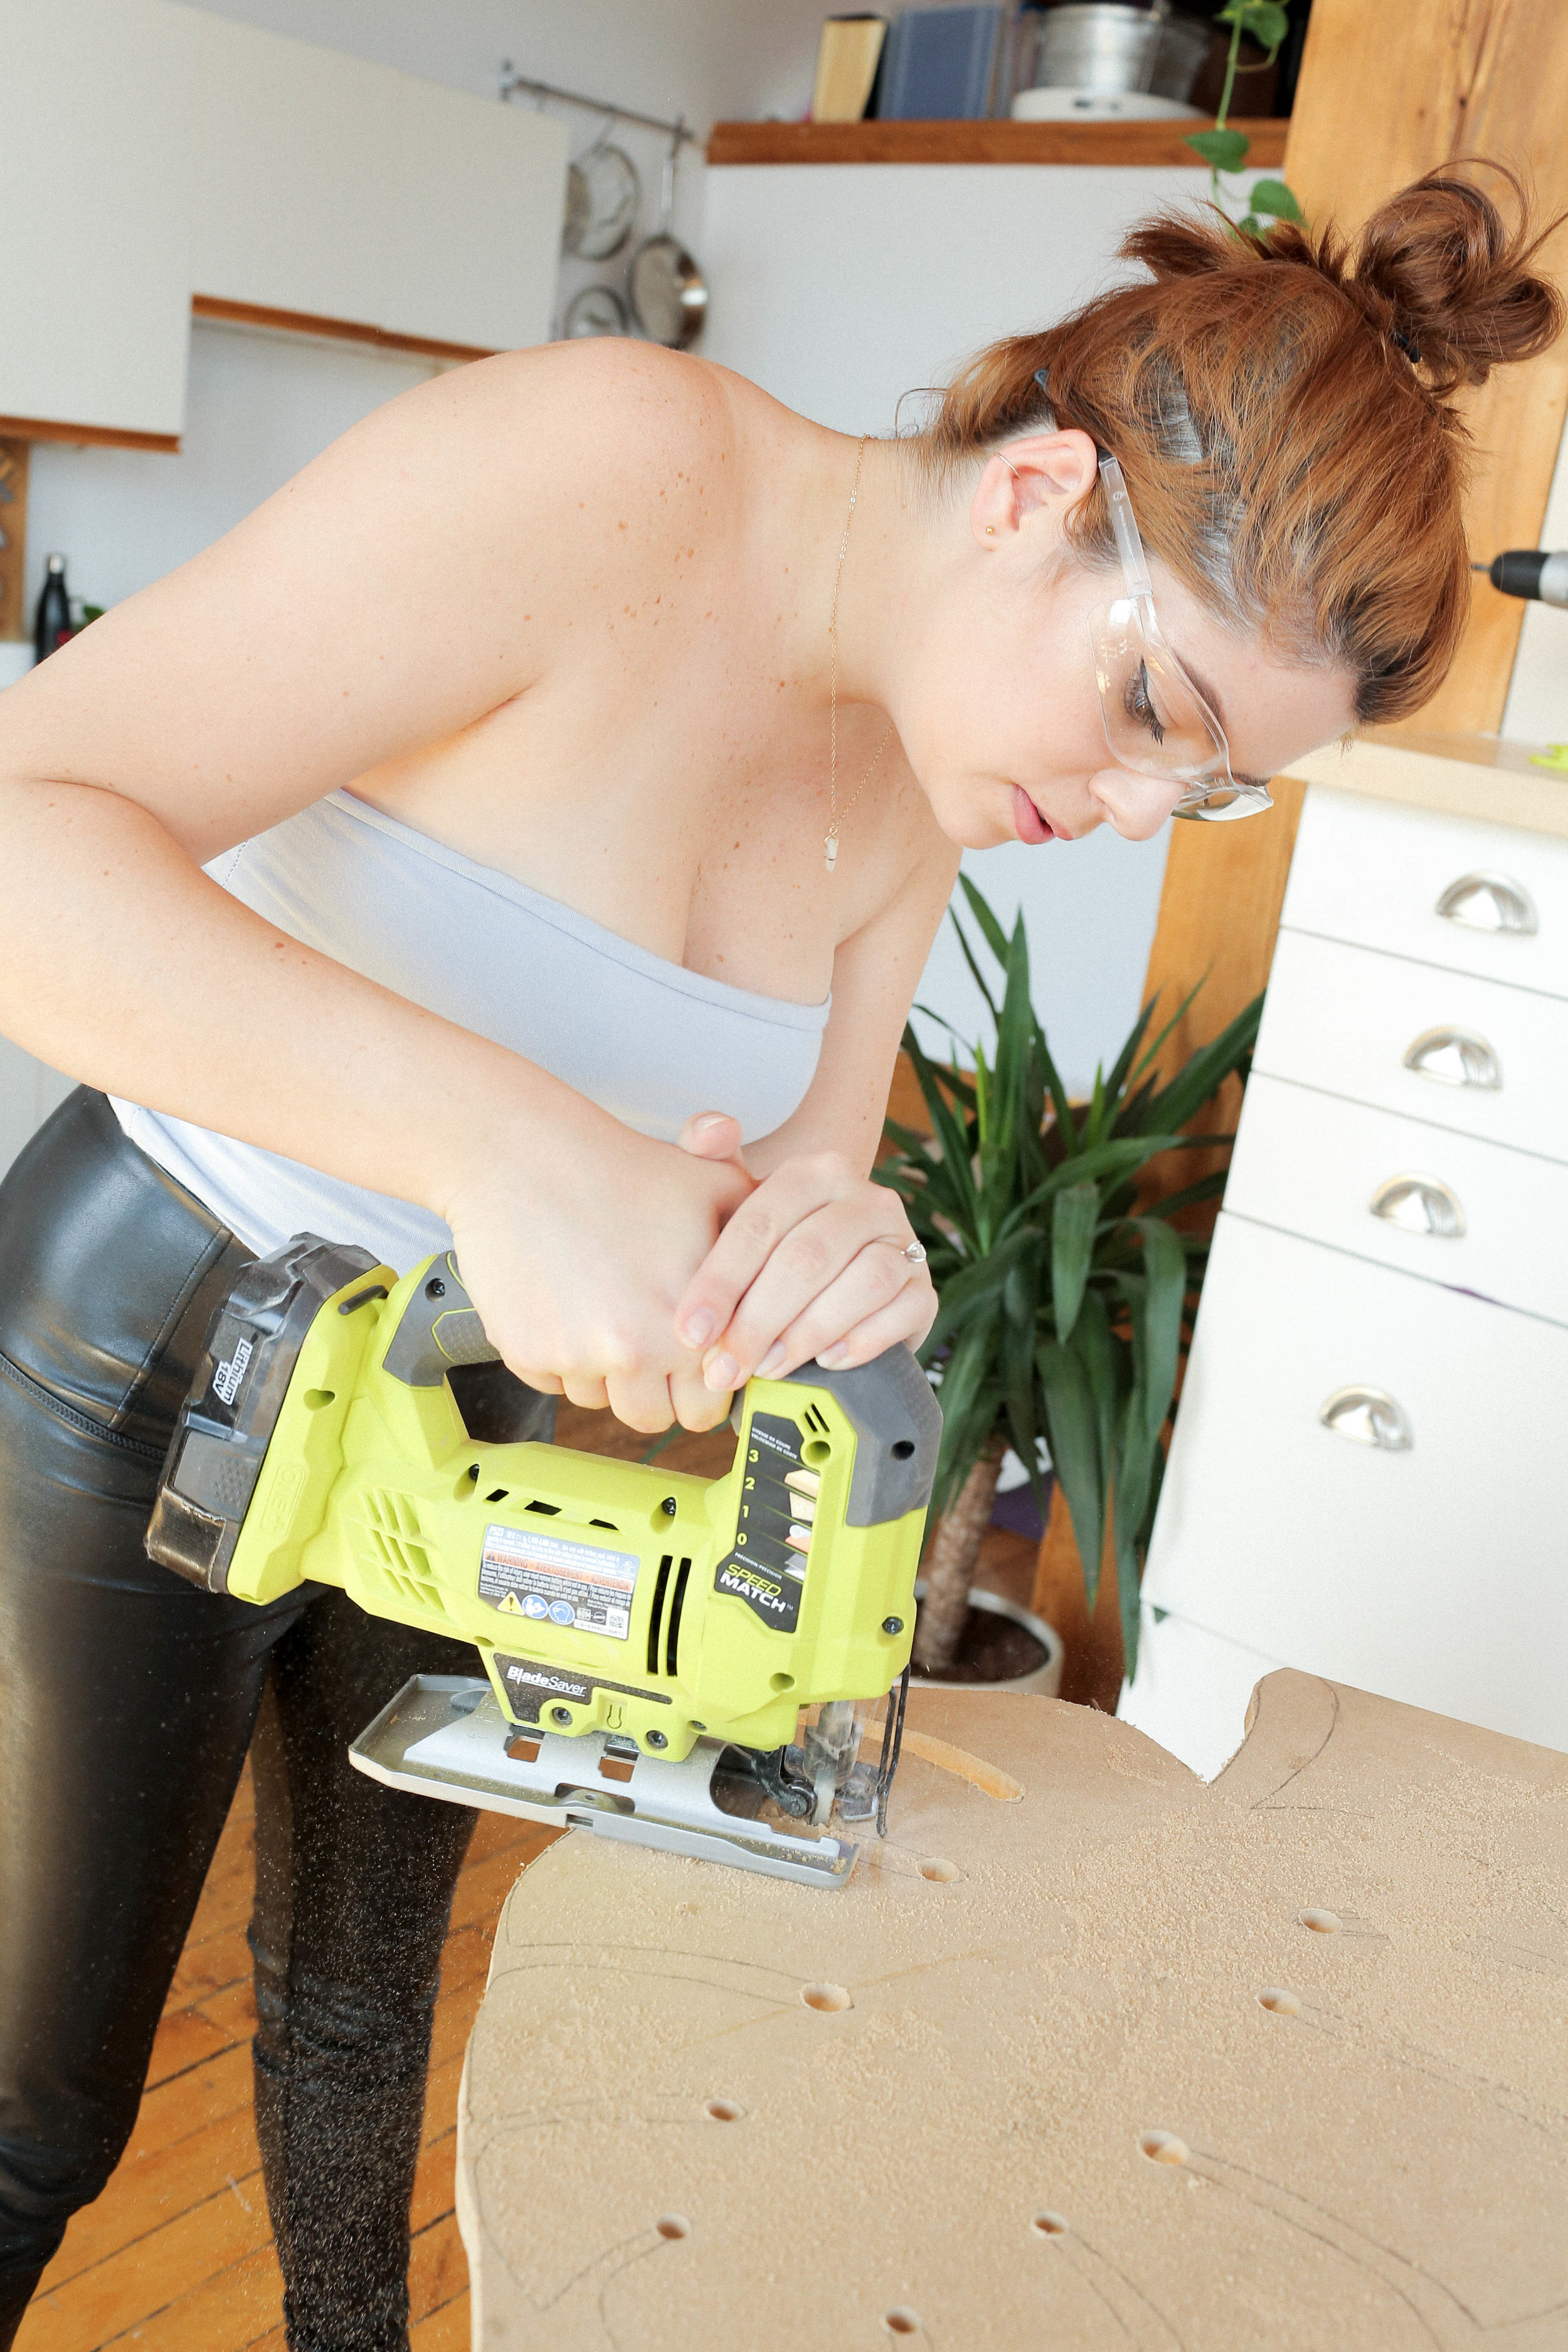
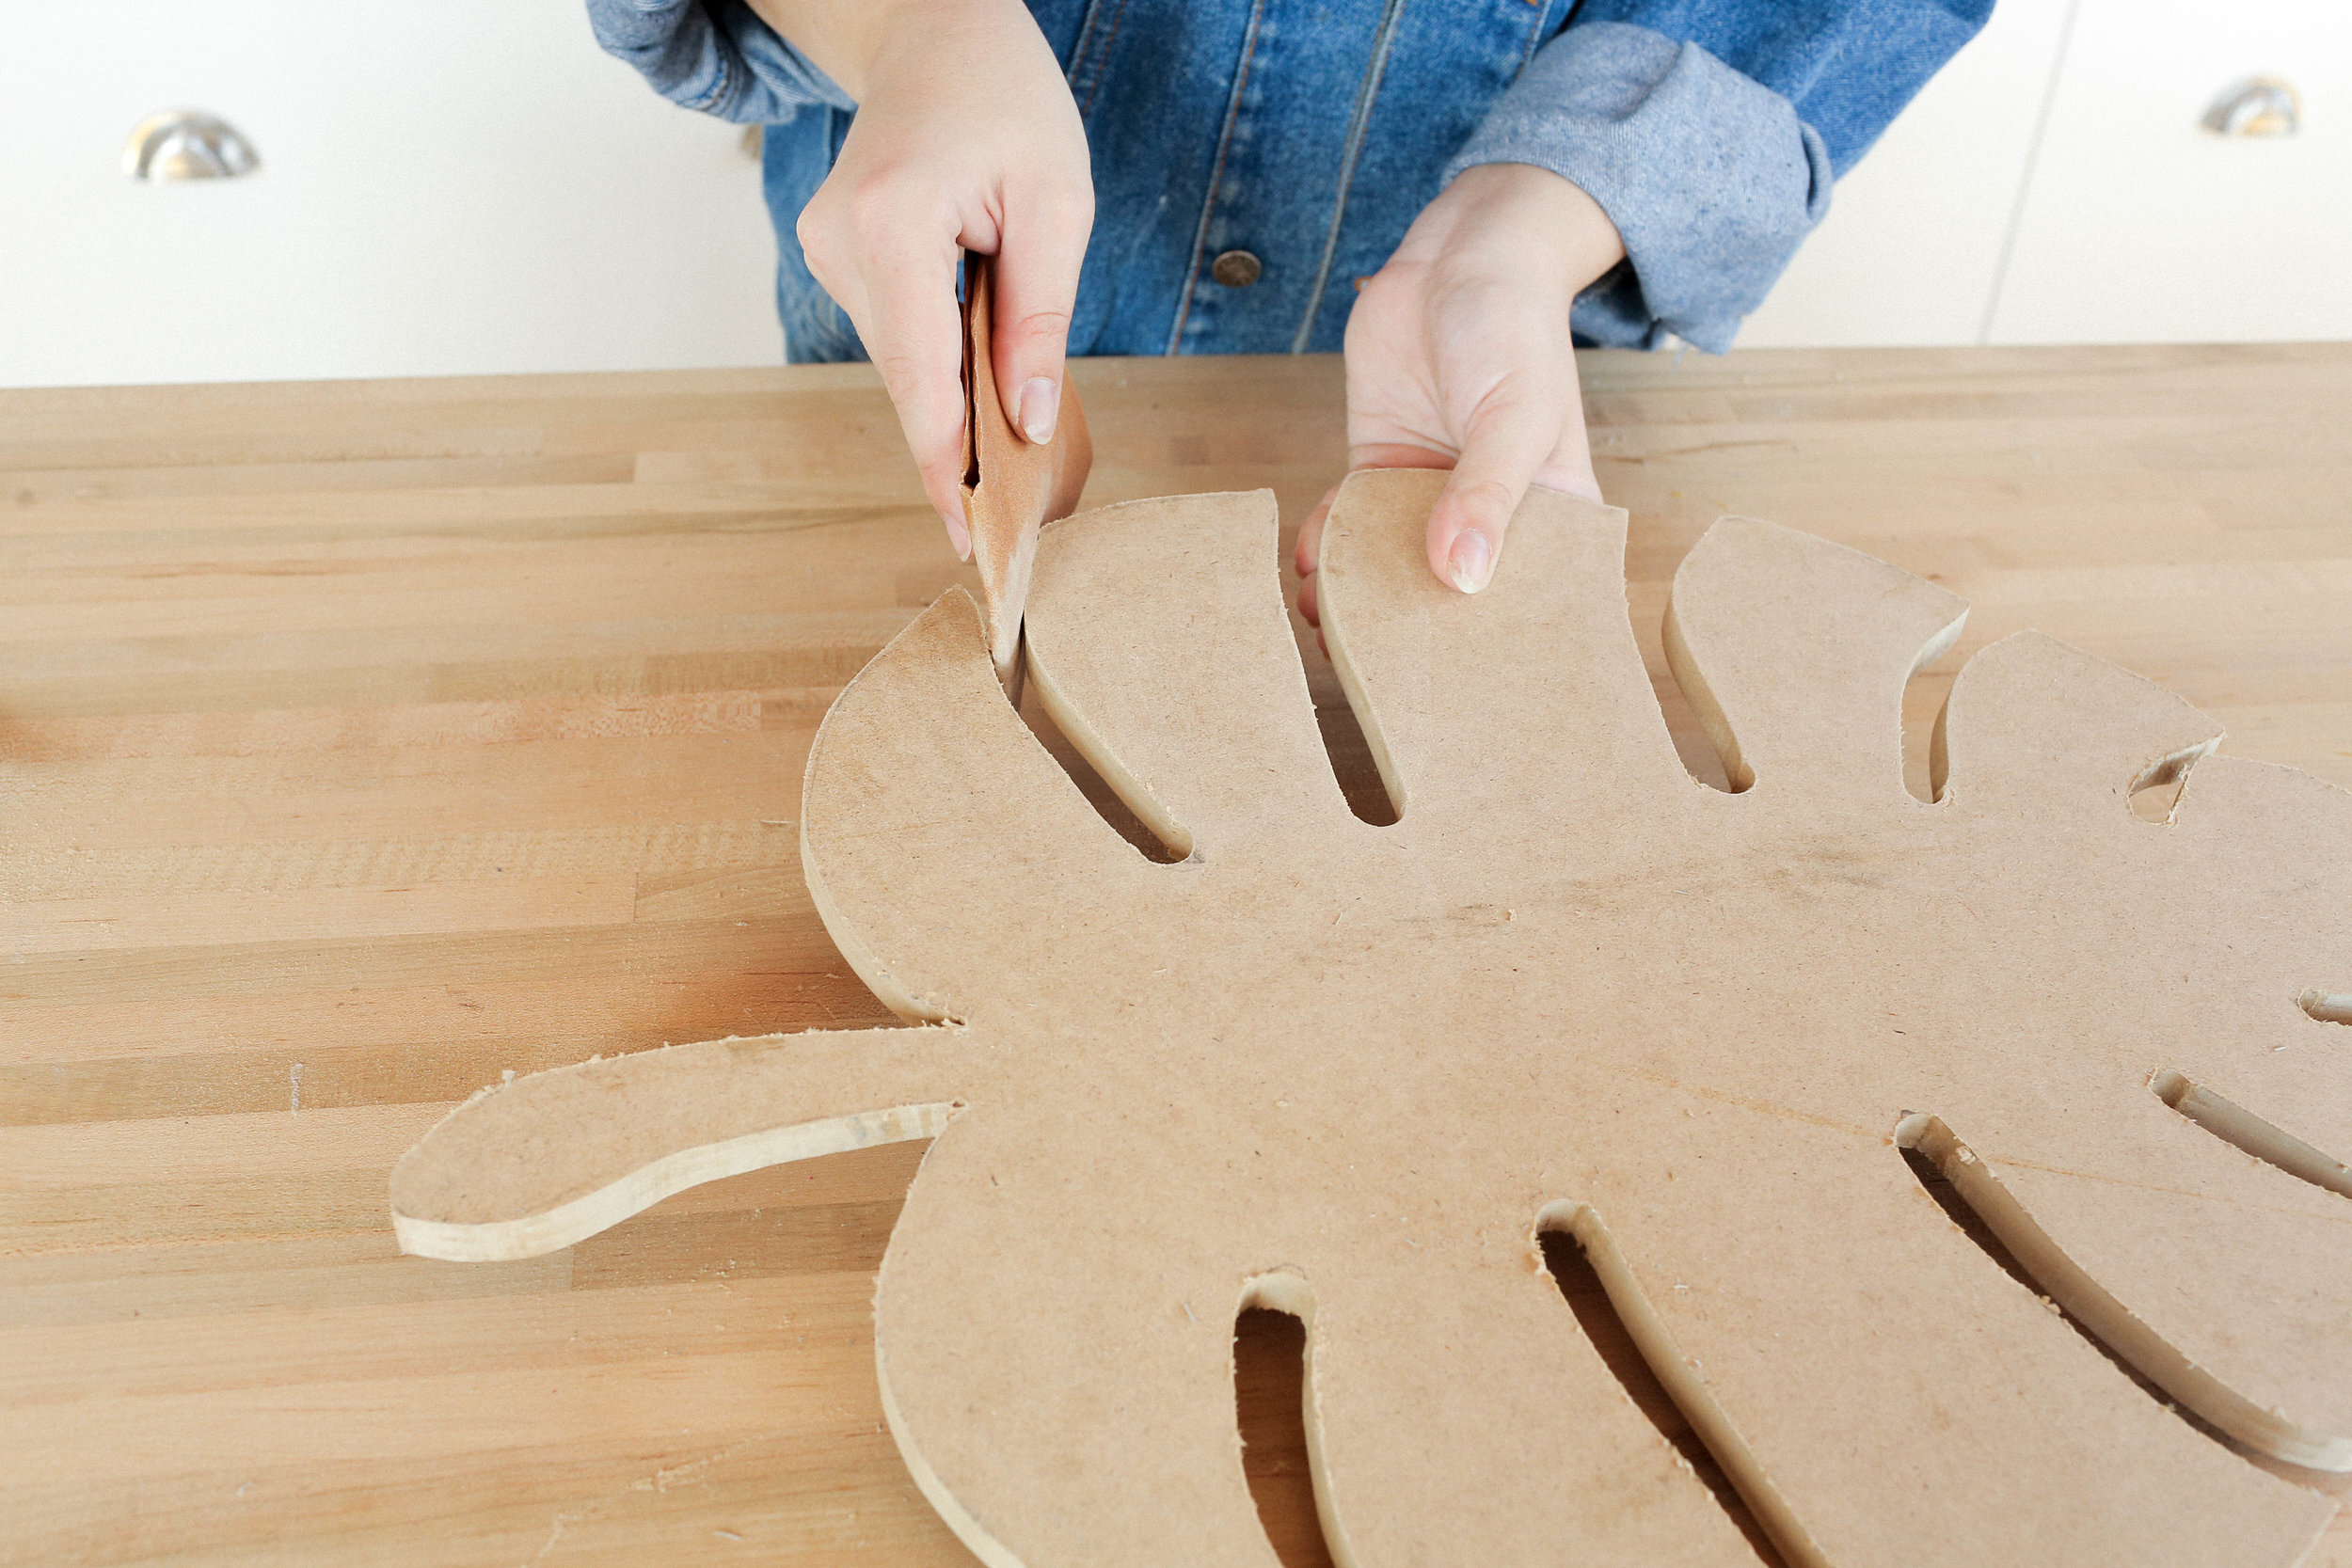
So, we started by drilling all of our holes, then working around the shape using a jigsaw! Once cut, go ahead and sand it to remove any rough edges!
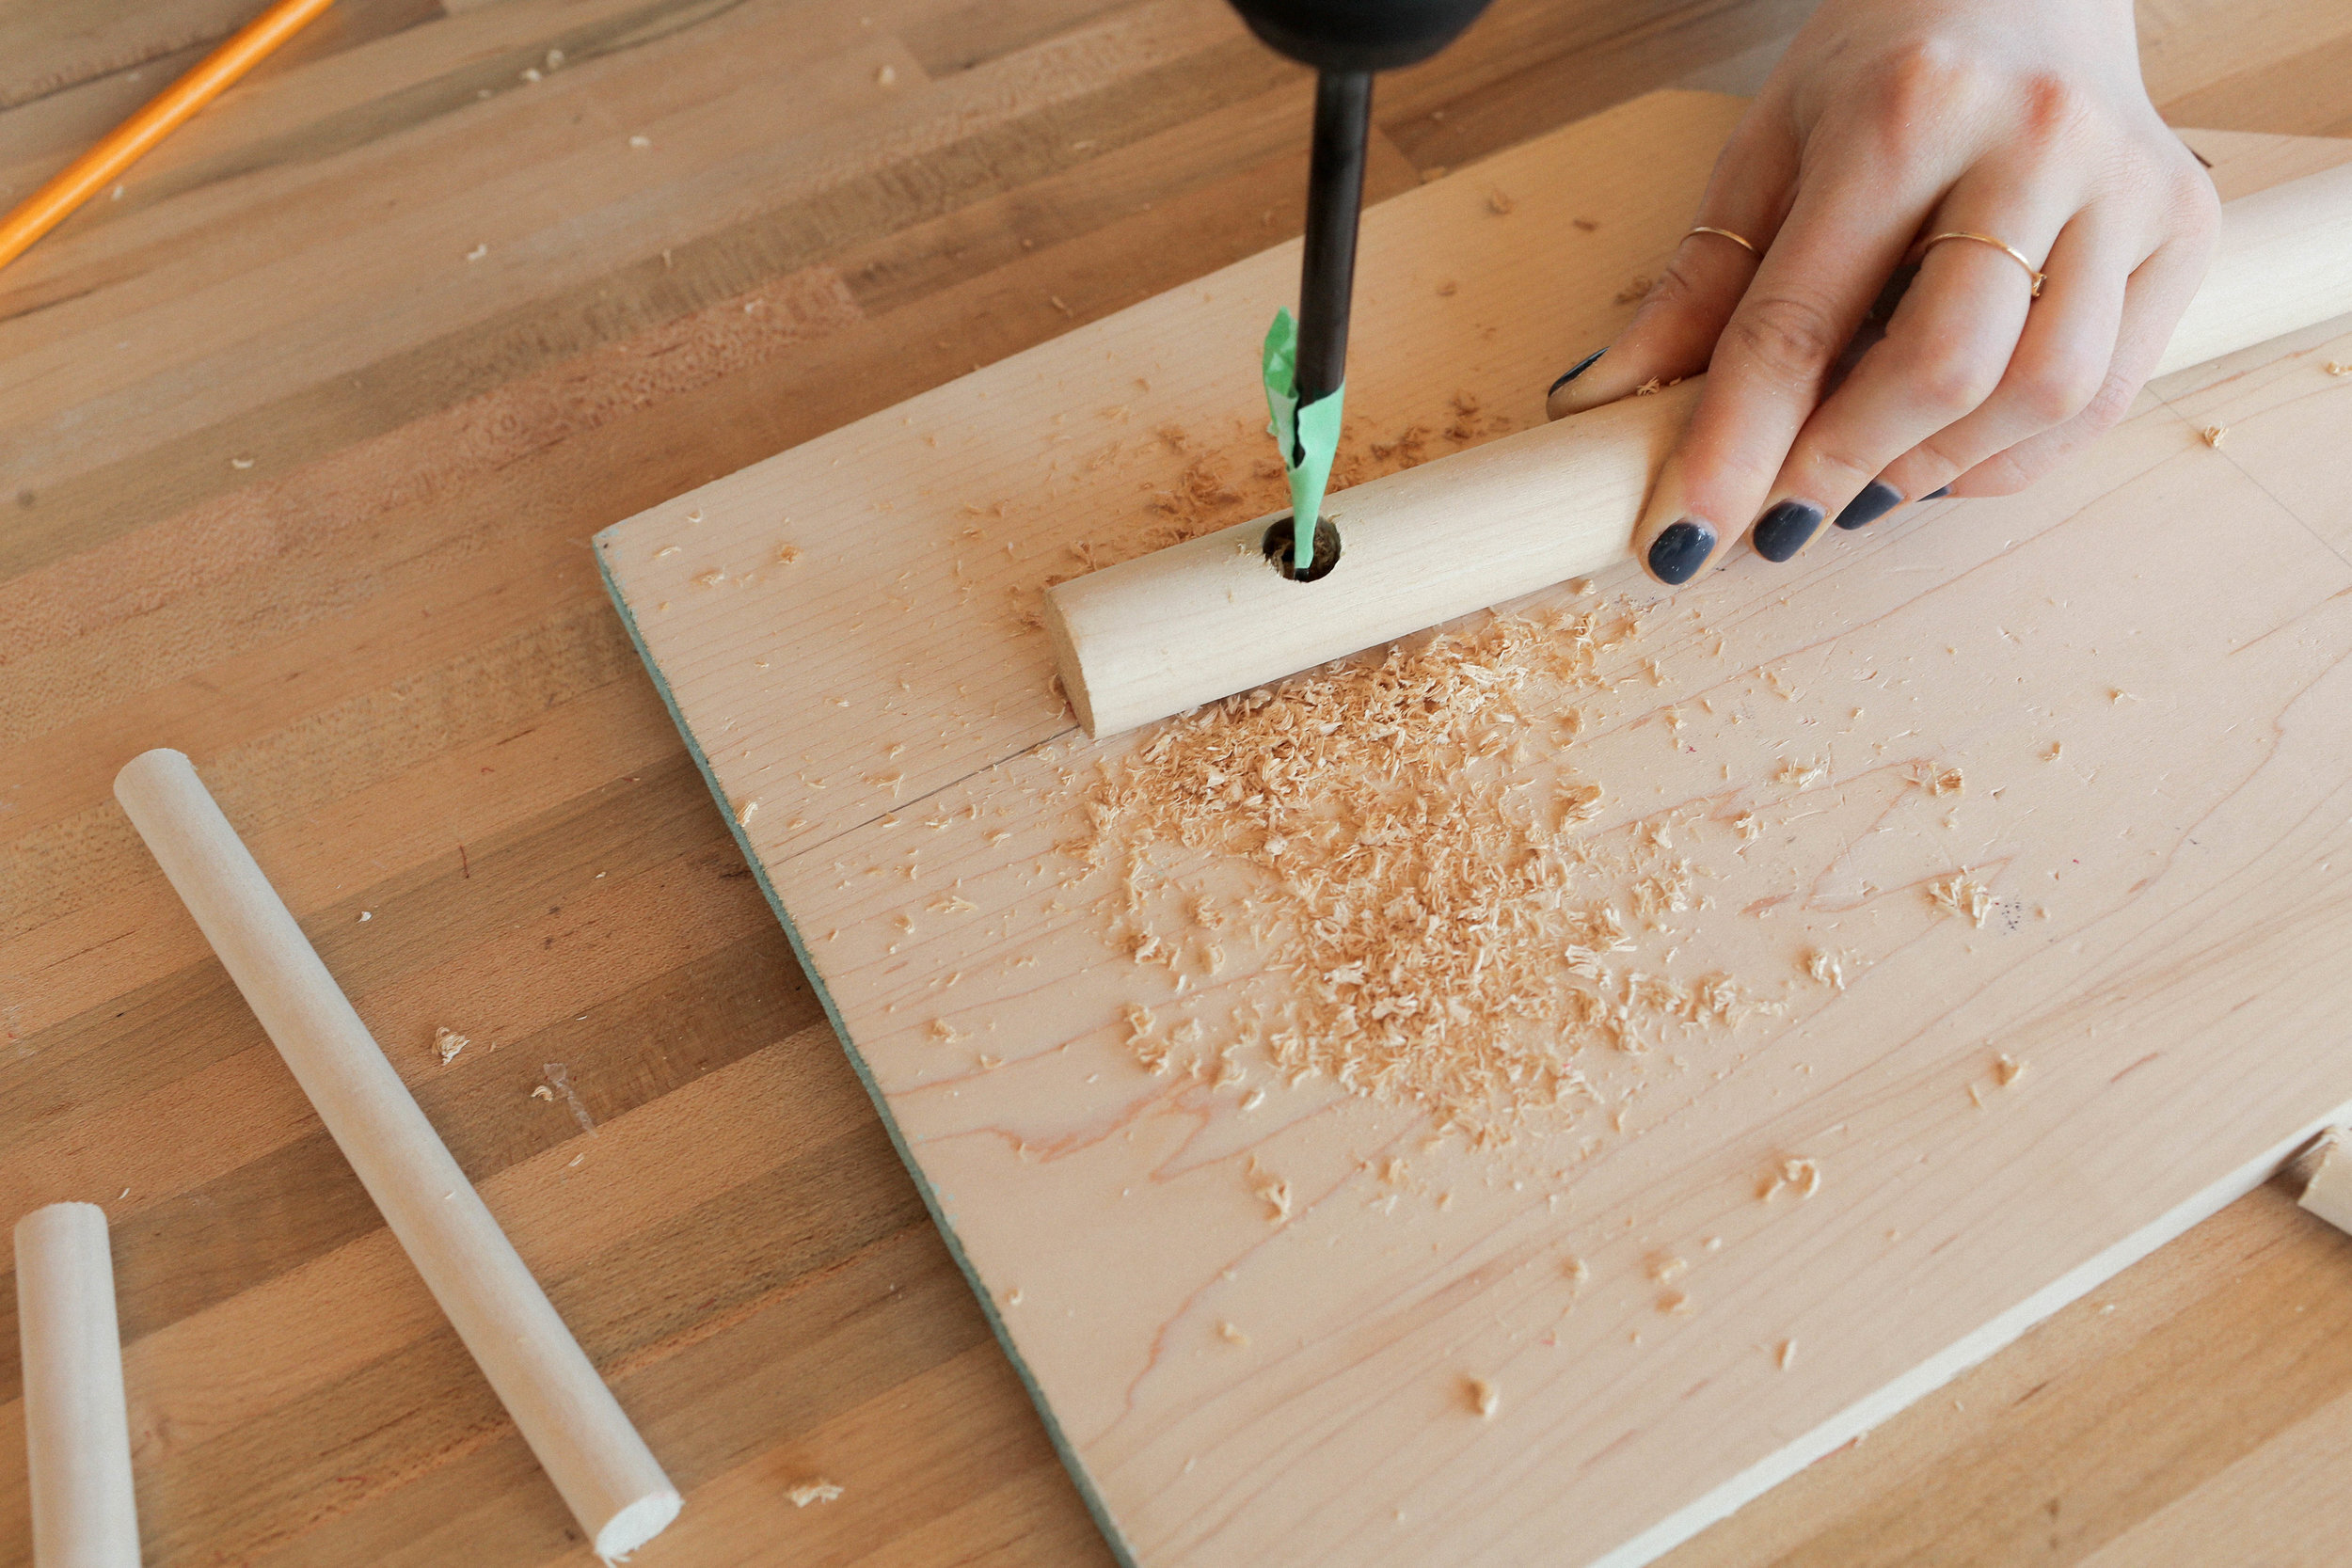
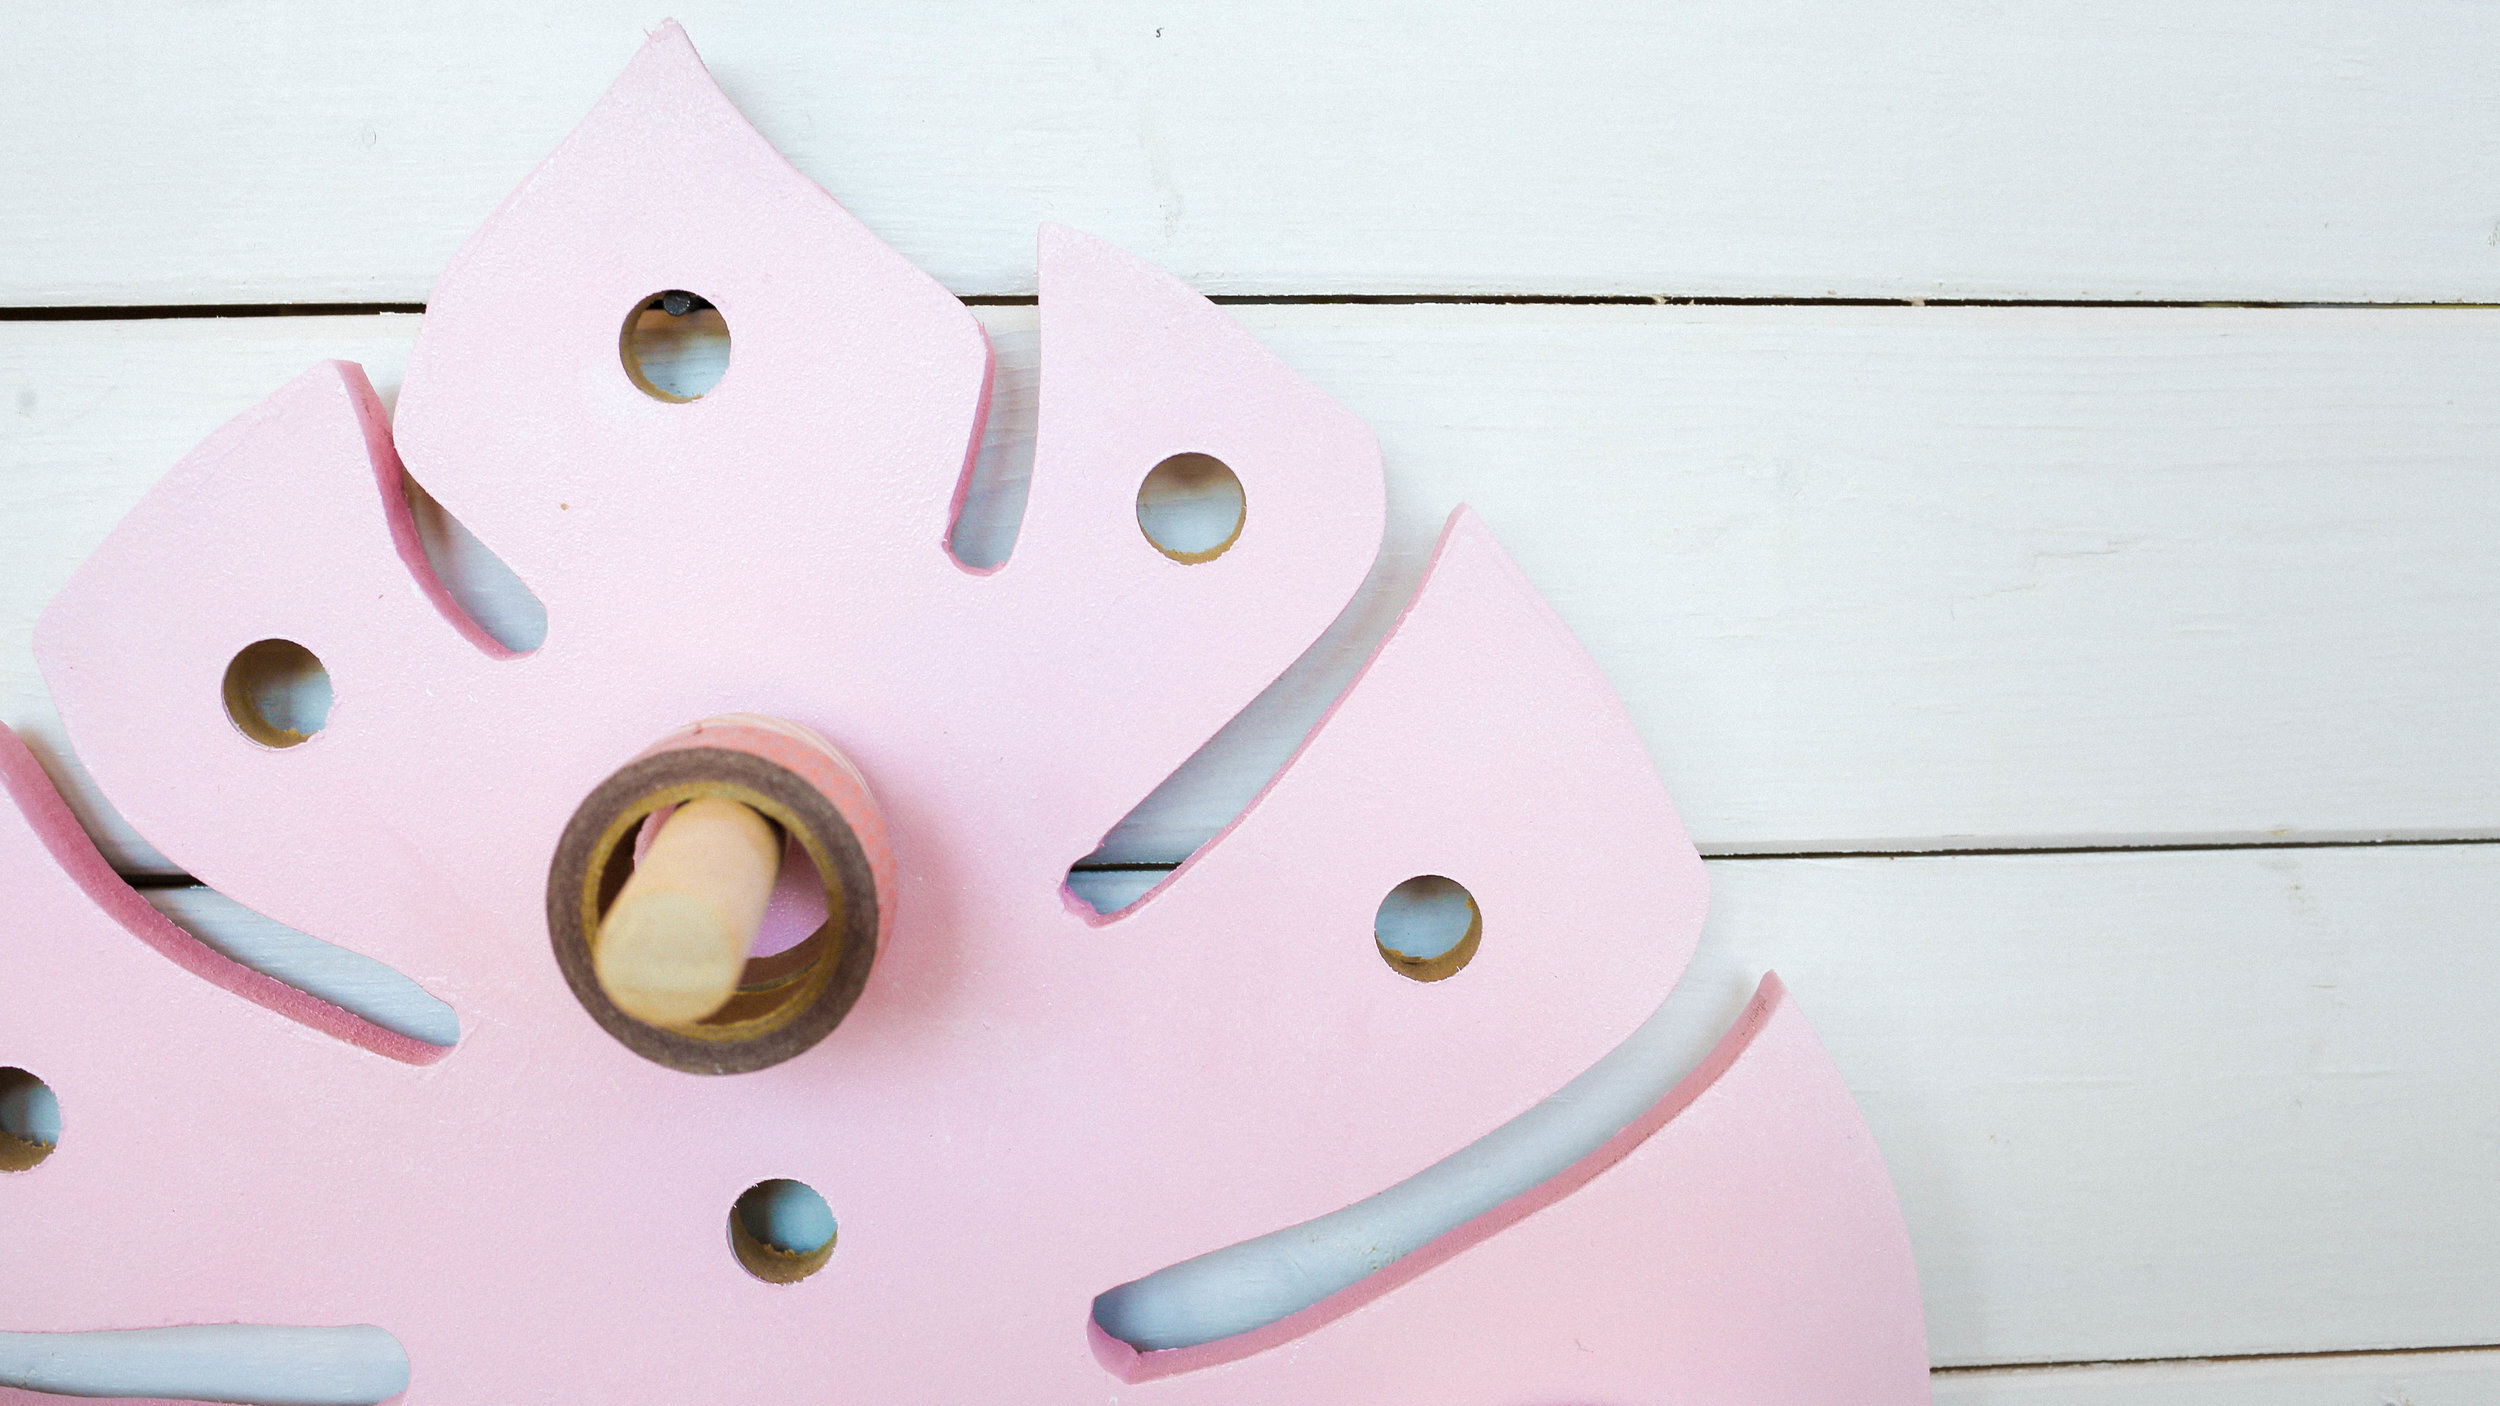
Next, to make the holes for the pegboard. We marked (kind of sporadically) where we thought it would make the most sense for the holes to go, and drilled them using a drill bit the size of our pegs!

Next is to paint it. You can paint it whatever colour you want, we decided to go with baby pink! And that’s it! Add a picture hanger and hang it on the wall!


And that’s it! Be sure to follow us on Instagram (@thesorrygirls) and maybe we’ll make your DM next time! Tag us in your DIYs if you make any of the ones seen today! Also be sure to check out the video below!
Recommended posts


Vivamus pellentesque vitae neque at vestibulum. Donec efficitur mollis dui vel pharetra.