
DIY OUTDOOR PALLET SWING

DIY OUTDOOR PALLET SWING
Cost: ~$30
Difficulty: ✂ ✂ ✂
Tools:
– Saw
– Sandpaper or Power Sander
– Drill + Wood Screws
– Paint Brushes + Roller Brush
– Scissors
– Tape
– Lighter
– Ladder
– Sewing Machine (optional)
Materials:
– 2 Pallets
– Outdoor Paint
– Durable Nylon Rope (make sure it’s rated to support a large amount of weight!)
– Outdoor Fabric + Patio Cushions (optional)

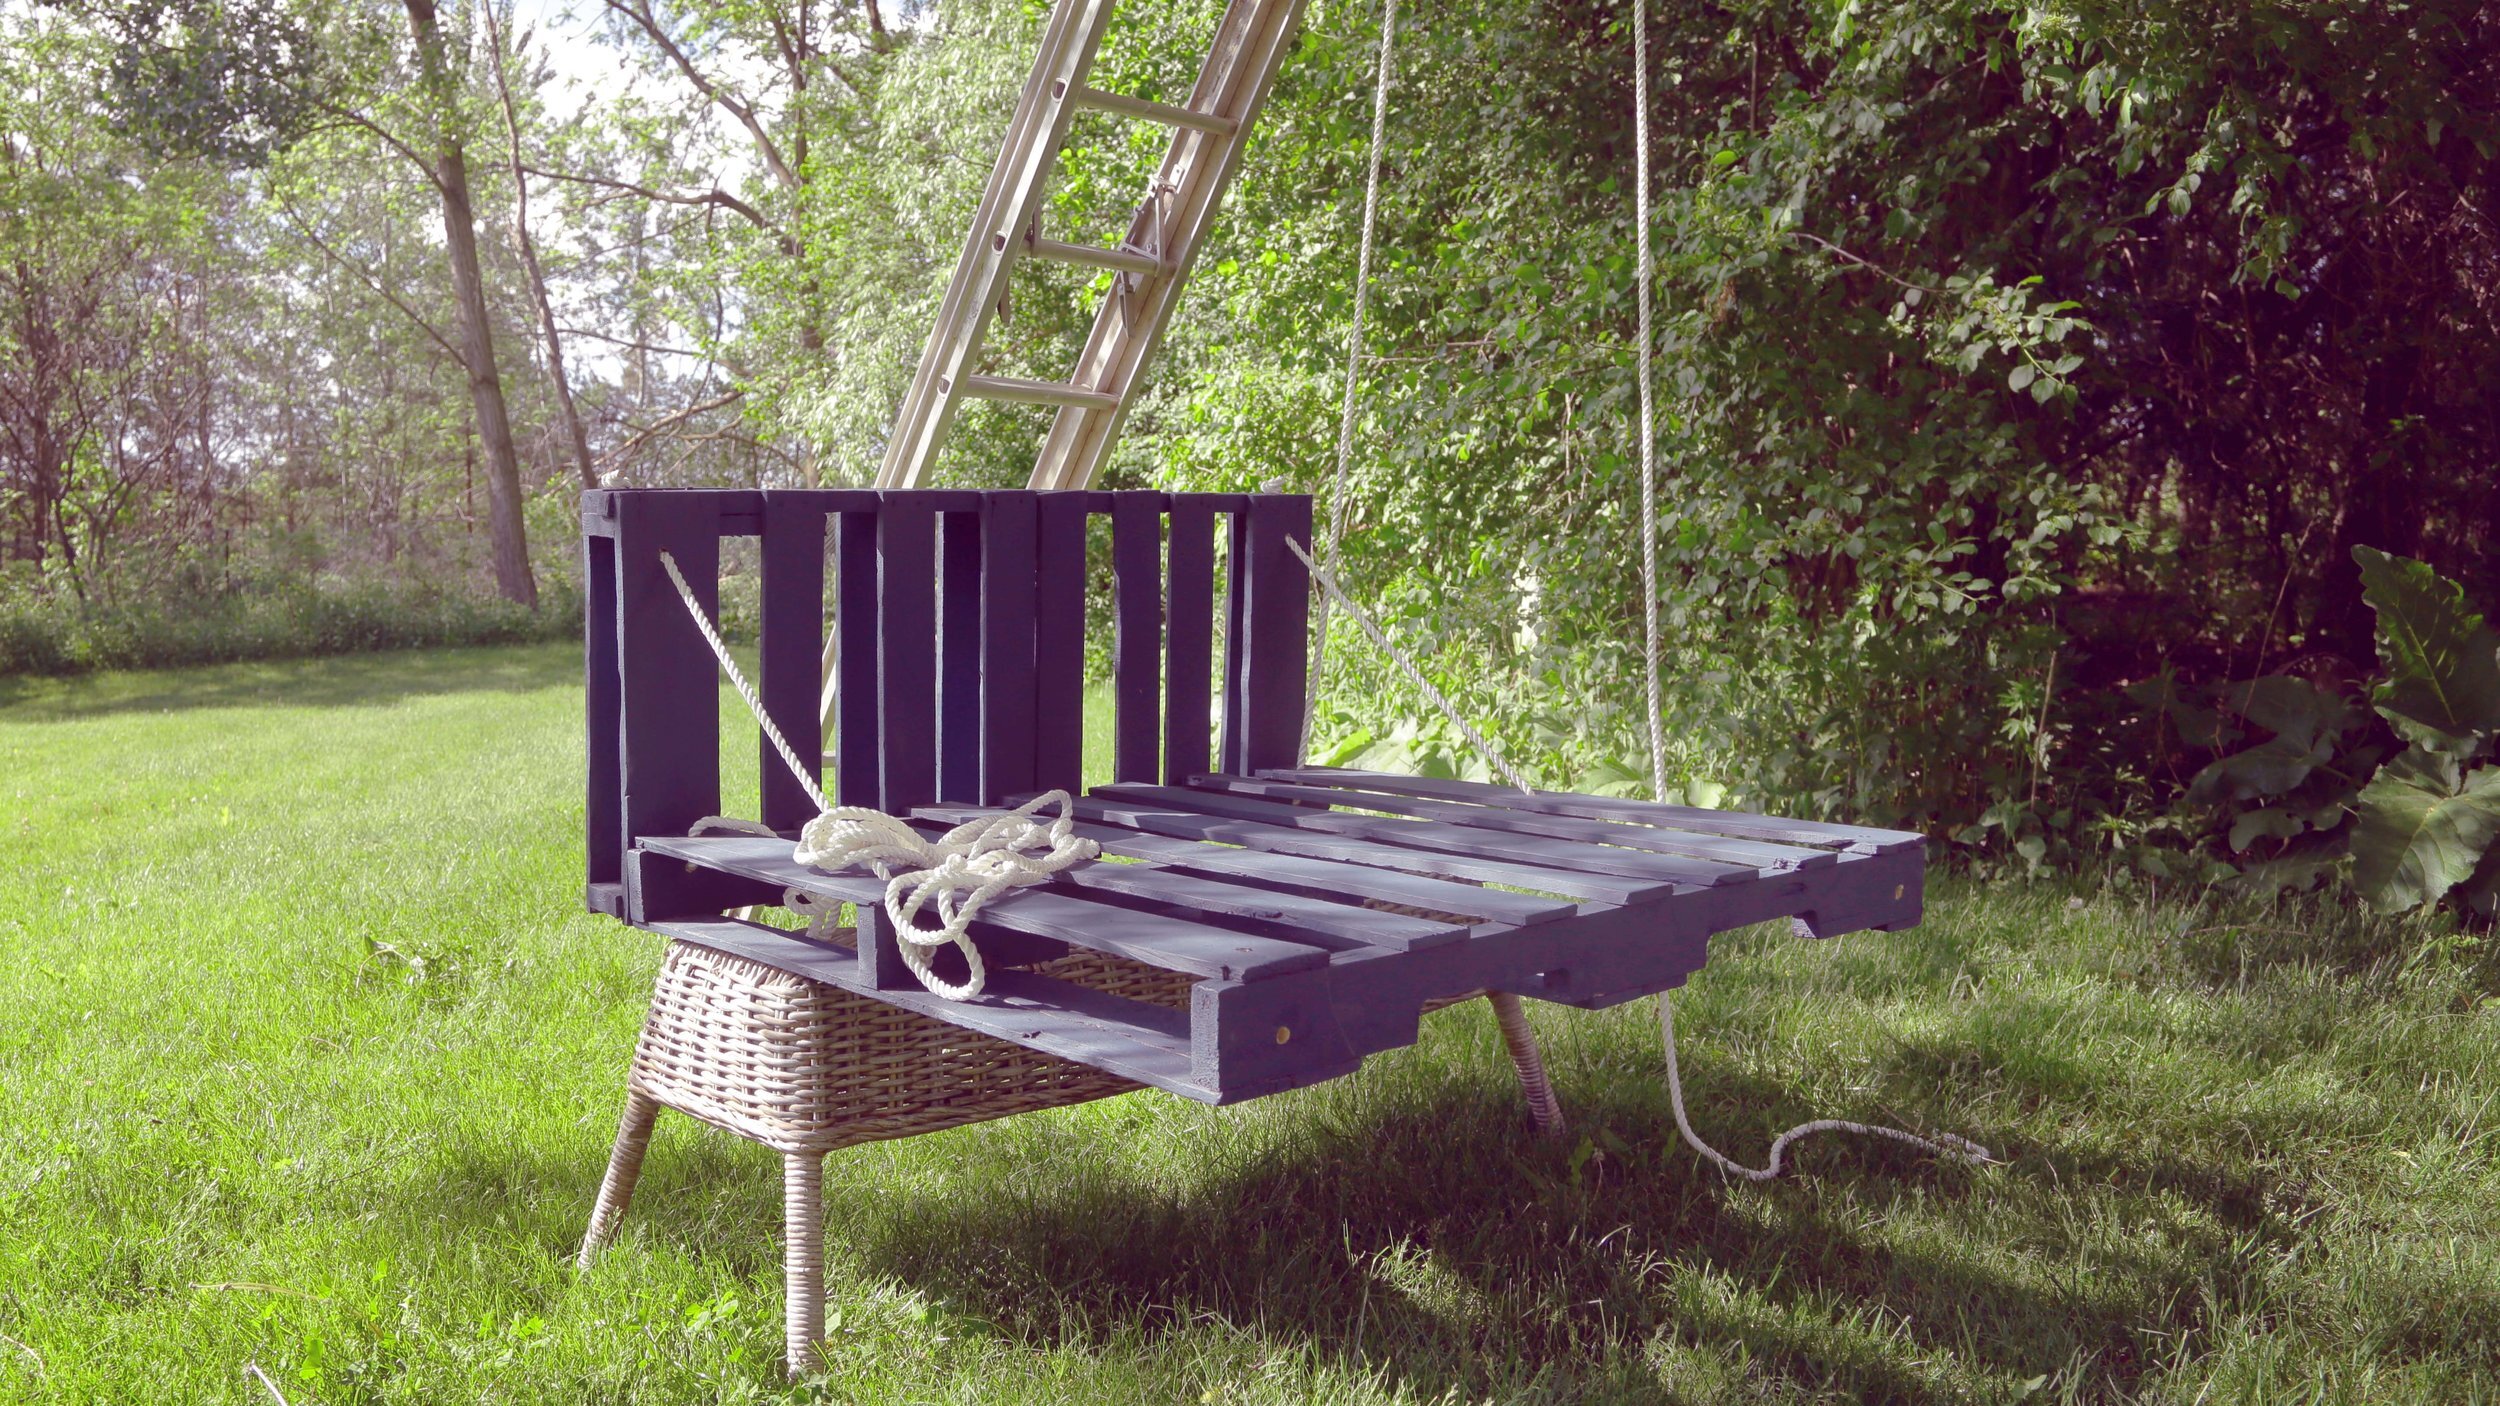
To make this hanging pallet swing we started with two shipping pallets
The first we cut in half use as our back support
Use an electric sander or some sand paper to give your pallets a good sand, try to get off as much dirt and wood grime as possible
Once they’re both completely sanded, front and back, wipe them off well to get rid of all dust
Before we get painting we’re laying down a drop cloth
To paint the pallet we’re using an outdoor wood paint in a deep navy tone
Using the combo of a roller for large flat areas and paint brush for tighter spots, we painted the entire pallet
Make sure once it’s dry you do a second coat! This keeps your wood protected and the colour looks much more vivid

Once both pieces were painted and dry line up your half piece behind the full pallet
Using some wood screws and a drill, drill into the verticle boards of the short piece and into the long back piece of the large pallet. This will hold it together pretty well but we’re also adding some rope for extra support
For our rope we’re using this white nylon rope, make sure you pick a rope that is durable and can hold up to a large amount of weight
We don’t want to put our rope solely through the thin boards so for extra support we’re having it go through the top and out the side. Use a drill bit the size of your rope and drill two holes
For the other side of the rope, we’re also going in through the top and out the middle stronger board.
After your holes are drilled lace your rope in through the side hole and then out through the top rope. Tie the rope tightly in a knot
For the other end, measure out how much you’ll need. To cut the rope, tie a piece of tape tightly where to want to make the cut. Cut the rope in half through the tape. Use a lighter to slightly burn the ends of the rope together. Now you’re good to finish lacing the rope through the other holes and tie it tightly in a knot
Our back rest is now super secure, make sure to repeat this on the other side as well!

For our main ropes we’ll be using to hang the swing, we’re adding two holes similar to the ones we just made. Start by drilling a hole down through the top board and then one out through the back board.
Thread your rope down through the top and out the back. Add a knot and repeat on the other side.
We drilled four sets of these holes on each corner but we’ve only knotted in the backs of each side. We’ll tie up the front two holes once we get to our tree
For our swing cushion we’re combining these two old patio cushions we had. We created one large slip cover out of this outdoor flamingo pattern fabric. We put the two cushions inside to create one large pallet sized mattress
To hang the swing, set it on something about the height you’d like it to sit so you don’t have to hold it up for the entire hanging process.
Make sure you choose a tree with a VERY secure branch because pallets are heavy!
Use a ladder to swing your first rope over the branch
Loop the rope around the branch once. To add the knot, wrap the loose rope around the tight rope twice. Bring the end of the rope through the top and out the bottom
Once on the ground, lace the untied ends of your ropes through the holes the same way we did the first side. Make sure your final knots are tight!
All of the rope lacing and knot tie-ing is pretty hard to explain through text so make sure to watch the video below for full details!
