DIY WOOD WEDDING ARBOR
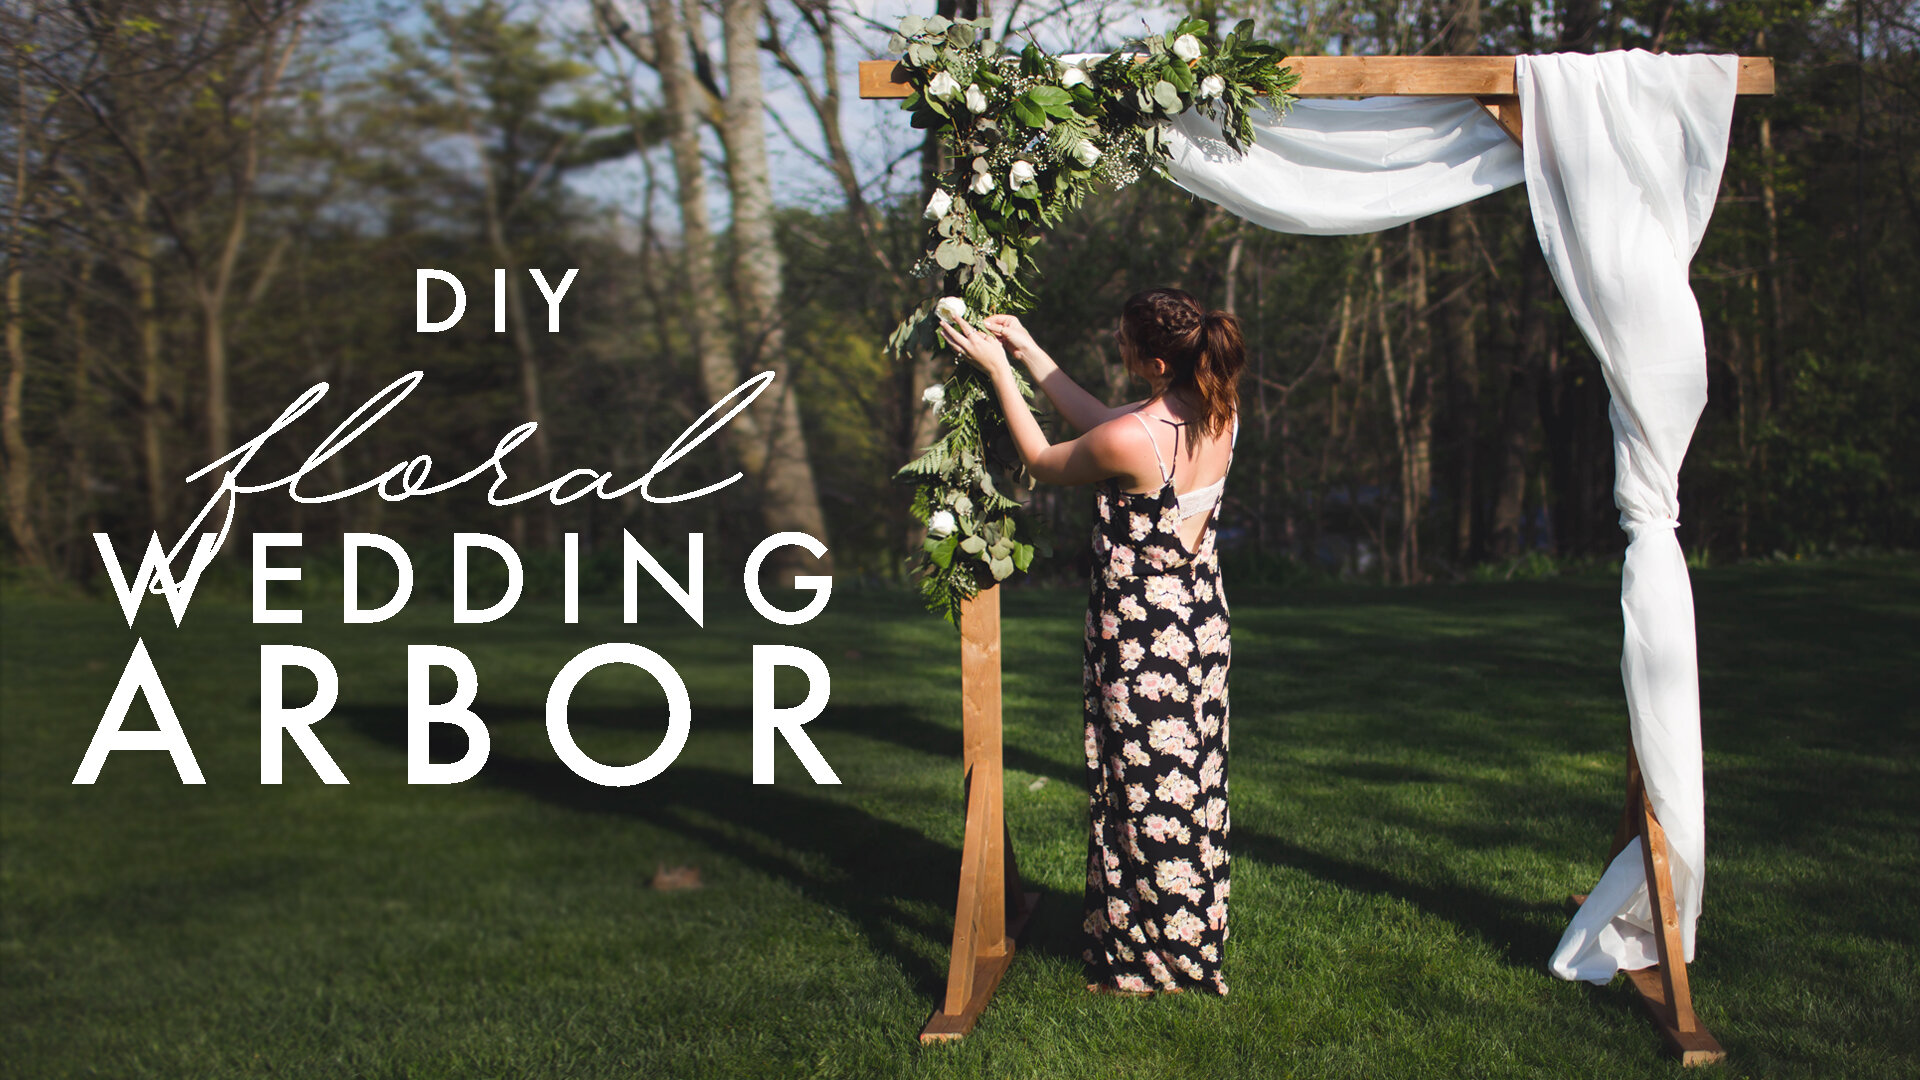
We're here to bring you ANOTHER wedding DIY! Today we're making a beautiful wedding arbor!
COST: $50-$70
DIFFICULTY: ✂
MATERIALS:
3 2x4x12 pieces of wood
1 2x4x8 piece of wood
Wood screws
Plants + flowers
Cloth (+other decor)
TOOLS:
Drill
Mitre Box
Hand Saw or Circular Saw
Measuring tape
Staple gun
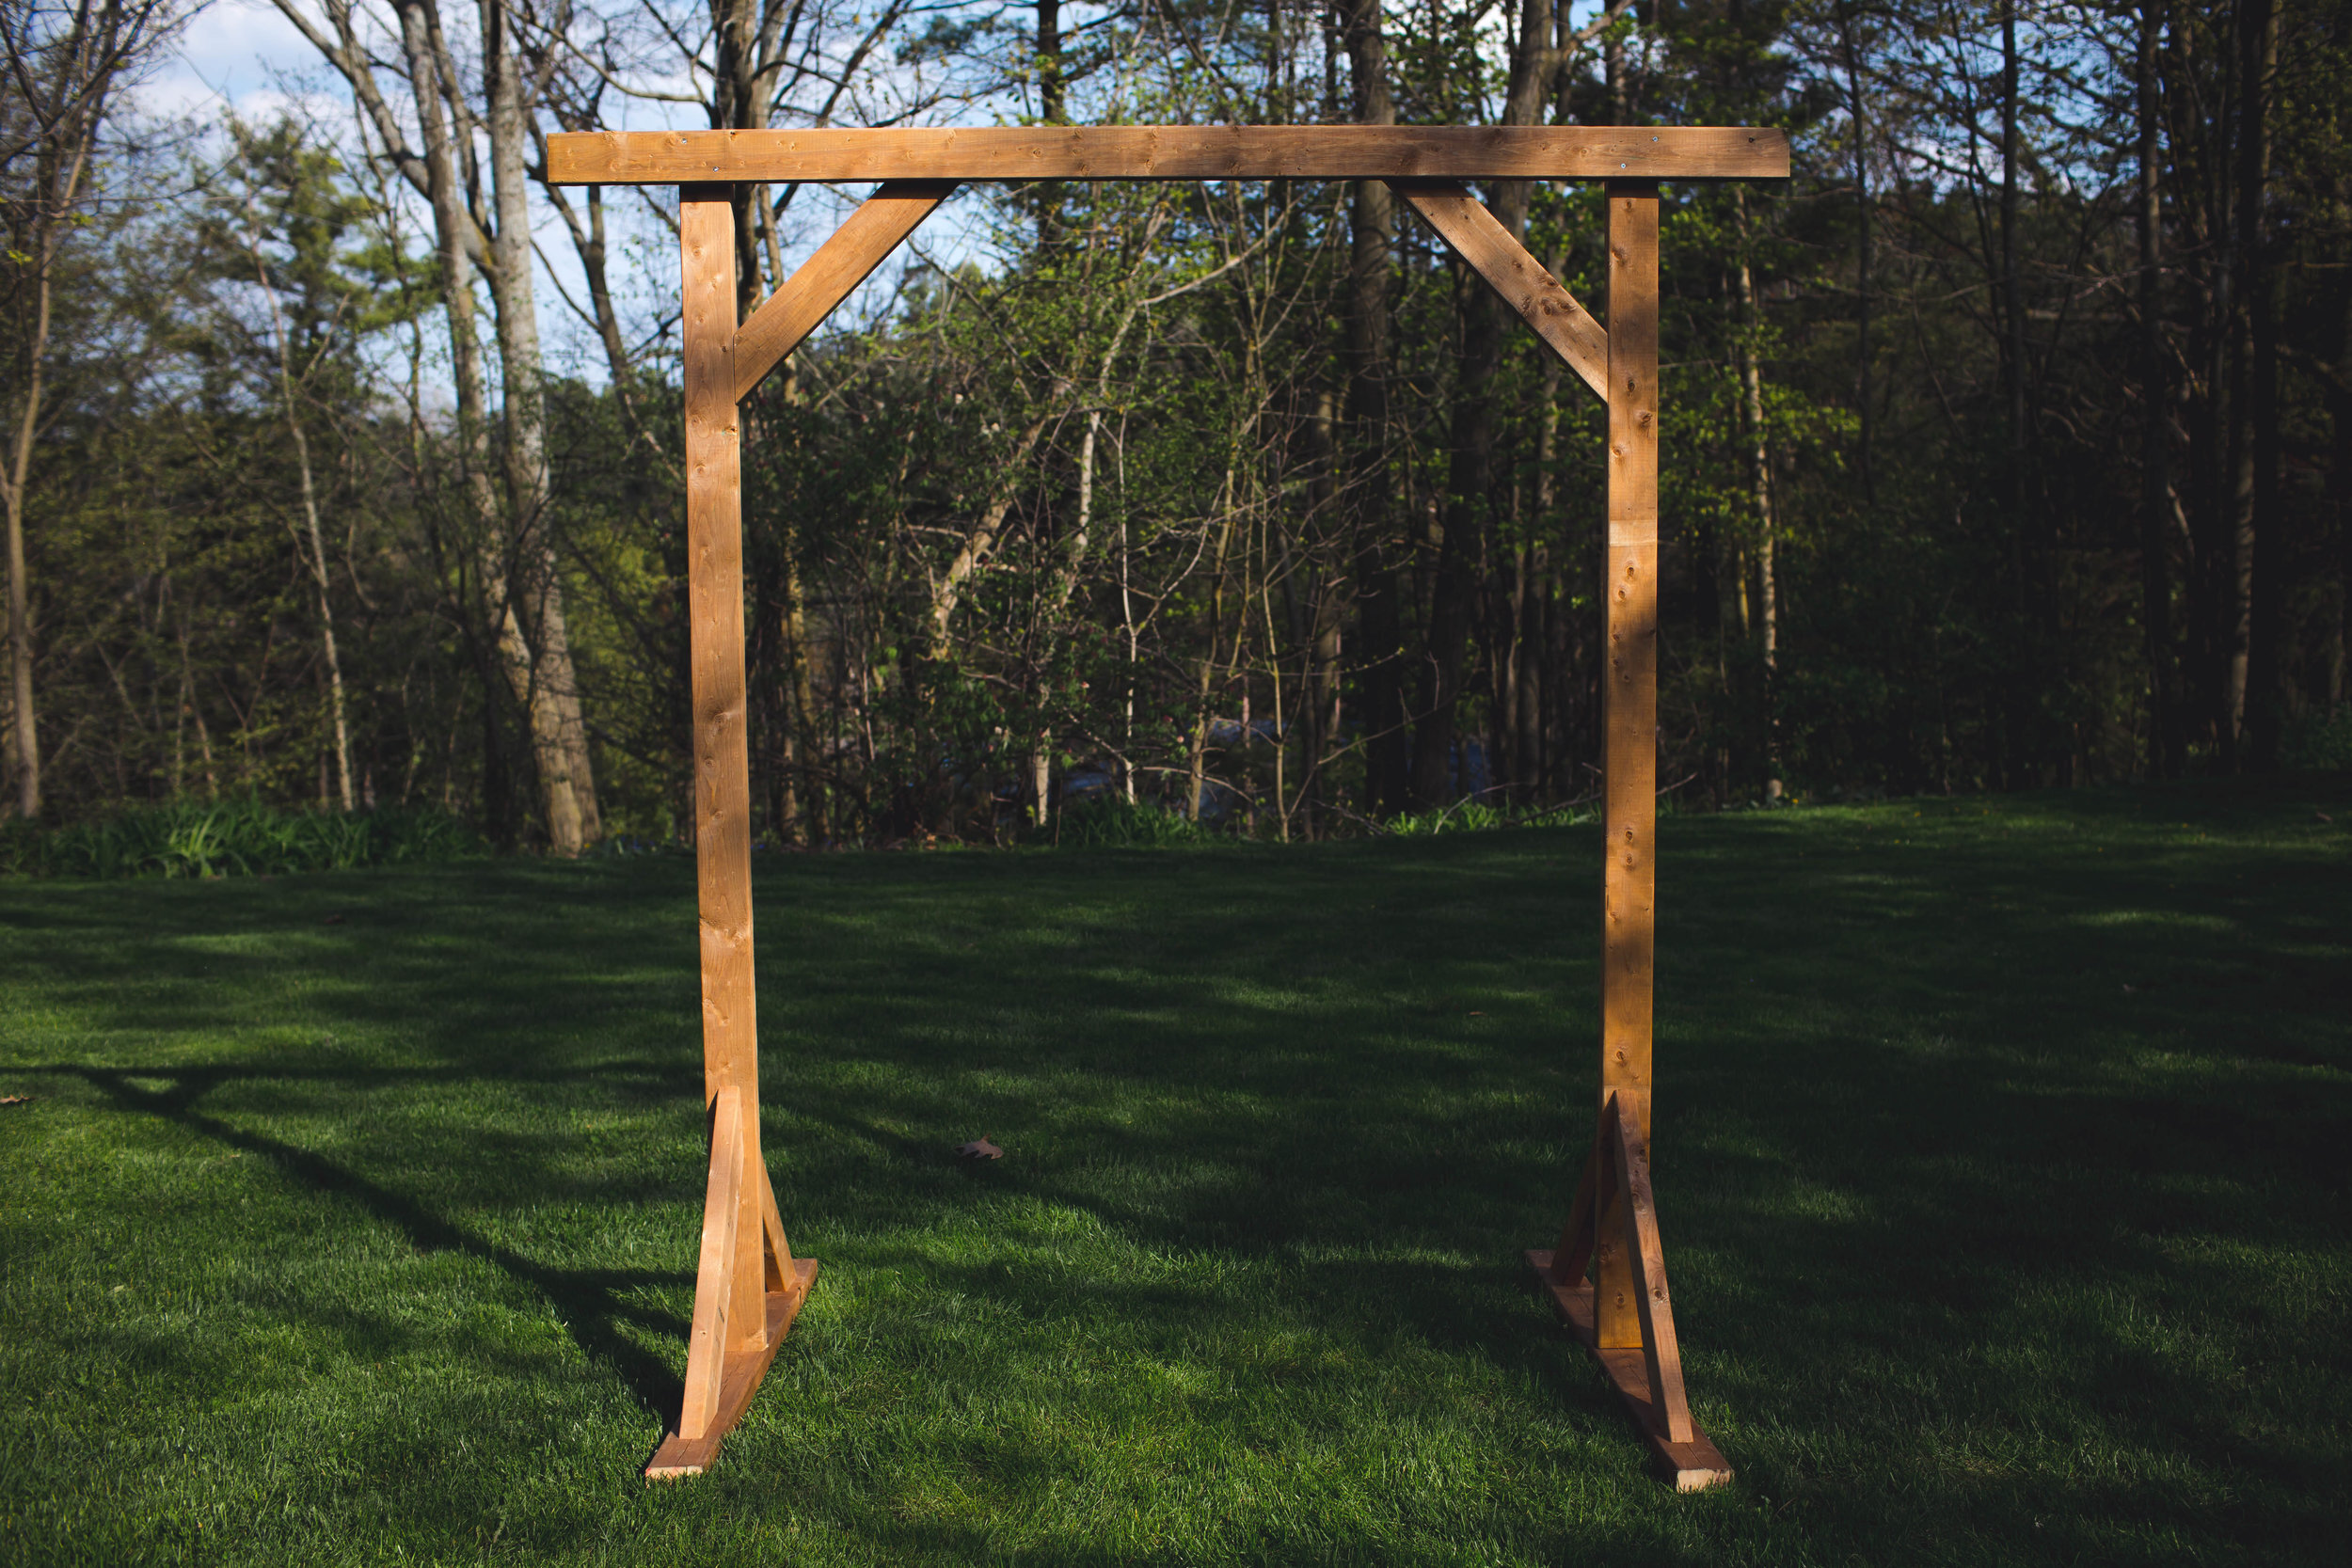
Alrighty! To make our arch we picked up a total of 3 pieces of 2 x 4 x 12ft pieces pressure treated wood and one 2 x 4 by 8ft piece. We got the 12ft pieces cut to 7 ft at the hardware store so that left us with 3 x 7ft pieces and 3 x 5ft pieces. We also grabbed some wood screws that were 2 1/2 inches long.
We’re starting on the ground using our 3, 7ft pieces and we’re roughing in the shape of the arch. On the piece at the top of the arch we measured in 1ft from each side. We lined up the piece that goes vertical to the outside of that 1ft line. Next we took our wood screw and added two screws diagonally from each other to secure the vertical piece to the horizontal piece. Repeat this on the other side. Yay, it’s attached!
Next we’re taking one of our 5 ft pieces and figuring out how we want our brace pieces to sit. So we figured out we want the piece 26 inches and we’ll need to cut the piece of wood on a 45 degree angle on either side. The easiest way to cut on a 45 degree angle is to use a mitre box! It’s a plastic box that has slits in 90 degree and 45 degree angles so it makes sawing an angle super easy! Now that we have one 45 degree cut, we want to create another going the opposite way and we want the length to be 26inches point-to-point. So we actually want to do this 6 times total which means you’ll get 2 out of each 5ft piece of wood. To make things move quickly we ended up using the mitre box to draw out our 45 degree angle and a circular saw to cut it but if you don’t have a circular saw you can use the mitre box and a hand saw (just might take a little longer). Alright, you have 6, 26inch brace pieces, we’re going to head back to our arch and flip it over so the back is facing up. In one of the corners we added the extra 8ft piece of wood as a flat surface and then we lined up the brace piece with the vertical piece and laid it on top of the horizontal top piece. We added two screws on the top cross piece, easy peasy- but to attach it to the side you’ll need to come in from the side. To make this easier we pre-drilled a hole smaller than our screw on an angle, this makes adding the screw on an angle way easier.

Repeat this on the other side and now we have a well-supported arch. So our next step is to cut our 8ft 2x4 in half so that it is 4 ft long. This is going to go under our vertical side pieces to create bottom supports with braces. We marked the halfway point on our 4ft piece, so 2 feet so we know where our side piece should sit. This is how we’re going to use the remaining four 26inch angle pieces. Using a square to make sure the corner is exactly 90 degrees, add in your 45degree angle piece until it’s flat against the bottom piece and the side piece. We then used the same angled holes technique that we used on the top to be able to get the screw in there on an angle. We attached the angled pieces with two screws into the bottom piece and two going into the side peiece. We repeated this towards the back of the arch. Go ahead and repeat that whole process on the other side of the arch. In the end you’ll have a pretty sturdy arch. If you’re concerned of any wind you can sand-bag the arch or drill holes and add stakes through the bottom braces.
Our final step is to decorate our arch! You can do this in any way you see fit but we decided to use a staplegun to staple long pieces of white fabric to the top and let it flow down the front. This is actually leftover fabric from the panels that I made for my bedroom in the loft (if you guys remember that loft vibes episode). For the other half of the arch we decide to add a gorgeous garland of greens. If you guys didn’t catch last weeks video – we showed you how to make this as a center piece and we styled it with table decor! Well spoiler alert this center peice has more than one use. You can use wire or a staplegun to add the greenery to your arch. Look at how gorgeous the final product is!!

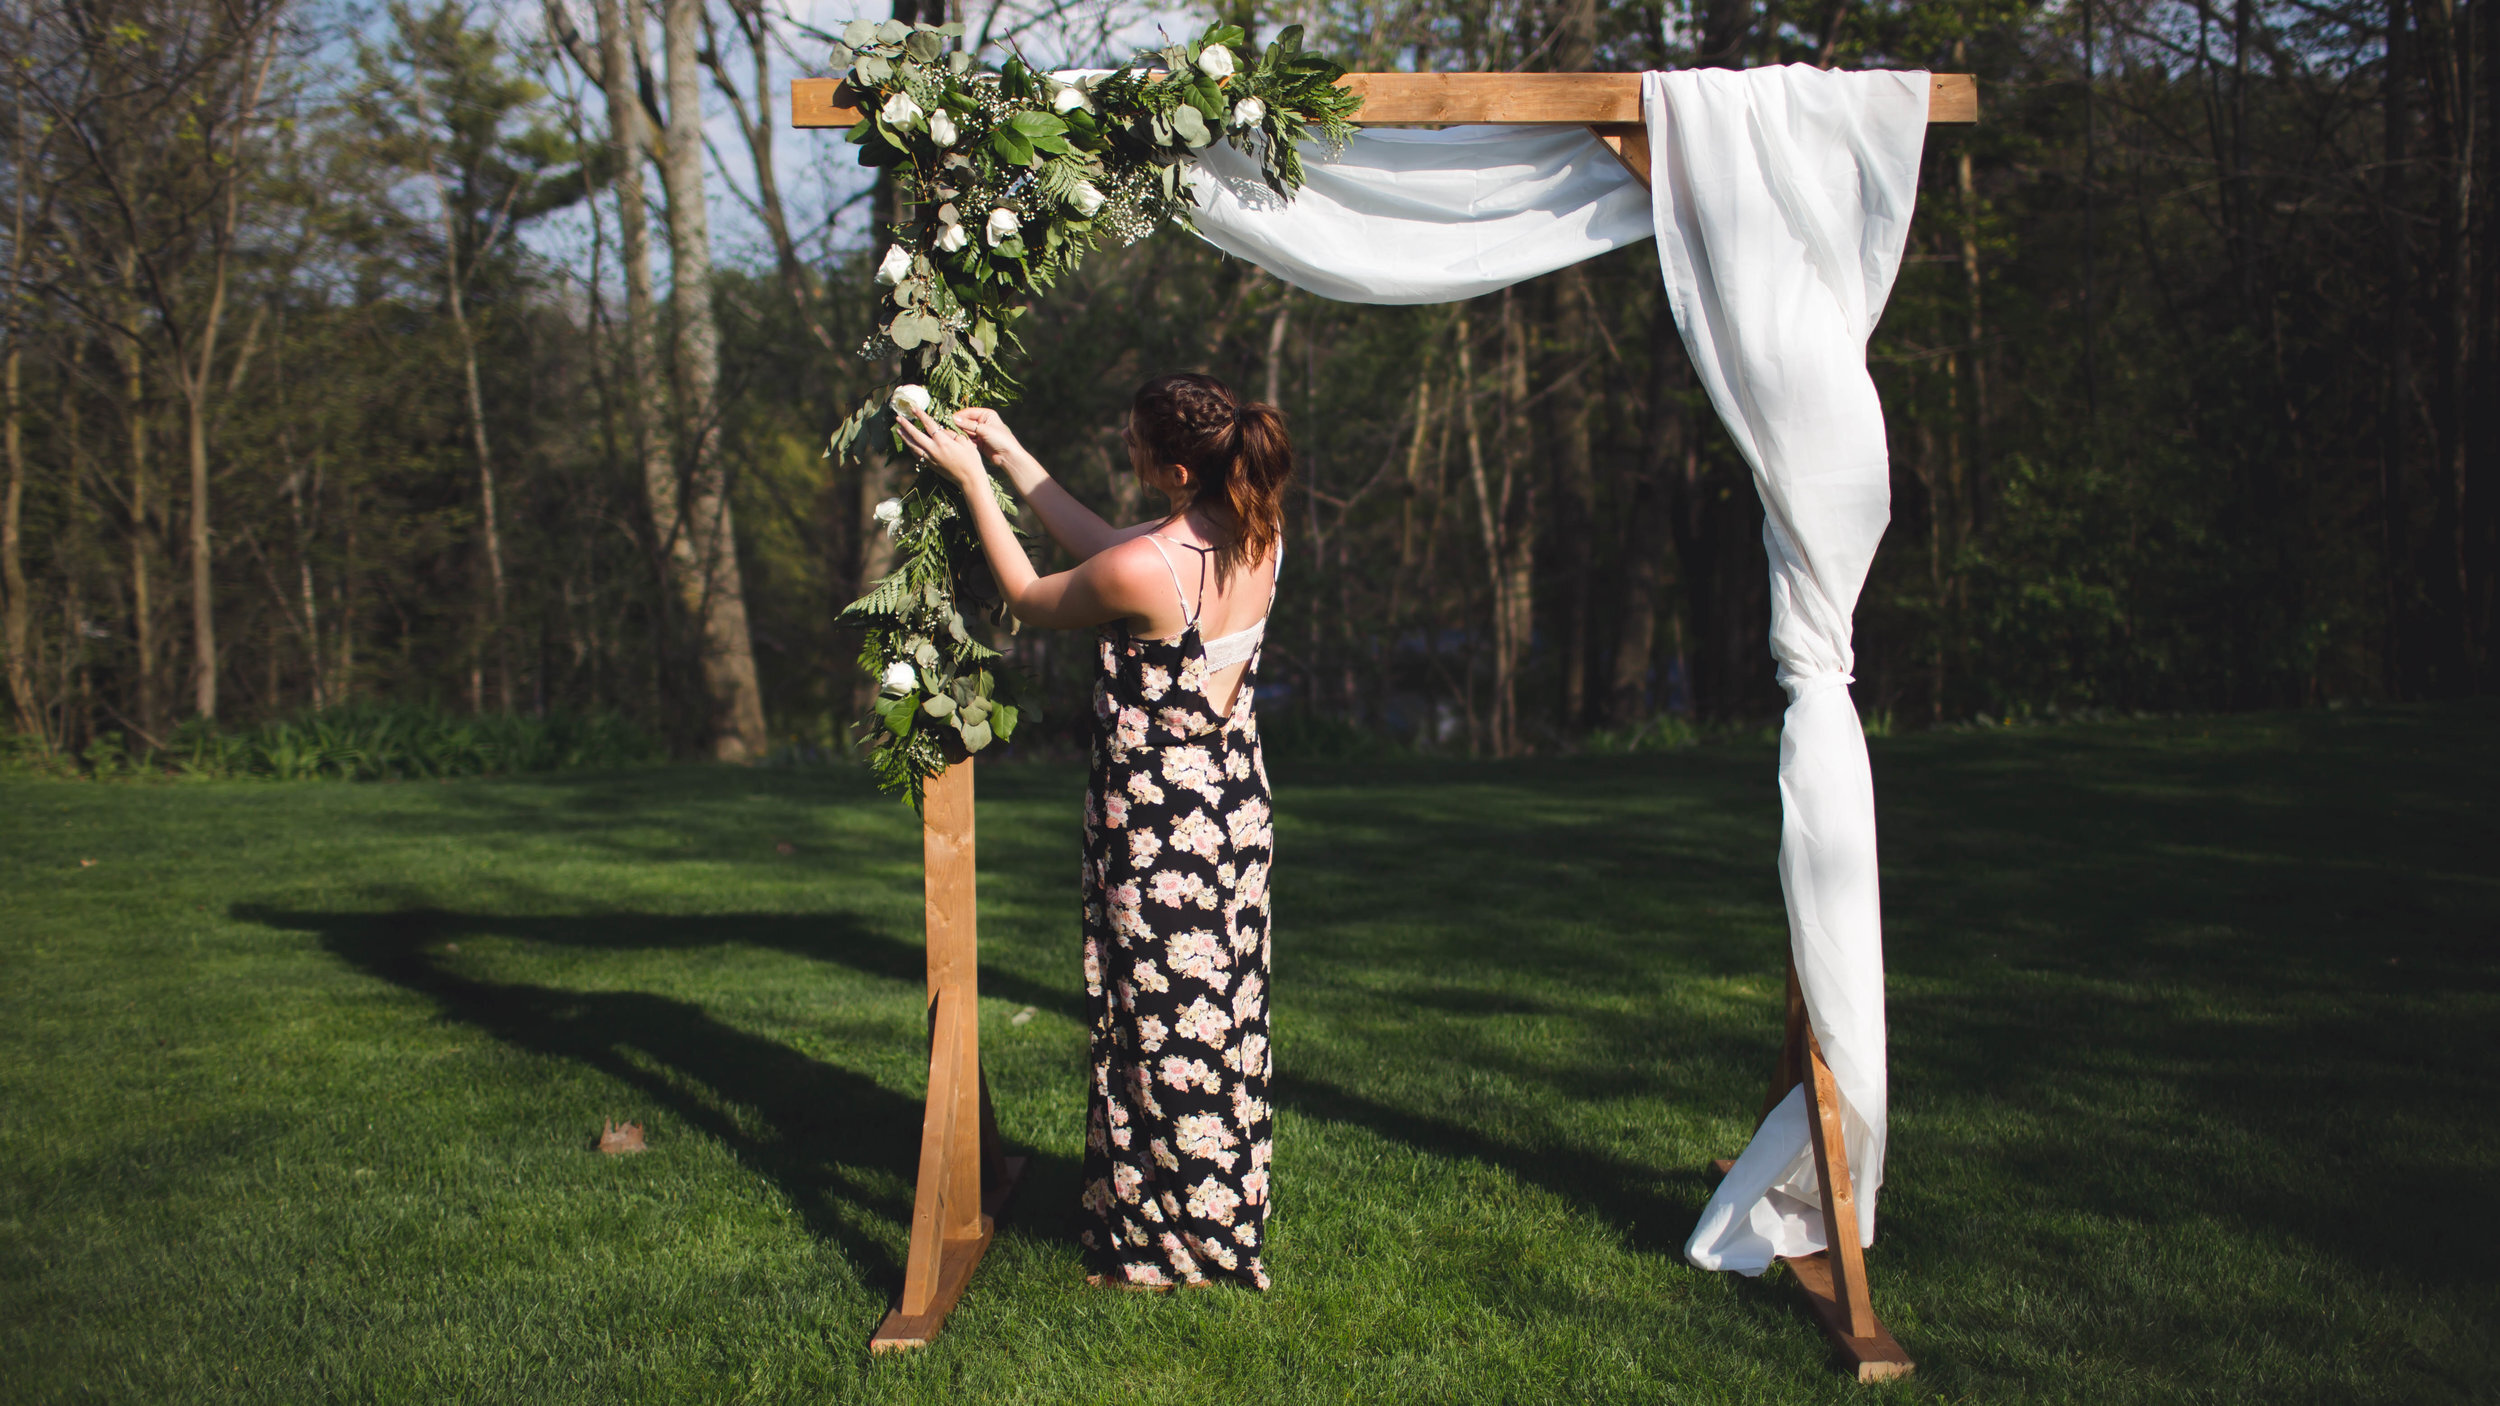
If you make this wedding arbor please show us using the hashtag #SorryGirlsSquad! Check out the full video below!