DIY Neon Sign
We have made a couple neon sign tutorials in the past, but we notice that lots of you are still looking up how to do it to this day, so we thought it would be worth it to modernize our tutorial for you guys!
you will need…
Acrylic Panel (24” x 36”) - https://bit.ly/3ufgYQr
Neon Lights - https://bit.ly/3uScQok
Stand Offs - https://bit.ly/35P8Yw4
Template…
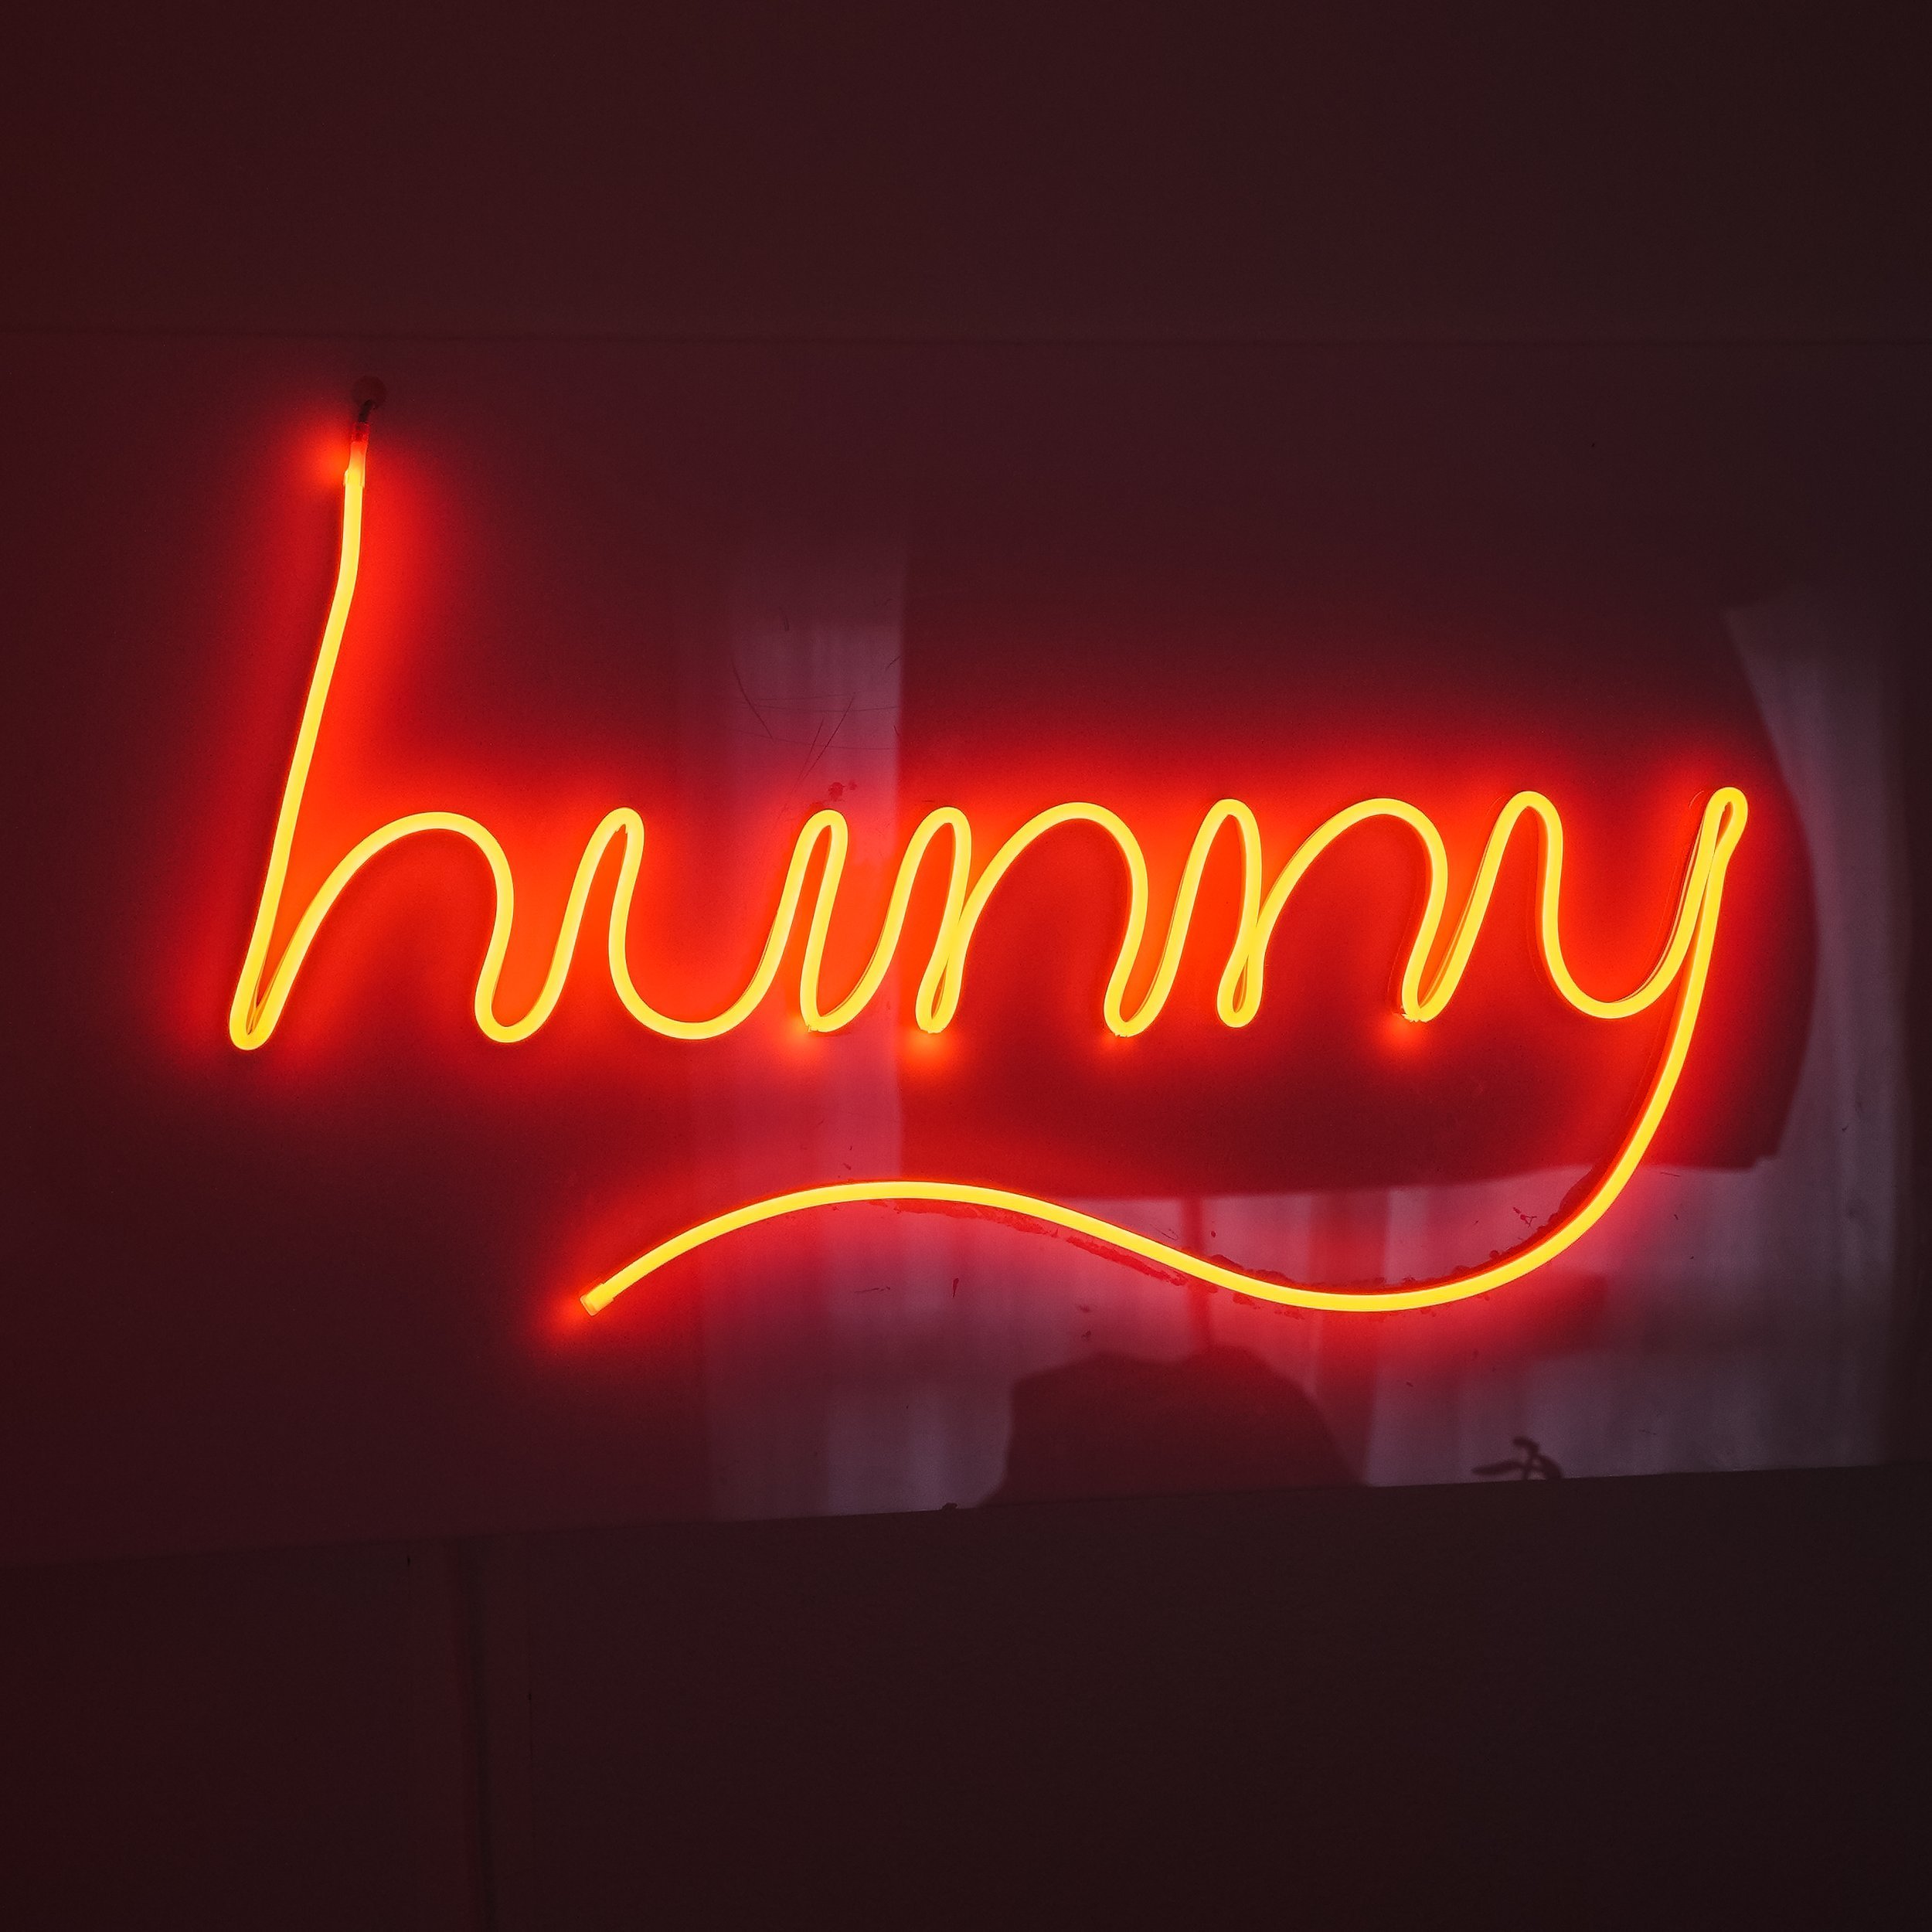
This is a pretty simple process and can be totally customized to whatever word, art, or saying that you want, but below I decided to chose the word ‘hunny’. If you would like to recreate this exact sign, following are the exact measurements for you to follow along with!

The first thing I did was measured out my spacing so that I could make sure my word would be perfectly centred. With the 36"x24” board I got, I split up the height by subtracting the height I wanted my letters to be (9cm tall) from the total height of the board, and then divided that number by two (25.98cm).
This allows my letters to be 9cm tall (with the exception of the stem on the H and the Y) and having a 3cm spacing between each letter. Now that I got my measurements, I used some tape to make guides of where I wanted my words to be.
Next I got a dry erase marker to sketch it out on the board knowing it can easily watch off. Now I can make sure I liked how it looks.


The next step is to glue down the neon rope with a strong hold super glue. I erased my dry erase marker section by section and made sure to work in small sections. To keep it in place, I clamped the edges with various different tools like binder clips and wrenches so they would stay in place while they dried.


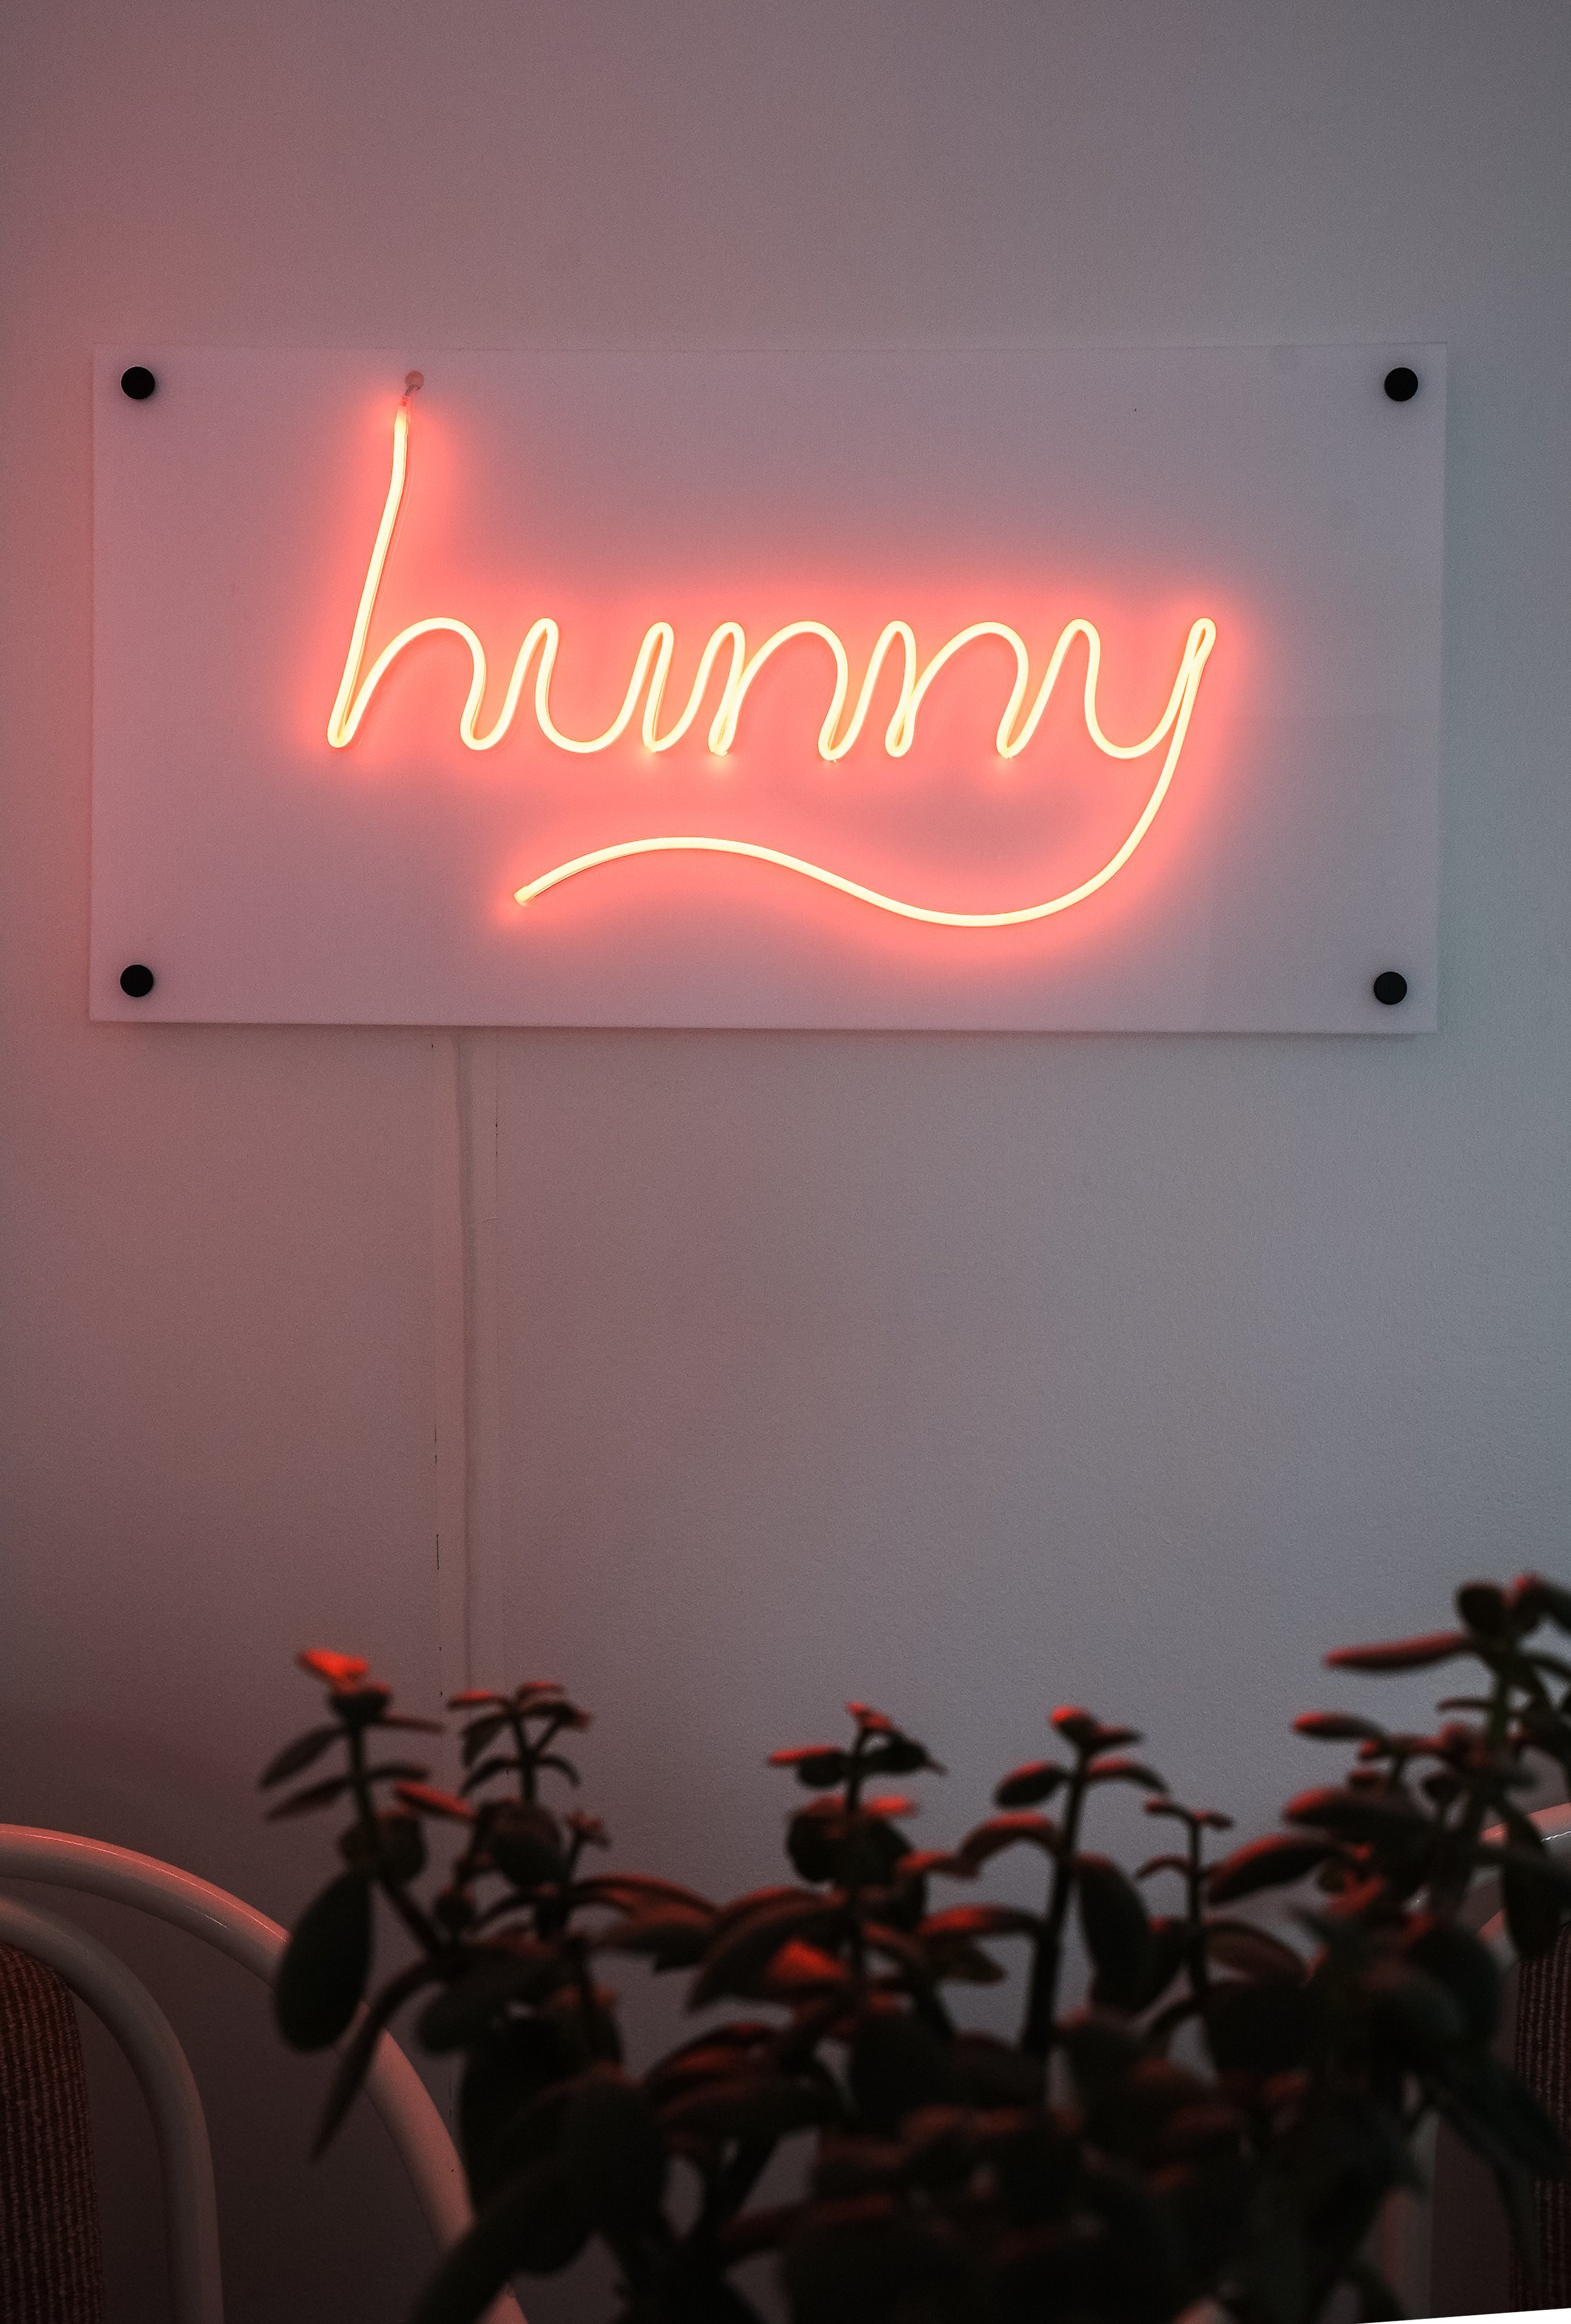
To finish it off, I cut my cord at the end of the Y and used the end bit that came with the light to make the ending look clean and uniform. Next, I drilled a hole at the top of the ‘h’ to feed the rest of the chording behind the acrylic sheet. I then hung it up with some stand-offs and it was complete!