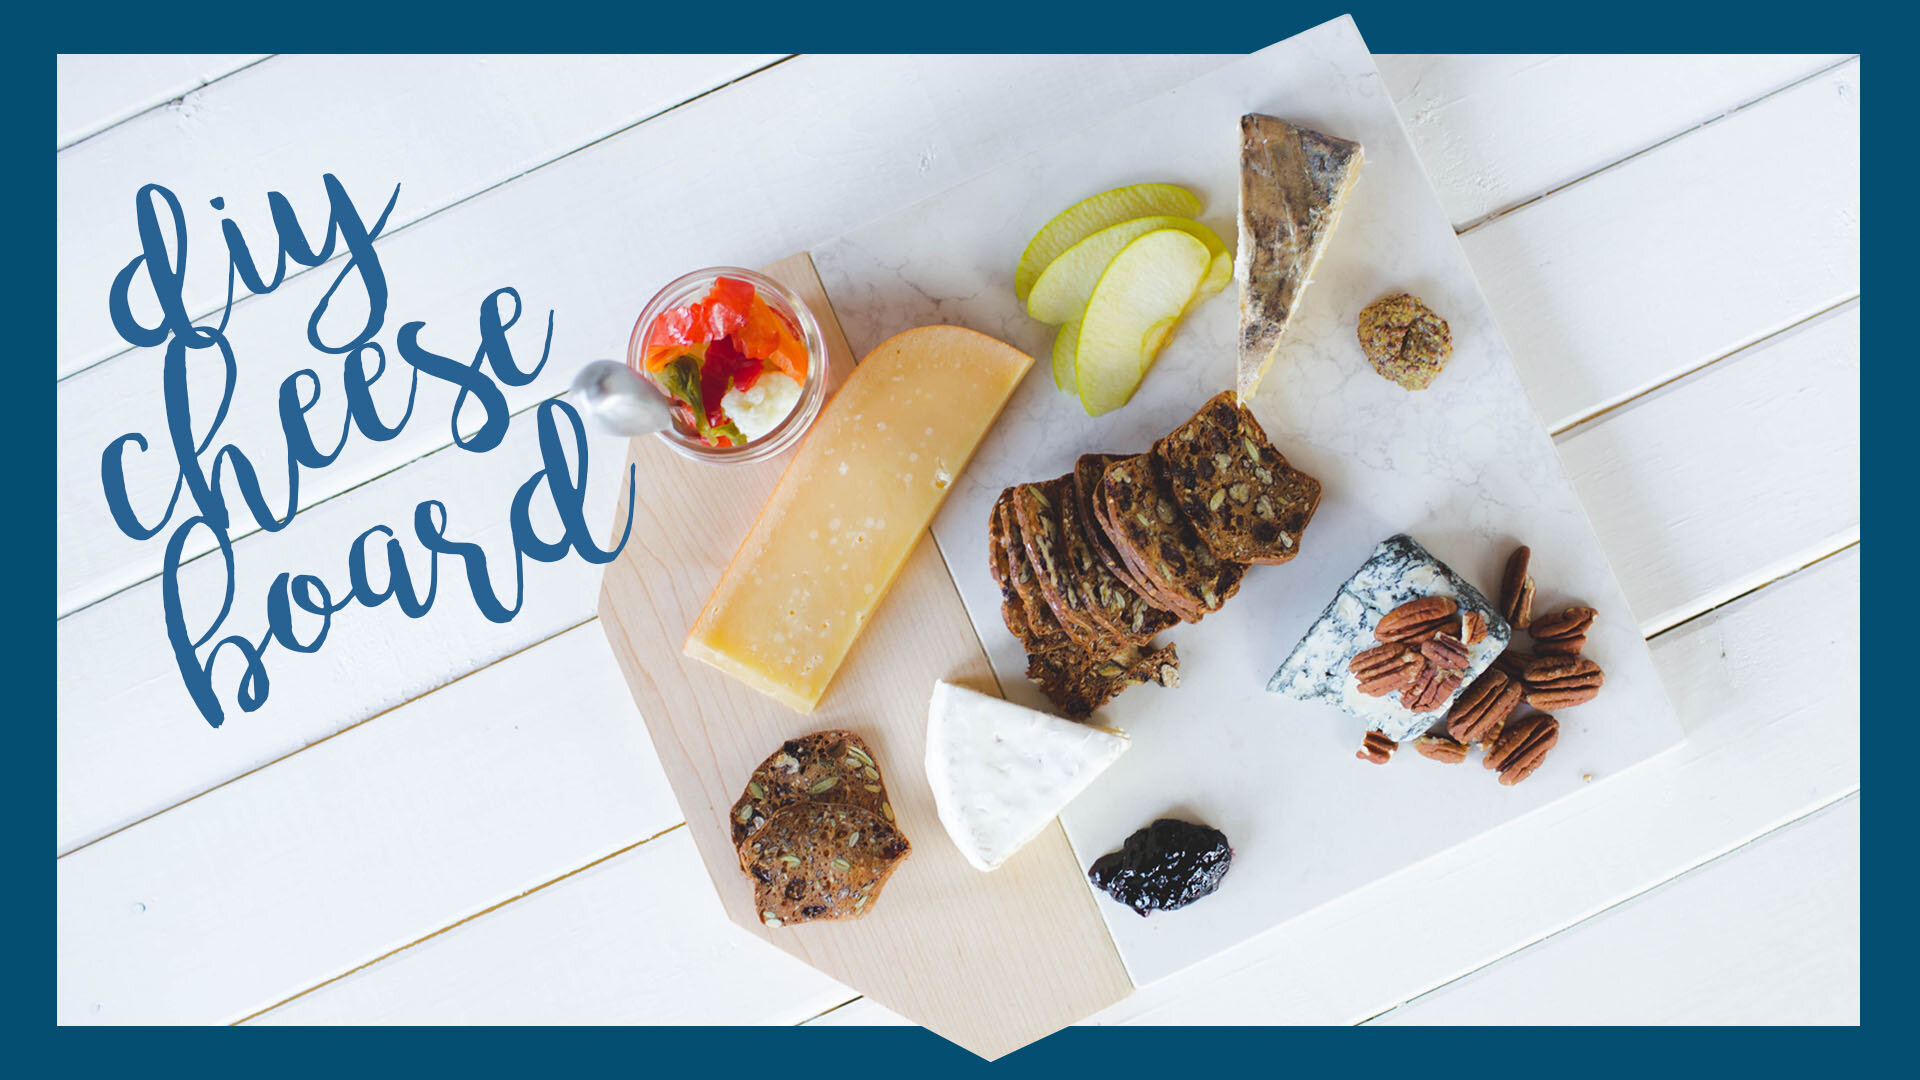
DIY CHEESEBOARD
Difficulty: ✂ ✂
Cost: $40 + (material dependent)
Materials:
- maple wood
- marble tile
Tools:
- ruler
- pencil
- circular saw
- electric sander

Today we are super excited to be making this beautiful DIY cheeseboard! To start off this DIY, you are going to need a piece of wood and a piece of marble. We got the marble from a local tile store! A tip to finding an affordable piece of marble is to ask to purchase scrap or sample marble from a local store. We chose maple as our wood piece, because maple works great as a display board as it is a hard wood and hold up really well.
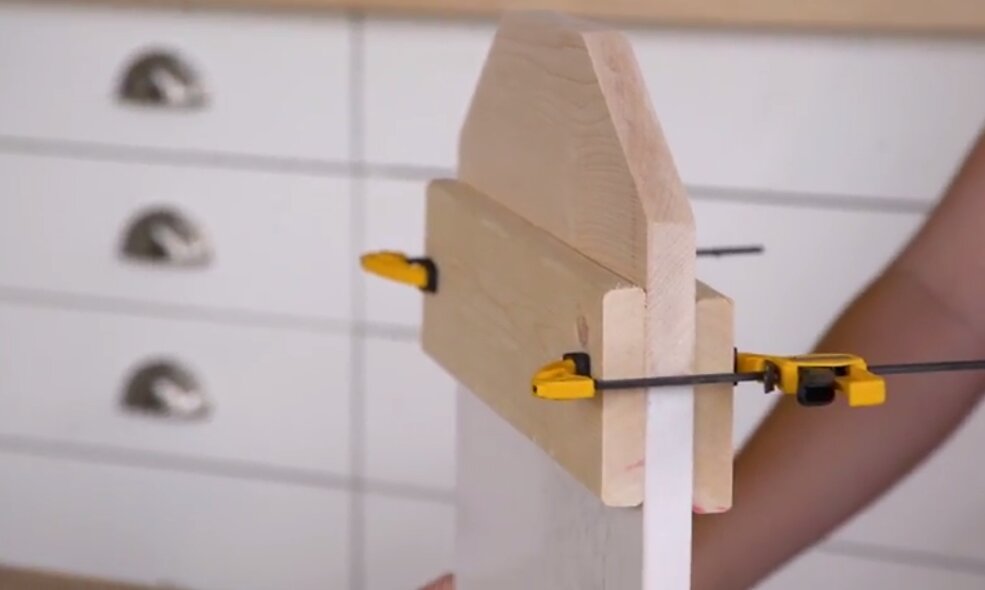
Marble is pretty hard to cut, and so we are going to cut the wood to fit the marble instead of the other way around. We decided to trace out this interesting geometric shape, but you can do whatever you’d like! We used a circular saw to cut the shape out. Next step is to sand down the rough edges using a sander.
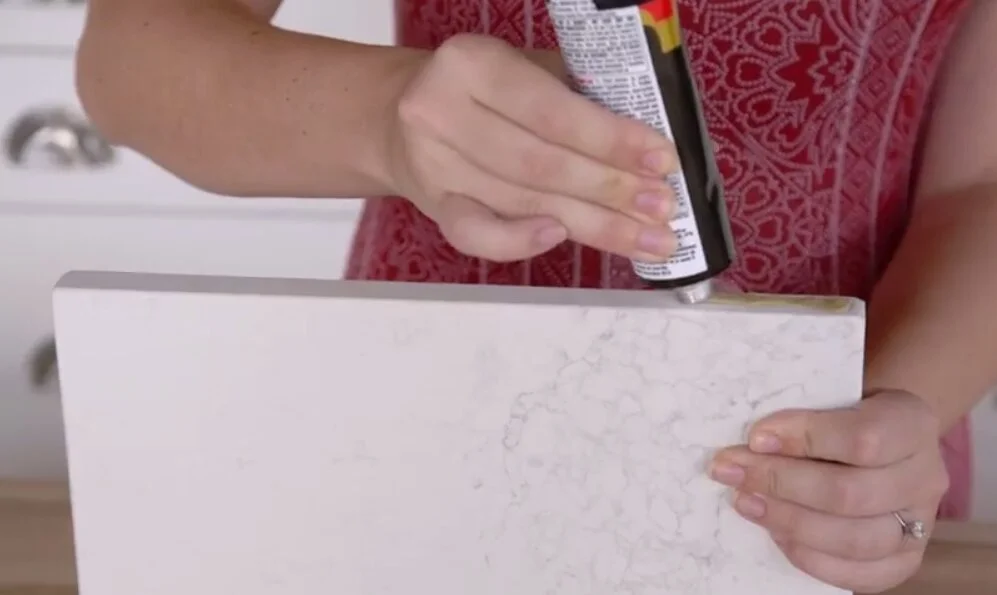
Once it’s dry, remove the clamps and sand down any remaining glue with the electric sander to clean things up! Since the marble is a little sharp, we decided to add some rubber feet to the board to ensure that it doesn’t scratch any surfaces! The final step is to add a butchers block oil or a cutting board cream to the wood to make sure food doesn’t stain the board at all!

Now you can style the cheeseboard however you’d like! We recommend adding things like fruit or bread that compliment the cheeses you’ve added to the board. Another tip: don’t worry too much about your board looking too perfect and neat, we think it looks better when it looks natural and rustic. Now it’s time to eat!


If you decided to either make a cheese board or style one you already have, show us using the hashtag #SorryGirlsSquad! Also be sure to check out the video below for some more cheese board makin’ and cheese board styling inspo!
recommended posts


Donec id justo non metus auctor commodo ut quis enim. Mauris fringilla dolor vel condimentum imperdiet.