
Making an Expensive Crate & Barrel Tree Collar on a Budget
Every holiday season, we see a huge emergence of cute and trendy decor. The issue is, although cute, the prices are ridiculously high on most of the items, especially ones that are easily DIYable. I was browsing the Crate & Barrel website when I came across this really cute Christmas tree collar! That said, it is way over budget for something that won’t be in the house all year around, so I decided to make it myself instead!

What you’ll need…
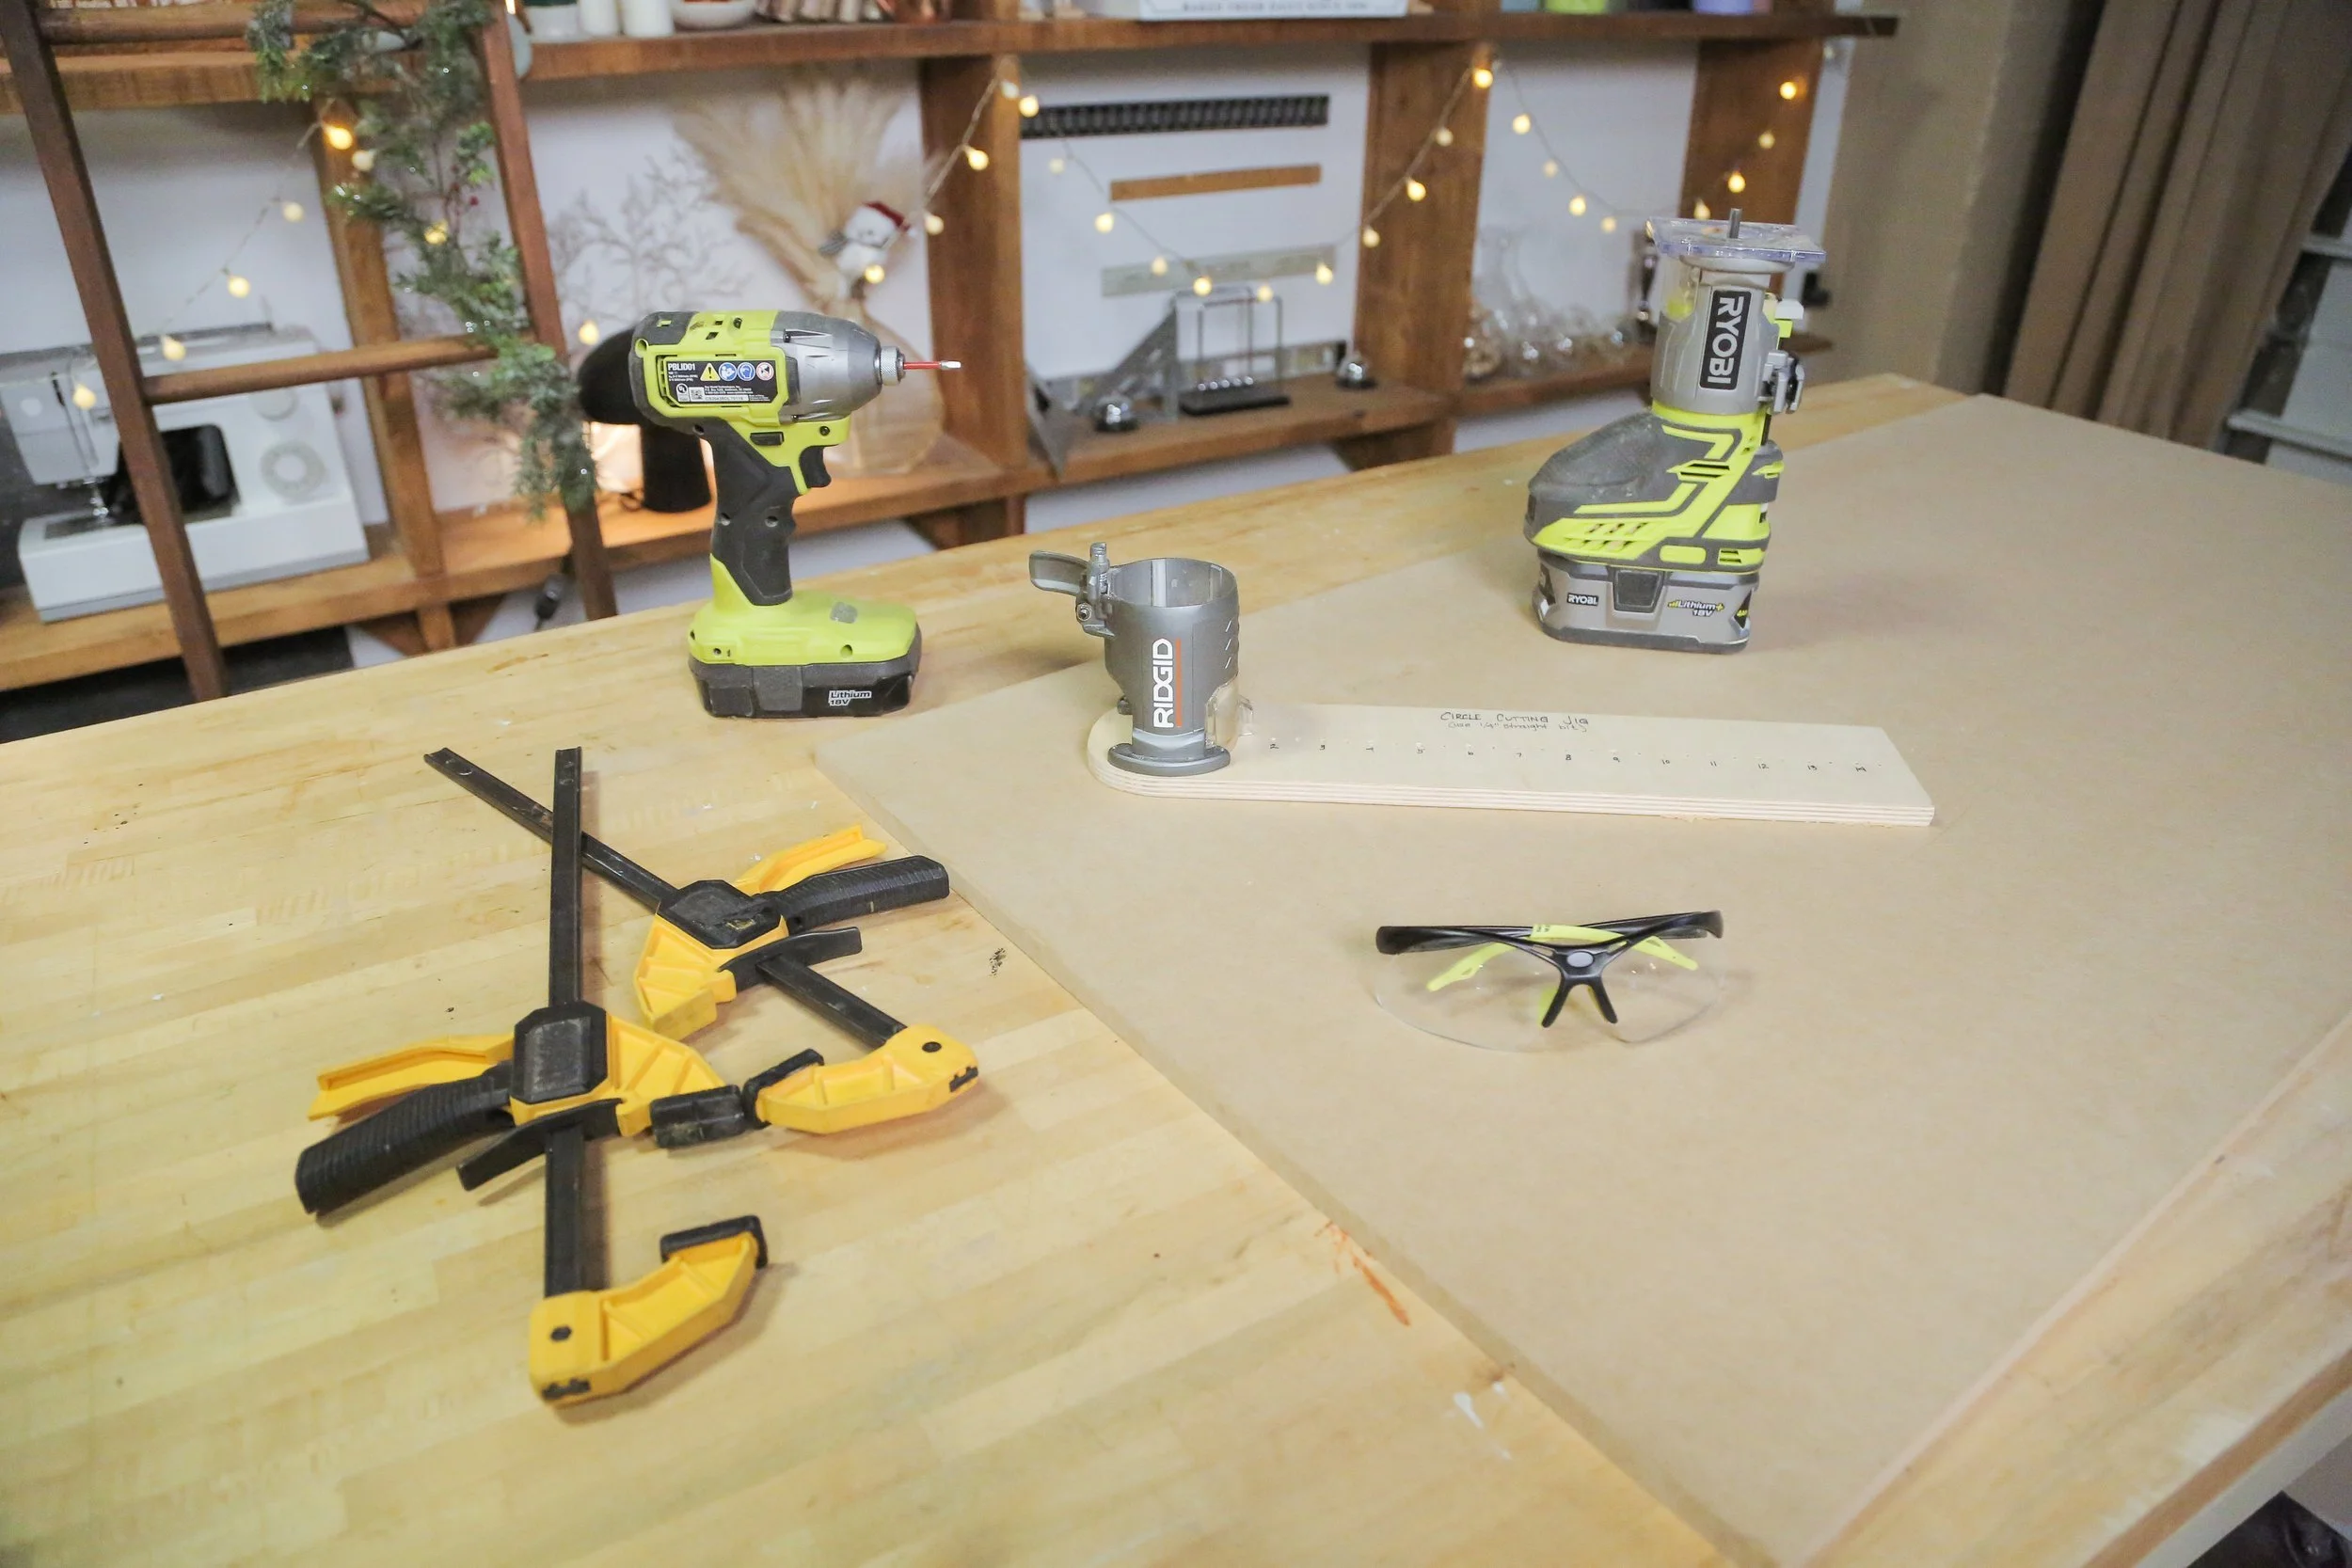
Pine trim (5/16 x 11/16 - 8ft long)
1/2” piece of MDF board (2ft x 4ft)
Trim Router and/or a jigsaw
Scrap piece of wood
Industrial clamps
A drill
Wood glue
Nail gun and nails
We made a homemade jig that has a footplate already attached to it. It’s just a piece of wood with a large hole cut into it so our 1/4” straight bit can drop down and make the cuts. It has several different holes so you can adjust the circle to any size you want.
The website says the tree collar is 24” wide so I marked the radius at 11.5” so when I add the trim it will be the same size. Once my radius is marked, I took a screw and drilled my handmade jig into the MDF board underneath. Now you can cut a perfect circle out of your MDF, working like an old school compass from math class! Repeat this step to hollow out the circle by drilling a new screw into your marked radius, but bringing in your jig an 1.5”.
Next, using the interior of that ring we just made, repeat this full process once more to create a slightly smaller circle using that piece! That all being said, out of that one piece of MDF, you will be able to get two rings for your tree collar!
(Note: if this is a bit confusing to you, our YouTube video goes into more detail and visual description of how exactly this was done!)


Now it’s time to trim some tambour. The originally collar is 10” tall, so you can get your pieces of wood trim cut to 10 7/16” from your local wood supplier to that length!
The originally collar is 10” tall, so I am getting some support from spare paint cans that actually equal to roughly 10”. All I am doing to attach the tambour to the rings is using a combination of wood glue and a nail gun to tack them into place.


The last thing I’m going to do is put a top coat on this to seal it and make sure it lasts a long time! Now it’s time to style it and compare it to the original!


We know this seems a bit overwhelming because of all the power tools but its quite simple if you take it step by step! If you are more of a visual learner, we encourage you to check out the tutorial on YouTube so you can see each step more clearly :)